How to Get the Juiciest Mini Twists on Long Natural Hair

I love showing my hair routines, and in this tutorial, I’ll demonstrate how I do a mini twist on long natural hair. Mini twists are really stylish and keep your looking moisturized, too.
Also, you don’t need a drawer full of products to achieve this luscious mini twist style. I can’t wait to show you this easy routine, so let’s get twisting!
Tools and materials:
- Non-water based moisturizer
- Scalp oil
- Edge wax
- Rattail comb
- Brush
- Hairdryer
- Heat protectant
- Cold water
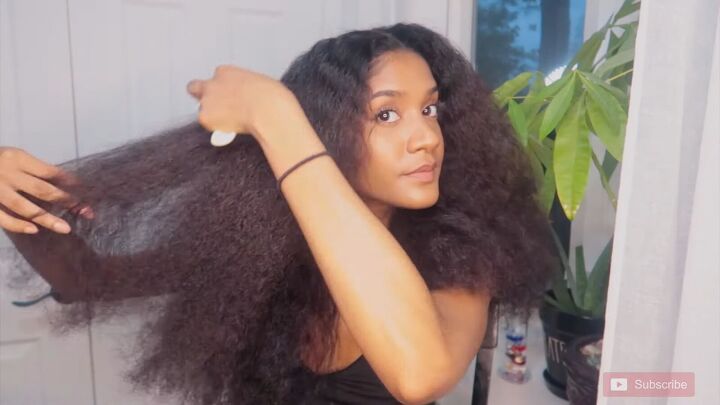
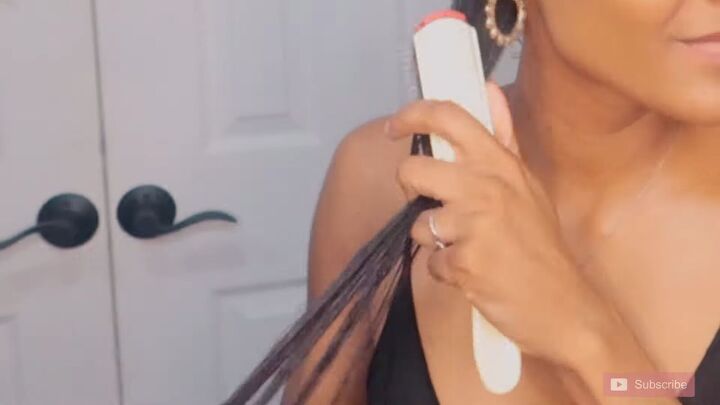
1. Blow dry your hair
For this specific mini twist style, go ahead and blow-dry your hair. Use the highest setting, and don’t forget to add a little heat protectant beforehand.
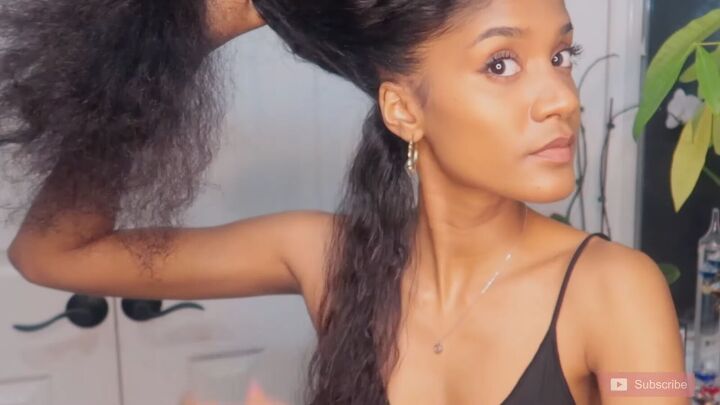
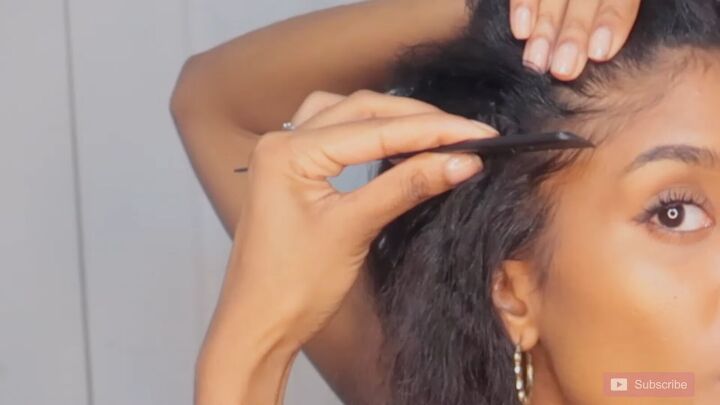
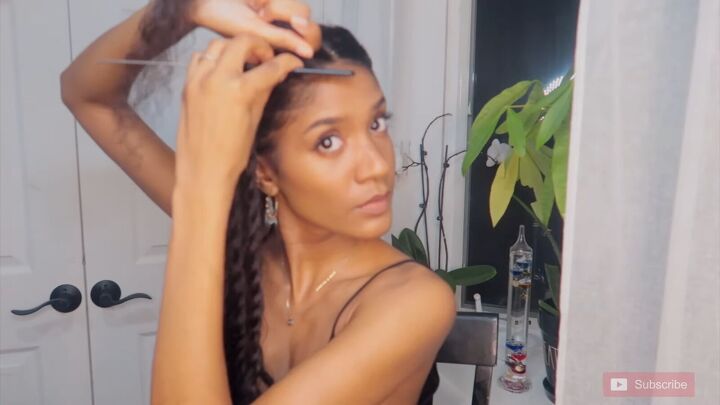
2. Section off your hair
Section off your hair. There’s no particular way to do it, just section it off the way you want and go with the flow, is what I always say.
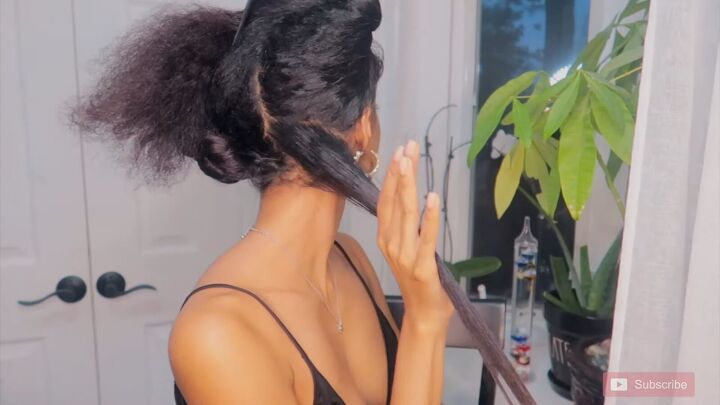
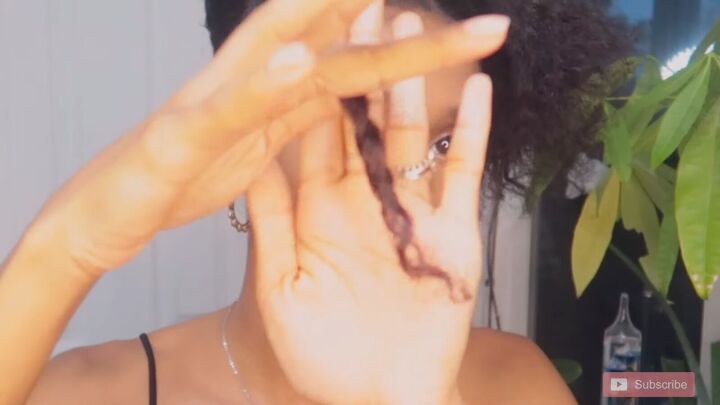
3. Apply moisturizer
Apply your non-water-based moisturizer and brush it through each section. Make sure the product gets through really well.
I’m using a mango-butter-based product because it creates hold and shine without being too oily. I used to use shea butter but I found it was heavier than I would have liked.

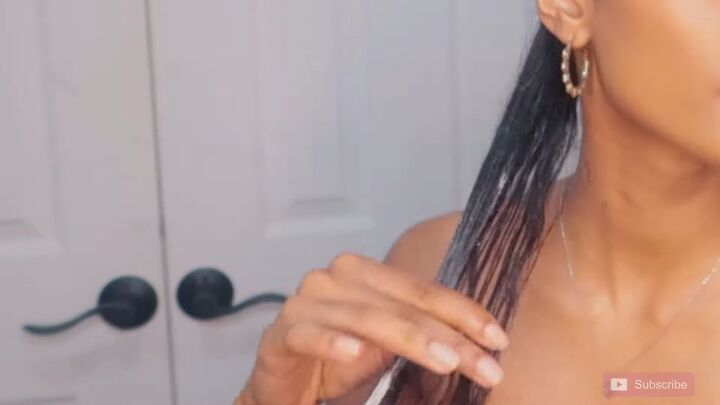
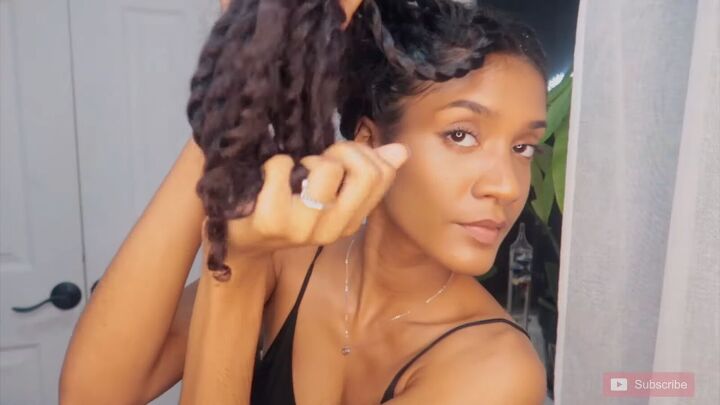
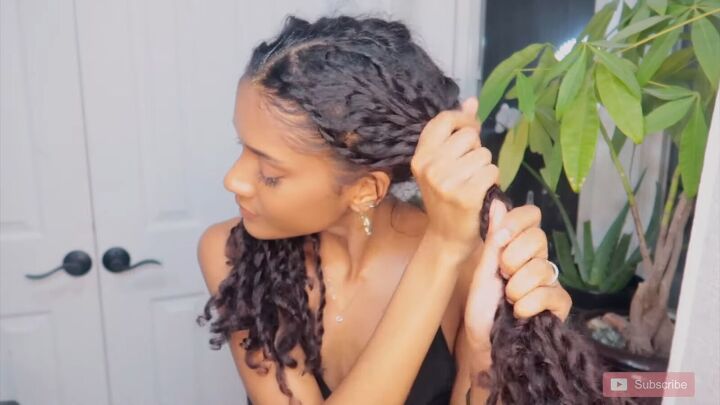
4. Create mini twists
Now, split your moisturized section in two, and start twisting your hair tightly, all the way to the ends. As you reach the bottom, make the mini twist a little looser.
When you reach the bottom, wrap and twist the end around your finger to create a cute curl.
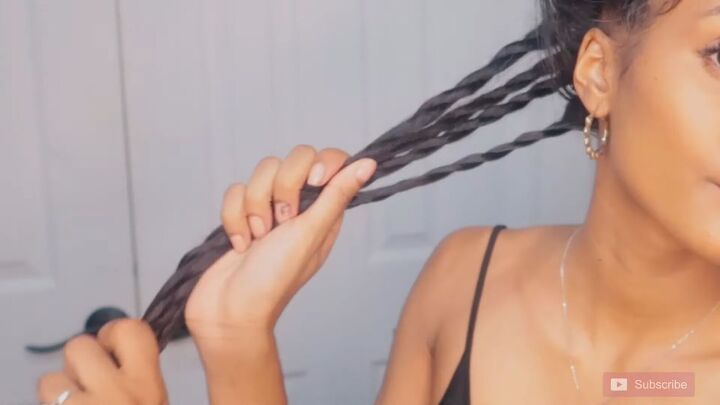
That’s pretty much how you do mini twists with a bit of chunkiness! Repeat this process throughout, sectioning off your hair as you go along.
When you get to your edges, simply sweep them into your sectioned hair. Like this, your overall look will appear more cohesive.
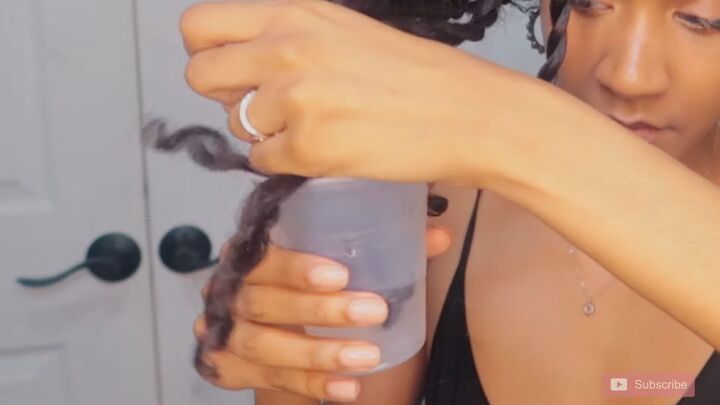
4. Dip your ends
Now, take a cup of cold water and dip your ends inside. Then, scrunch your ends to create a really defined curl to your mini twist hair.
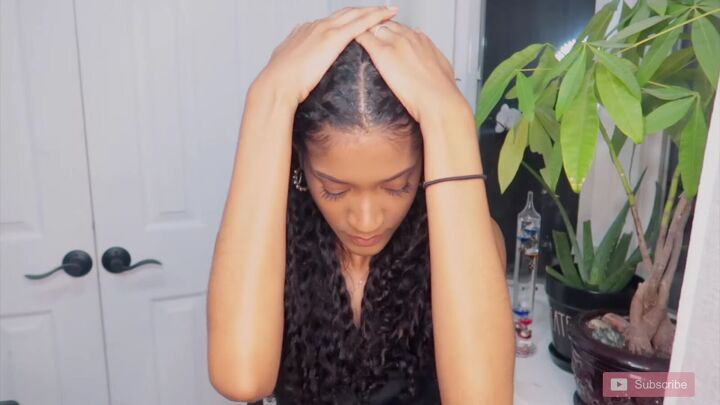
5. Apply scalp oil
After you’re done making your mini twists, grab your favorite bottle of scalp oil and apply it directly onto your scalp.
It will leave your roots moisturized and will give you a fresh, cooling feeling depending on the oil you use.
Run the oil through your twists for extra shine.

Mini twists on long natural hair tutorial
Here it is - my version of a mini twist on long natural hair! As mentioned, there are so many mini twist styles, but I love the chunky version. It’s easy to do and looks really pretty.
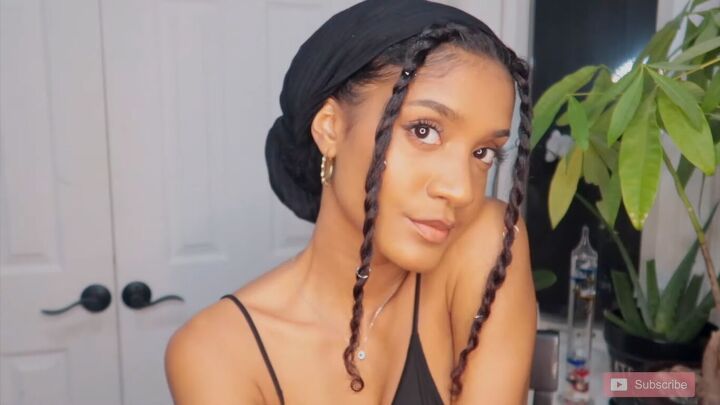
How long to keep mini twists
I keep these mini twists in for about a week. I like to style them with a headscarf and add some hair jewelry too.
Thanks for joining me on this tutorial and I hope you now know how to do mini twists that last a long time. Enjoy and happy twisting!
The author may collect a small share of sales from the links on this page.


Comments
Join the conversation
This style is so pretty! And so are you! Am I right that in each twist, you twist the two pieces in one direction, and twist them together the opposite direction? As in, twist the two parts clockwise, then twist them together counterclockwise (or the opposite). I use the twists for ponytail or accent 'braids' for loose hair. I learned that style by the name Flemish Twist, usually used for making rope and bowstrings, but I just use it on hair. :)