How to Get Ombre Smokey Eyes in Just 20 Minutes

Hi, everyone. For today’s tutorial, I want to do an ombre smokey eye look inspired by sunsets. I played around with a lot of yellows, oranges, and purples for this look, and I love the way it turned out. I’ll definitely be wearing this sunset smokey eye during the summer nights that I’m going out with my girlfriends. It’s absolutely beautiful and really makes your eyes up. Let’s get started!
Tools and materials:
- Eyeshadow
- Translucent powder
- Liquid eyeliner
- Gel liner
- False lashes
- Highlighter
- Primer
- Foundation
- Under-eye corrector
- Cream contour
- Contour powder
- Brow gel
- Bronzer
- Blush
- Lip liner
- Lipstick
- Lip gloss
- Makeup brushes
- Beauty blender
1. Prime
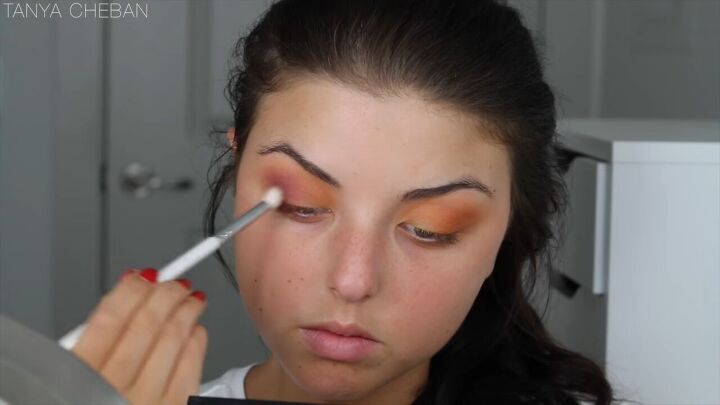
I’m going in first with a matte ochre paint pot as a primer and setting it with a white eyeshadow or any translucent powder you have. This just helps remove the tackiness from the primer.
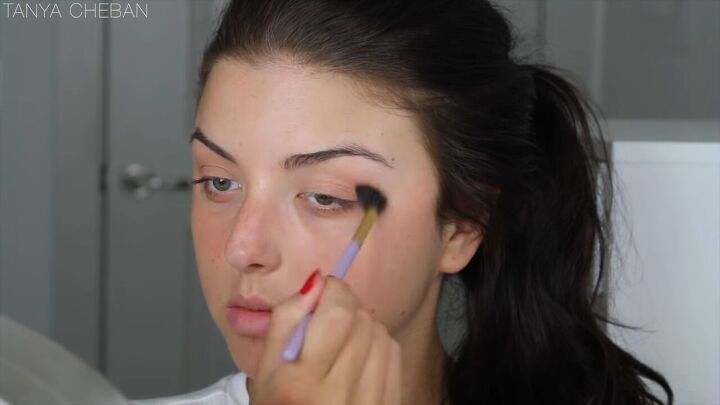
2. Lay down a brown transition shade
Next, I’m going in with a soft brown and placing that color all over the lid and crease. This will be our transition shade, and this just helps blend all of the other colors we’re going to be placing on top much more easily.
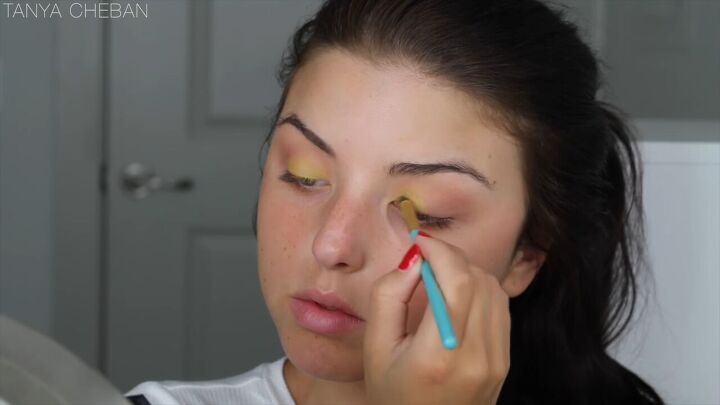
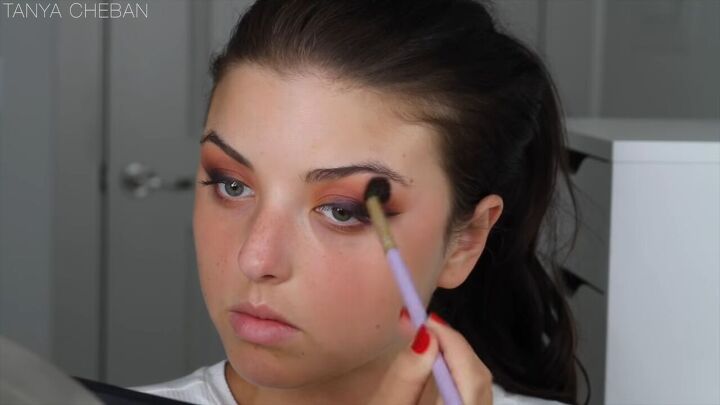
3. Lay down a bright yellow shade
Now, I’m going in with a bright yellow and placing it all over the lid. I don’t want it to be super neon which is why I’m not placing a white base underneath. I’m adding all my bright colors on the lid first, and as I blend, they’ll create so much dimension, giving it that ombre feel. Make sure to always blend in between because that’s the key to getting the perfect ombre sunset smokey eye.
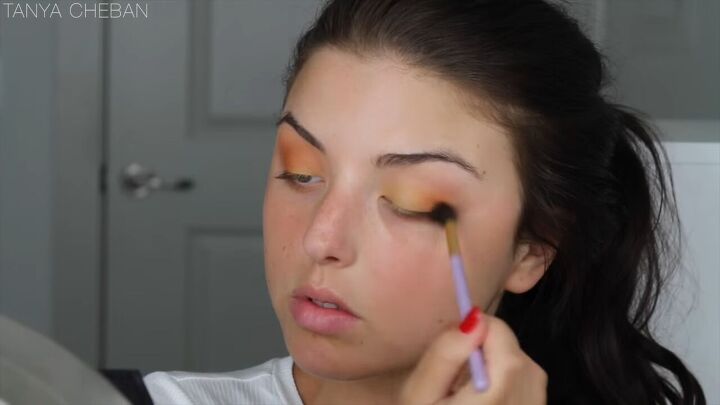
4. Lay down a bright orange shade
Next, go in with a super bright, vivid orange using a big, fluffy brush. Apply it with circular motions all over the lid and the crease. It’s okay if you go over the yellow because we’re going to really blend out all of these colors in one, and this is just the first layer.
5. Lay down a deep berry shade
Next, go in with a deep berry eyeshadow - anything with purple undertones. Buff this out on the outer corner, and this will create a lot more depth to the eye makeup.
6. Add more layers as needed
Add a bit more orange and yellow as needed because, when you’re blending, you tend to lose a lot more pigmentation, so you just kind of have to look and see. If you need a bit more warmth, add more orange. If you need a bit more depth, add more matte brown. Then, blend everything together.
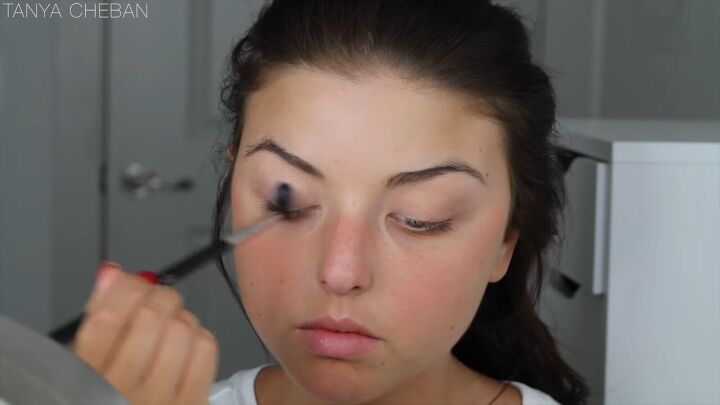
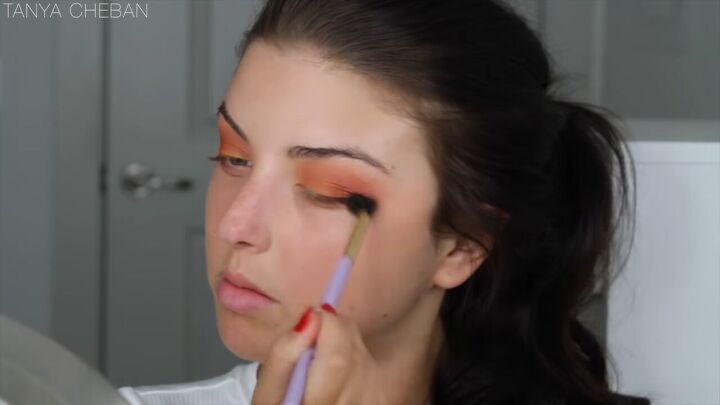
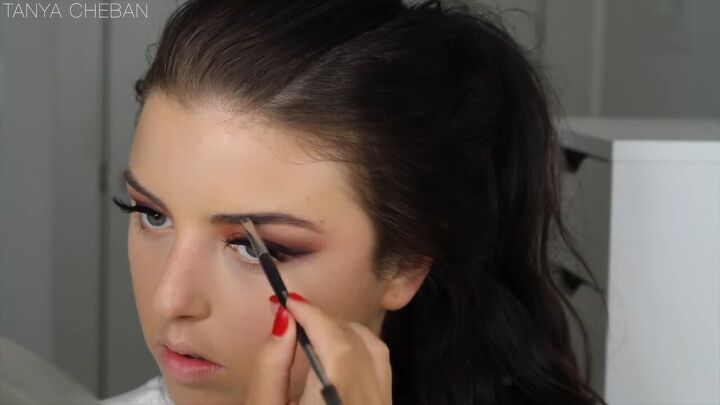
7. Eyeliner
For the eyeliner, I’m going for a very strong, fierce wing. It’s okay if it isn’t perfect because we’re just going to be blending it out.
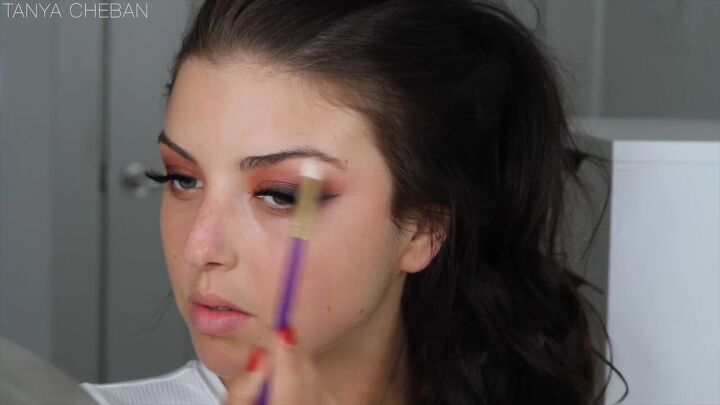
To do that, use a matte black eyeshadow, and just buff it out and soften it up a little bit.
Then, dip a big, fluffy brush into some purple eyeshadow and go right over the liner. This helps to make sure there aren’t any harsh lines and helps melt everything all together.
8. Lashes
Apply some false lashes.
9. Brow bone highlight
Apply highlighter to your brow bone.
10. Primer
Use a skin primer and apply it all over your face.
11. Foundation
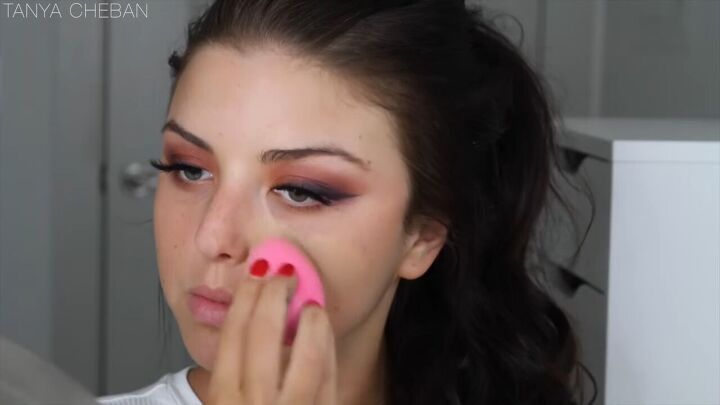
I’m applying foundation with a beauty blender because I love the finish that it gives.
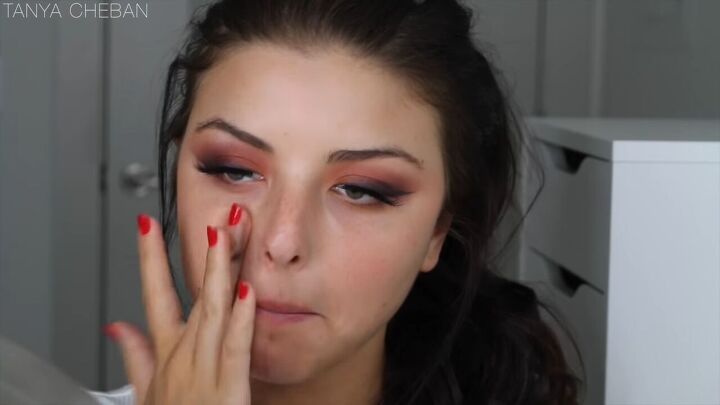
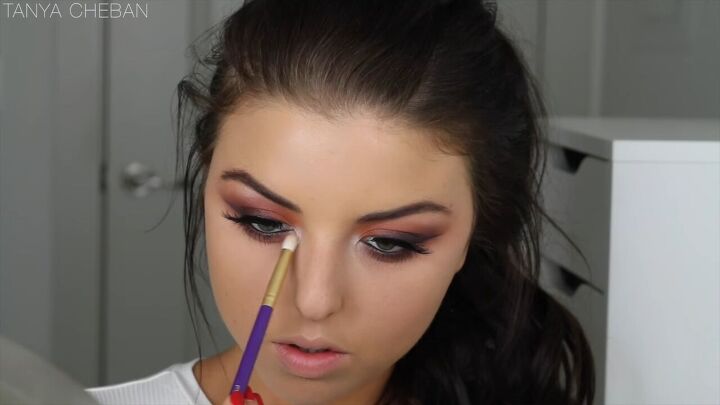
12. Under-eye corrector
Apply an under-eye corrector just underneath your eyes to correct and cancel the darkness.
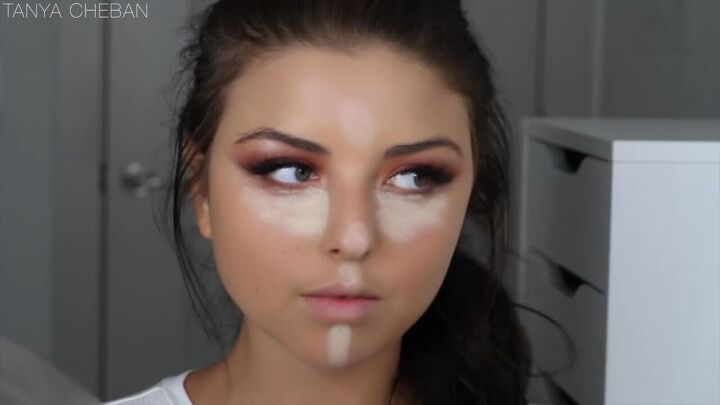
13. Cream contour
Next, I’m taking a yellow highlight cream contour shade and using that as concealer to cover up my dark circles. Then, I’m putting the rest in the center of my face to balance out the highlight. Blend.
14. Set
I mixed pink and yellow tone contour powders and used them to set my under-eyes and my T-zone.
15. Fill in brows
For your brows, brush them out, and fill them in with any powder or brow pencil. Fill in any sparse areas.
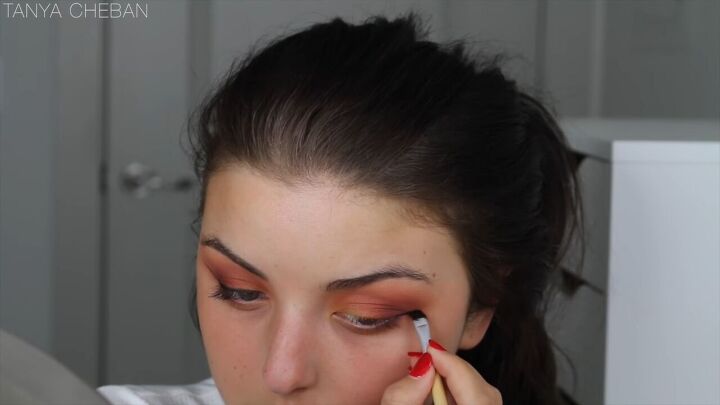
16. Smoke out lower lash line
Smoke out the lower lash line using all the shades we used on top of our eyes. It also helps to have a small, detail-blending brush so you can really get in the lashline. Blend it out from the inner corner to the outer corner so there aren’t any harsh lines.
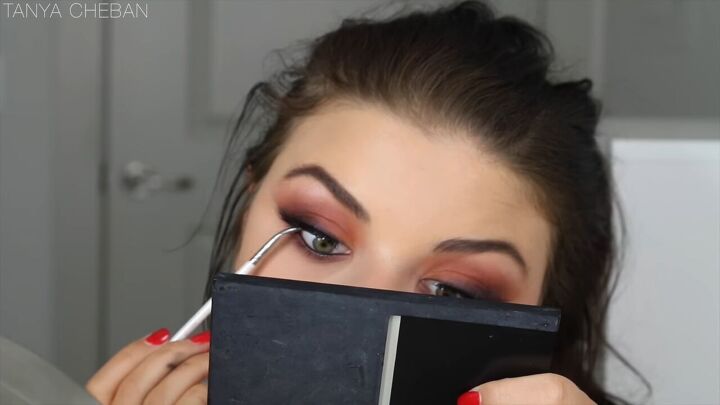
17. Line your eyes
Tightline and waterline your eyes with a gel liner.
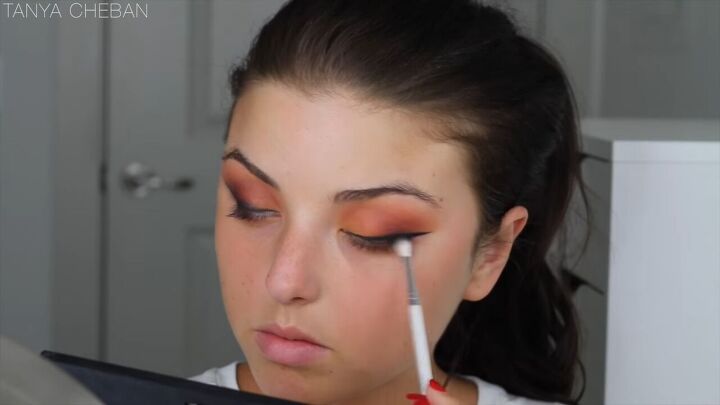
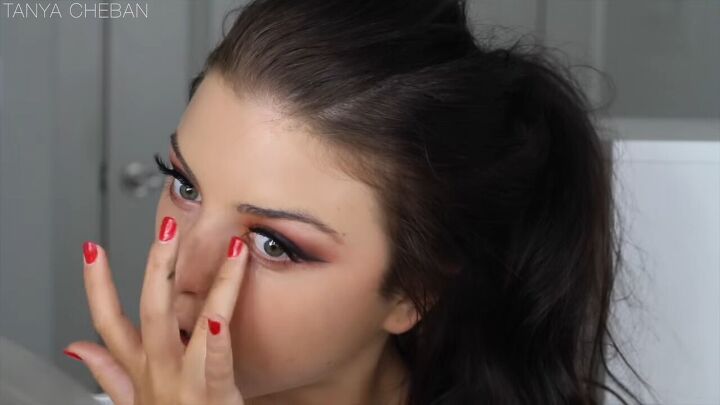
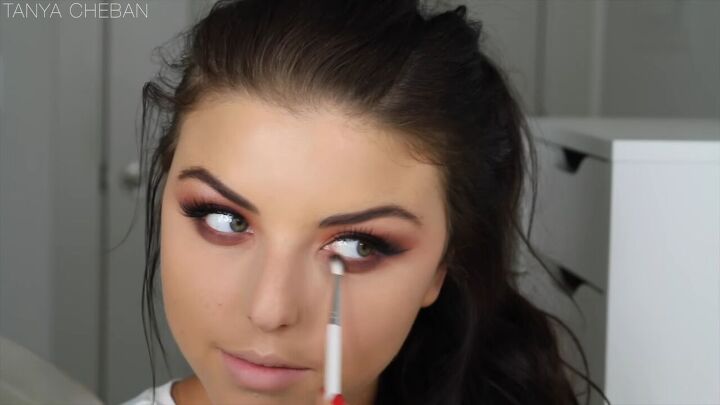
18. Apply eyeshadow to the inner corners
Apply a nylon eyeshadow in the inner corners.
19. Set
Set your foundation and the rest of your face with a setting powder. This will help add a bit more coverage.
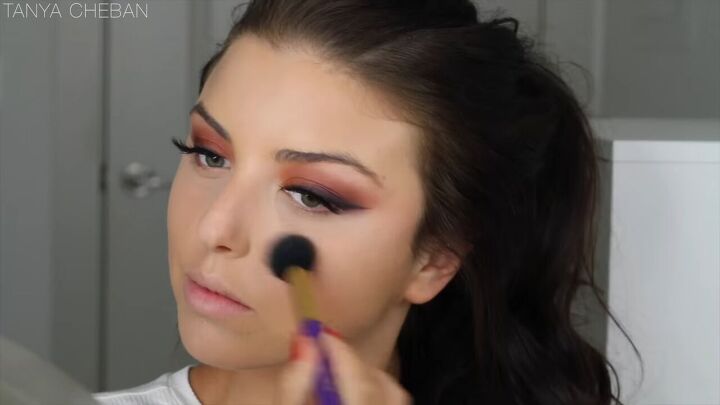
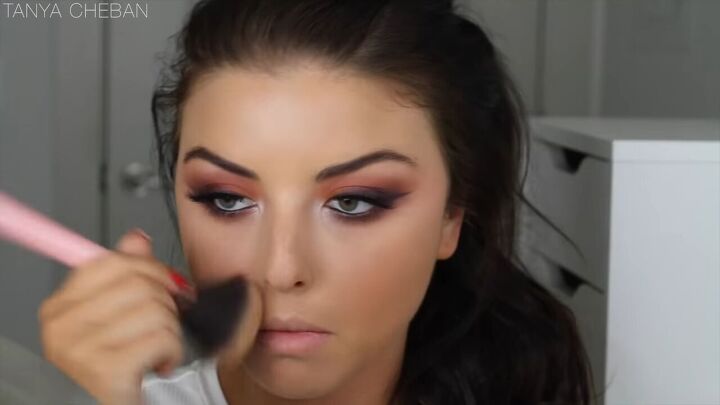
20. Bronzer
Using the same contour for underneath your eyes, place bronzer on the perimeter of your face, the center of your nose, and underneath your lip.
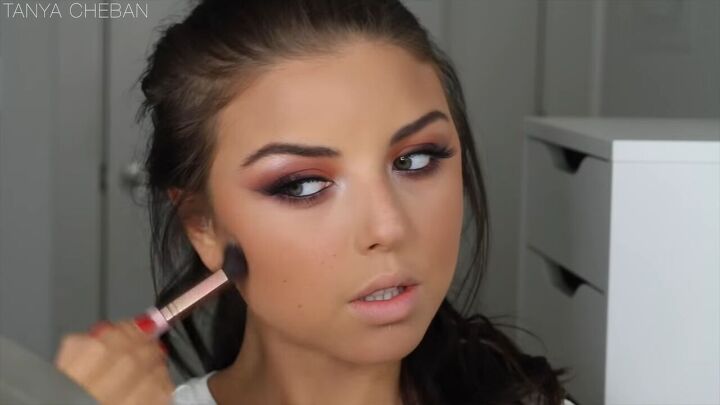
21. Blush
Apply a matte, peachy-toned blush on the apple of your cheeks.
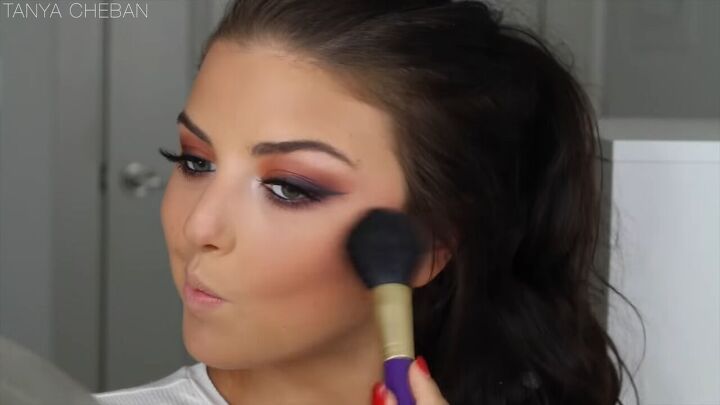
22. Highlight
Use the same highlight as your brow bone, and highlight the areas you want highlighted.
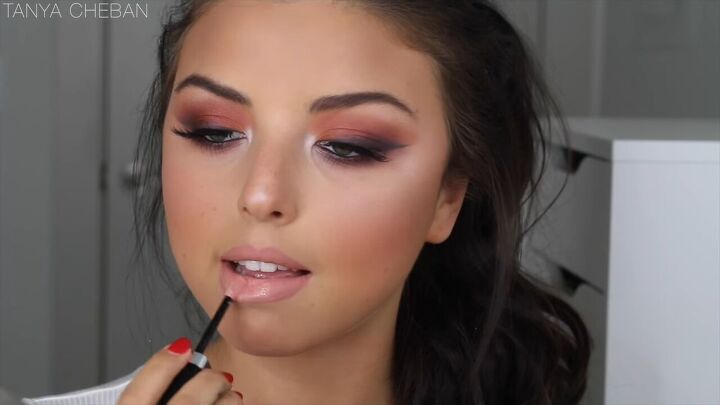
23. Lip
Apply both a nude lip liner and lipstick, and finish off with a lip gloss.
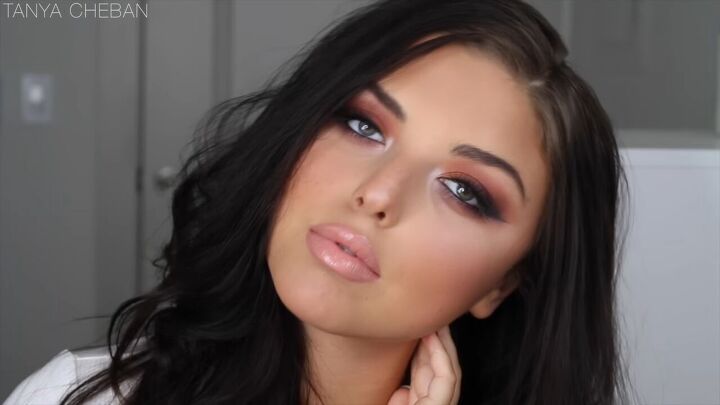
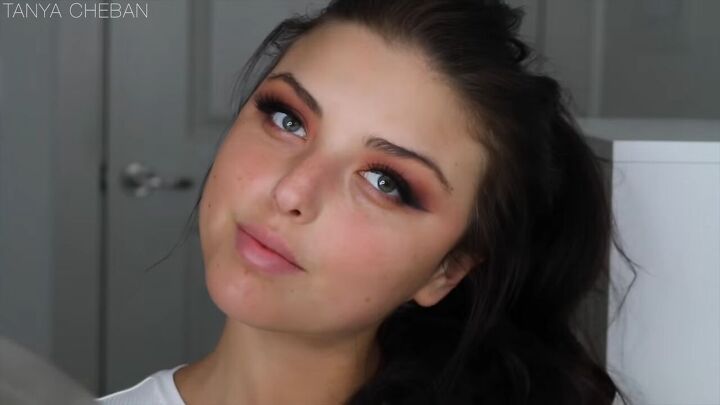
Ombre smokey eye tutorial
Here’s the finished product of our ombre sunset smokey eye makeup tutorial! Let me know down below what you guys think about this look.
Products used:
- Mac Paintpot - Soft Ochre
- MUG
- White Lies
- Corrupt
- MAC -
- Soft Brown
- Nylon
- Unique Pro Cosmetics
- Yellow
- Orange
- Fresh Berries
- Maybelline Infallible Gel Liner - Black
- Too Faced Better Than Sex Mascara
- Huda Beauty Lashes - Audrey
- La Girl Pro Prep Smoothing Face Primer
- Loreal Lumi Cushion Foundation 3.5
- Becca Undereye Corrector
- ABH Highlight Contour Kit
- Esthetica Contour Kit
- Mac Blush - Melba
- NYX Lipliner Nude
- Milani Lipstick - Matte Innocence
- Marc Jacobs Lipgloss - Moonstone
The author may collect a small share of sales from the links on this page.


Comments
Join the conversation