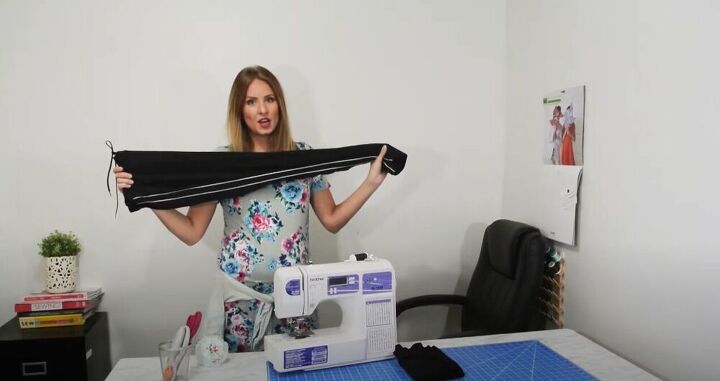
Turn Baggy Sweatpants Into Chic Jogger Pants

I love taking old clothes and turning them into something new. In this project, I’ll show you how I took a regular pair of sweatpants and turned them into jogger pants. This project is as simple as one, two, three...steps! In just three steps and fifteen minutes, you’ll have transformed a pair of baggy old sweatpants into stylish jogger pants that will make you want to go out for a run! Don’t believe me? Check out my step-by-step tutorial below to see how you can do it yourself!
Tools and materials:
- Sweatpants
- Rib-knit fabric
- Rotary cutter
- Sewing machine
- Pins
- Ballpoint needle
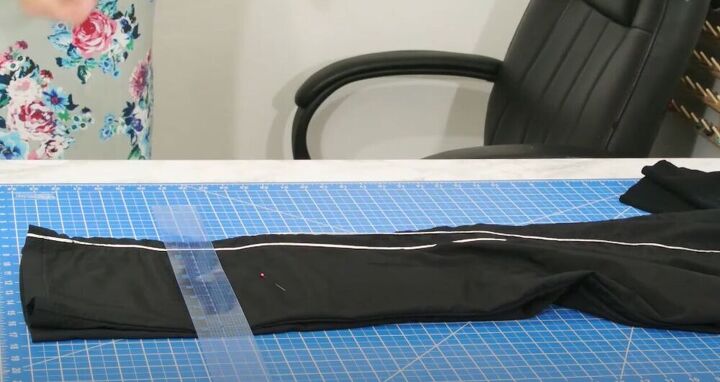
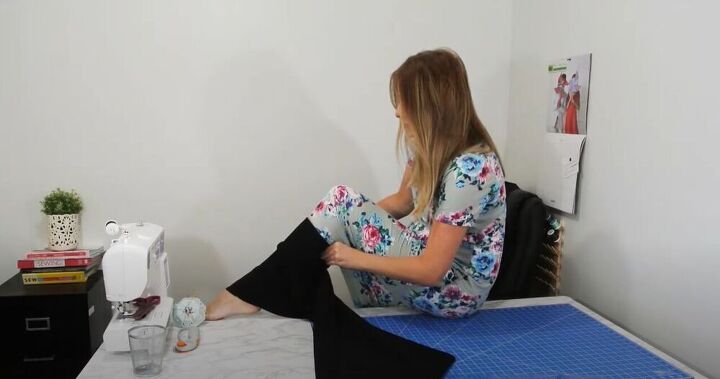
I started by trying on the pants and marking where I wanted to cut them with a pin. I’ll be using a rotary cutter to cut both of the pant legs at the same time, so I only needed to mark one of them. I lay the pants on my cutting mat and lined the hems up.
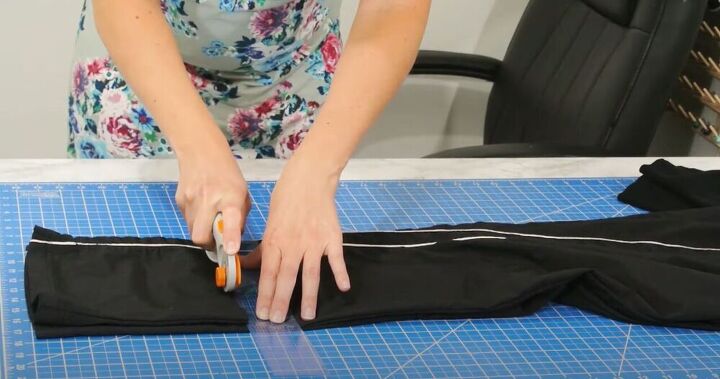
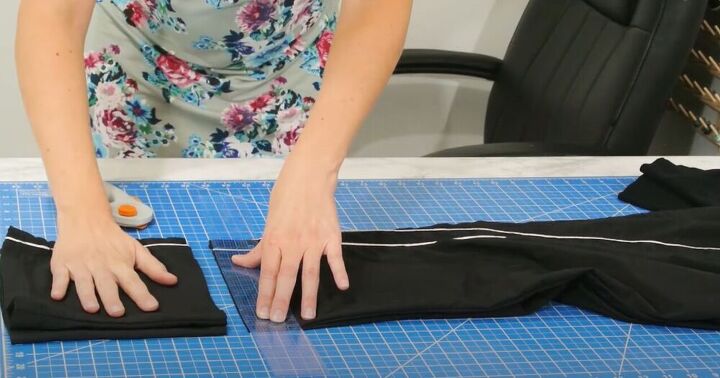
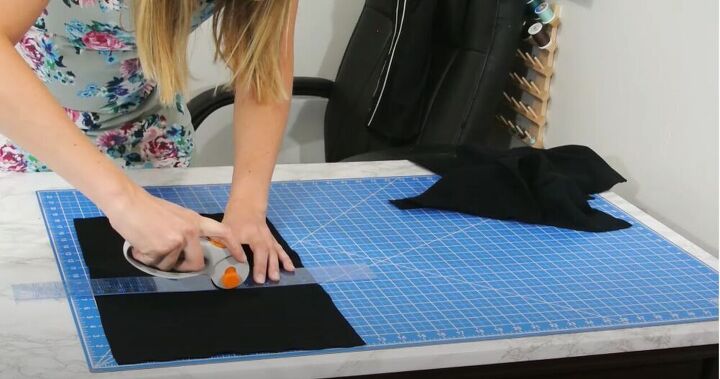
Then, using a ruler to guide me, I cut along where I placed the pin with a rotary cutter. I was hoping it would cut through all of the layers of fabric and it did! If yours doesn’t just make sure that both pant legs end up an even length.
To determine the width I would need for my rib-knit fabric I tried it out on my leg, pulling it a bit so that it would be snug enough to stay put if I pulled it up. For me this was about 11 inches.
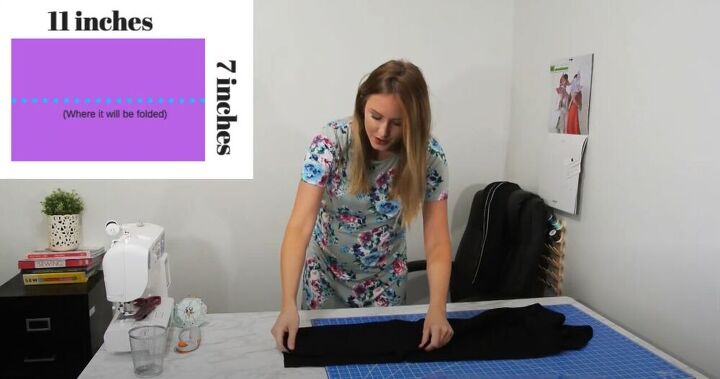
I wanted the length to be about 3 ½ inches, so I doubled it because I would be folding the fabric in half when I attached it to the pant legs.
Tip:
With rib-knit fabric there is a right side and a wrong side. The wrong side is dull and flatter, and you can see the ribs on the right side. Also, for optimum stretch, make sure that the lines of the rib run vertically and not horizontally.
I cut out two pieces of rib-knit fabric and I was ready to start sewing!
I folded the cuff in half so that the short ends met and the right sides facing each other using an overlocking stitch. This made sure that there were no raw edges.
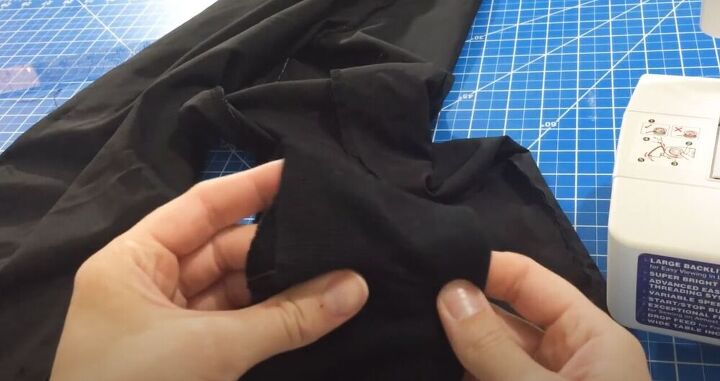
Then I folded the cuff so that the right side was facing out and folded it in half, making it half the length.

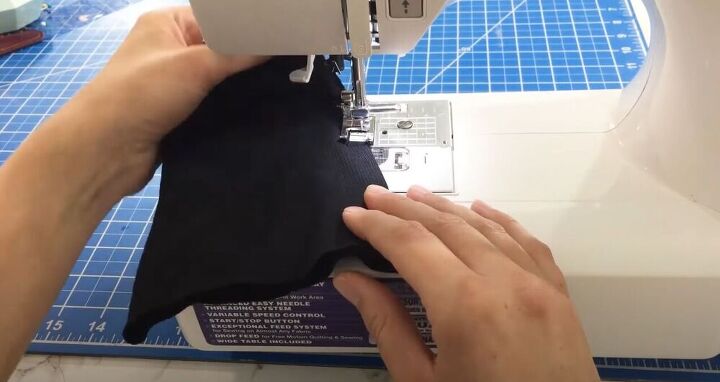
I turned the pants inside out and lined the cuff up on the inside. I pinned them together, with the right sides facing each other, making sure to stretch the cuff to match the width of the pant leg as I pinned. I pinned the fabric at four points, making sure that it was even.
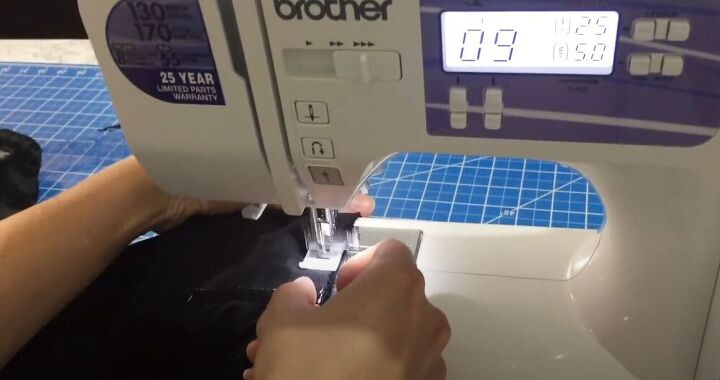
Then I sewed the edge using an overcasting stitch. Make sure that you’re using a ballpoint needle for this project and they work best with stretchy fabrics like knits. I put my rolling foot on for this, but you really don’t need to use it if you don’t have one.
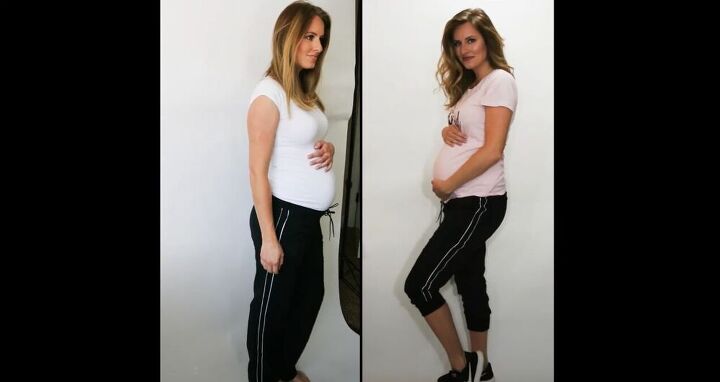
Can you believe how quick and easy that was? I’m so happy with how they turned out. What are some simple alterations that you’ve done to your own clothing to personalize it? Let me know in the comments below!
The author may collect a small share of sales from the links on this page.


Comments
Join the conversation