How to Make DIY Tuxedo Pants With an Edgy Denim Stripe

Today, I’ll be making DIY tuxedo pants from a pair of pants that I thrifted for just $3! I'll be adding a tuxedo stripe and transforming the pants into something trendy and unique with a few alterations. Let's get started!
Tools and materials:
- Oversized suit pants
- Scissors
- Pins
- Chalk
- Measuring tape
- Sewing machine
- Needle
- Matching thread
- Denim fabric
- Seam ripper
- Fusible webbing
- Iron
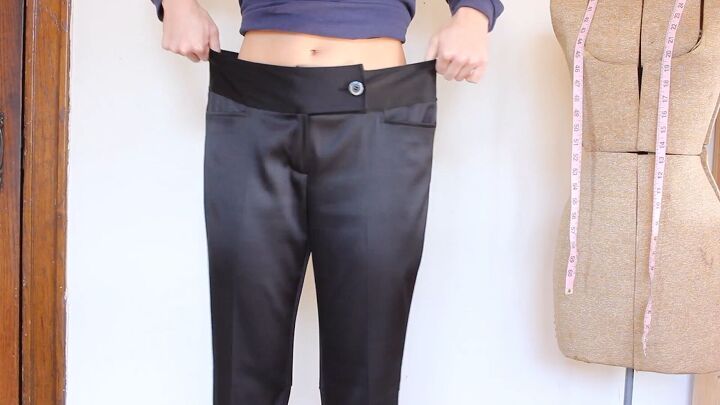
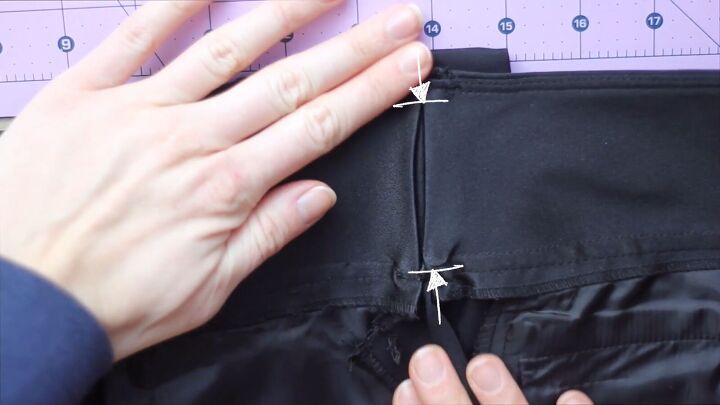
1. Take in the pants at the waist
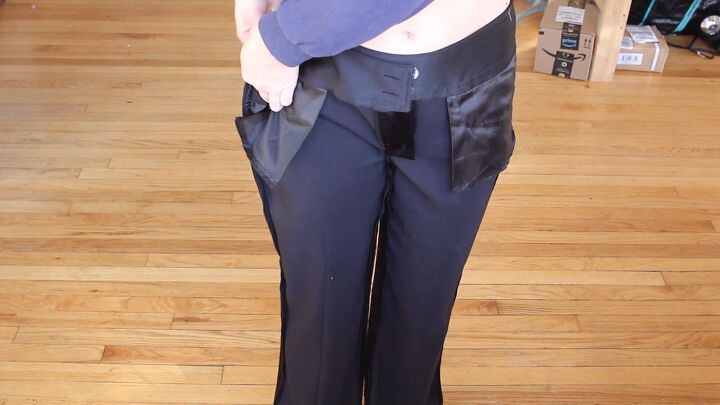
These pants are super big on me, so the first step is taking them in. Simply wear your pants, pinch the sides, mark the excess fabric, and pin those marks.
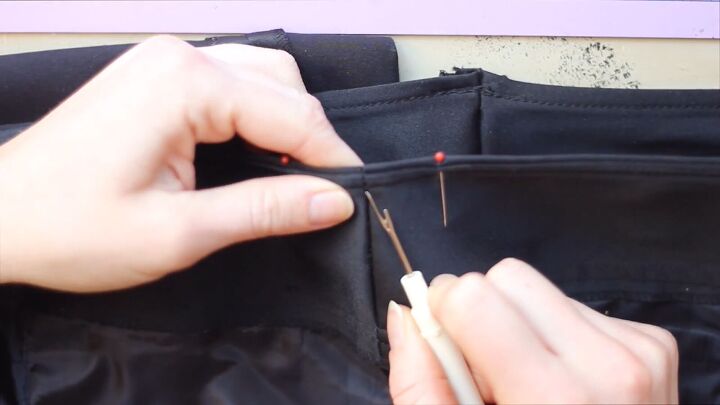
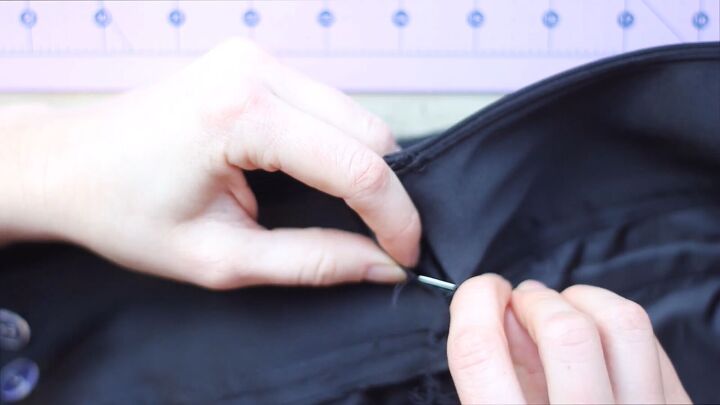
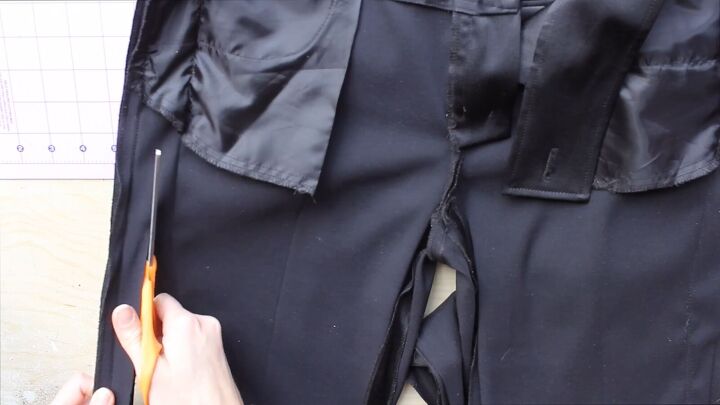
Starting at the waist, seam rip all of the sides of the waistband. Make sure to seam rip both layers of fabric.
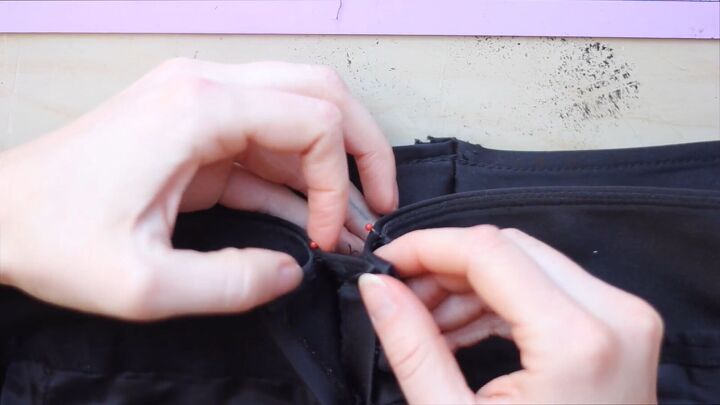
Now, take your outside seams, match the pins together, repin in place, and sew to secure.
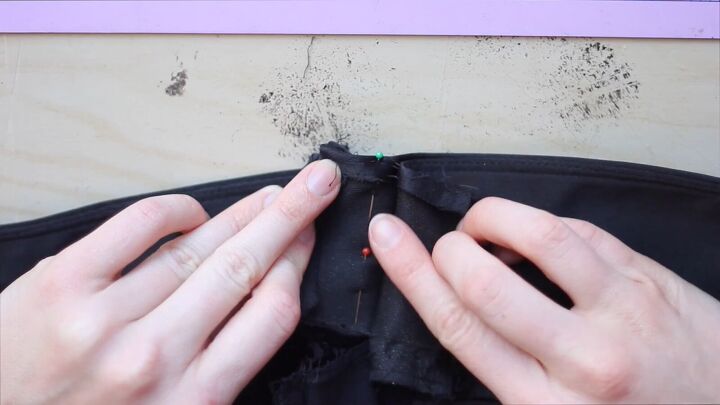
Be sure to sew downward where your new mark is pinned.
2. Take in the pants at the thigh
Also, my thigh area needed to be taken in, so I did the same method as I did above.
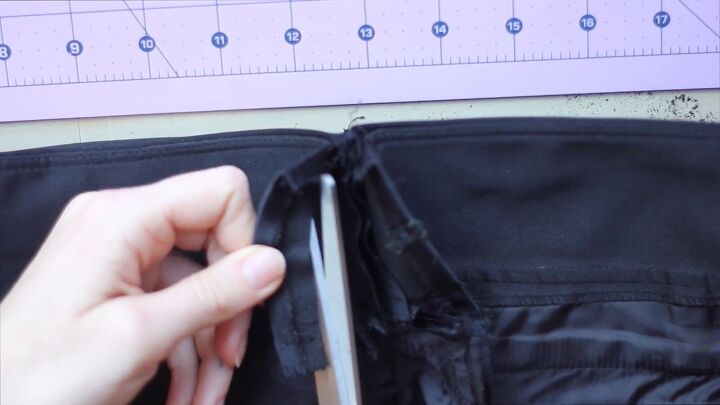
Cut off the excess fabric from the outer waist seam.
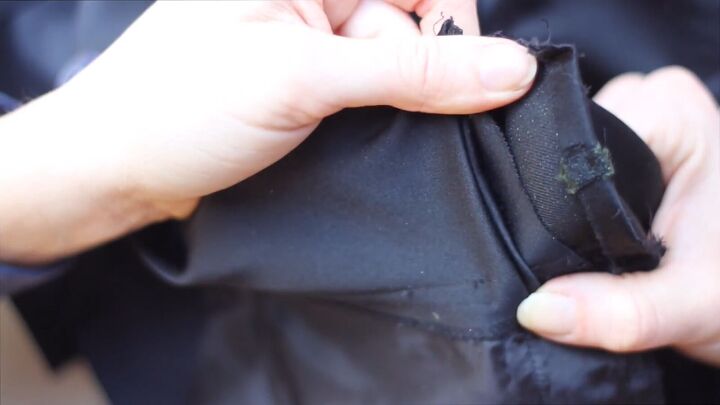
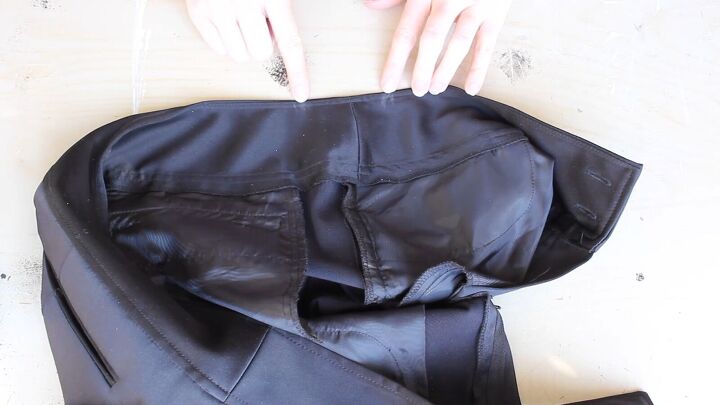
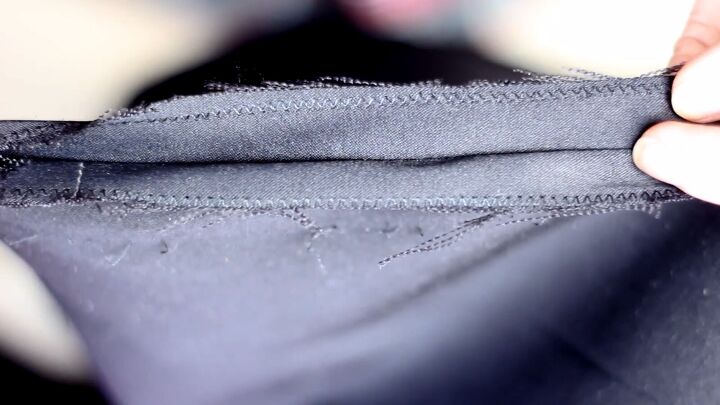
If you have an inner lining, fold it in toward the outer one so that you hide all the raw edges.
Repeat this on both sides and then sew the top and bottom of the waistband.
I hand-stitched the rest of the raw edge by joining the inner seam to the outer layer, too.
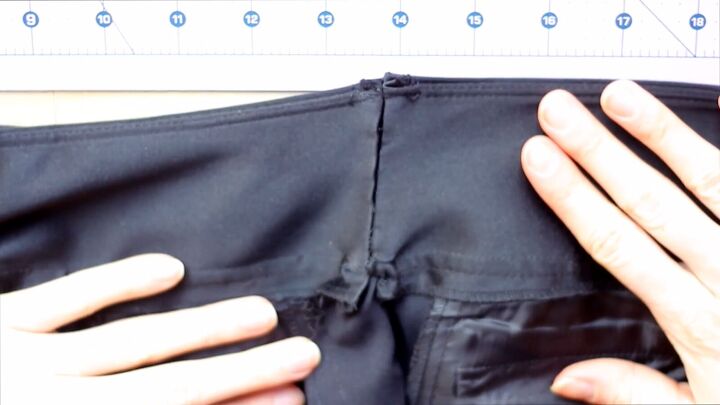
This is what you should end up with.
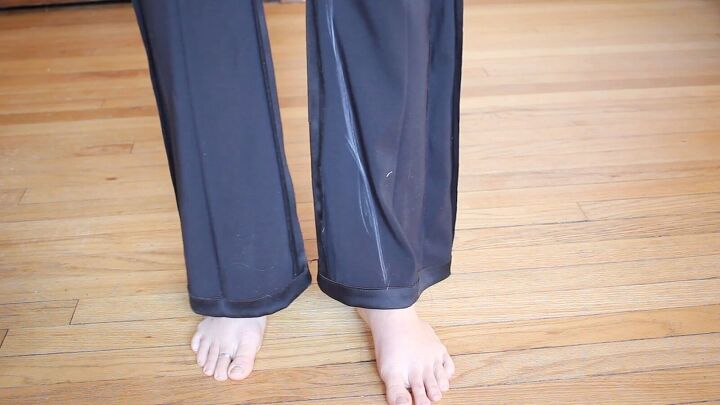
3. Take in the pant legs
Since the pants are wide-legged, I wore them again and marked with chalk where I'd like to take them in at the bottom.
After sewing the leg sections to your liking, cut out the excess fabric on both sides.
Then, use a zigzag stitch on the new raw edges; this will prevent the fabric from fraying.
Tip: You can also use a serger for this.
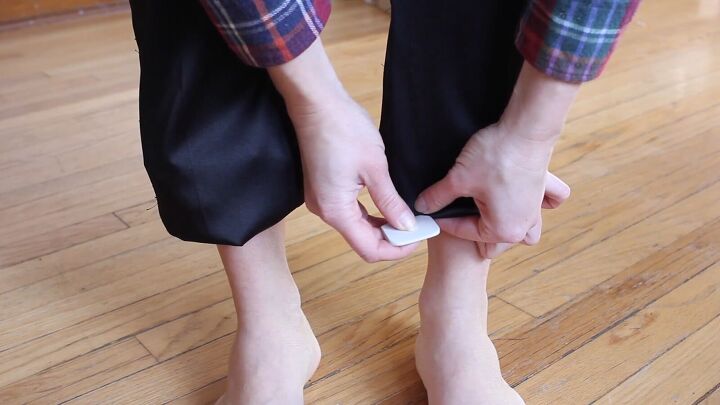
4. Adjust the length
I wanted these pants to be ankle length, so I folded the bottoms up until I got to my desired length. Then, I marked this length with chalk.
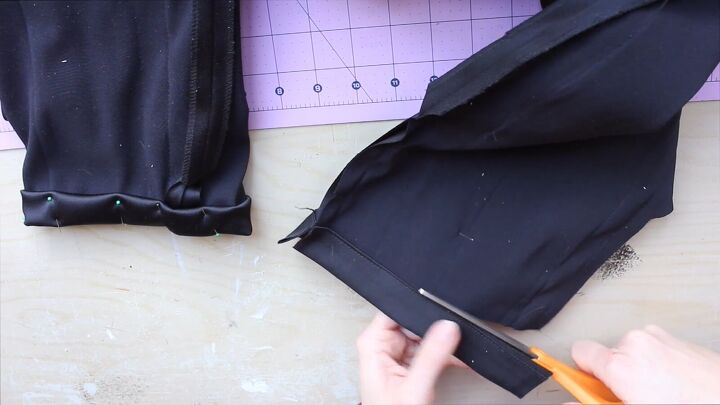
Put pins at the chalk marks and cut off the original hem.
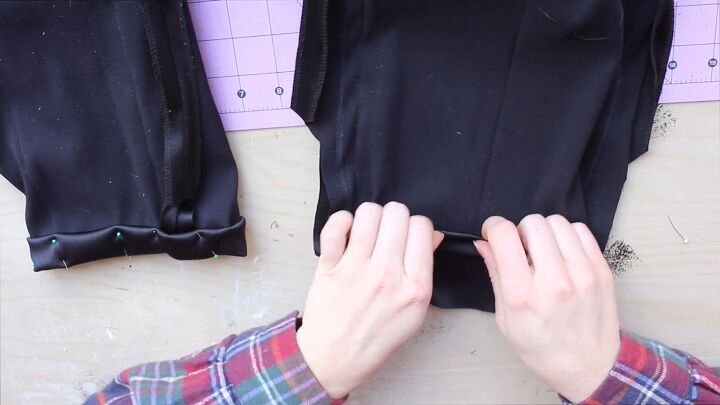
Double fold the pants (upward). Make sure the raw edge touches the pin on the first fold. Then, fold up again.
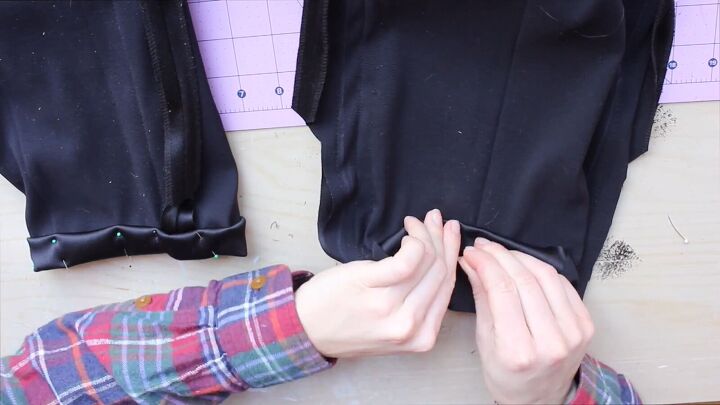
Pin all around to secure. Ensure that the double fold is symmetrical.
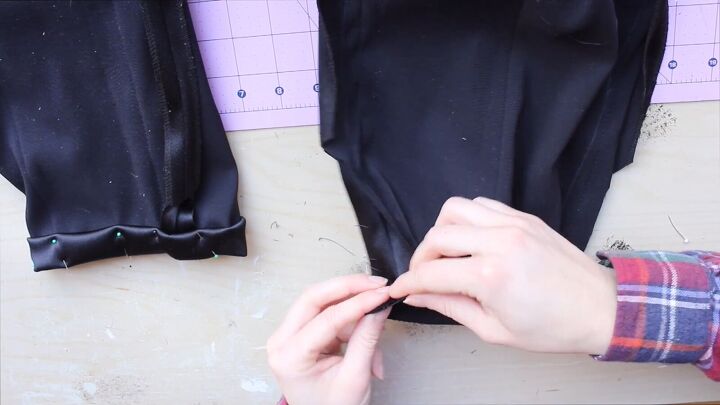
Also, when folding, make sure to open the side seams flat before.
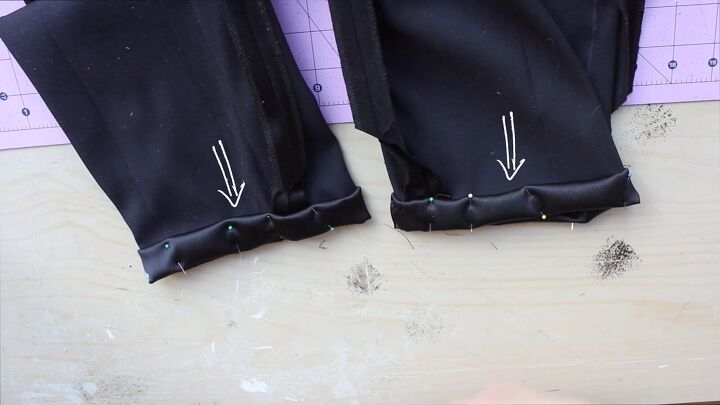
Stitch the very top of the fold once both legs are folded and pinned.
5. Add the tuxedo stripe
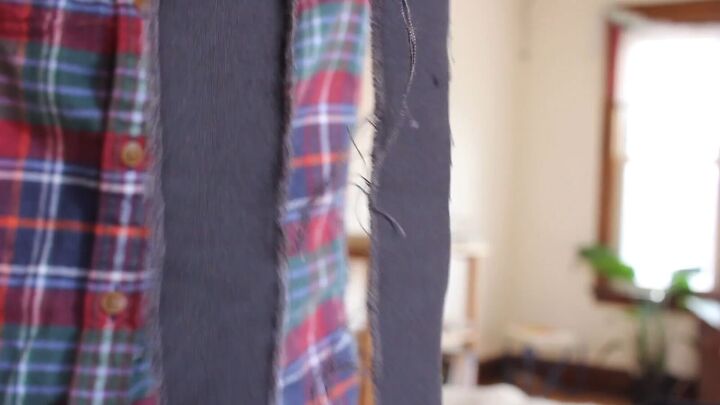
I'm going to be adding a denim tuxedo stripe to these pants for a bit of flair and edge. First, start by tearing two strips from your denim fabric. By tearing them, it will encourage the edges to fray.
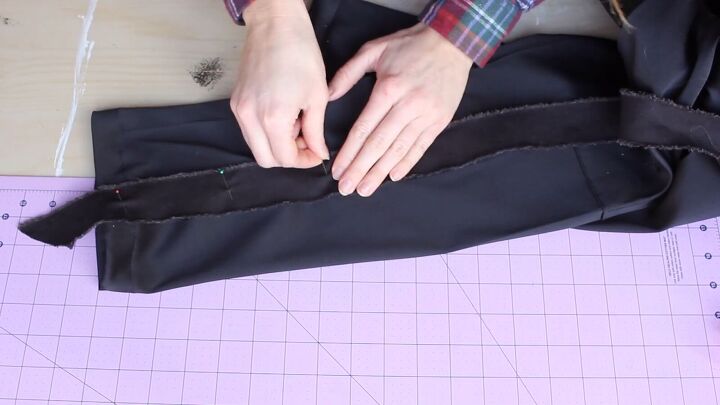
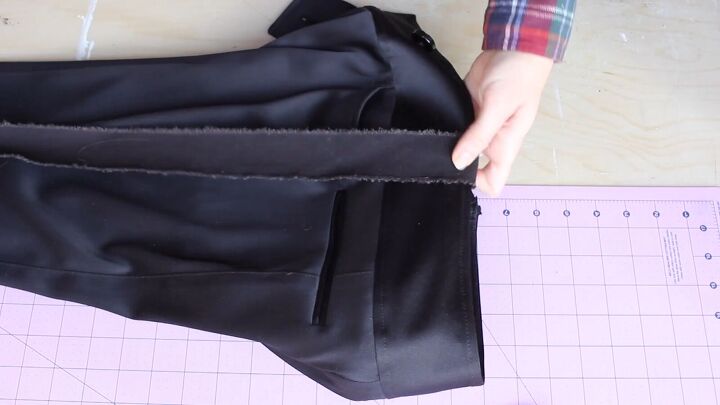
Pin these strips to the outer seams of the pants, leaving a tail hanging off the end.
When you get to the top, fold the end of the strip to the inside of the waistband.
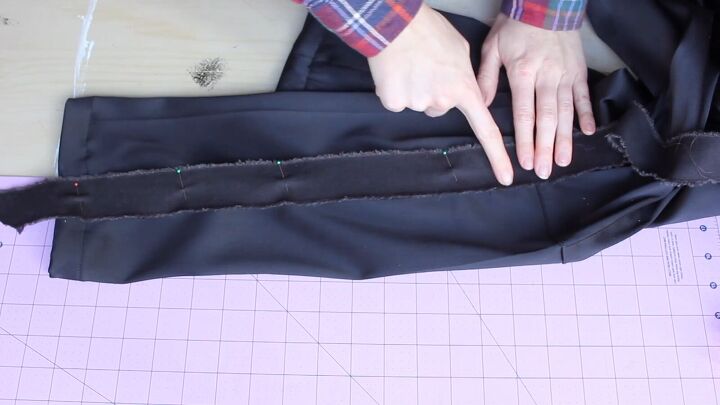
Next, stitch these down on each edge and leave a bit of room for the denim to fray even more.
Stitching the strips down on my sewing machine proved to be a little difficult as I got to the bottom of the legs. So, I took matters into my own hands and hand sewed the rest.
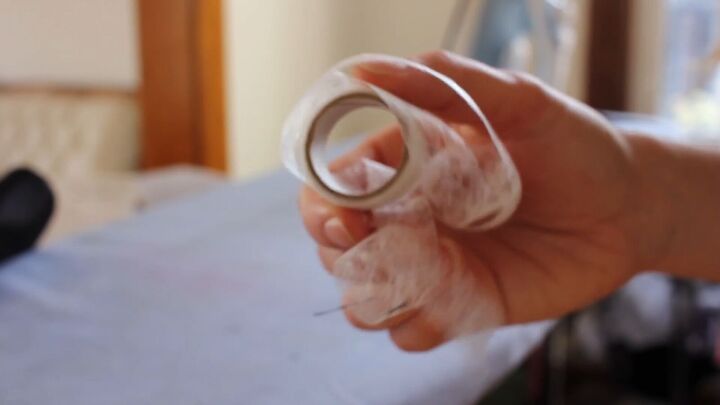
Then, I realized it would take super long to stitch manually so I went for the next best thing; fusible webbing. Let me tell you, this stuff saves lives!
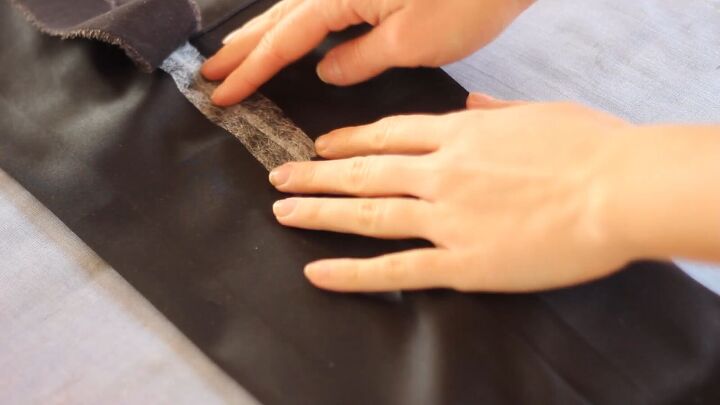
Put a couple of strips under where your denim strip will lay.
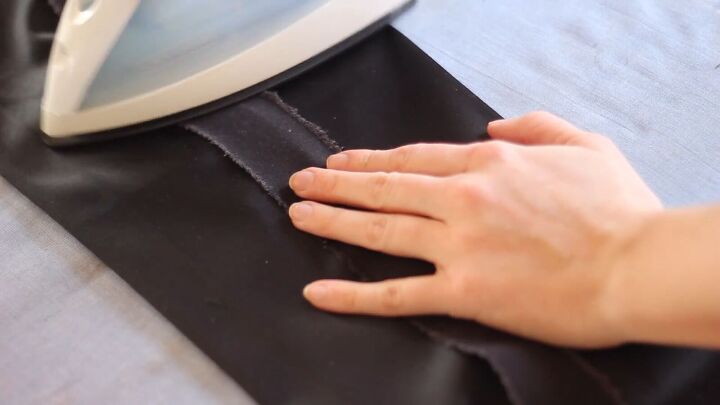
Lay your denim on top and press your iron (with steam) right on top so that the strip adheres.
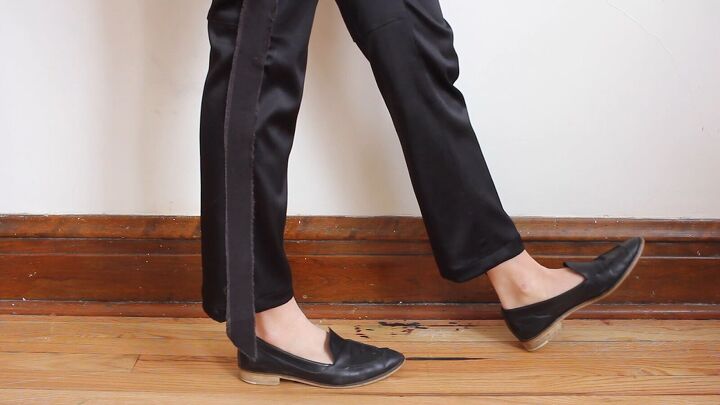
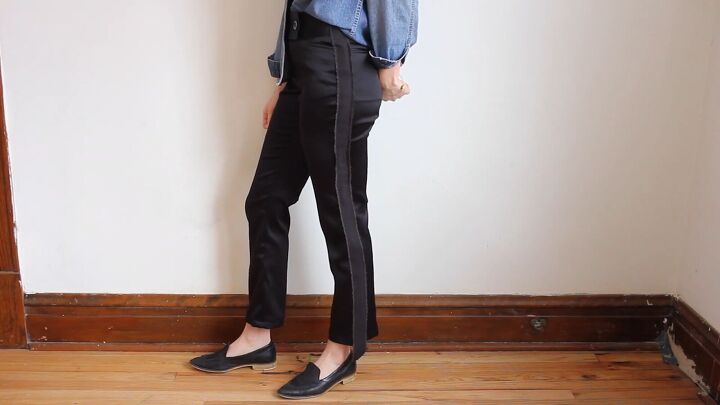
DIY tuxedo pants tutorial
That’s how you sew tuxedo stripe pants! We went from oversized thrifted suit pants to elegant and customized DIY tuxedo pants with a fun denim stripe!
I love how the textures blend together and the fit of these pants is perfect now, too.
Let me know what you think of this tutorial and the final tuxedo pants in the comments below.
The author may collect a small share of sales from the links on this page.


Comments
Join the conversation