Easy DIY Pants Tutorial: Learn How to Sew Comfy Pants

Jogging or yoga pants with pockets are so useful and comfortable.
Today, I’m going to show you how to make a pair of DIY pants without needing a pattern.
The measurements I give are for size 38/40 European. Increase them by 1.6 inches (4 cm) for each size.
Tools and materials:
- Stretch fabric
- 2 inch and 1.5 inch wide elastic
- Small piece fusible interfacing
- Ruler
- Measuring tape
- Fabric marker
- Pins
- Scissors
- Large safety pin
- Sewing machine
- Buttonhole attachment
- Serger (optional)
1. Cut out the pants
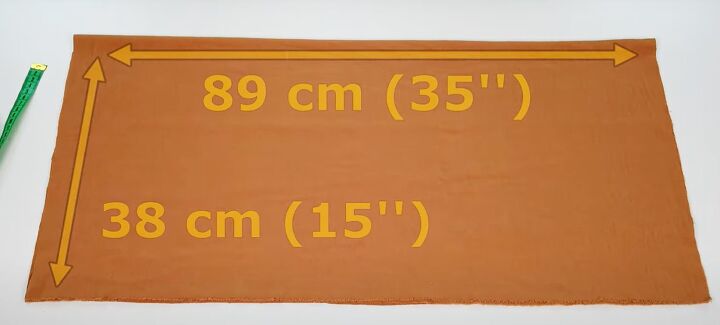
Cut a piece of fabric 35 inches (89 cm) wide by 60 inches (152 cm) long. Fold it in four widthways and place it with the folded edge towards you.
Draw a line across the fabric 11.5 inches (29 cm) from one of the side edges and 14 inches (36 cm) long.
Measure 11 inches (27 cm) along the line and the side edge and join the marks.
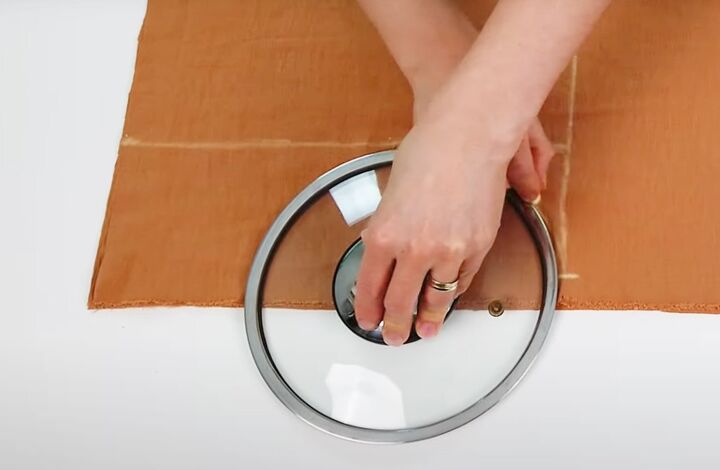
Use a saucer or pot lid to curve the junction of the two lines.
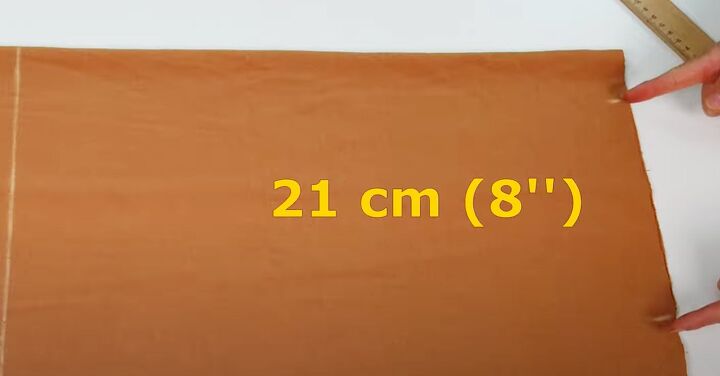
Measure 2 inches (5 cm) up the other side edge from the folded edge and make another mark 8 inches (21 cm) from the first one.
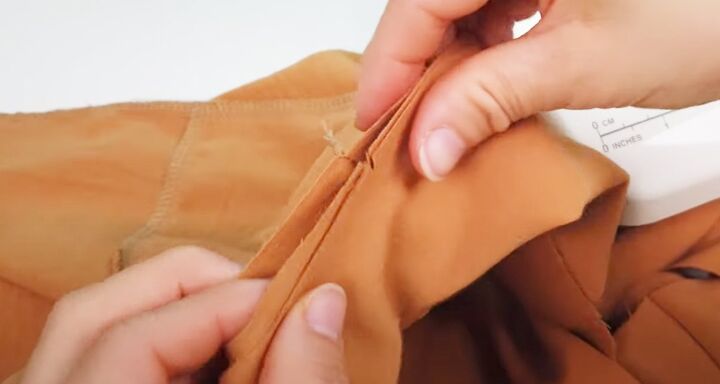
Place the 1.5 inch wide elastic between the two and mark the width. Turn under the side edge by that amount and pin.
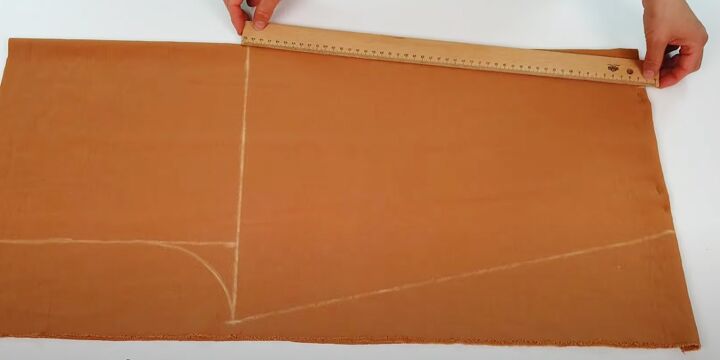
Join the 8 inch (21 cm) mark to the end of the first line and the 2 inch (5 cm) mark to the beginning of the line.
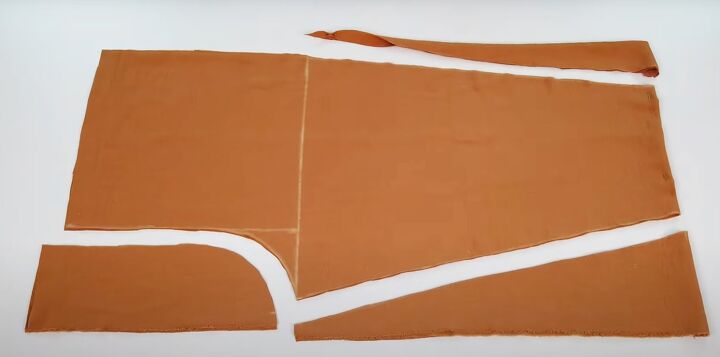
Cut out the pants and cut through the folded edge so you have four pieces.
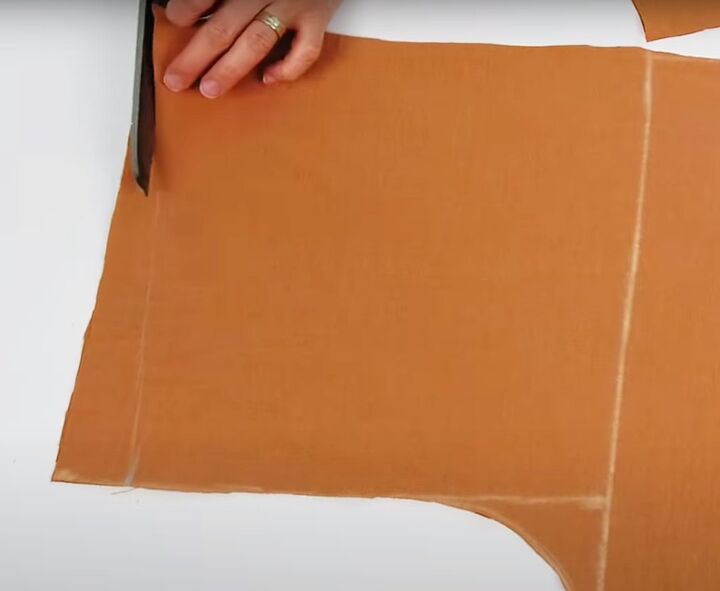
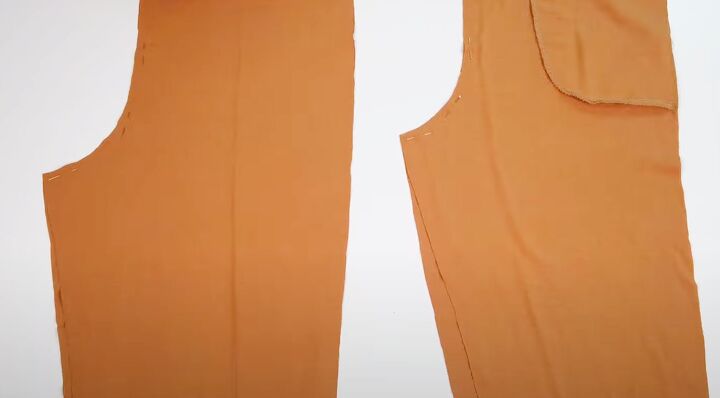
2. Front shaping
Separate two of the pieces to make the front of the pants.
Measure 2 inches (5 cm) down from the top edge at the center front.
Draw a line tapering from there to the side seam and cut off the excess.
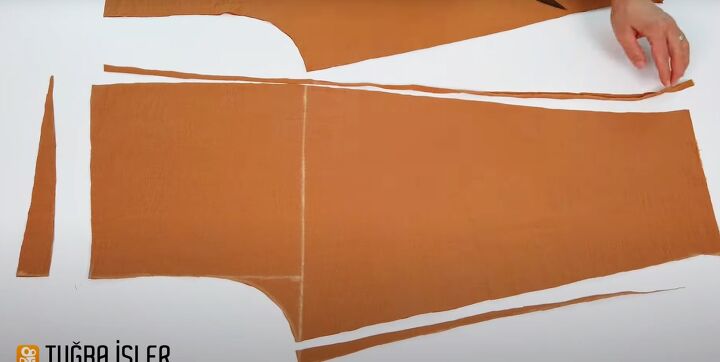
Trim the inner leg seam by one finger’s width from the crotch, tapering to 2 inches above the bottom of the leg.
Trim half an inch (1 cm) from the side seam.
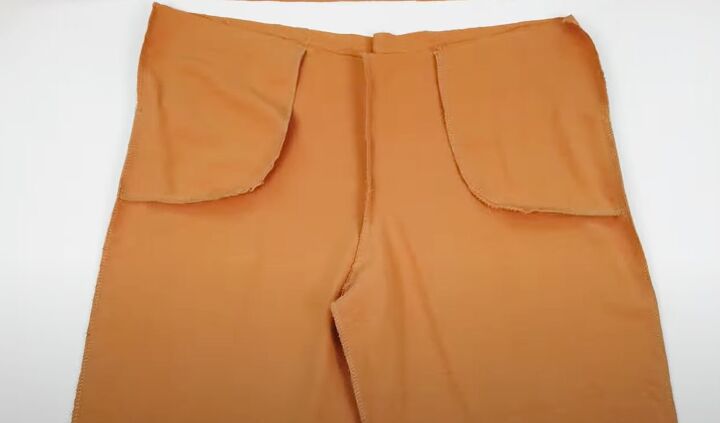
3. Make pockets
Cut a strip of fabric 41 inches (105 cm) long by 9 inches (23 cm) deep. Fold it in four lengths.
Place the folded strip under the hip of the front trouser pieces.
Watch the video from 3:57 to 6:43 to see how I cut and attach the pockets.
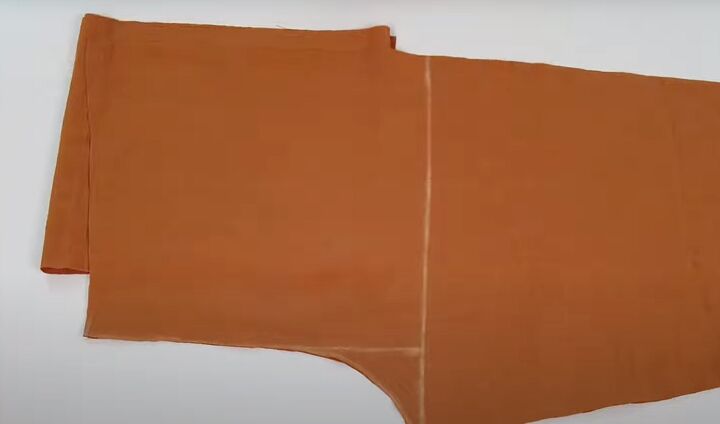
4. Assemble pants
Place the two front pieces with right sides facing and pin and sew the crotch seam. Sew the back seam in the same way.
With the right sides together, join the front and back pants at the side and inner leg seams.
Finish all the raw edges with a serger or overlock stitch on your sewing machine.
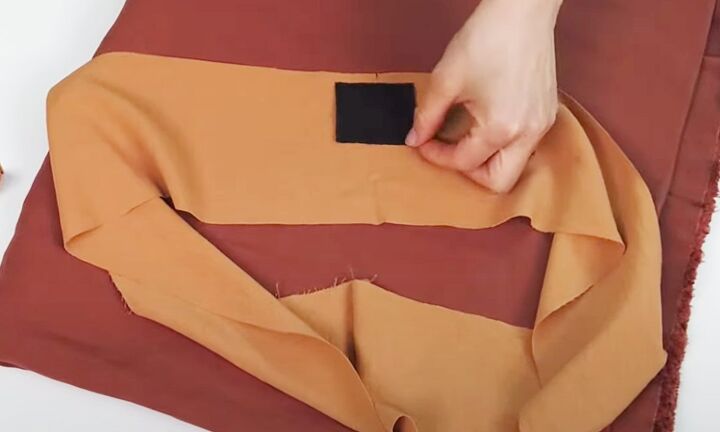
5. Waistband
Cut a strip 40 inches (102 cm) long and 4 inches (11 cm) wide from your fabric.
Cut the 2 inch wide elastic to fit comfortably around your waist with an overlap. Mine is 25 inches (64 cm) long.
Join the short edges of the waistband into a circle. Mark the center of the waistband at the top and bottom edges.
Iron a small piece of interfacing near one edge of the waistband on the wrong side, centering it over the notch.
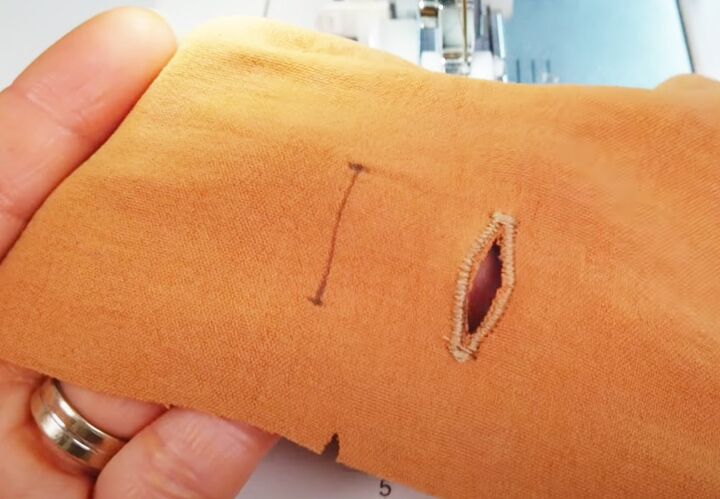
Working from the right side, make two buttonholes through the interfacing and cut them open.
Fold the waistband in half with the wrong sides facing.
Aligning the notches to the center front seam, sew the waistband to the pants with the right sides together.
Leave a small opening at the center front to insert the elastic.
Use a safety pin to thread the elastic through the waistband. Overlap the ends and sew them securely.
Sew the opening closed.
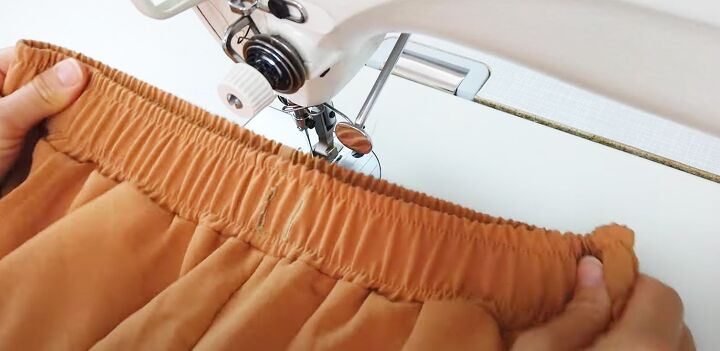
Topstitch around the top and bottom edges of the waistband, stretching the elastic as you sew.
6. Elastic hem
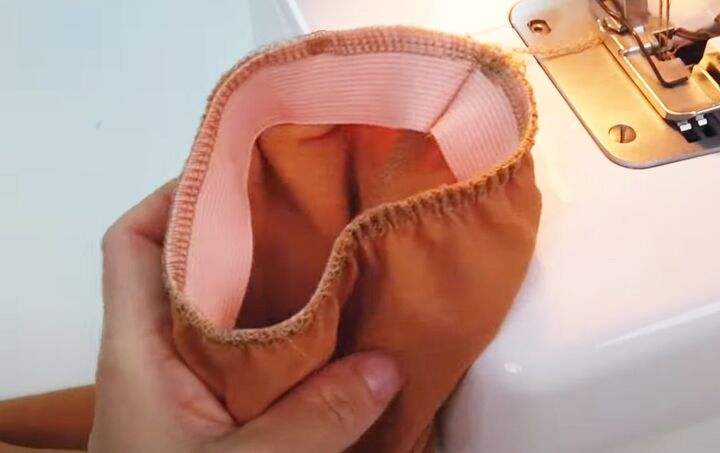
Cut two pieces of the narrower elastic, each 10 inches (25 cm) long. Sew the short edges together into a circle.
Sew or serge the elastic to the inside of the leg at the lower edge, stretching it as you sew.
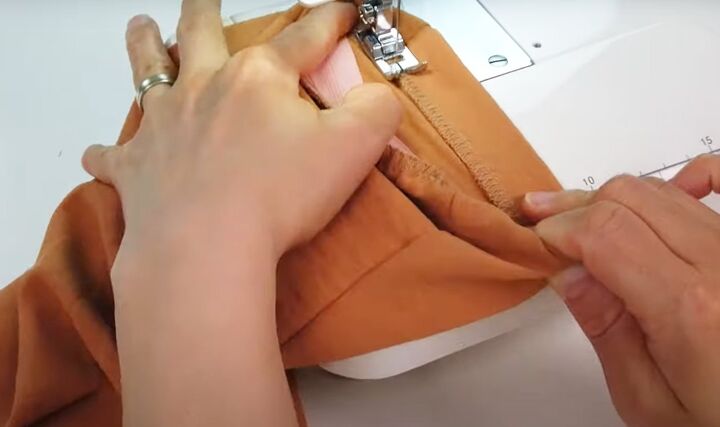
Turn the edge over the elastic and sew it in place.
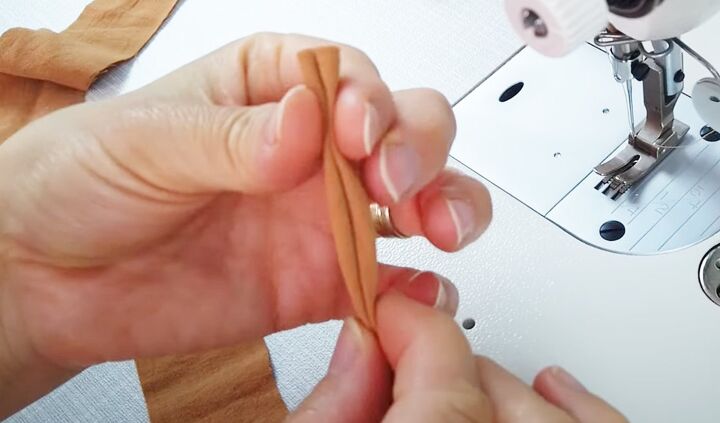
7. Tie
Cut a strip of fabric about 2 inches (5 cm) deep and long enough to tie around your waist.
Sew it into a tie by folding the long edges into the center and folding the strip in half.

Sew the long edge and both short edges.
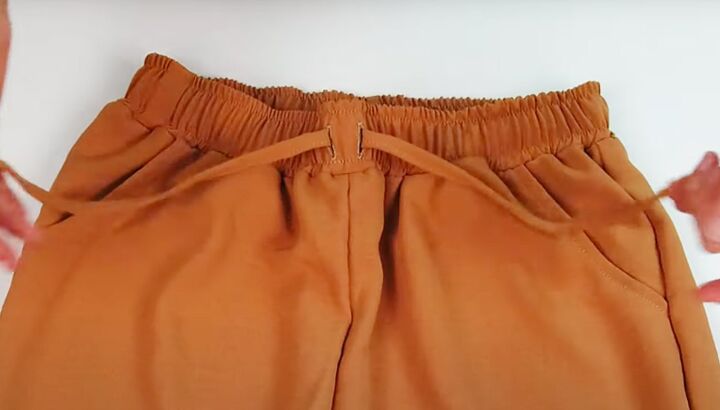
Thread through the waistband at the buttonholes.
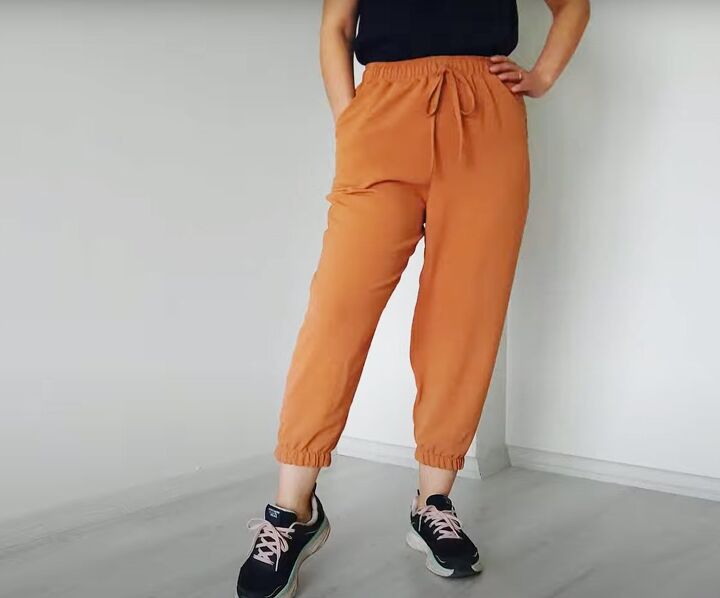
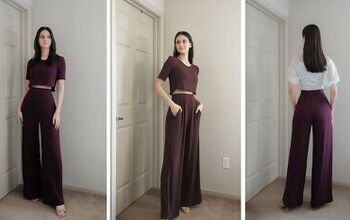
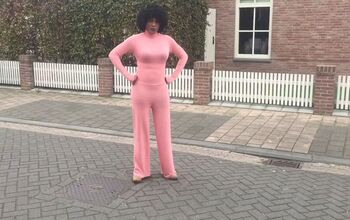
DIY pants
These DIY pants are relaxed and comfortable for jogging, yoga or just wearing around the house.
You can add snap fastenings to the pockets to keep the contents secure while exercising.
For more great sewing tips and tricks, please follow me on TikTok: @tugbaisler
Next, learn How to DIY a Cute and Flirty Ruffle Skirt.
The author may collect a small share of sales from the links on this page.


Comments
Join the conversation