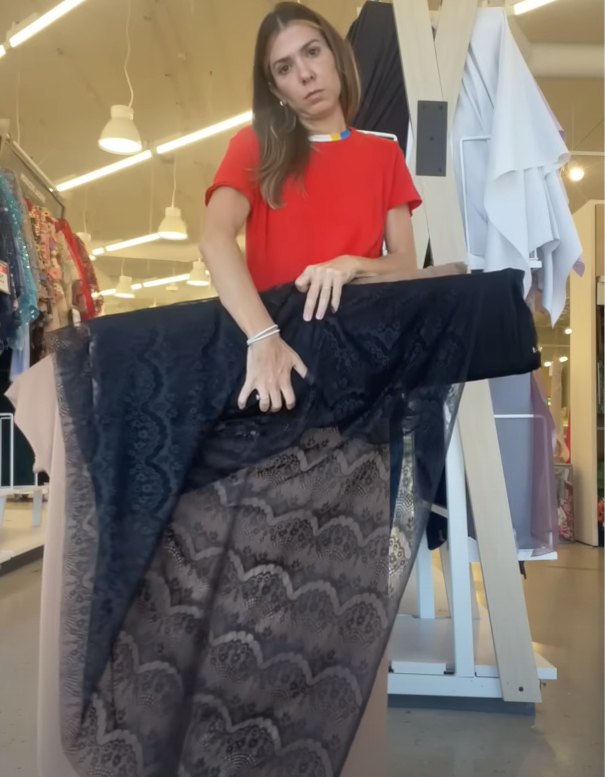
Easy DIY Black Lace Pants Tutorial

The biggest break-out trend at all of the fall 2023 runways was lace. And one of the biggest trends in lace was women’s lace pants, without linings.
While this look can work well with a long blazer or top, most women aren’t prepared to expose their underwear or themselves to that extent.
So I came up with a custom lining for black lace pants that gives you the look without the exposure.
And, as a bonus, I’m going to show you how to make your own pants pattern. Let’s get into it!
Tools and materials:
- Black lace
- Lining
- 2.5 inch wide black elastic
- 0.5 inch white elastic
- Pair of well-fitting pants
- Roll of paper for pattern
- Pencil or pen
- Pins
- Scissors
- Sewing machine
1. Fabric
For the lining, you’ll need a color that matches your natural skin tone.
Drape your lace fabric over various lining fabrics until you find the right match.
2. Pants pattern
Using this method, you can get the fit and style of your favorite pants from any fabric.
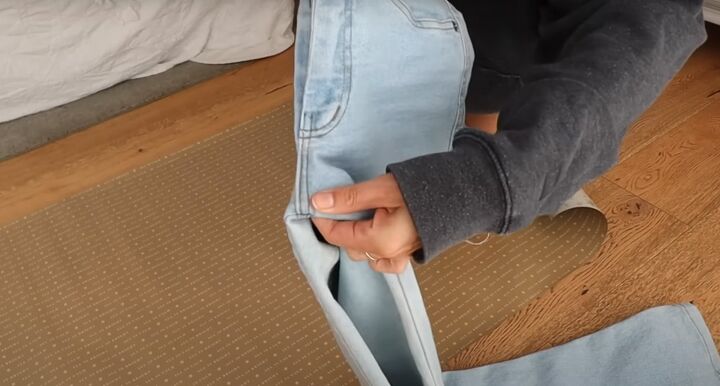
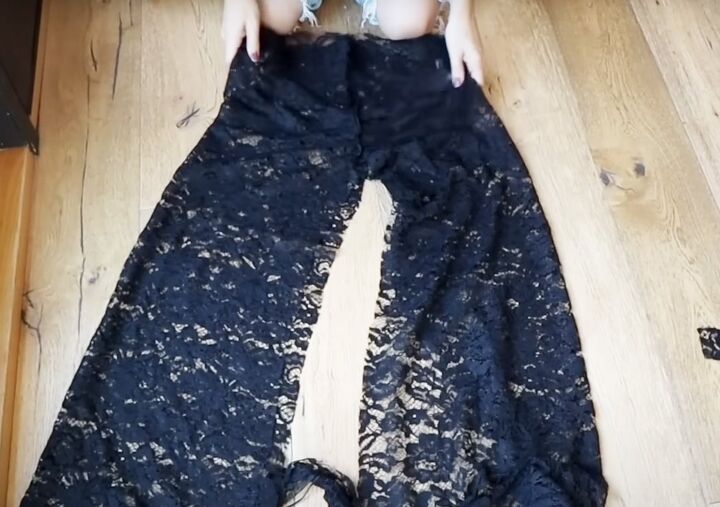
Fold your pants in half lengthways with the front of the pants showing. If you prefer, you can turn your pants inside out for these steps.
Pull the crotch to the front, making sure you can only see the front seam and not part of the back seam.
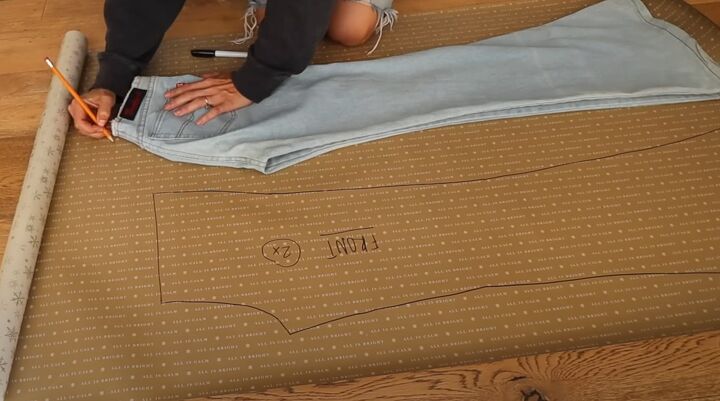
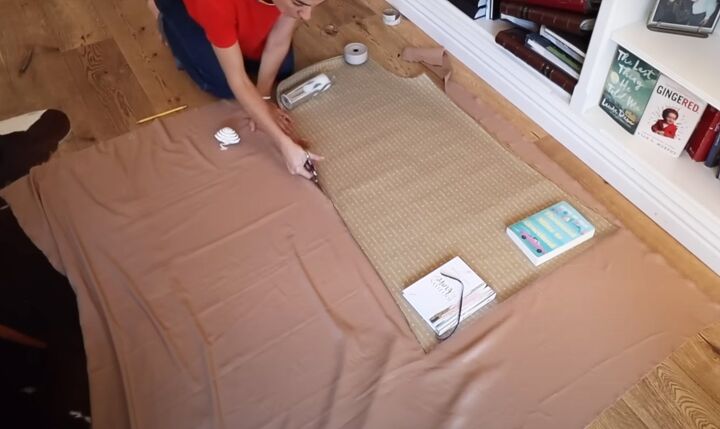
Lay the pants on a sheet or roll of paper and mark the top edge at the front and back.
Trace around the front and leg of the pants so you get the outline on your paper.
Refold the pants so the back seam is showing.
For regular pants, you’d repeat the process and have two separate pattern pieces and join the inner and outer leg seams.
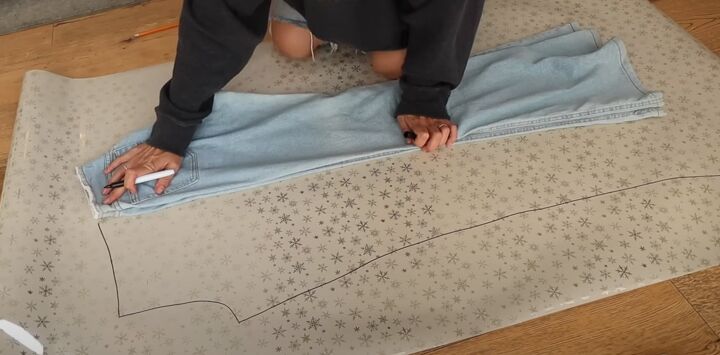
An outer leg seam won’t look good on the lace pants, so instead we’re going to flip the refolded pants over and line them up with the outer leg seam of the front.
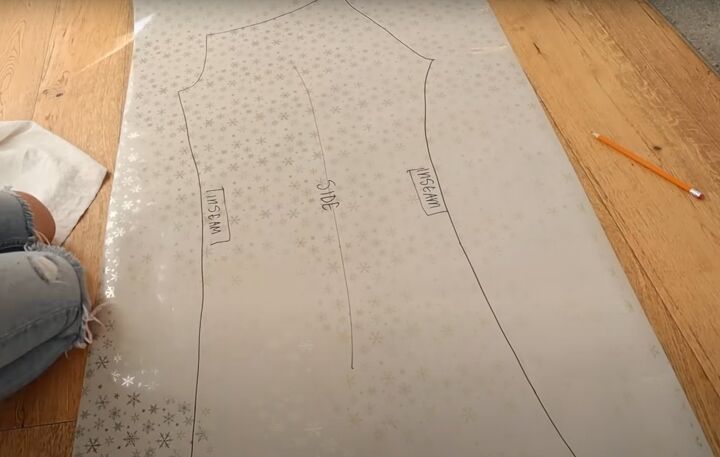
This way we have one pattern piece for each leg, instead of one for the front pants and one for the back.
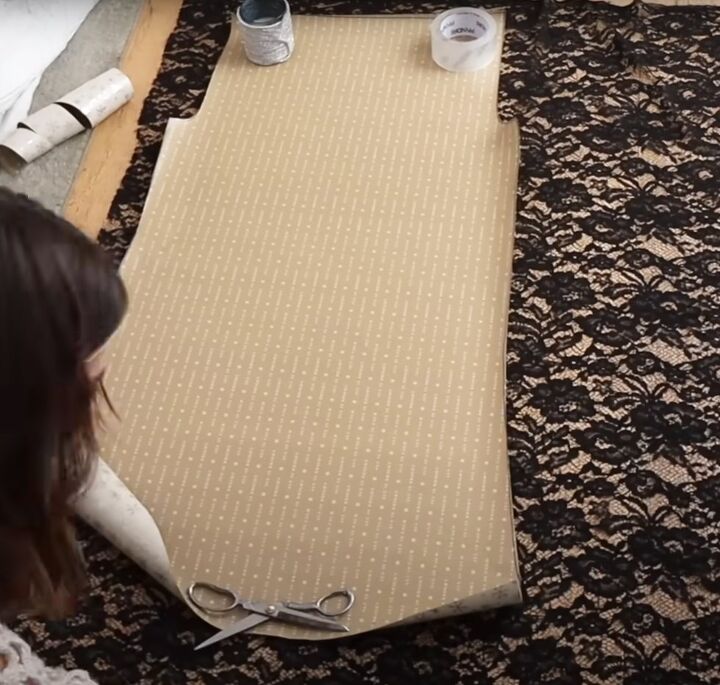
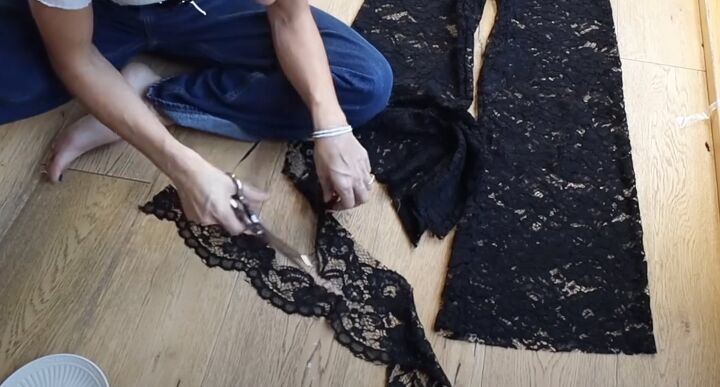
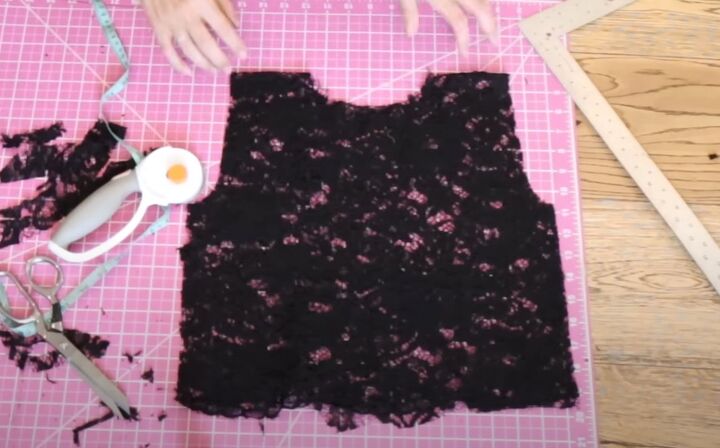
3. Cut the fabric
Line up the pattern on your lace and cut out one leg.
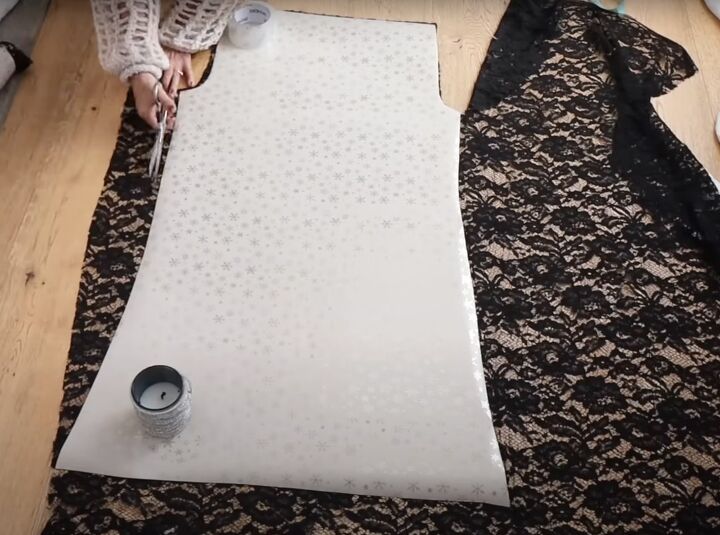
Flip the pattern piece over and cut out the second leg.
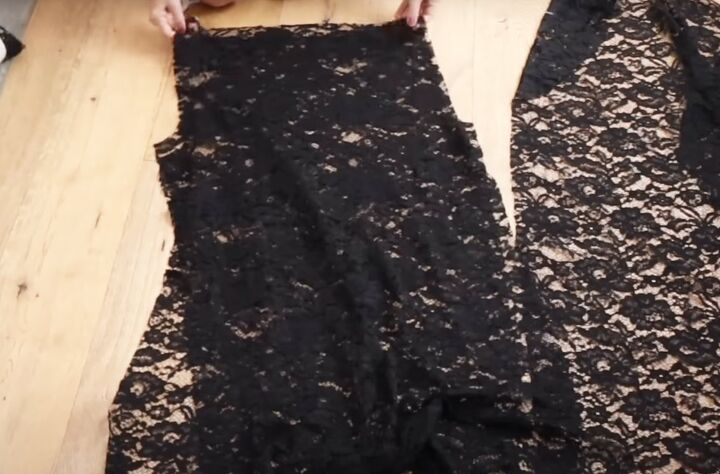
4. Assemble the pants
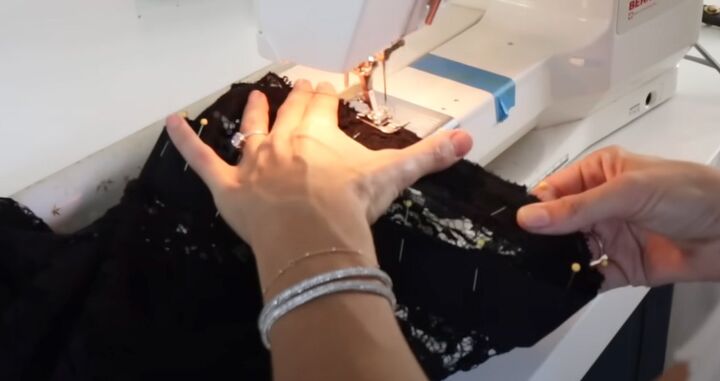
Place the front and back with right sides facing.
Pin and sew the two crotch seams using a simple straight stitch.
Place the two center seams together and sew the inner leg seams.
Try the pants on and make any adjustments needed.
Reinforce all the seams with a zigzag or overlock stitch.
5. Lining
If you made any size adjustments, modify your pattern accordingly.
Use the same pattern to cut out the lining pieces and join them in the same way.
6. Pants waistband
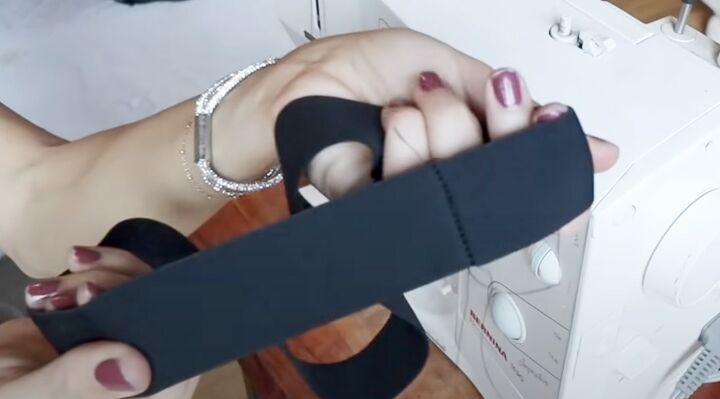
Cut the wider elastic to fit your waist comfortably.
Join the ends securely into a circle.
I’m not going to attach the lining permanently to the pants. If you prefer to do that, slip the lining inside the pants and join them both to the elastic together.
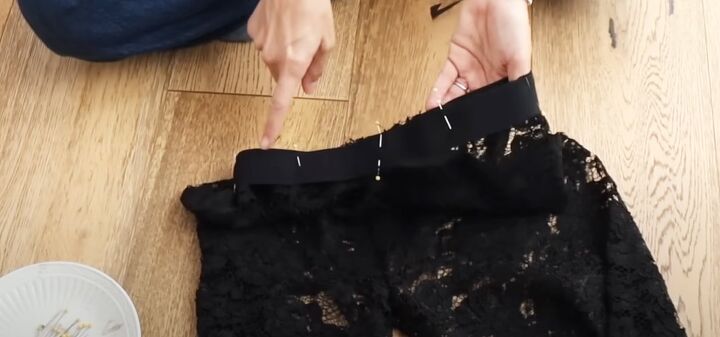
Place the waistband over the pants and pin them together with the right sides facing.
Sew the elastic to the top edge of the pants, stretching it as you sew.
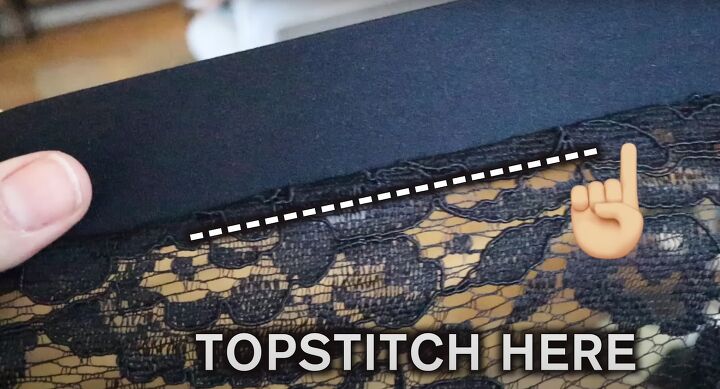
Flip the waistband up and topstitch the seam allowance to the pants.
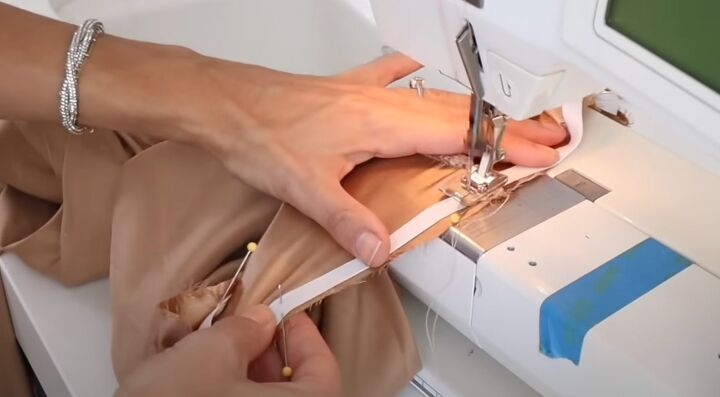
7. Lining waistband
Cut a length of the narrow elastic to fit your waist and join it into a circle.
We don’t want an exposed waistband for this. Pin and sew the elastic to the inside of the lining, just below the top edge.
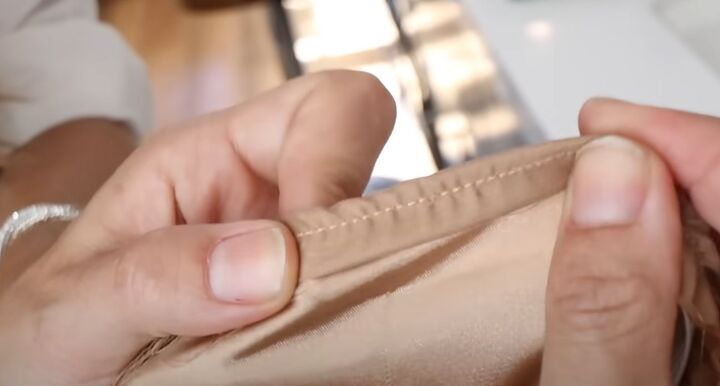
Turn in the top edge and fold the elastic over again to give a clean finish.
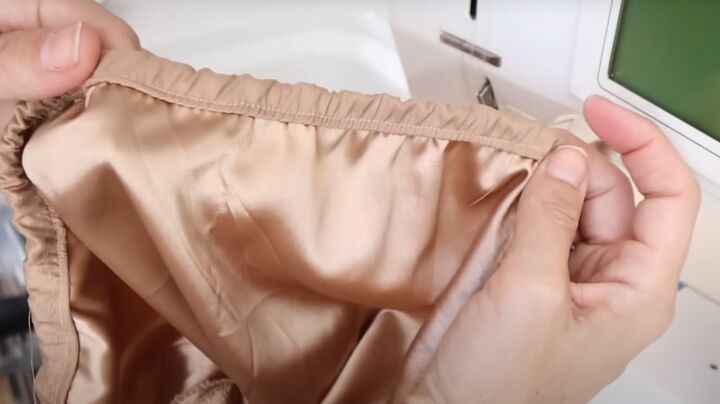
Sew in place.
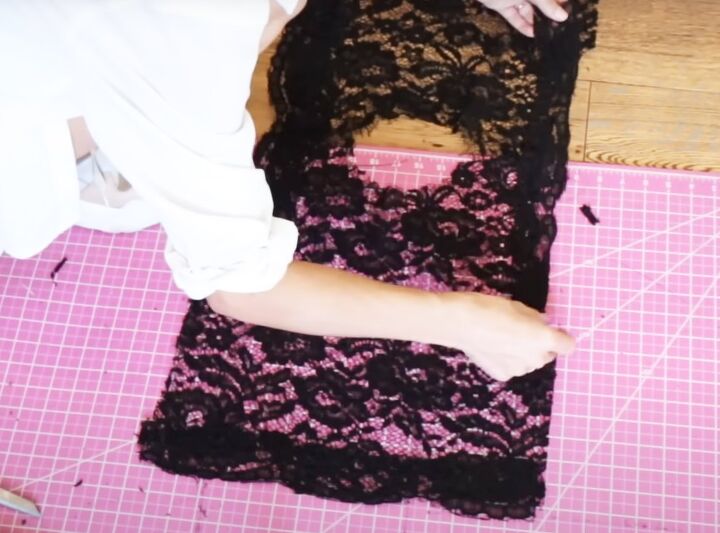
8. Hems
Turn up a narrow hem at the bottom of the lining and sew.
I decided to attach the scalloped edge of the lace to the bottom of my pants.
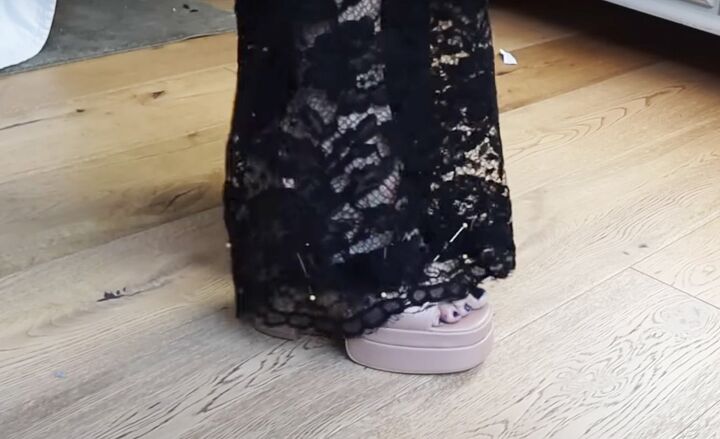
I cut the scalloped edging and pinned and sewed it to the pants.
It’s better to do it this way rather than incorporate the edging in the original cut, so that you can adjust the length if you need to.
9. Bonus top
I made a bonus top from the excess fabric!
I cut out a rectangle, folded it in half and cut out a neckline and armhole, all freehand.
I added scalloped edgings to the lower edges and armholes to make a lace cami top.
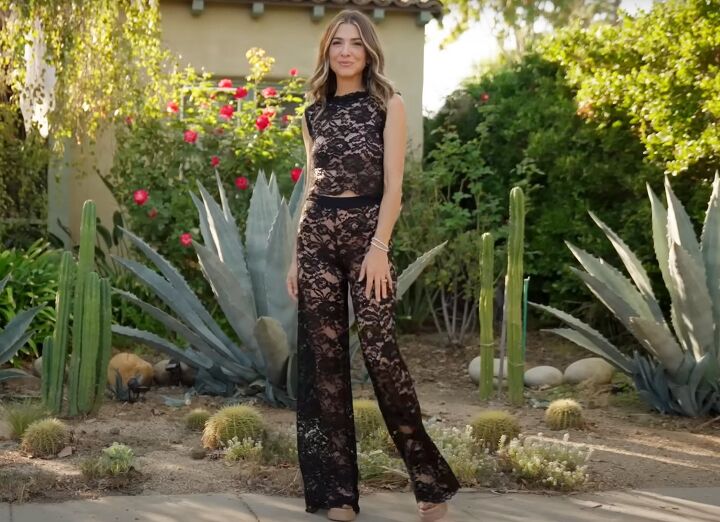
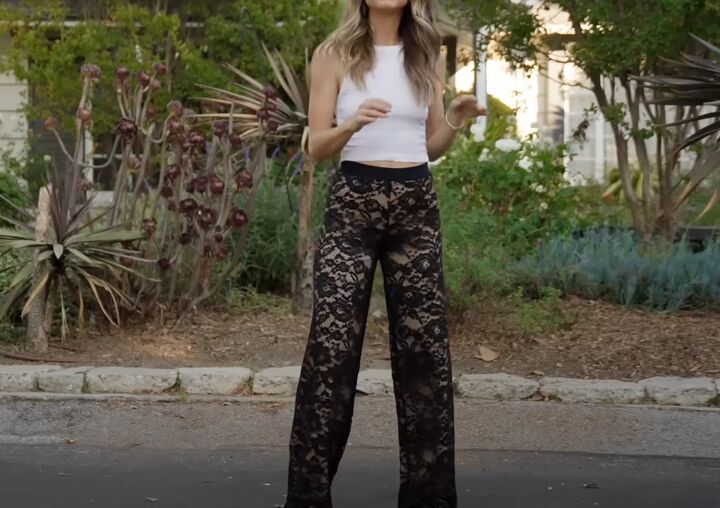
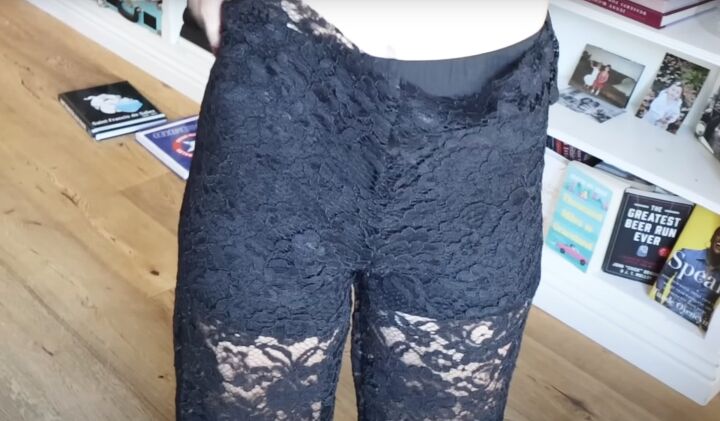
DIY black lace pants
I’m absolutely over the moon with the way my black lace pants turned out. I also discovered some dancer tights on Amazon which come in all shades of skin tone and are completely opaque.
So if you wanted a bare leg look under the lace without showing your underwear, these are another option.
I hope you love these as much as I do! Please let me know what you think in the comments.
Next, check out my Easy No-sew Ruffle T-shirt Upcycle Tutorial.
The author may collect a small share of sales from the links on this page.


Comments
Join the conversation