Easy DIY Bow Top + Cute Ways To Style It

Hey everyone! I'm thrilled to have you here for another fun DIY project.
In this tutorial, we're going to create a gorgeous silk sash tie bow top, inspired by a stunning top I found.
It's the perfect satin top outfit addition to your wardrobe, adding a festive and romantic vibe.
Let's dive in!
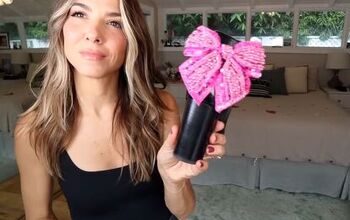
Best fabric scissors!
Tools and materials:
- 1 yard of stretch fabric (recommend stretch silk or stretch satin)
- Sewing machine
- Scissors
- Ruler
- Rotary blade
- Needle and thread

1. Cut and prepare the fabric
Begin by determining the direction of stretch in your fabric. Ensure it stretches around your body, not up and down. Square off the fabric edges to have even top lines.
Fold the fabric in half with the stretch going the right way.
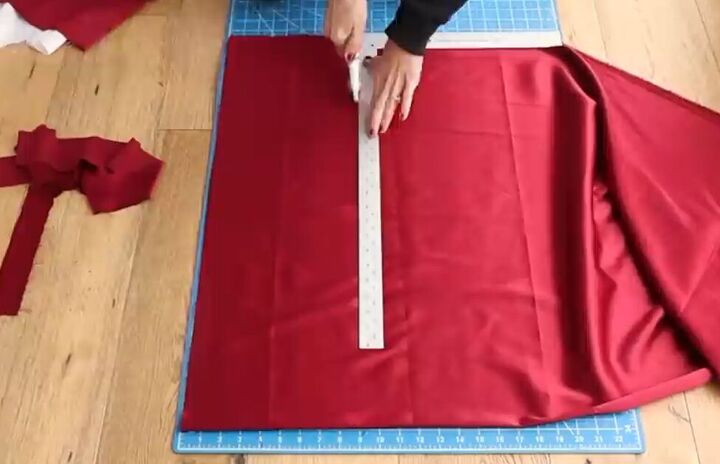
Using a ruler and rotary blade, cut two super long strips, each 9 inches wide.
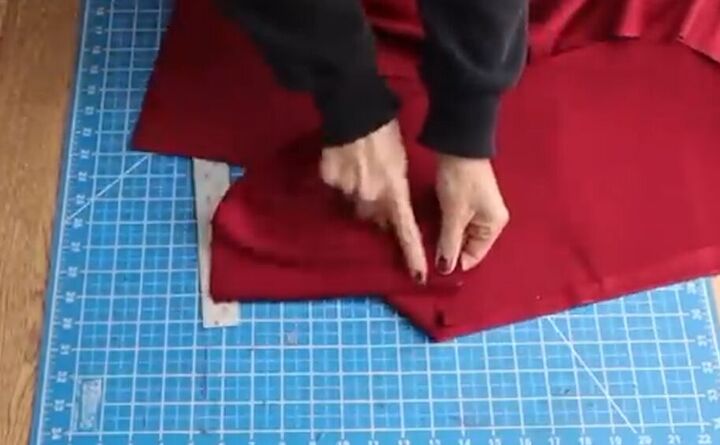
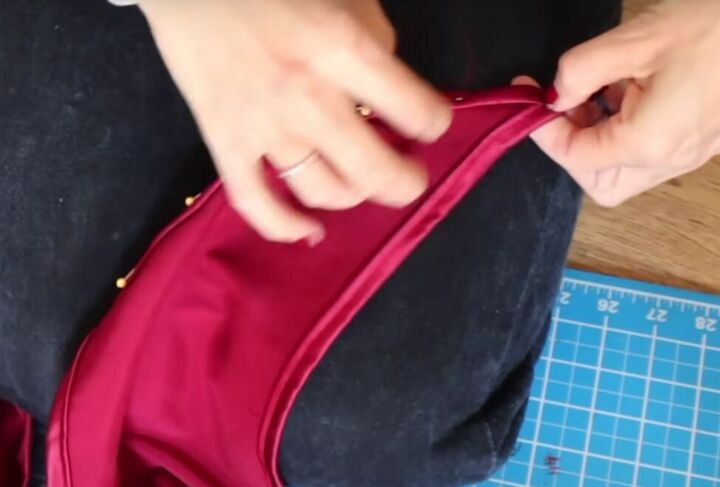
2. Connect the strips
Place the strips face to face, aligning the shiny sides.
Sew a straight stitch to connect the strips, creating one long strip with a center seam.
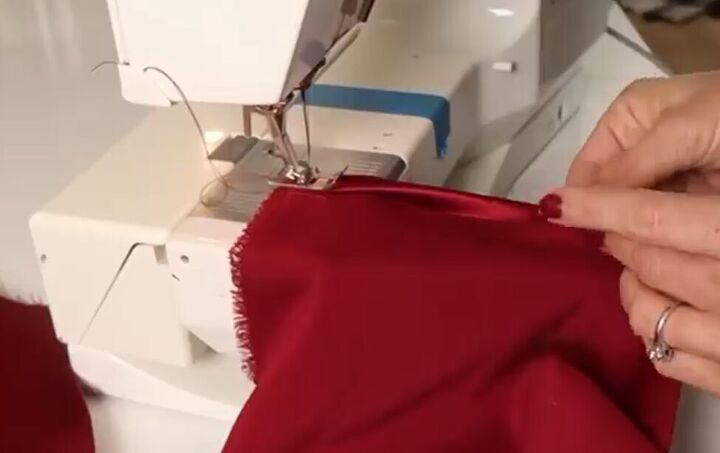
3. Hem the strip
Fold and sew a double fold along the edges to create a clean finish.
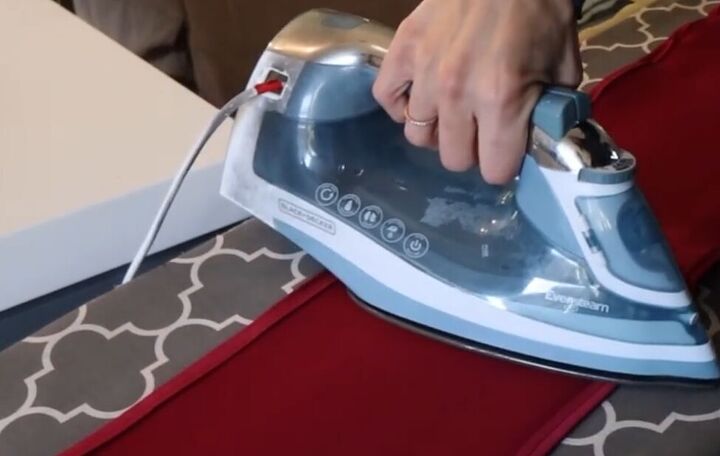
Press the fabric to make clean and crisp seams.
Be cautious with the iron. Ensure it's on a low setting to avoid burning the fabric.
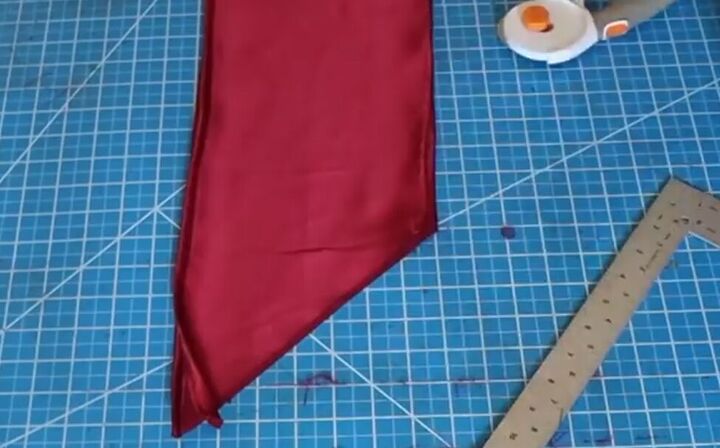
4. Finish the ends
Decide how you want to finish the ends. Consider cutting them at an angle for a traditional ribbon look.
Hem the angles but consider hand-sewing the points to get them crisp and sharp.
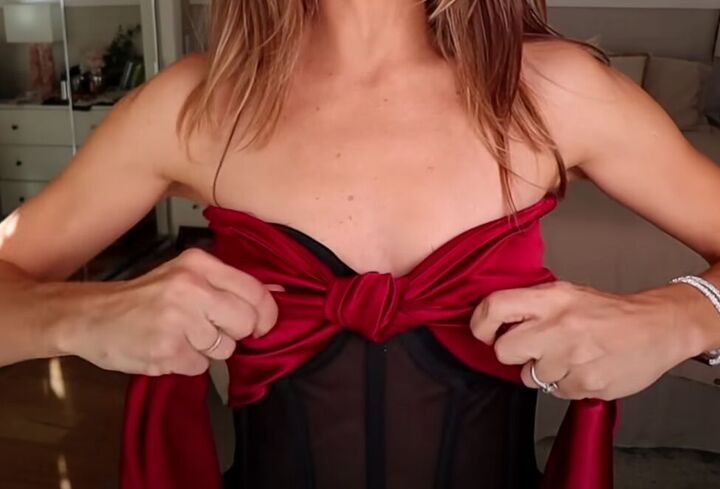
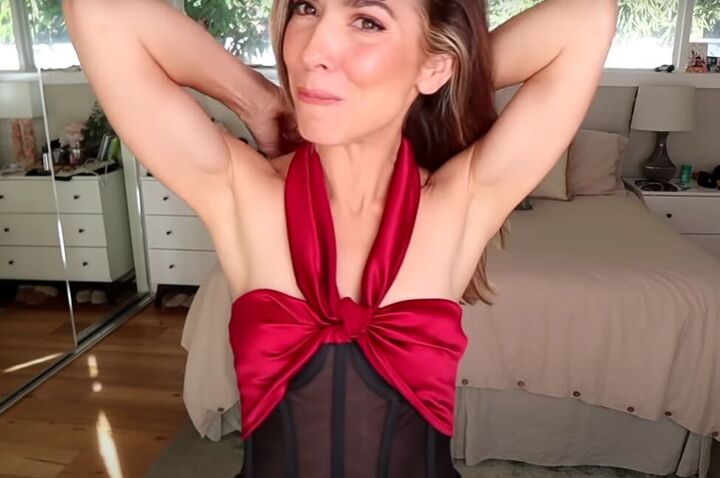
5. Wear and style
Try different ways to wear your silk sash. You can tie it around a bustier, sheer bodysuit, t-shirt, or any top of your choice.
Experiment with knotting techniques until you find a flattering style.
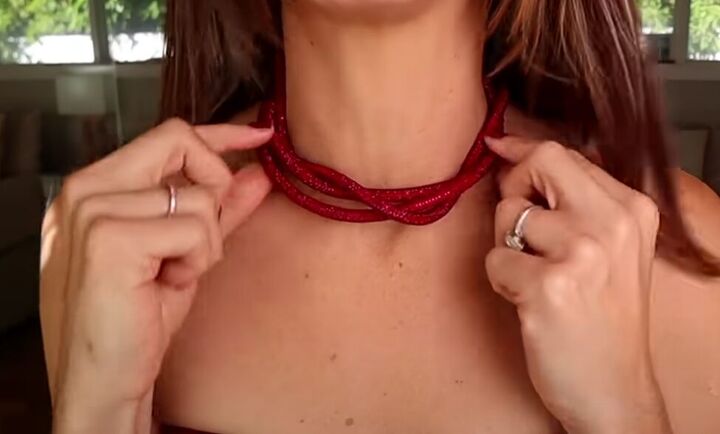
Add unique touches like a rhinestone phone cord as a necklace or incorporate a belt for extra flair.
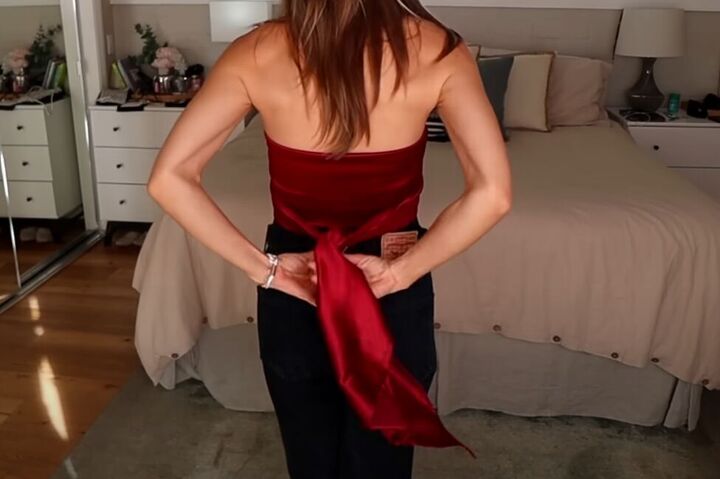
Play around with tying knots in the back or front, creating different looks for various occasions.
Try tying it behind your neck as a halter.
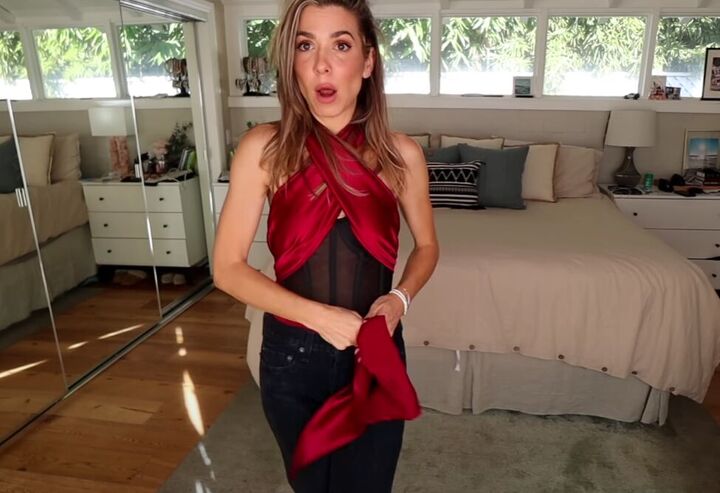
Or try this criss-crossed look.
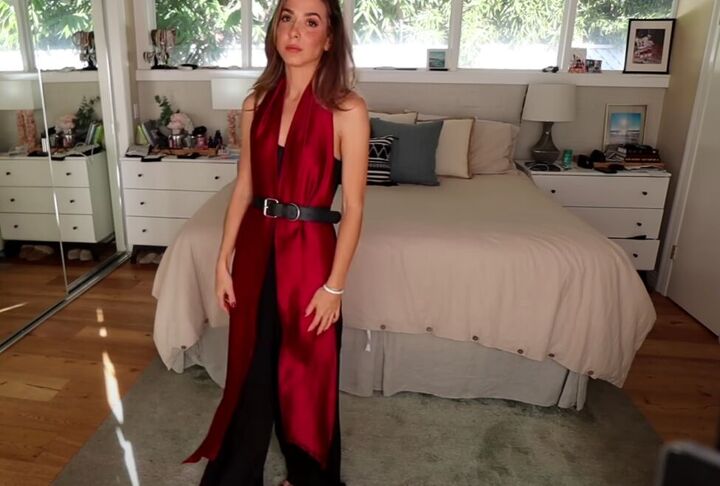
You can even leave it open and wear it with a belt.
DIY bow top
There you have it! Your DIY satin bow top is ready to elevate your style.
Experiment with different outfits and have fun expressing your unique personality through this chic accessory.
Then leave a comment to tell me your favorite way of wearing your DIY top.
Next, check out my Easy DIY Black Lace Pants Tutorial.
The author may collect a small share of sales from the links on this page.


Comments
Join the conversation