Easy Passport Photo Makeup Tutorial

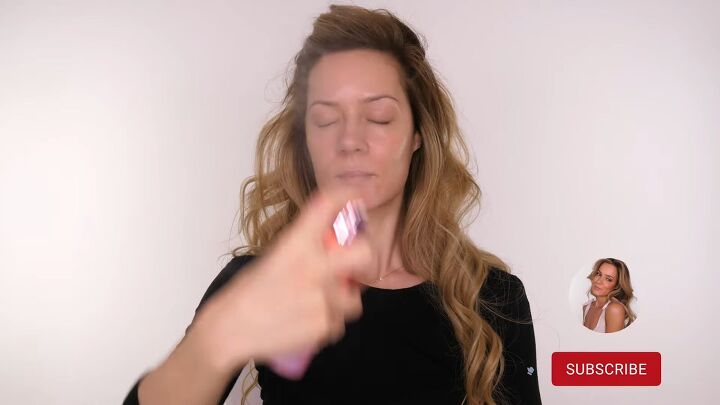
If you’re about to renew your passport and you want to look your best, follow along with my tutorial to achieve the perfect passport photo makeup.
It should be subtle enough that you still resemble yourself but heavy enough that it doesn't disappear in the bright light.
The goal is a natural yet flattering look in your passport photo since it will be traveling with you for the next 10 years!
It is also important that you don't change your features too much with makeup. Otherwise, you may have an issue entering through passport control if you don’t resemble your photograph!
Tools and materials:
- Assorted makeup brushes
- Hydrating serum spray
- Foundation
- Color corrector
- Beauty blender
- Setting powder
- Cream bronzer
- Setting spray
- Hand mirror
- Eyebrow pen
- Bronzer
- Brown and black eyeliner pens
- Faux eyelashes
- Tweezers
- Liquid eyeliner
- Mascara
- Powder bronzer
- Blush
- Lip liner
- Brown eyeshadow
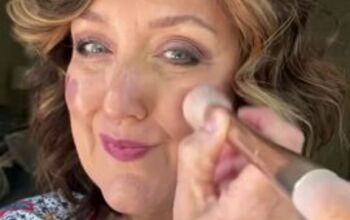
1. Prep your skin
Apply a serum spray to hydrate your skin.
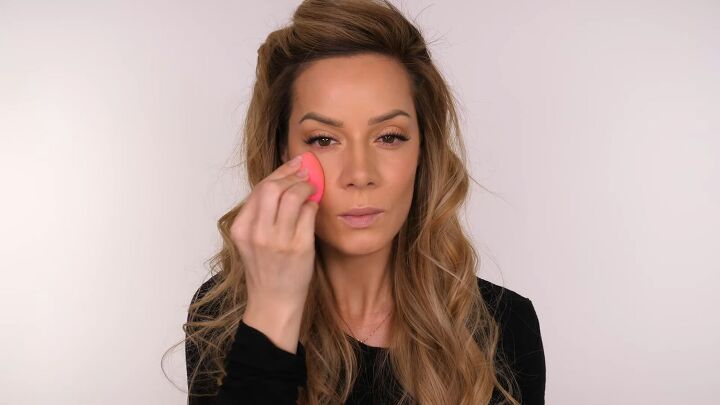
2. Apply foundation and color corrector
Then apply a medium to full coverage foundation since the flash drains color from the skin.
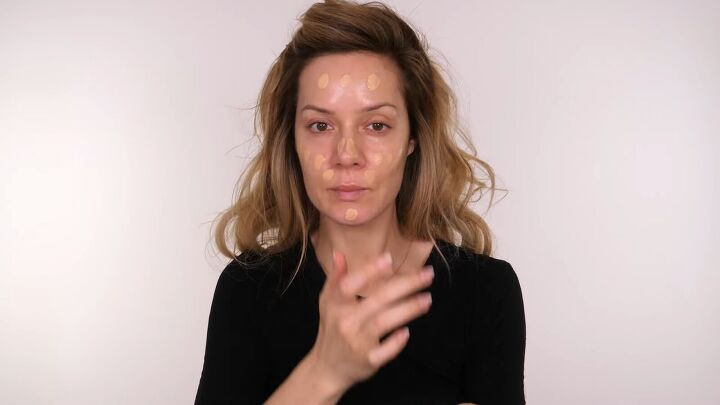
If you have discoloration or dark circles under your eyes, use a color corrector. Apply it just at the inner corners of your eyes.
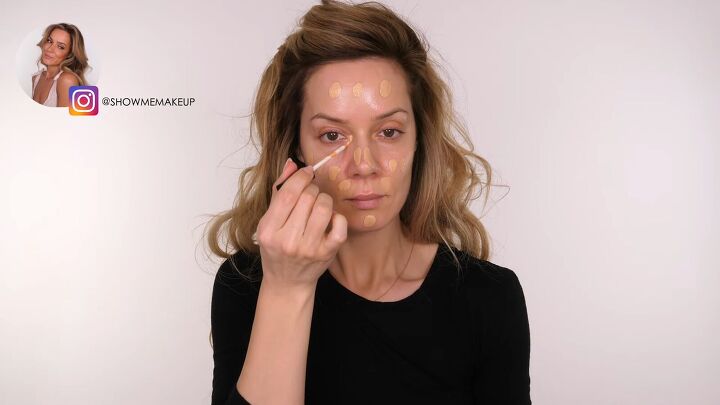
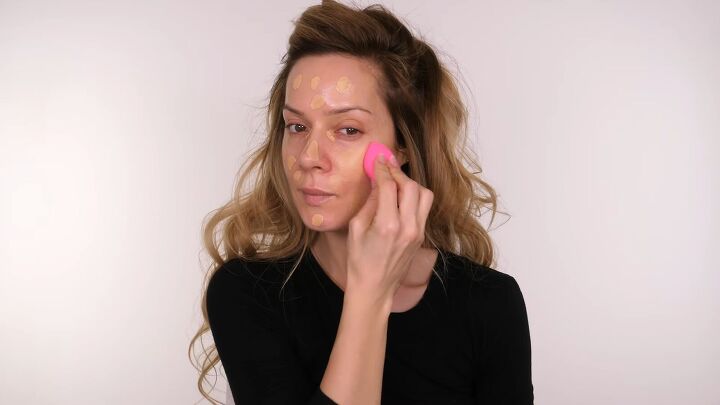
Blend in the foundation with a beauty blender without touching the color corrector yet.
Apply concealer lightly with your fingertips on your eyelids and under the eyes to mask fine lines and wrinkles.
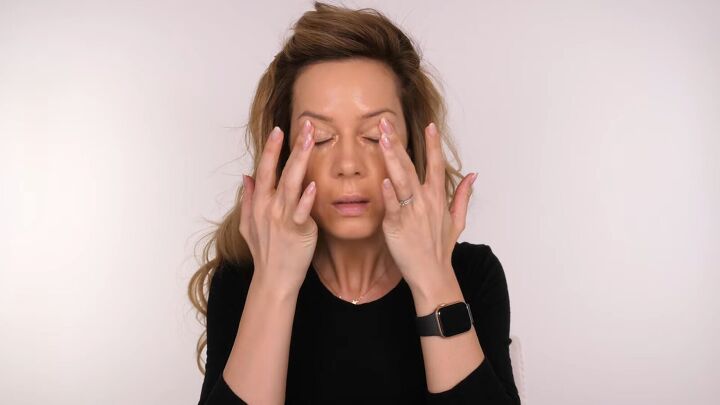
Then blend with a small brush, dragging the color corrector to meet the concealer.
Tap the area with your finger or makeup blender to give that airbrushed look.
Don’t worry if you feel “made up” when you leave the house. In the photograph, the makeup will look much softer.
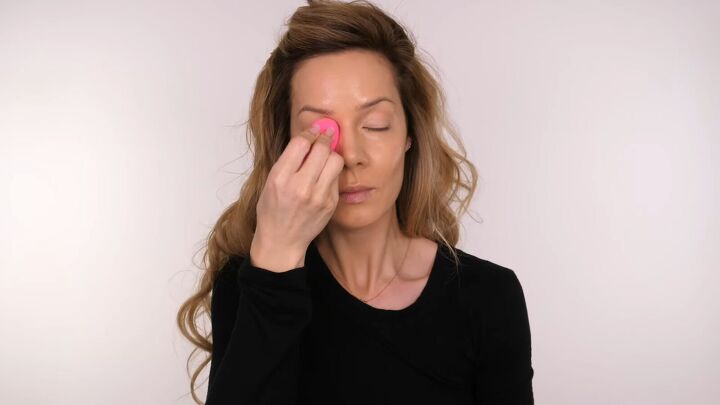
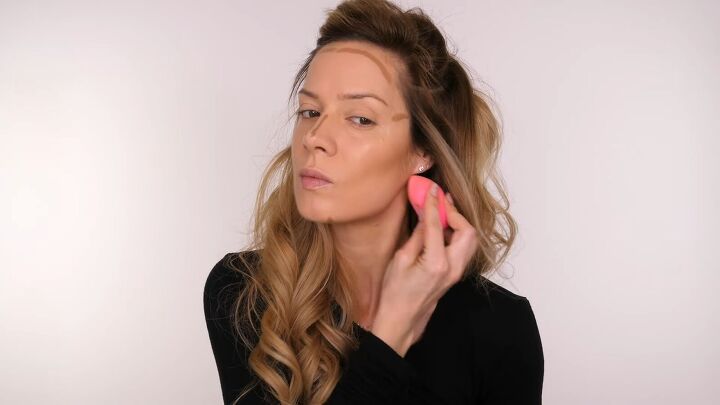
3. Mattify the skin
Apply setting powder using your beauty blender to reduce shine. Avoid products with silica which will reflect in the flash.

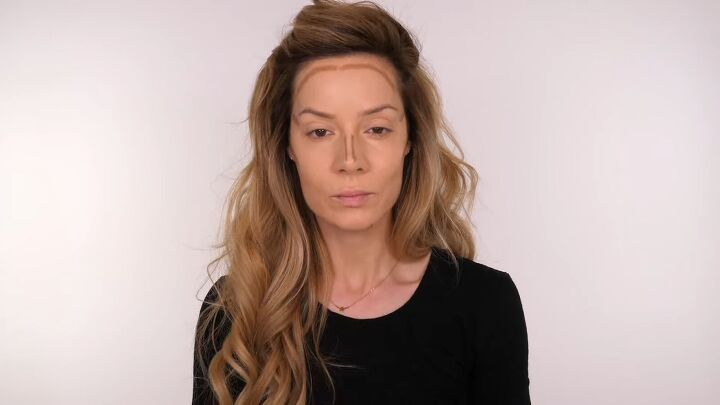
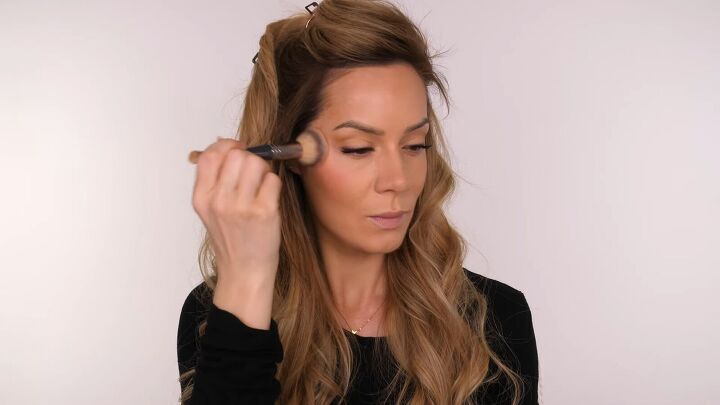
4. Apply light contour, blend and set
Apply cream bronzer where the sun would naturally hit. For example, at the ends of the cheekbones, the perimeter of the forehead, the temples, the jawline and chin plus the bridge of the nose.
Now, spray a brush with setting spray and work the contour into the skin.
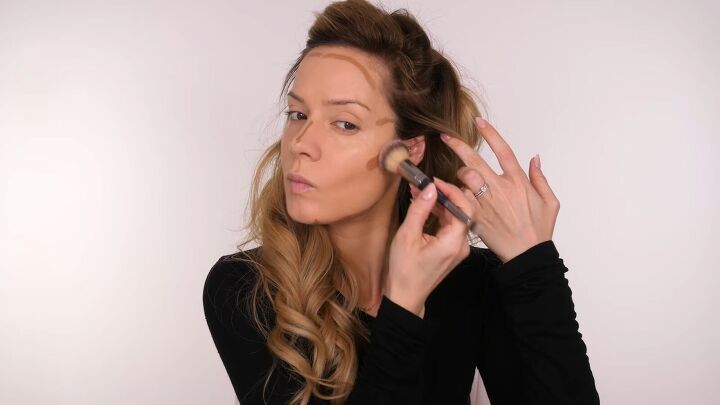
Go over the contour areas with what’s left on your sponge to help further blend.
Then go over everything with setting powder on your sponge.
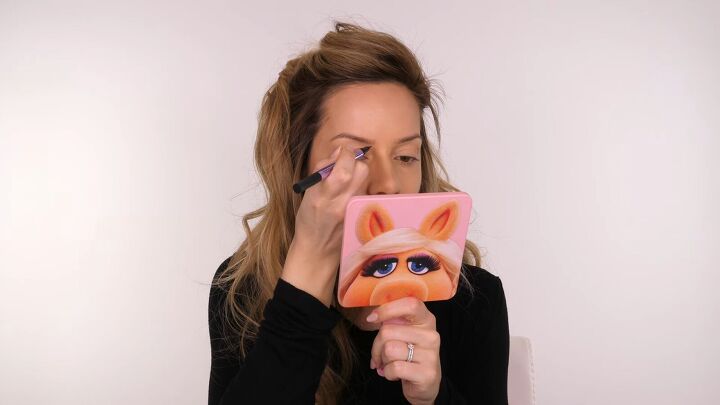
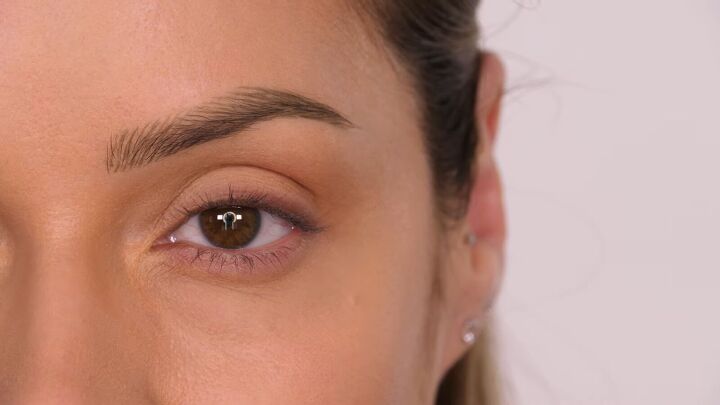
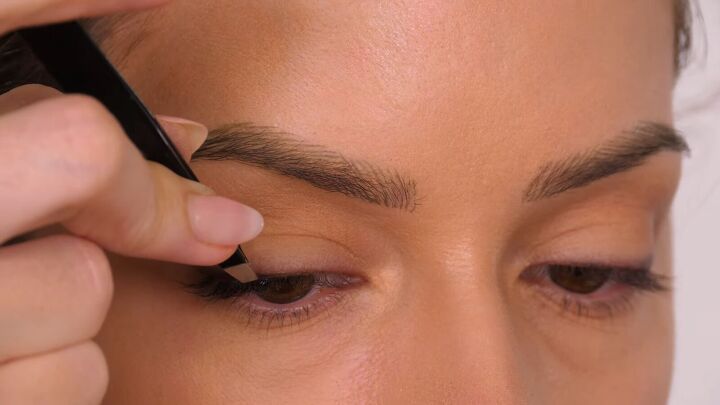
5. Fill in your eyebrows
Use a brow pen to fill in any bare spots in your eyebrows.
The bright lighting tends to make untouched brows disappear. Avoid making on-trend, fluffy eyebrows.
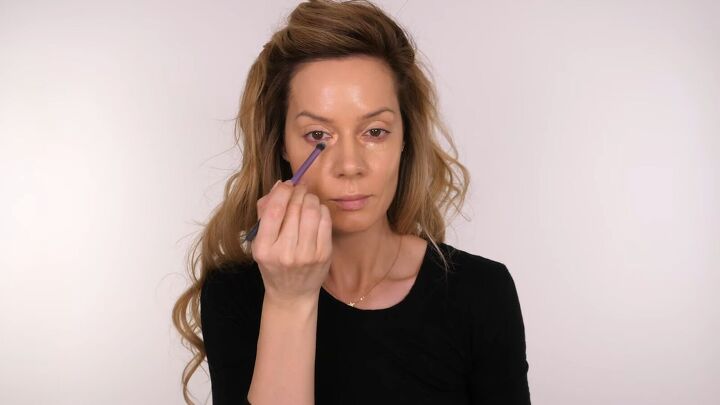
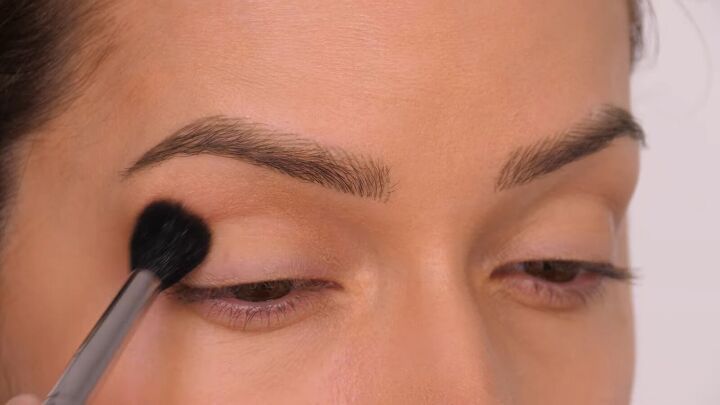
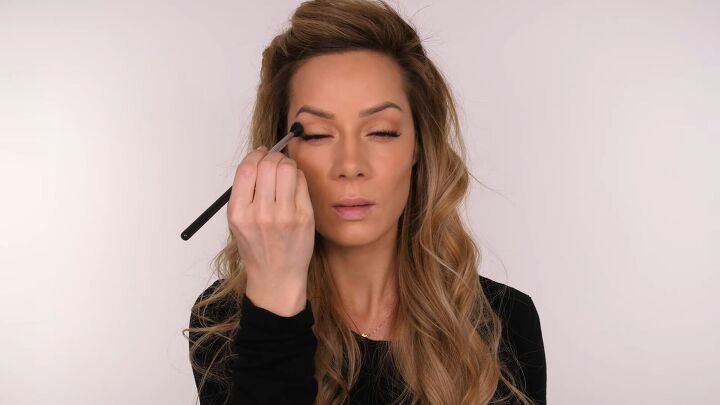
6. Contour the eyes
Apply some bronzer to a brush and buff a small amount into the sockets.
This is optional but it adds shape to the eyes and makes the lids appear larger.
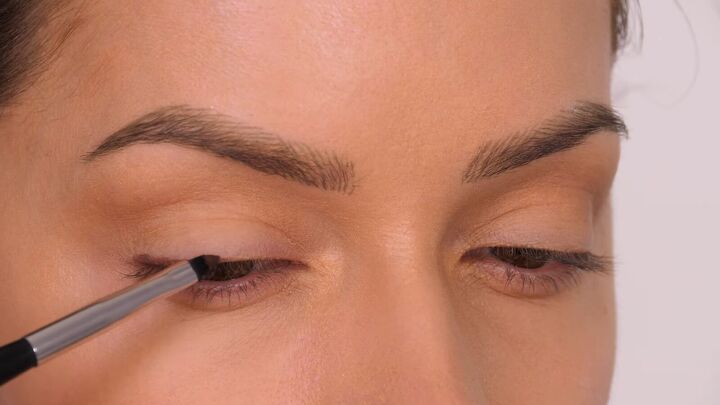
7. Apply eyeliner
Transfer brown eyeliner to a small, pointed brush and smudge it along the root of your top lashes. Make it slightly fuller on the outside edges.
This is a great hack to give the appearance of fuller lashes without having to load on the mascara.
Just enhance your face, don’t opt to change it!
Then, add a tiny bit of black, creamy eyeliner closer to the root of the lashes.
8. Apply lashes
Apply individual faux lashes along your top lash line. If you’re not used to wearing them, feel free to just use mascara.
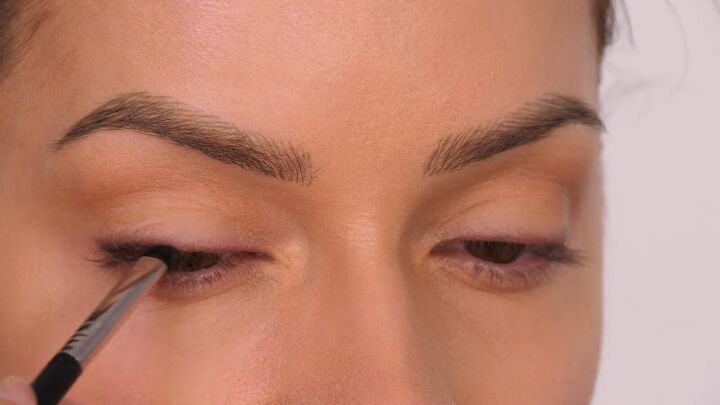
For hooded or small eyes, forgo anything on your top lids and instead apply a liquid eyeliner to your top, waterlines.
This will make your lashlines look fuller without sacrificing any space from your lids.
I recommend doing this even if you don’t have hooded eyes.

9. Apply mascara
Apply mascara to your natural lashes. You might skip the mascara on your lower lashes as this can have the effect of shrinking your eyes.
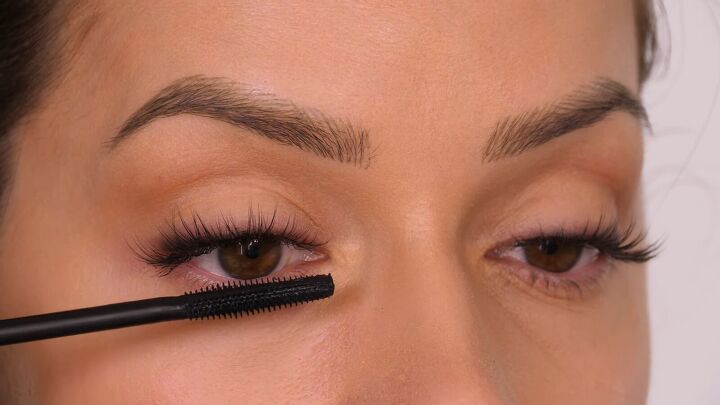
If you do apply mascara to your lower lashes and it appears too thick, use a lash comb to thin it out.
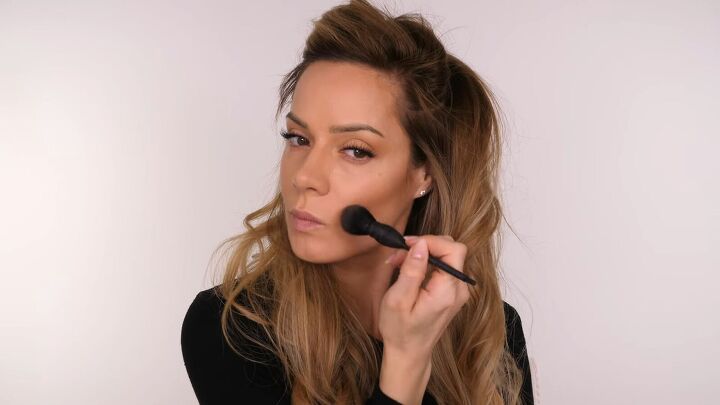
10. Apply powder bronzer
Apply powder bronzer to the areas where we applied the cream bronzer.
Don’t be afraid if your face looks slightly darker than the rest of your body. This is actually good for your passport photo.
11. Apply blush
Apply blush to the apples of your cheeks and work the color upwards.
Blend slightly with your beauty blender.
12. Touch up sockets
Add a bit of bronzer again on the outer third of the eye sockets.
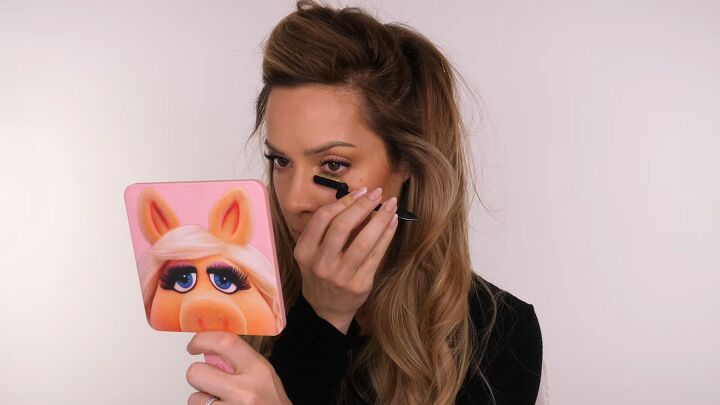
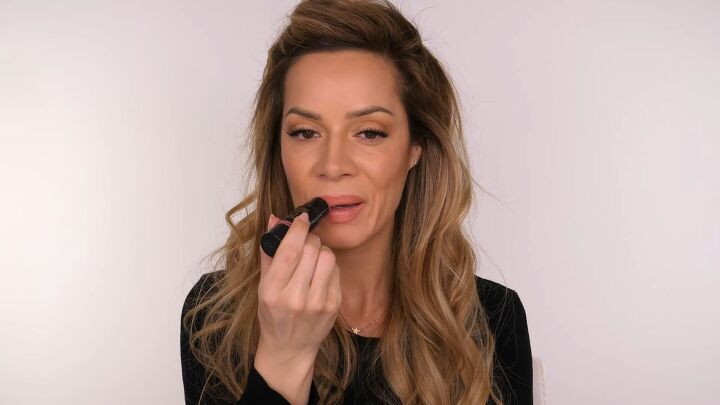
13. Add lip color
Use a lip liner that’s only slightly darker than your natural color.
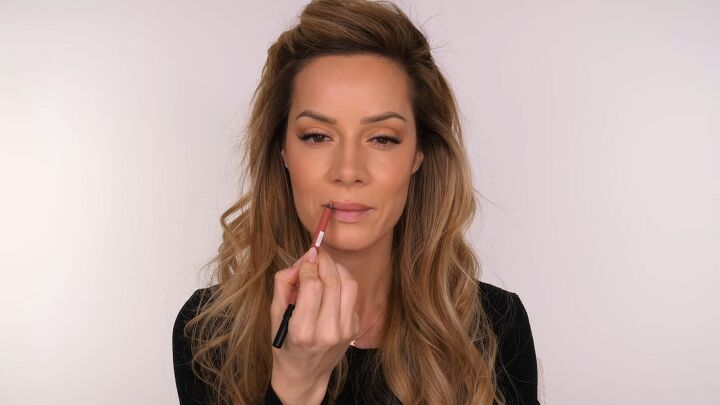
Then add a natural lip color.
14. Finishing touches
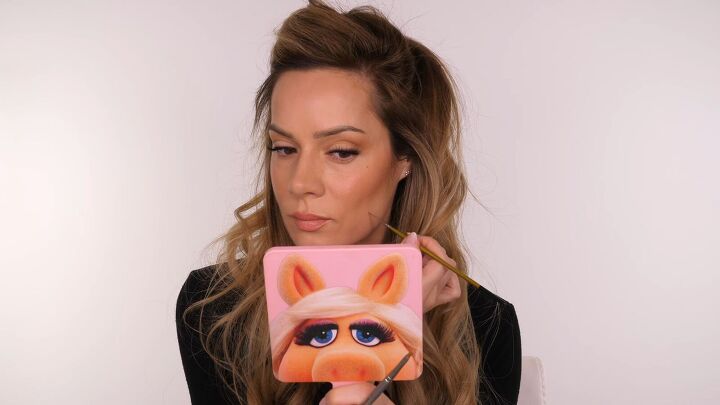
Redefine your natural freckles or beauty marks using a brown eyeshadow and thin brush.
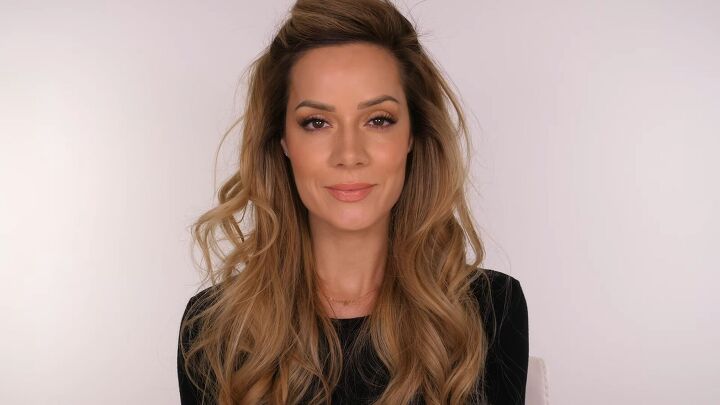
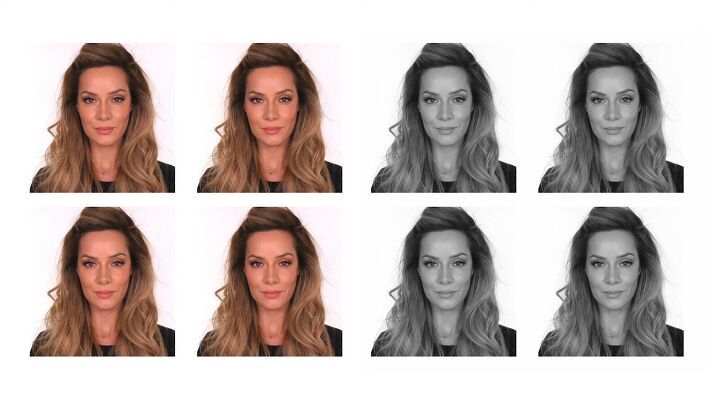
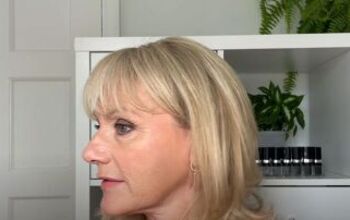
Here’s the final look for this passport makeup:
Here are the before and after shots for you to compare:
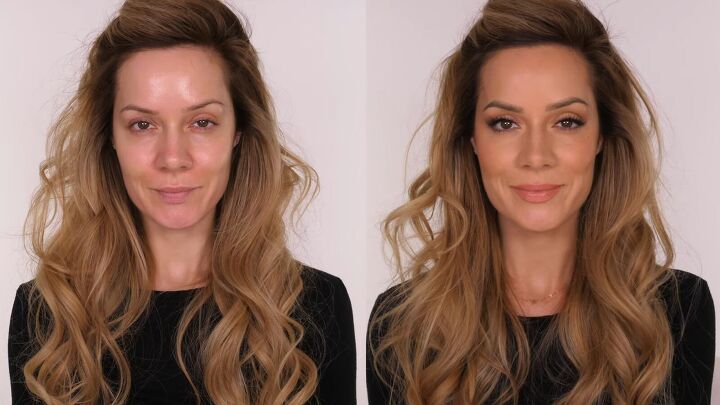
Passport photo makeup
Passport makeup is about enhancing your features so that the photo still looks like you.
Did you enjoy this tutorial? Share your thoughts in the comments below.
Next, check out my 3 Easy Eye Lift Makeup Hacks to Look More Youthful.
The author may collect a small share of sales from the links on this page.


Comments
Join the conversation
WOW! Great job🤗 You look beautiful!