Easy 2-ingredient Pink Clay Face Mask Tutorial

Want to enjoy a spa day at home? This pink clay face mask makes the perfect addition to a lazy relaxing day at home and only requires 2 ingredients! It leaves your skin feeling super soft and shine-free!
All you need for your DIY clay mask is pink clay and rosehip oil. Each ingredient offers many benefits:
Rosehip oil: It’s rich in vitamin A and has anti-aging qualities like fighting against age spots and wrinkles.
The particles in rosehip oil are small enough to penetrate the skin and rehydrate it and improve collagen levels. It improves skin tone and also reduces acne scars. It’s also rich in vitamin E and omega 7 which help rebuild damaged skin cells.
Pink clay: Great for sensitive skin as it is very gentle. The pink clay helps absorb excess oil on your skin which ultimately helps curb breakouts.
I chose to order my ingredients from a company that is zero waste, plus the products are palm-oil free. You only need a small amount for your mask, so you can keep on using the ingredients for many pink clay masks later on.
Tools and materials:
- 1 tablespoon pink clay
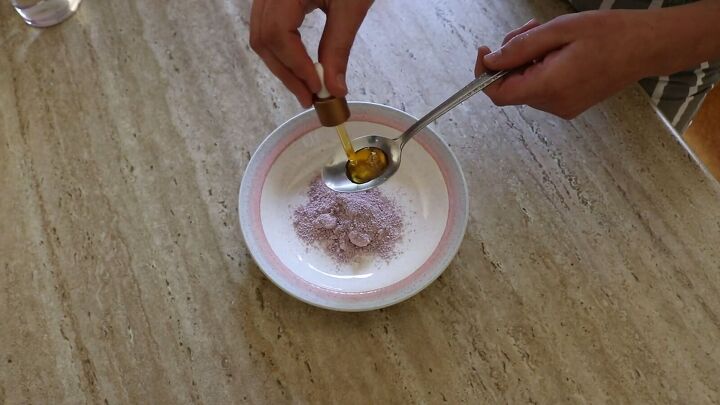
- 1 tablespoon rosehip oil
- Measuring tablespoon
- Makeup brush (optional)
- Washcloth
- Bowl or plate
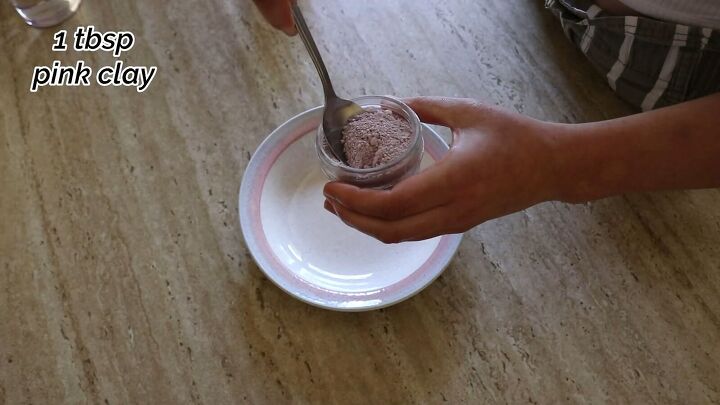
1. Measure the pink clay
Pour 1 heaping tablespoon of pink clay into a dish.
2. Measure the rosehip oil
Add 1 tablespoon of rosehip oil to the clay. Once liquid is added to the clay, it will begin to spoil, so use your pink clay mask right away and discard the leftovers. This can be added to a compost pile, if you have one.
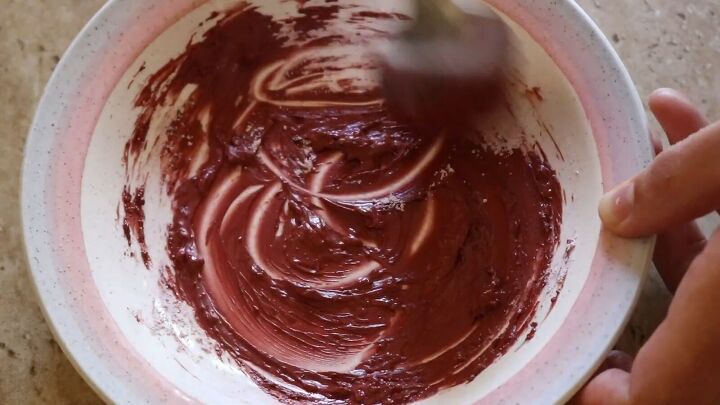
Mix well.
An important note before applying your DIY pink clay mask: Don’t mistake a burning or stinging feeling as the mask “working”.
It should not irritate your skin, and if it does, remove the mask right away, dry the skin and apply aloe vera to the affected areas.
To prevent this, I recommend performing a test with a small amount of mask on just a portion of your skin. This way, you can check for any adverse reactions.
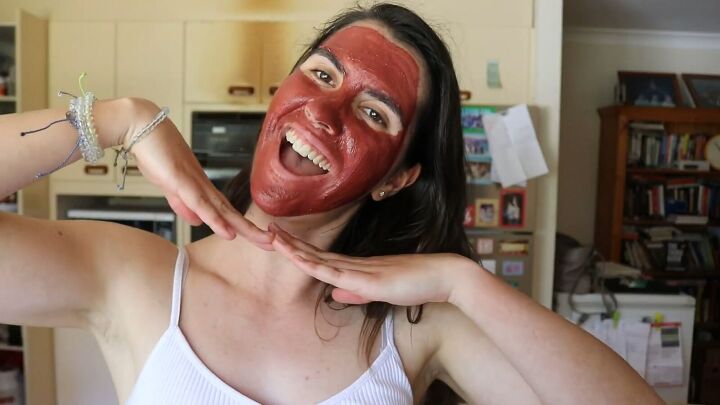
3. Apply
Apply your DIY pink clay mask to a clean, dry face. You can either use clean hands or a fresh makeup brush to avoid contamination of bacteria.
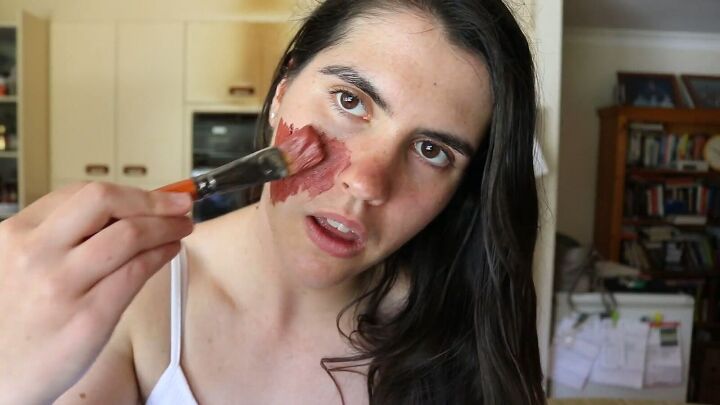
Apply the mask generously but carefully, avoiding the eyes and lips. Leave it on for 10 to 30 minutes, until it hardens and dries.
Then, once completely dry, remove the mask with a clean, wet cloth. Pat dry, and enjoy your soft, clean skin!

Pink clay face mask
If you loved this DIY pink clay mask, please let us know in the comments below.
For a few more DIY spa day essentials to complete the pampering, check out this post on How to Make 4 Super Relaxing Spa Products.
The author may collect a small share of sales from the links on this page.


Comments
Join the conversation