How to Do a Super-Cute Vintage Poodle Updo In 7 Simple Steps

In this tutorial, I’m going to show you how to do this cute vintage poodle updo! This poodle hairstyle is perfect for a romantic night out on the town, or any other date night, even with your friends.
One of the reasons why I love this vintage updo is not only that it looks amazing, but it’s so easy to do! Keep reading and let me show you how to do a poodle hairstyle quickly and easily.
Tools and materials:
- Bobby pins
- Brush
- Curling iron
- Teasing brush
- Hairspray
- Hair wax
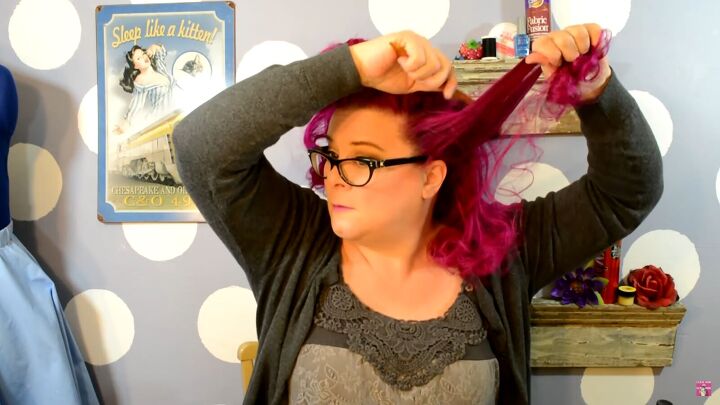
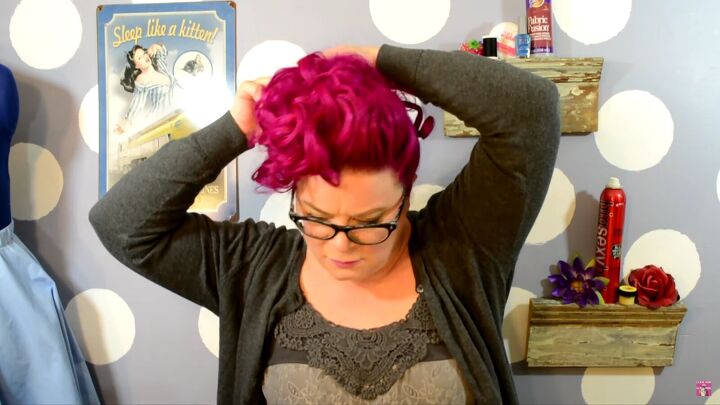
1. Curl your hair
For this gorgeous poodle updo, you’ll need first to curl your hair. I've gone ahead and used my curling iron, then pinned the curls while they cool down. But, you can go ahead and use your favorite curl method to get some curl into your hair.

What’s important here is the direction of the curls. Roll back all the curls on the top of your head.
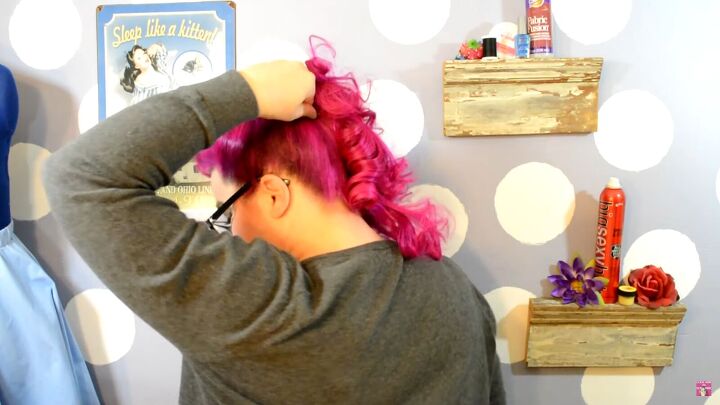
Roll the curls on the side and the back of the head down and under
Once the curls have cooled off, remove the clips (if needed). When you uncurl the curls, try to keep them as neat as possible. Don’t try to fluff them or brush through them.
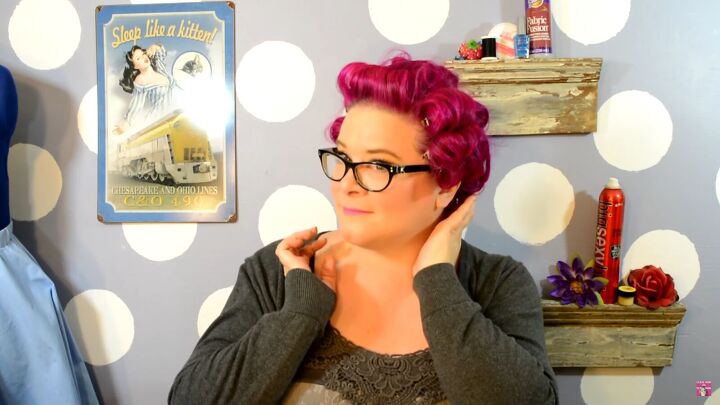
2. Part your hair
The parting is going to be a little exaggerated. It should be just past the corner of your forehead.
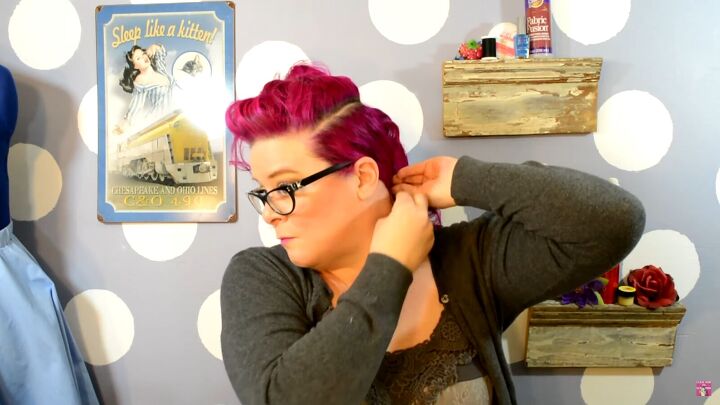
Then, pin the lower part of your hair to the side.
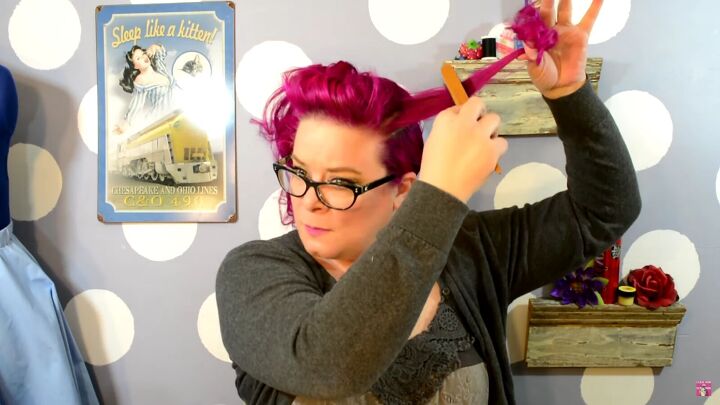
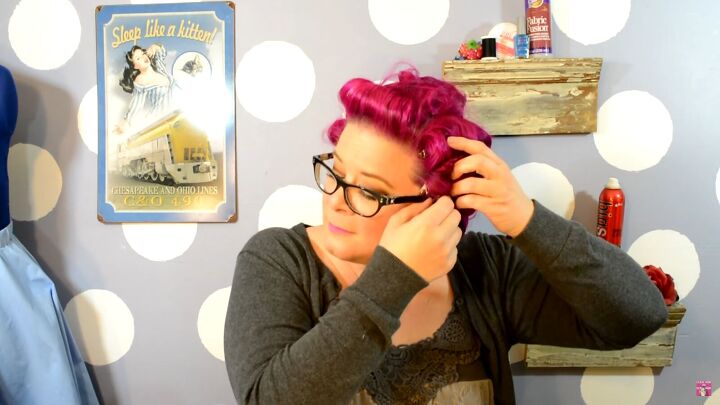
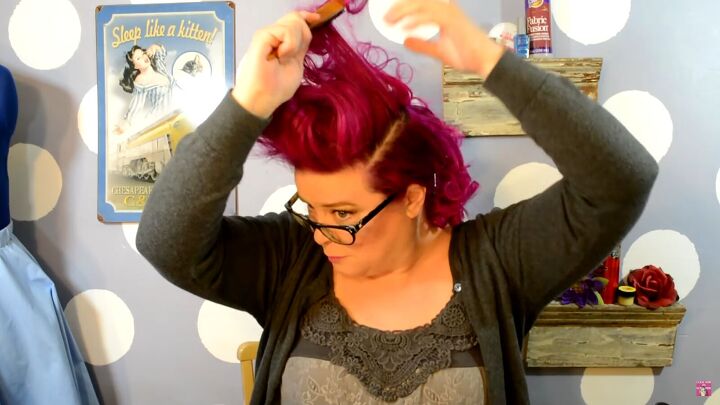
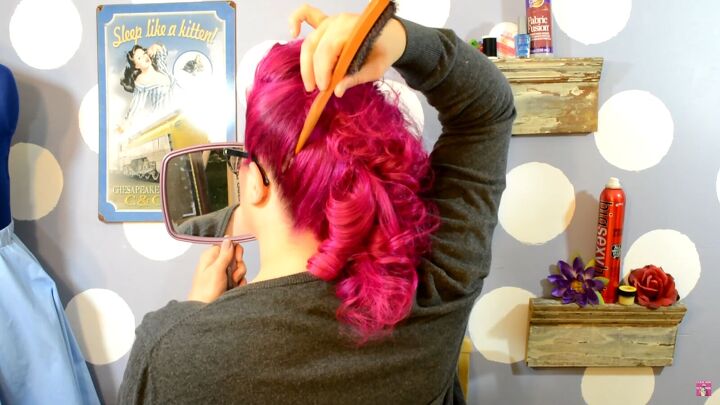
3. Tease your hair
For the volume required on this vintage updo, you’re going to have to do a lot of teasing. So, take thin sections and start teasing each with a teasing brush. Ensure that you are teasing the bottom half of each section only to keep the curls defined.
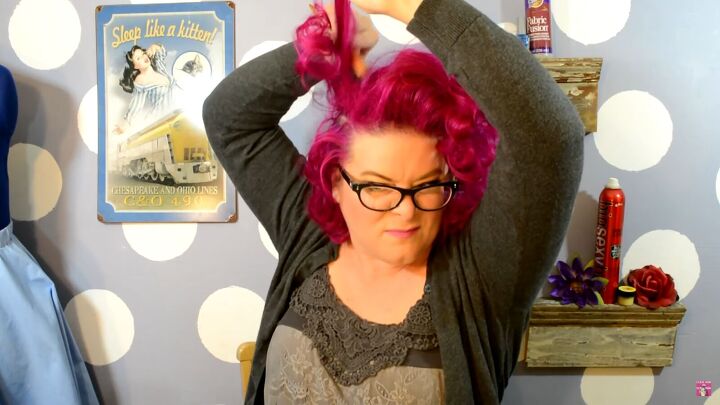
Now, work your way all across the top of your head. And yes, it helps to make a scrunchie face whilst teasing!
Now that you've reached the opposite side, pin back the lower portion of your hair.
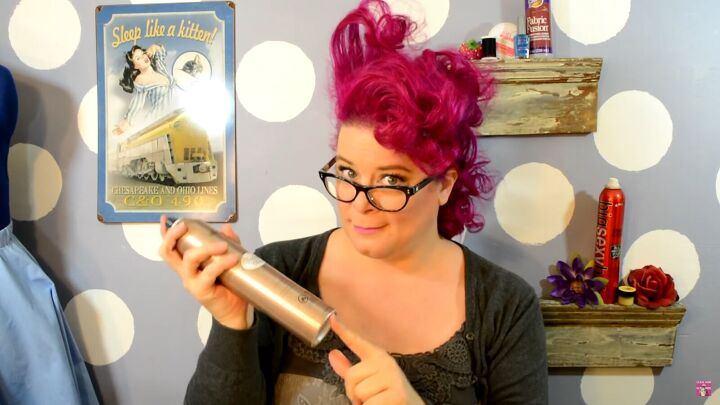
4. Add hairspray
Grab your favorite hairspray and spray that onto the hair that you’ve teased. Give it a minute to dry before following the next step. This will let the hairspray hold better without chunking the hair.
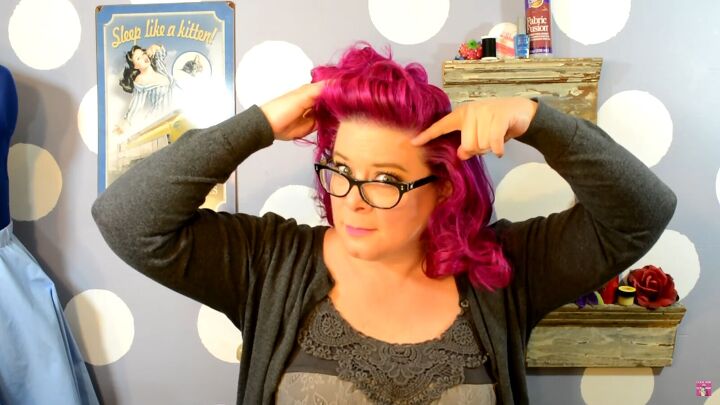
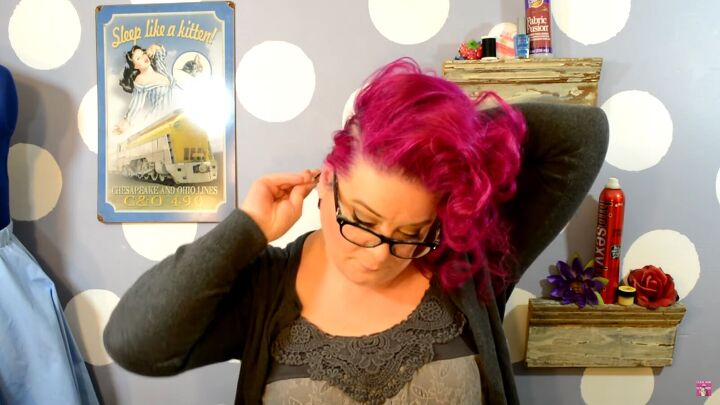
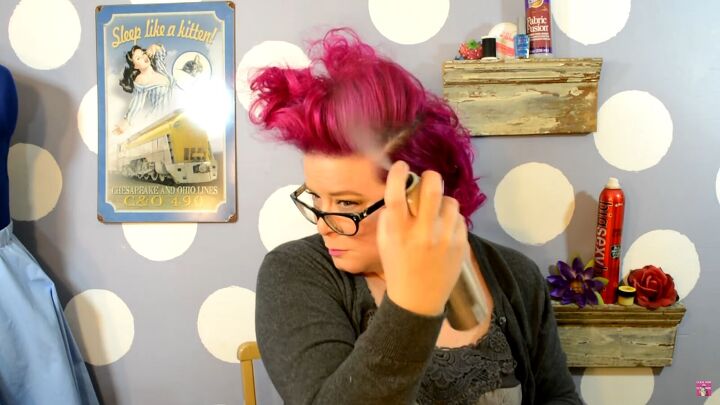
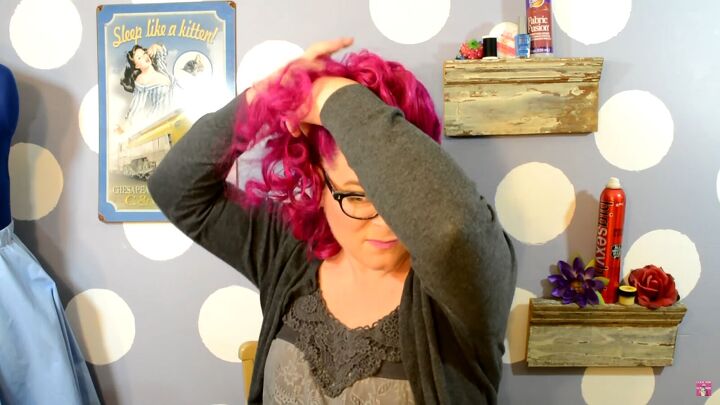
5. Mold the hair
Now for my favorite part! Brush your hair away from the initial parting, making sure the hair looks nice and smooth. Also, be sure not to brush through the hair; lightly brush it on the outside and only on the bottom portion.
Next, add some hairspray.
To refine your curls, use some wax and gently rub it through the ends. Then, brush through the curl against your hand to reduce frizz.
Spin the curl around your finger to define it more.
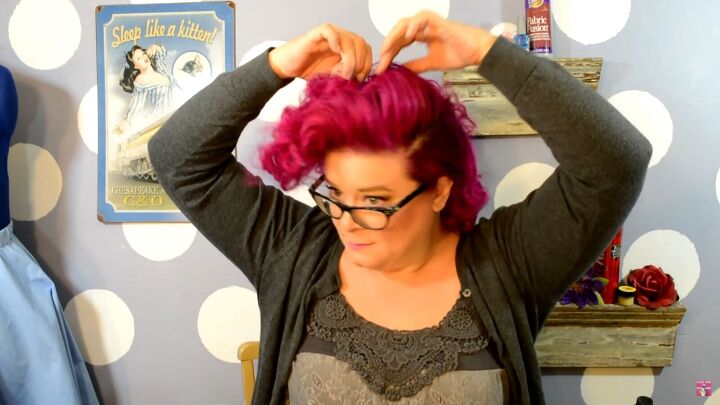
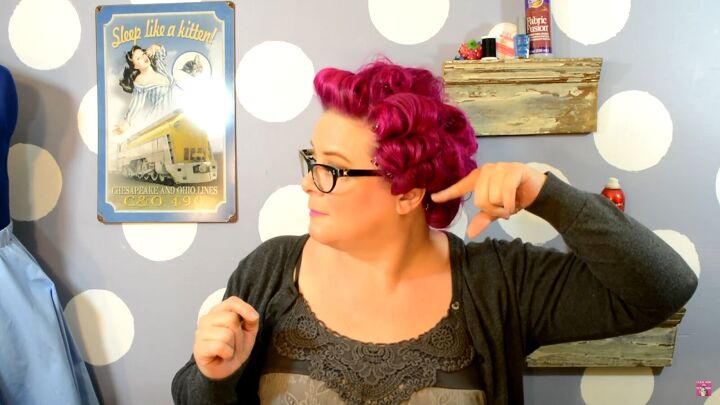
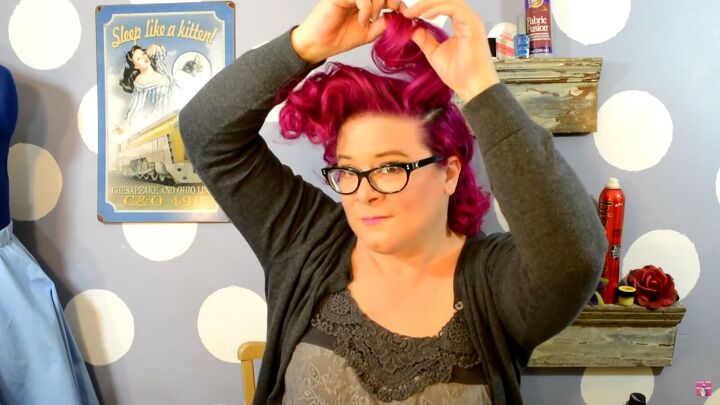
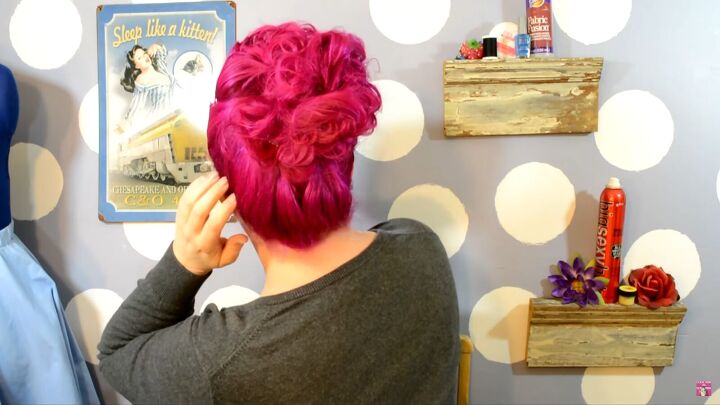
6. Pin your curls
Take a bobby pin and pin your curls into place. Place them in an area that you like.
Repeat for the rest of the upper portion of your hair. Remember, do it the way you like and just have fun with it.
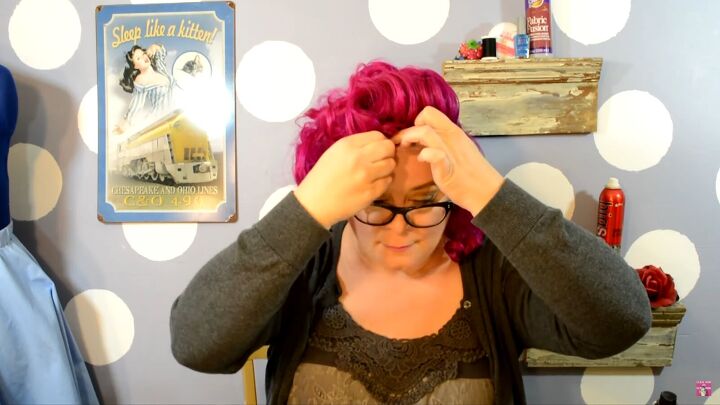
You can also place a nice big curl right in front!
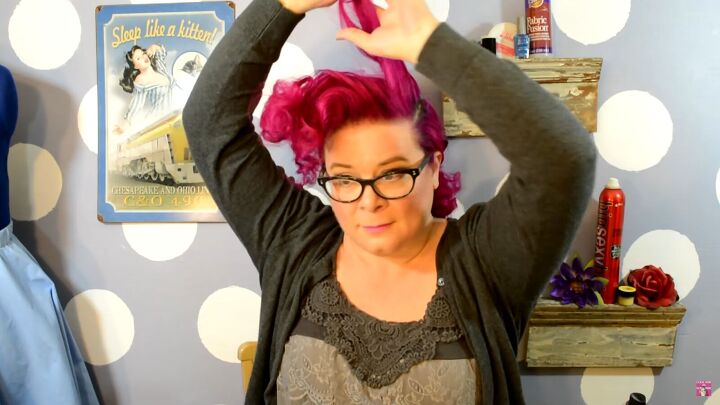
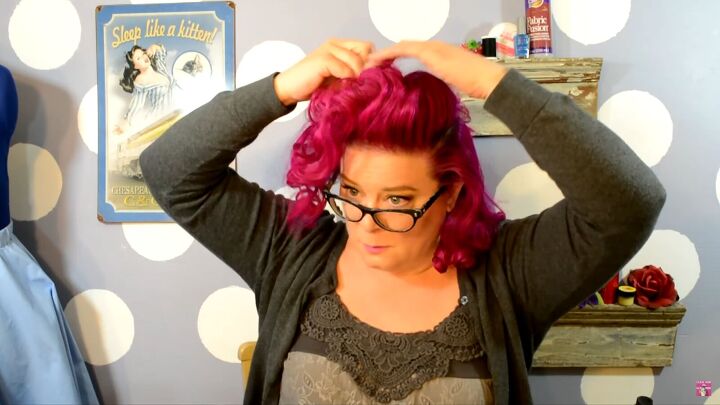
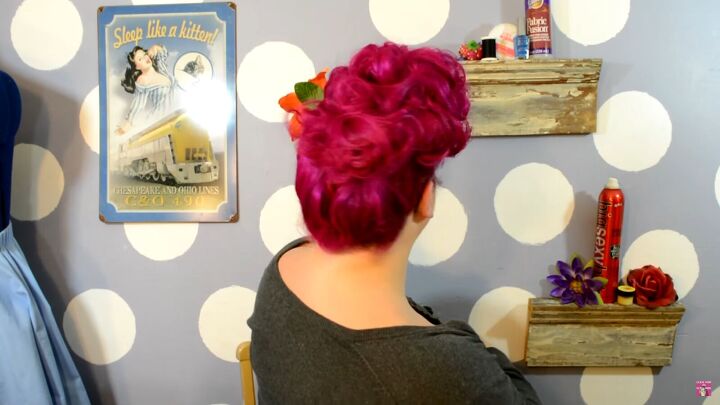
7. Incorporate the rest of the hair
Now, let’s add all the other loose ends! Add a touch of backcombing before pinning the lower sections in place.

When you pull this piece back, make sure it looks nice and smooth. When you pin it to the top, make sure you’re pinning it right by the curls.
Take smaller sections of hair once you get to the back. Be sure to pin it right where the curls meet. Use two bobby pins if needed and cross them for a more secure hold.
If you notice gaps at the back of the hair, simply brush them out to close the gap.
Once you’ve placed your hair on one side of the head, move the remaining curls to the top.
Give your curls a nice solid position, and start pinning the remaining sections in place. Play with those curls and have fun!
Add some hairspray to smooth out the roots.
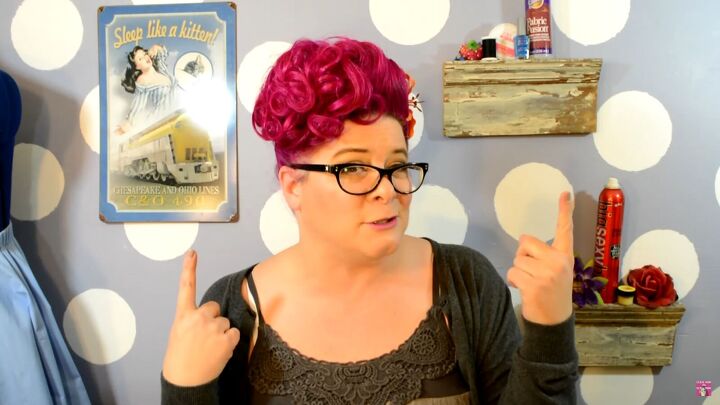
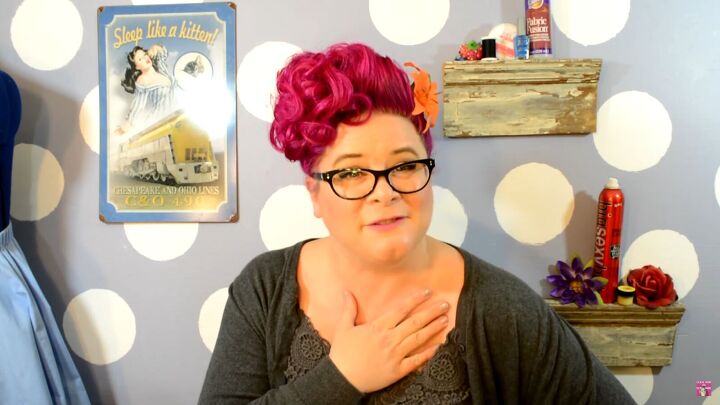
DIY poodle updo tutorial
That’s it! Your poodle updo is complete! What do you think? Thanks for joining me, and I hope you have fun doing this chic and sleek vintage updo. Let me know what you think of this poodle updo tutorial in the comments below. Have fun styling!
The author may collect a small share of sales from the links on this page.


Comments
Join the conversation
I LOVE your pink hair!