Easy Pumpkin Nail Art Tutorial for Fall and Halloween

Hi everyone. Today, I’m going to show you how to create a spooky pumpkin nail art look for Halloween.
This design is super simple but looks completely awesome for the spooky season. Let’s jump into it.
Tools and materials:
- Black nail polish
- Silver nail polish
- Clear orange-tinted top coat
- Nail dotting tool
- Fine line brush
1. Apply a black base coat
Start off with a black base coat. You may find you need two coats.
2. Create your pumpkin
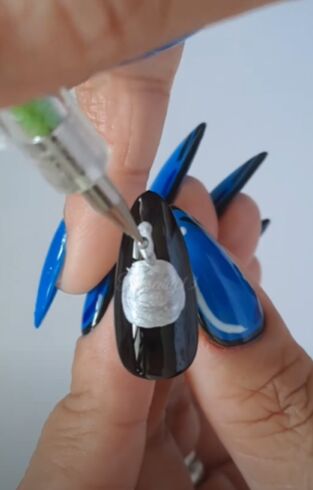
Using a silver polish and a nail dotting tool, draw a circle in the center of the nail.
Then, add a small dot above this circle. Connect the dot and the larger circle with a line to create a stem for your pumpkin.
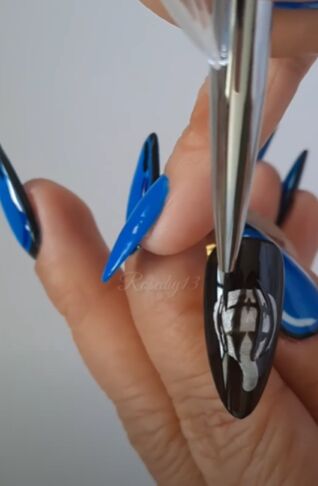
Take a black polish and a fine nail brush and add three lines to the pumpkin. Then, add on some triangular eyes and a mouth.
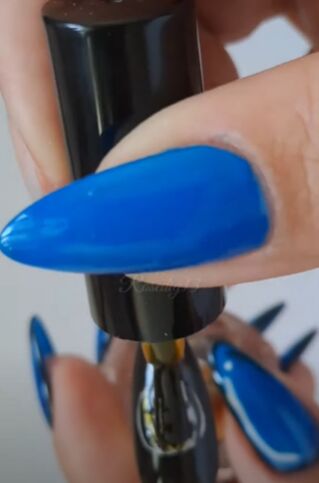
3. Apply a top coat
Then go ahead and add a top coat to seal everything in.
I opted for an orange-tinted clear polish to make the design look extra Halloweeny.
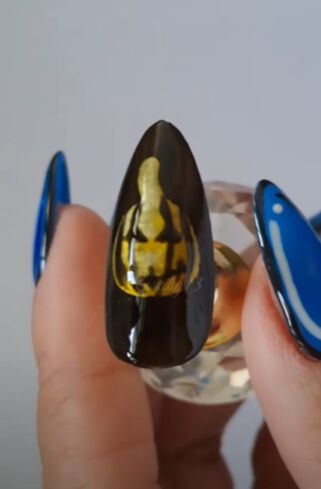
Pumpkin nail art
And you’re done! How cute is this pumpkin nail art. I’m so pleased with how it came out.
If you enjoyed this tutorial, please leave a comment down below. What’s your favorite way to celebrate Halloween?
Next, check out these 6 Easy Home Remedies to Make Nails Grow Faster & Stronger.
The author may collect a small share of sales from the links on this page.


Comments
Join the conversation