Easy Nail Art Tutorial With Dried Flowers

If you love to DIY your manicures at home, what better way to get a gorgeous, floral print than to use actual flowers?!
Follow along with my step-by-step tutorial for the perfect nail art with dried flowers.
Tools and materials:
- Protective gloves
- White gel polish
- Blue gel polish
- UV/LED lamp
- Detail brush
- Dried flowers
- Curved tip tweezers
- Nail scissors
- Clear gel polish
- UV/LED lamp pen
- Nail sequins
- Pickup tool
- Top coat
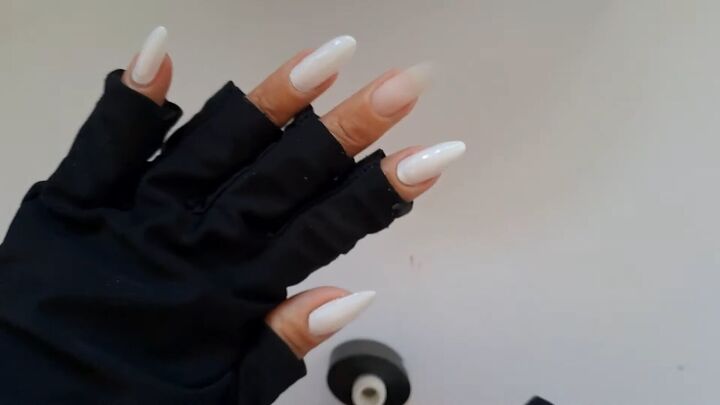
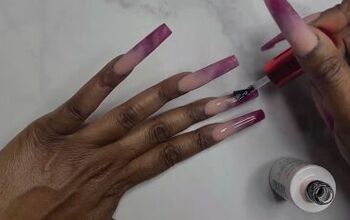
1. Paint 4 nails white
On 1 hand, paint all the nails with white gel polish except the middle finger nail.
2. Paint the middle nail blue
Apply a deep blue shade of gel polish (or whatever shade matches your dried flowers) to your middle finger nail.
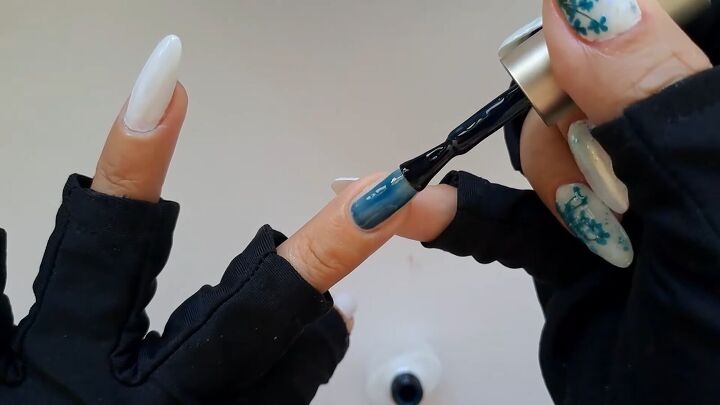
3. Make a grassy pattern on 1 white nail and cure
While the nails are still wet, use a detail brush, dipped in the blue polish, to draw stems on 1 of the white nails.
It’s okay if the brush picks up some of the white color.
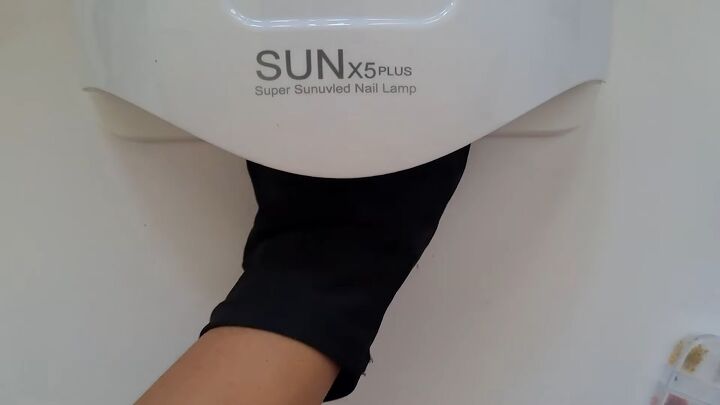
Then cure the nails, except for the thumb, for about 30 seconds.
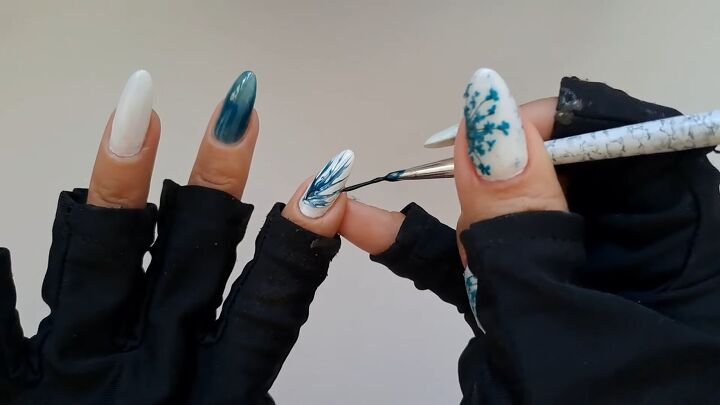
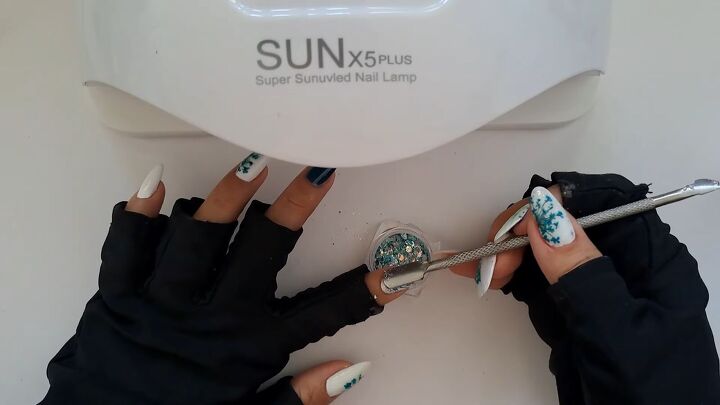
4. Add dried flowers
Use pointed tip tweezers to pick up dried flowers. Cut the round shape in half with nail scissors.
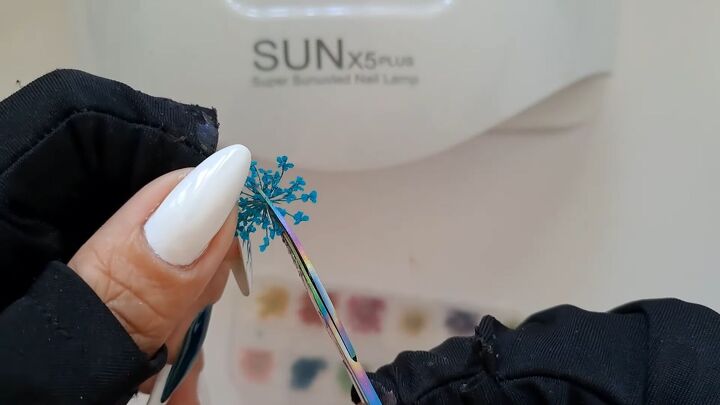
Align the flat side against the right edge of your thumb nail.
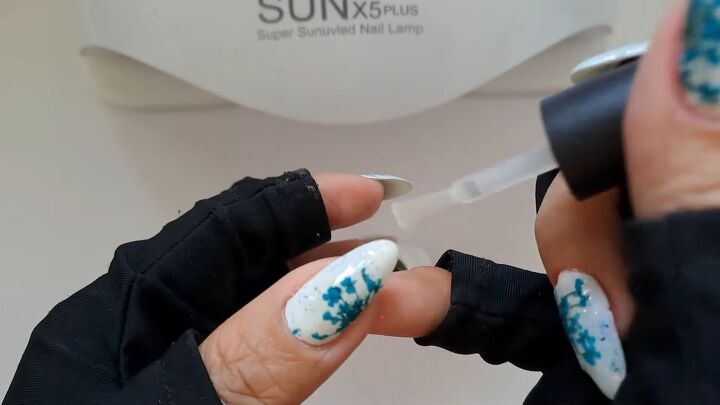
Add some clear gel polish under the other side of the flowers.
Gently press down each piece to the nail.
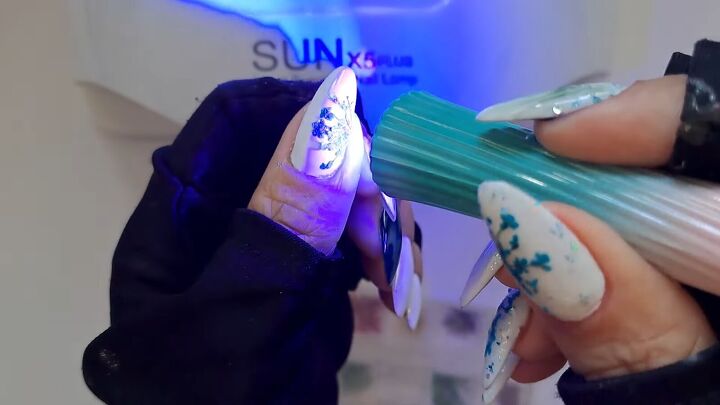
5. Cure the thumb nail
Use a UV/LED lamp pen to pinpointedly cure only the thumb nail for up to 30 seconds.
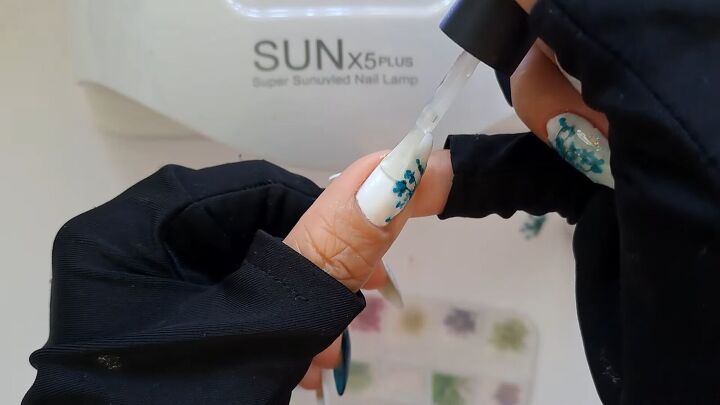
6. Paint a top coat
Cover the thumb nail with a clear top coat.
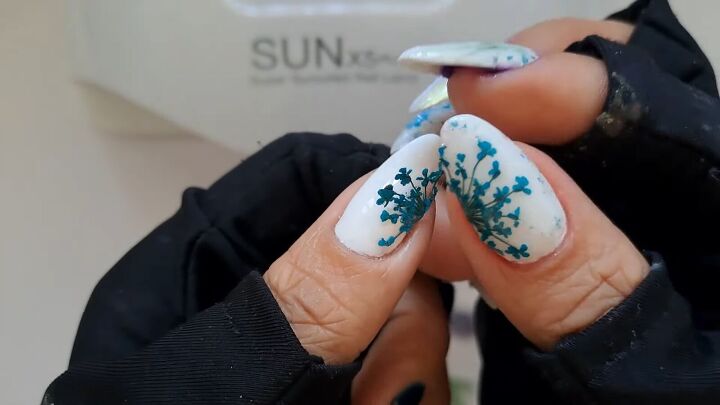
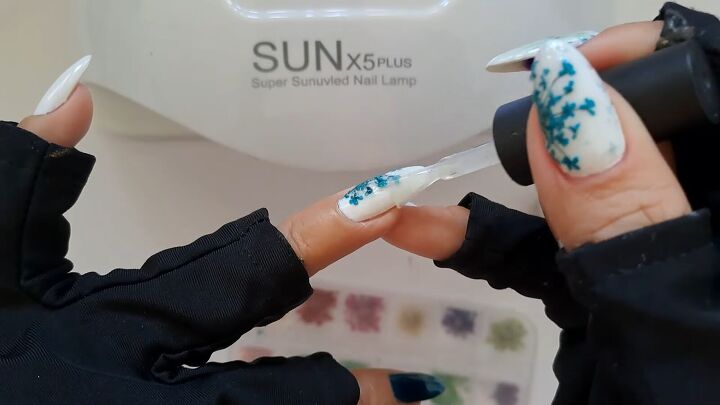
7. Add more flowers
Repeat the same process for the other white nails.
This time, adhere the flat side of the flowers to the left edge of the nail for variety. Then cure.
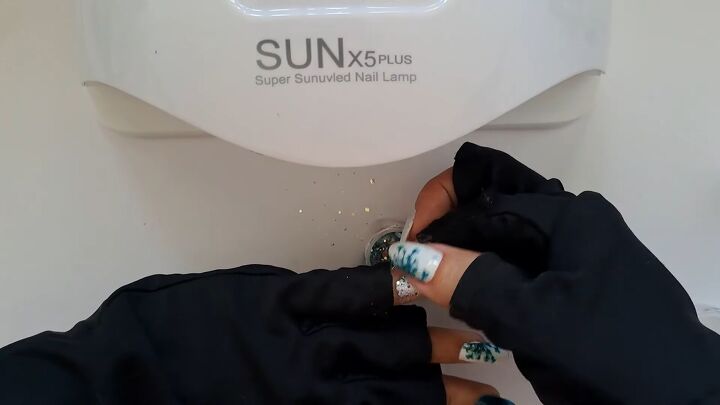
8. Add nail sequins
Use a pickup tool to collect some silver nail sequins.
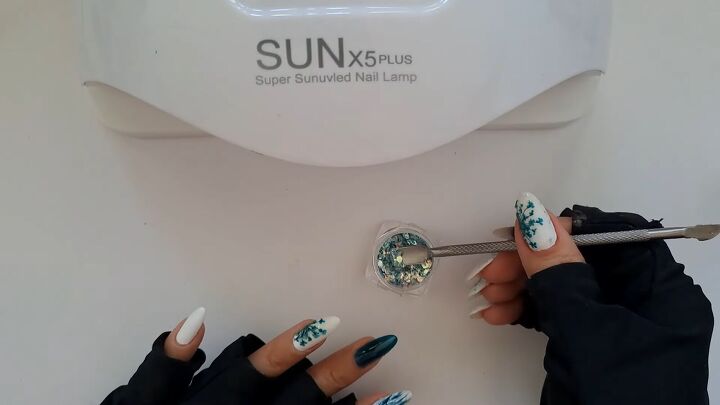
Press them up toward the nail bed on the nail with the leaf pattern.
Pour a decent amount at the nail bed of your pinky finger. Then press on the glitter with your finger.
9. Add a white flower to the blue nail and cure
Grab a white flower and place it on the blue nail.
Apply some clear gel on top of it. Press down any parts sticking out, or pinch them off with your tweezers.
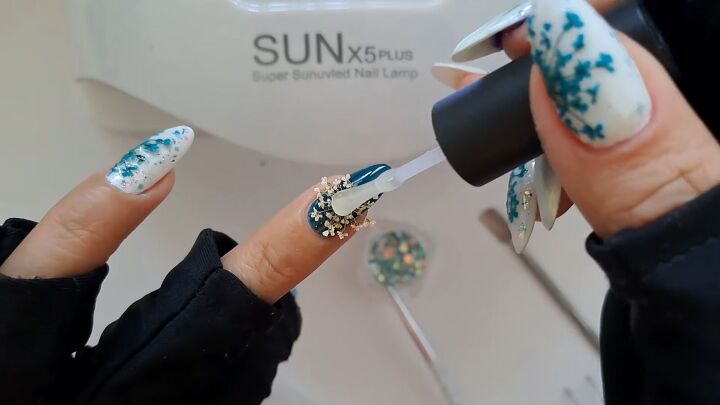
Spot cure the nail.
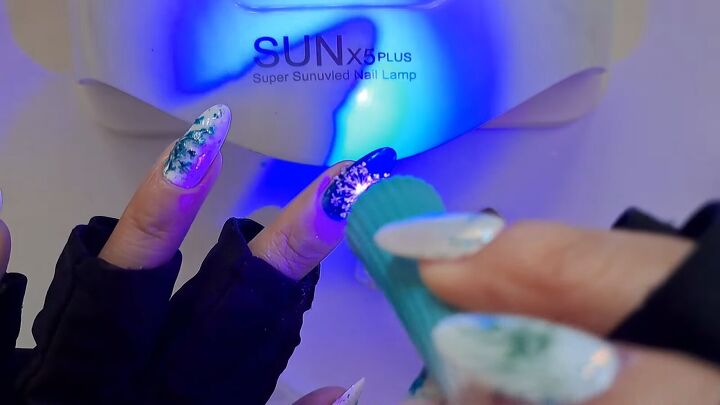
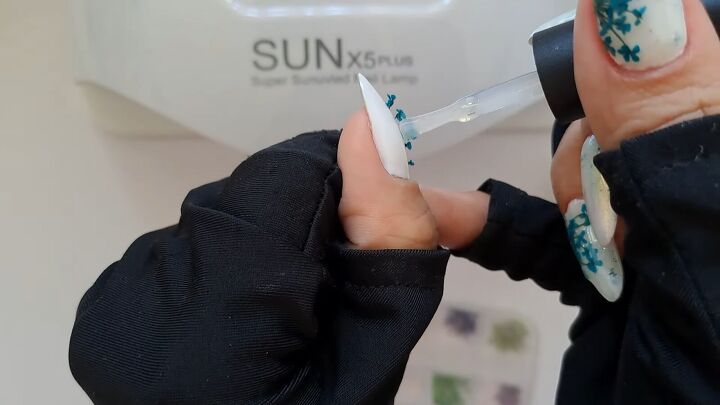
10. Apply top coat and cure
To seal everything in, apply a top coat to all the nails. Don’t forget to cap the ends too. Then cure all the nails.
Repeat the process for your other hand and you’re done!
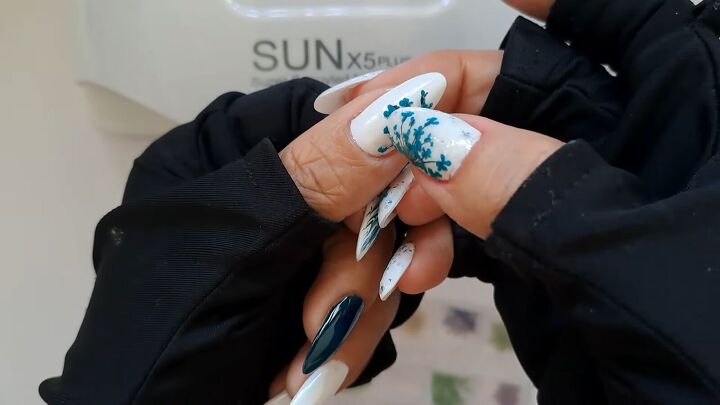
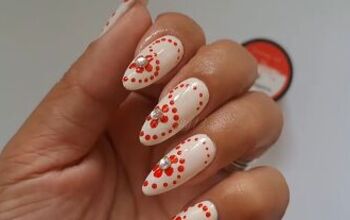
Here are the amazing results of this dried flower nail design:
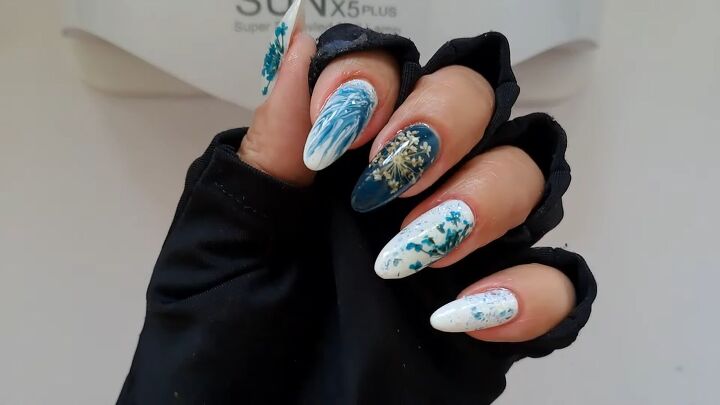
DIY dried flower nail design
Let me know what you thought about this nail art with dried flowers!
Next up, check out how to create festive santa belt nails in 7 simple steps.
The author may collect a small share of sales from the links on this page.


Comments
Join the conversation