Easy Purple and Pink Nail Art Tutorial

Hey lovelies! If you’re looking for nail art for beginners, follow along with my step-by-step tutorial for this purple and pink nail art. Let's get started.
Tools and materials:
- Acrylic nail set
- Rubber base coat
- Purple, white, sparkle and pink/nude polishes
- Nail lamp
- Nail brush
- Electric file
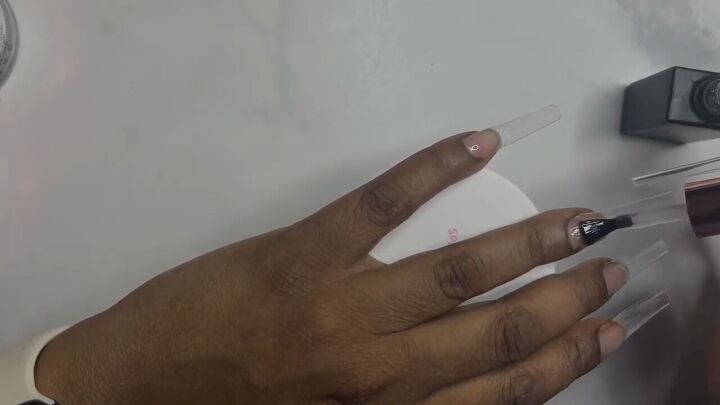
1. Apply a rubber base coat and cure
After attaching your acrylic nails, apply a generous but not too thick layer of rubber base coat to the nails.
This way, when it’s time to remove the manicure, I can file down to the rubber base as opposed to my natural nails and I can change my design more frequently. Once painted, cure under the lamp.
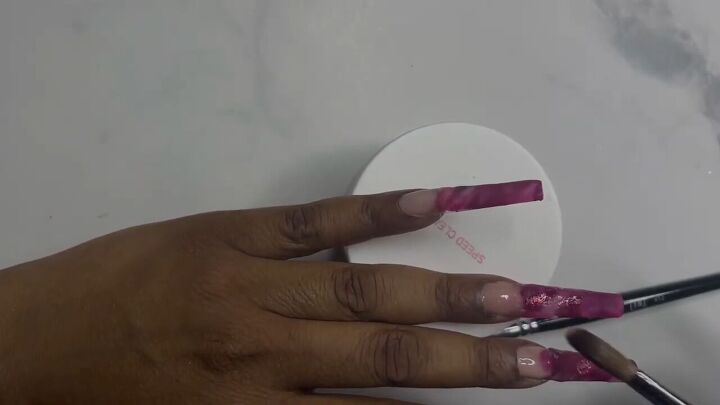
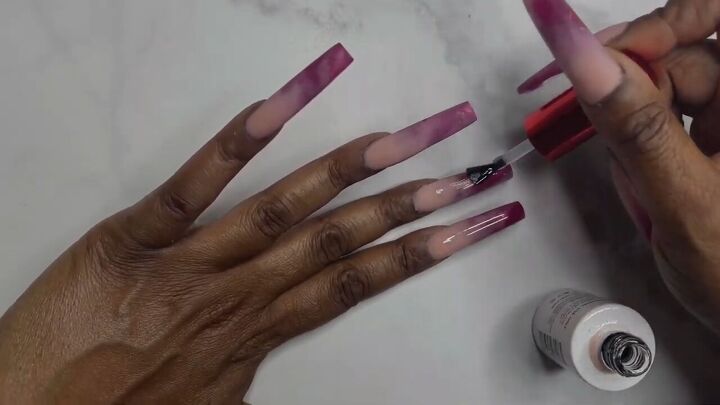
2. Apply purple and white polish to the bottom ⅔ of the nails
Apply a purple polish color but make sure it’s not too bulky, especially at the side walls.
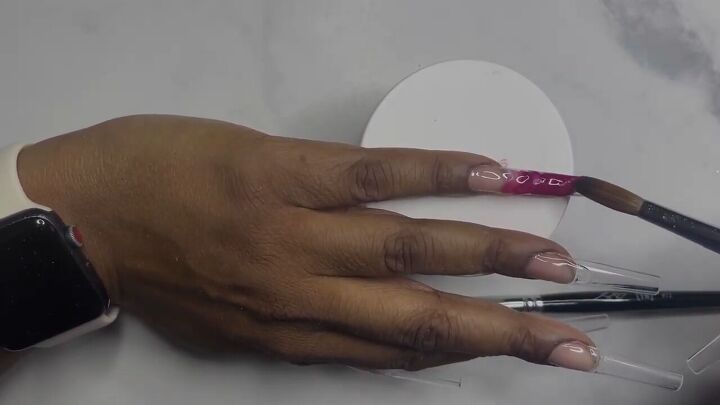
Add in a milky white polish randomly while the purple is still wet for a marble-like effect.
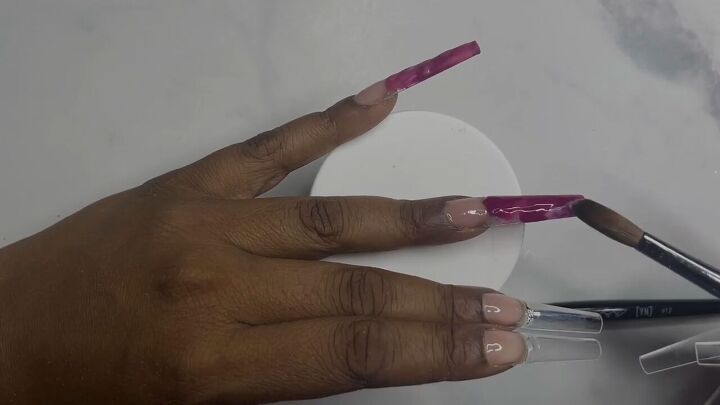
As you can see, there is no specific way to do this marbled/watercolor effect.
You don’t need to start in any particular spot on the nail. Just fill in with purple and white as you go. The messier the better!
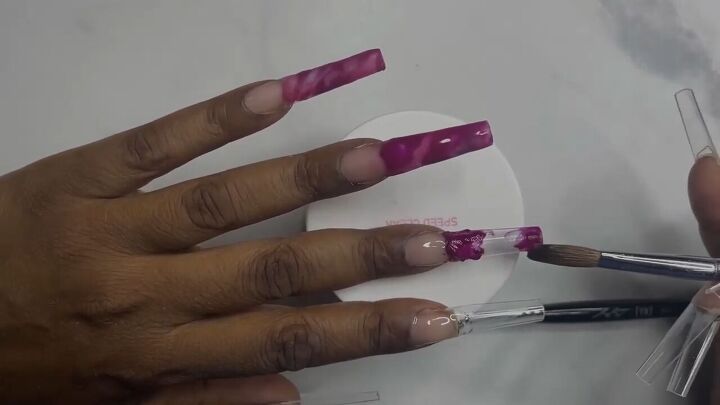
You can also sprinkle in some streaks of a pinkish sparkle polish throughout.
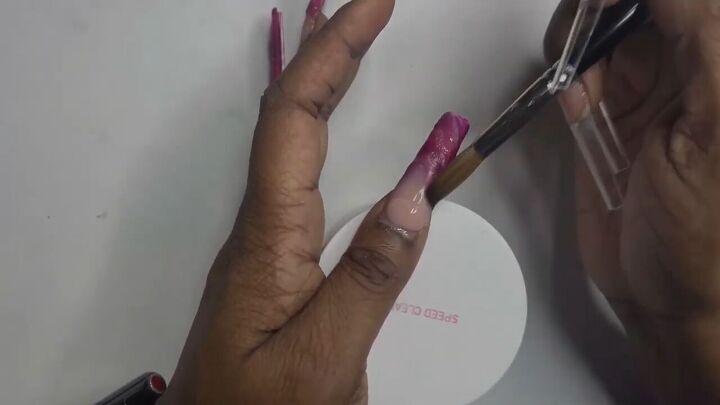
3. Create an ombre effect
From the cuticle toward the painted part of your nails, add in a nude color for a gradual, ombre effect. The exact starting point of the transition is up to you.
This manicure style is so forgiving, which is why it’s excellent for beginners! Any lumps and bumps are okay at this point.
You want the acrylic polish to lay on thick so that there’s enough color to file down for a smooth finish.
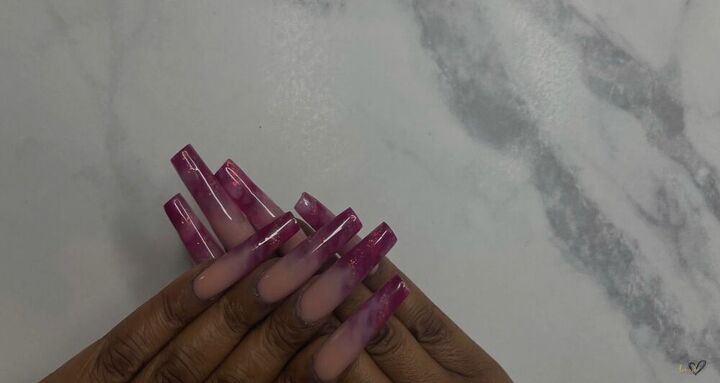
4. File
These are the nails before filing:
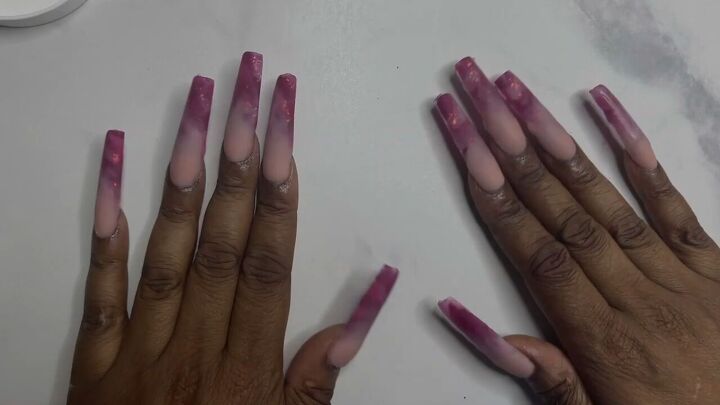
Use an electric file to smooth out the manicure. It might take a bit longer than usual to file these since we really laid the polish on thick. Here’s how they look after filing:
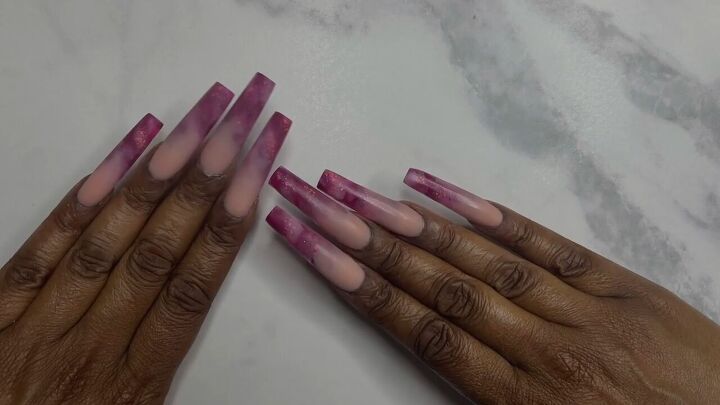
5. Apply a top coat and cure
Next, apply a top coat to seal in the pink and purple nail art, then cure the nails.
Easy purple and pink nail art
The elements of this pink and purple nail art: Ombre, water color and marbling, are all so forgiving for the beginner acrylic nail lover.
If you loved this tutorial, check out how to make these Tik Tok trending pink glazed donut nails next!
What would you like to see next? Leave a comment!
The author may collect a small share of sales from the links on this page.


Comments
Join the conversation