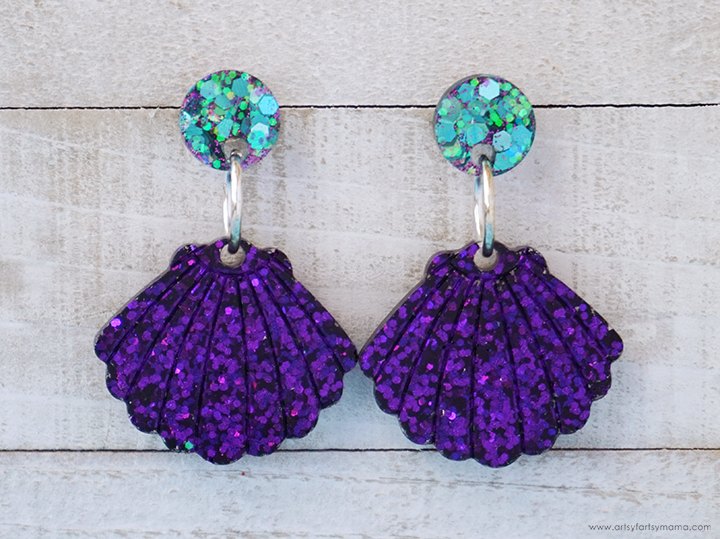
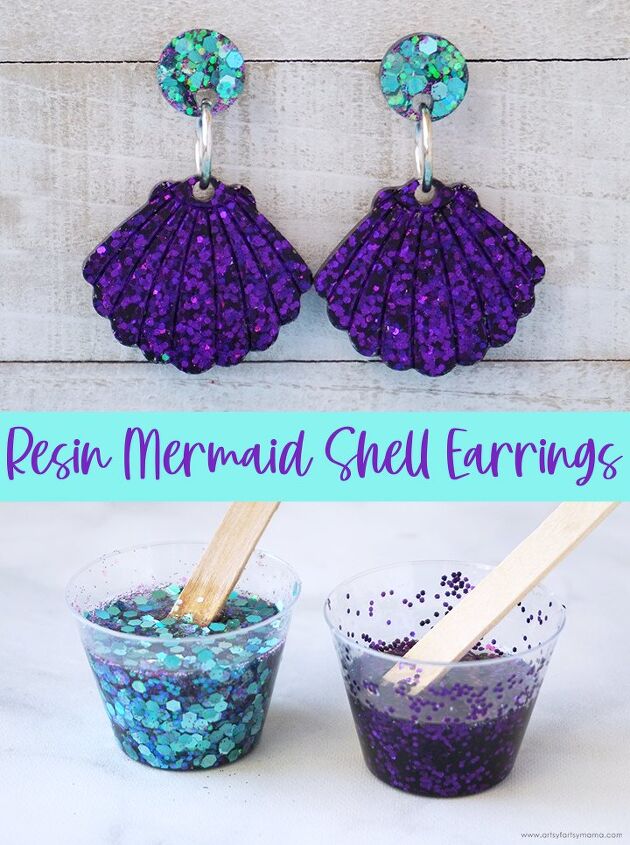
Resin Mermaid Shell Earrings
$20
1 Hour
Easy
Make a splash with these Mermaid Shell Earrings made with glitter and resin!
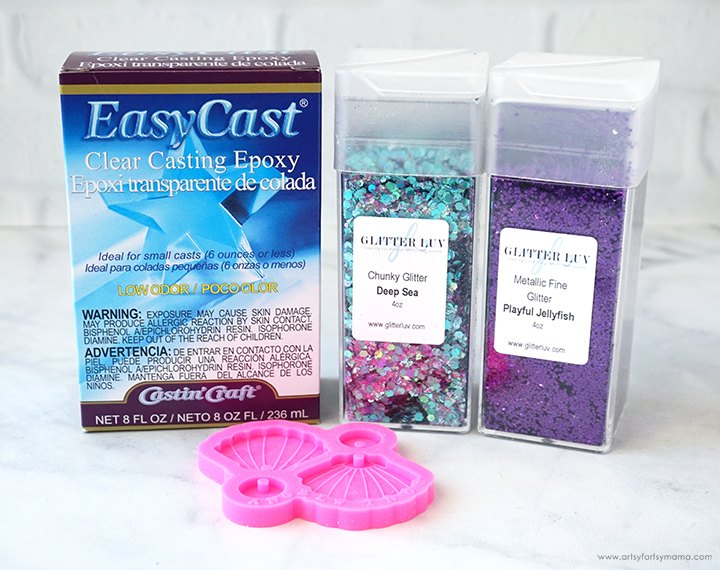
- EasyCast Clear Casting Epoxy
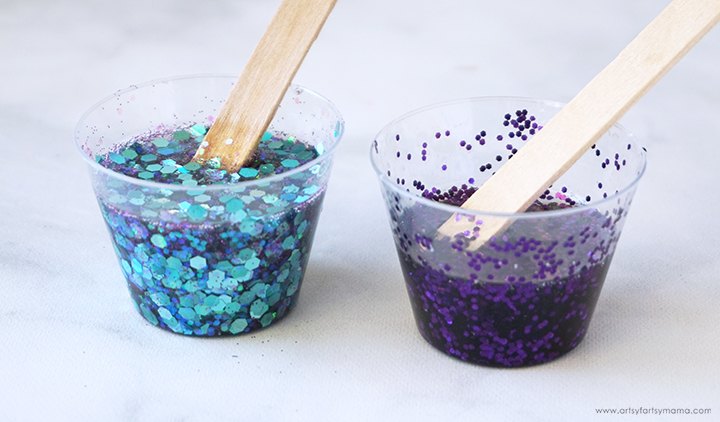
- Measuring Cups
- Stirring Sticks
- Disposable Gloves
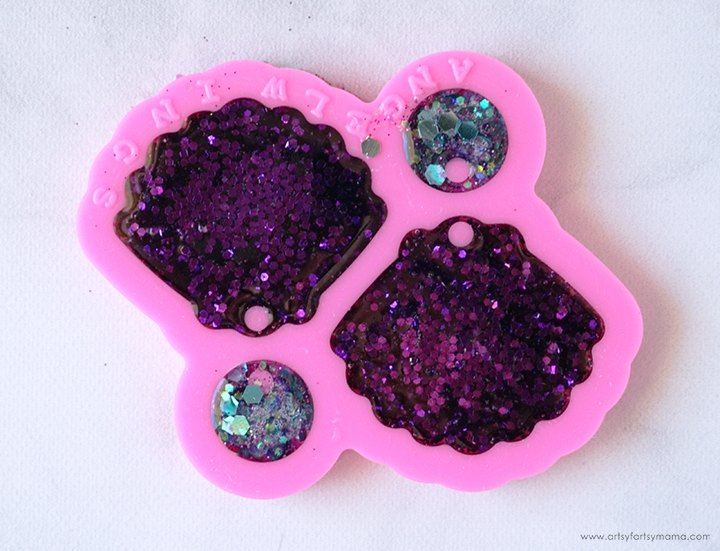
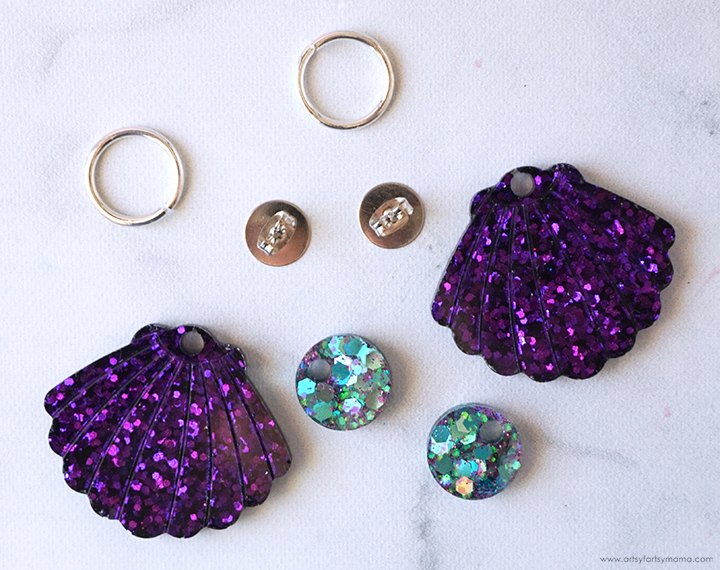
- Silicone Shell Mold
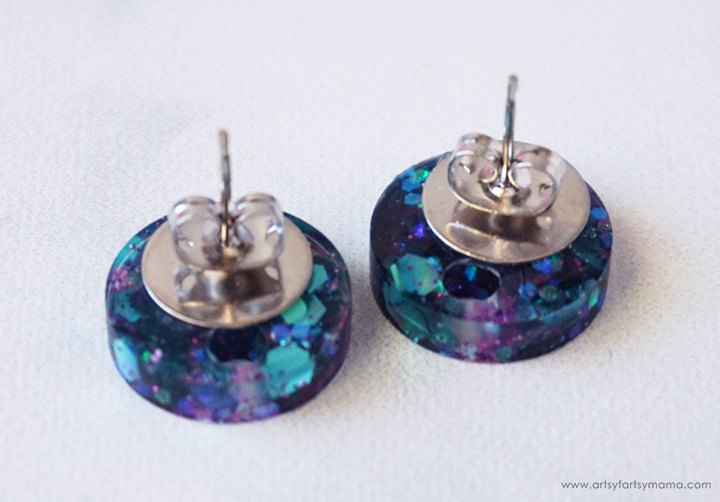
- Glitter - I got these gorgeous colors from the June Glitter Luv Subscription Box!
- Jewelry Pliers
- 2 Earring Posts + Backs
- 2 10mm Jump Rings
- Strong Adhesive


The author may collect a small share of sales from the links on this page.

Want more details about this and other fashion and style ideas? Check out more here!


Comments
Join the conversation
These are stunning! Are they heavy? (My old ears have been dragged down to a very thin place to hang anything on.)
Love the colors you chose.