Resin Earring Ideas: DIY Mermaid Earrings

These gorgeous, mermaid colored earrings are so fun to make!
If you need resin earring ideas, let me teach you, step by step, how to make a pair in this tutorial.
Tools and materials:
- Safety mask and gloves
- Newspaper for work surface
- Epoxy resin
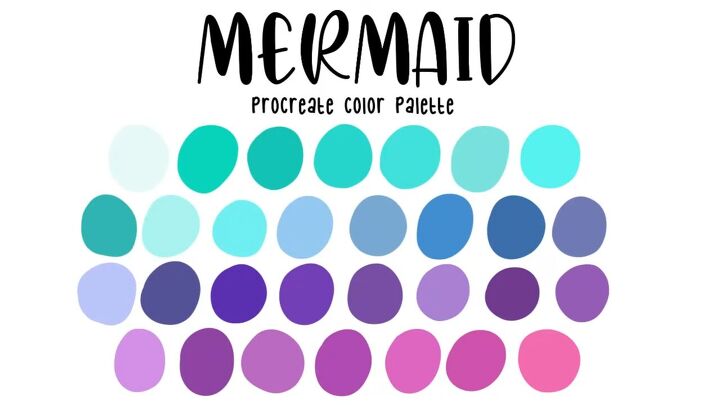
- Pink, purple, teal and light teal glitter
- Earring molds
- Measuring cups for resin
- Disposable spoons
- Popsicle sticks
- Rubbing alcohol in a spray bottle
- Sandpaper
- Curved nose pliers
- Straight pliers
1. Prep
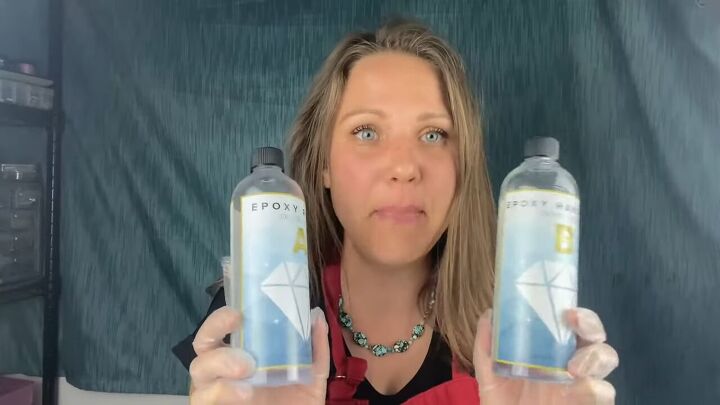
Put on your safety mask and gloves. Mix your 2 part epoxy (A+B), stirring slowly for 5 minutes. I made 100 ml of epoxy resin.
2. Divide your epoxy resin
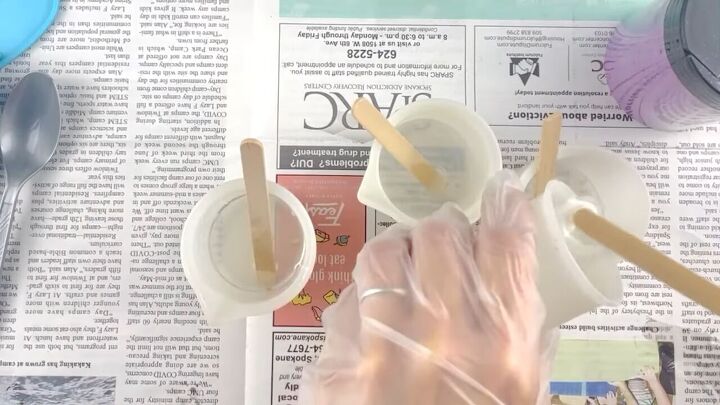
Pour about 20 ml of epoxy resin into each measuring cup.
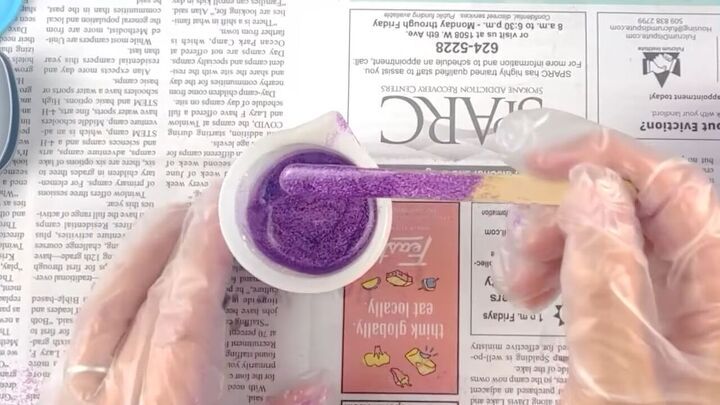
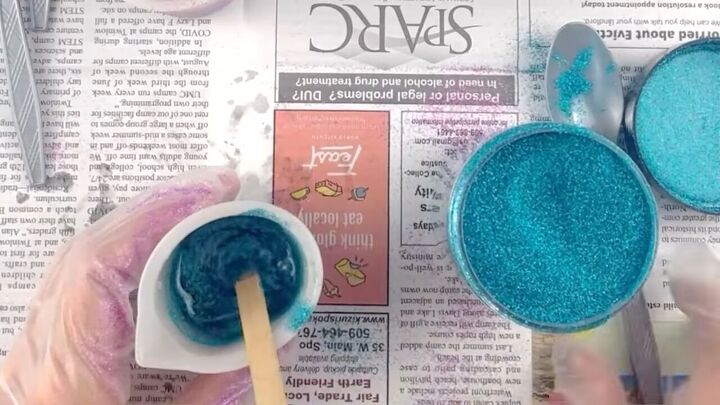
3. Pour your glitter
Move 3 of your resin measurements out of the way so that no glitter flies into it.
Then pour about 2 tablespoons of your first glitter into a resin cup.
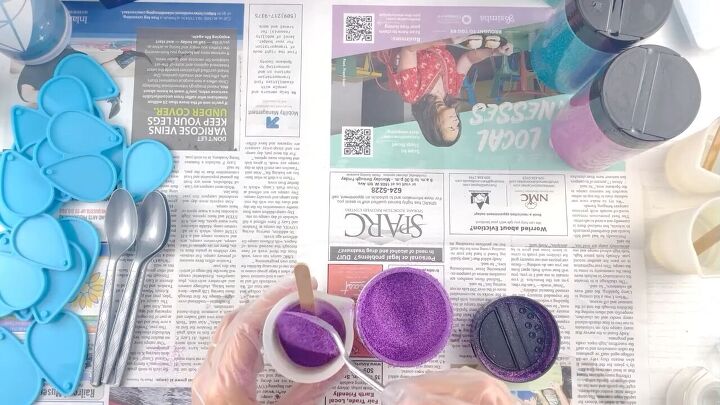
Stir the glitter well with a popsicle stick.
To test if you used enough glitter, lift the stick to see how it looks when it drips.
If it looks too transparent, just add more glitter and mix.
Mix the other glitter colors in the same way.
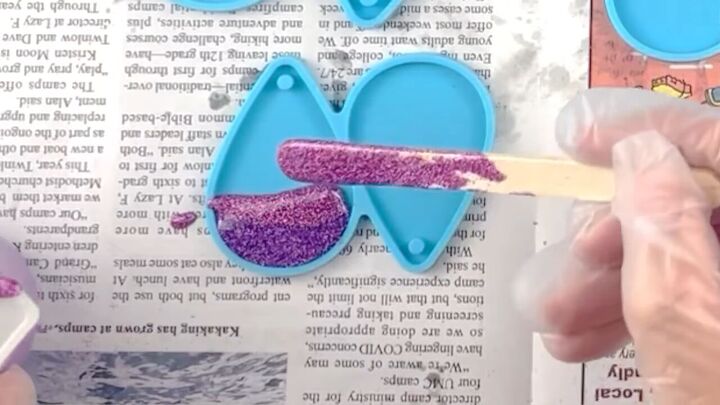
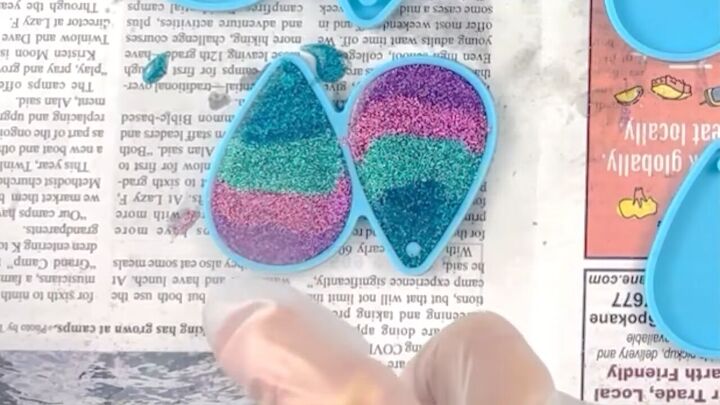
4. Pour your glittery epoxy into the earring molds
Use each color’s popsicle stick to guide each glitter color into the mold in sections.
When starting a new layer, make sure you put it right above the previous layer to stop that previous layer from spreading.
Do your best not to overfill the mold because it won’t dry as well.
Then flip the mold over and repeat. Remember to keep the same order of colors.

5. Remove bubbles and let dry
Spray rubbing alcohol on the epoxy resin to remove any bubbles.
Make as many pairs as you’d like and then let them dry for 24 hours.

6. Remove the earrings from the molds
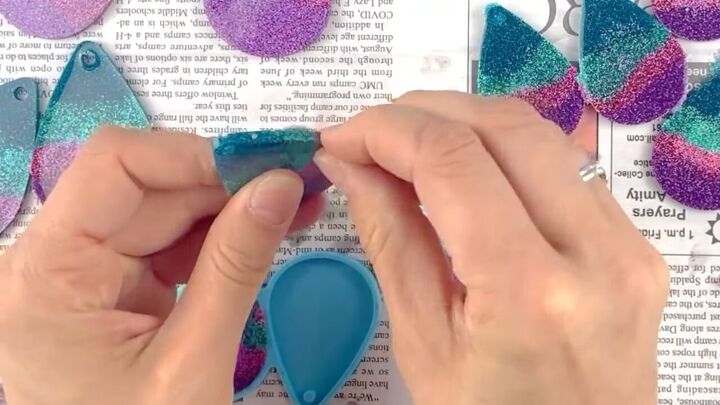
After 24 hours, remove the now dry earring shapes from the molds.
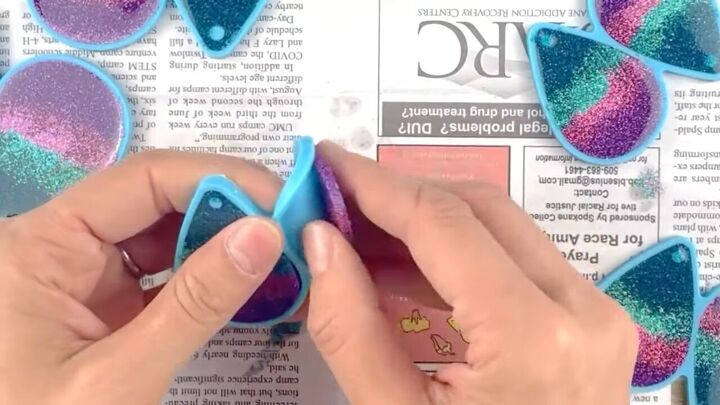
Look at each side to decide which will be the front.
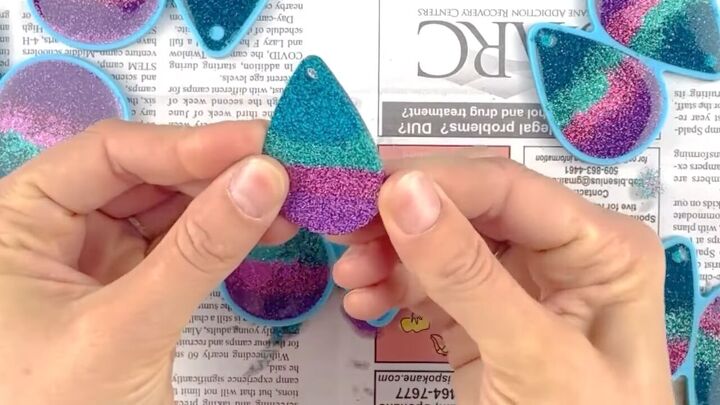
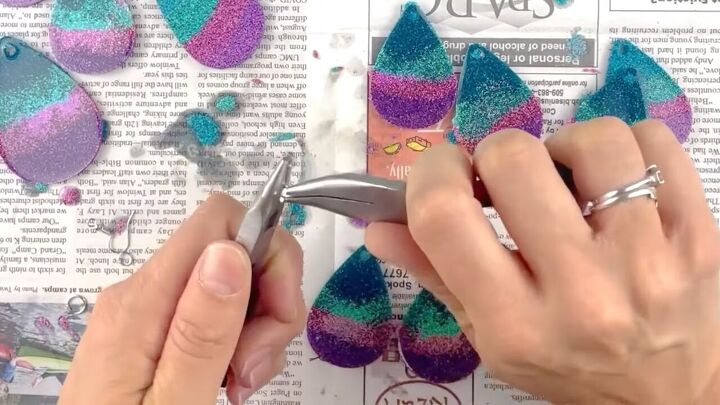
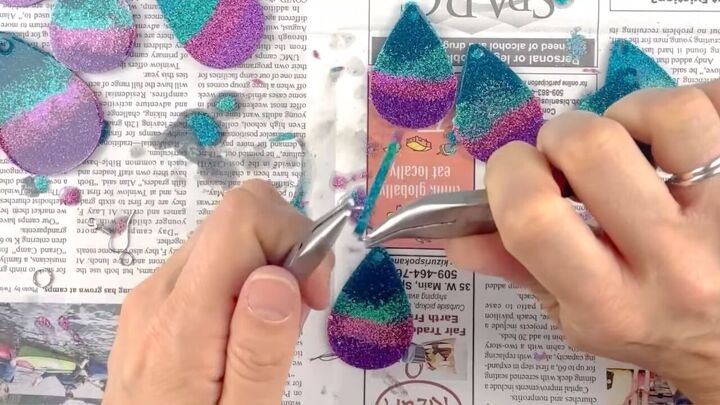
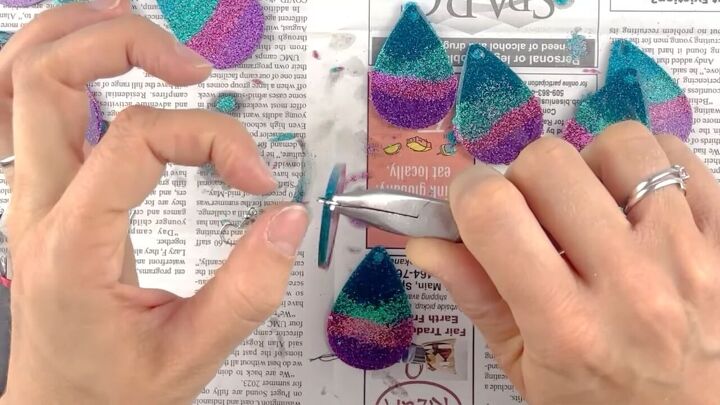
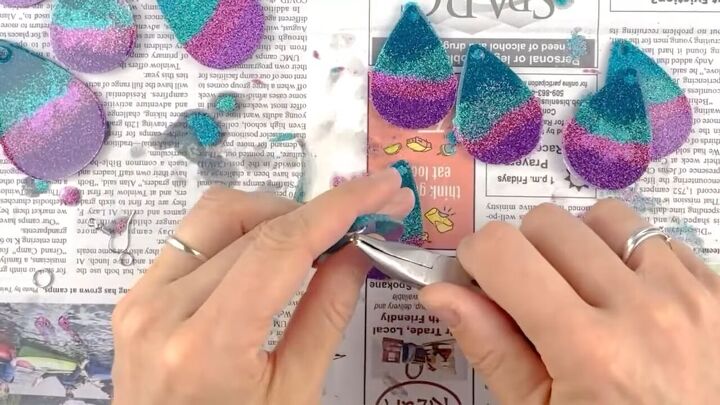
Break off any overflow from the sides.
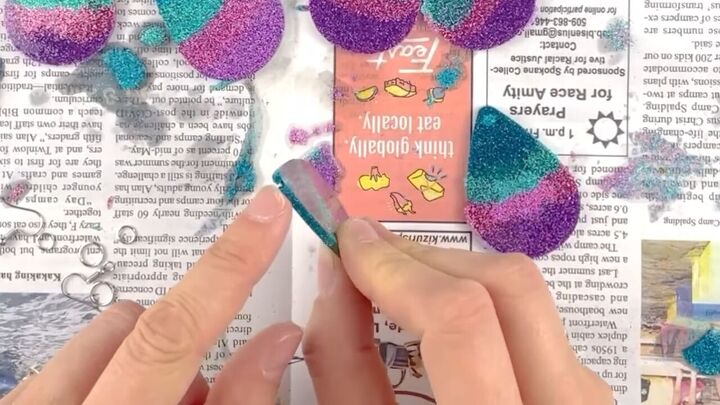
Then sand the edges at an angle so as not to remove the shine.
If any bubbles snuck up to the top and botched the earring holes, check out my tutorial to learn how to fill holes in epoxy resin.
7. Attach earring hardware
Open a jump ring by grabbing at the connection and pulling 1 pair of pliers toward you and the other away from you.
Thread it through the hole and close the jump ring in the same way that you opened it.
Make sure the connection is gapless.
Open a 2nd jump ring then thread it through the first.
Then attach the earring hook, making sure that the tip is in the opposite direction as the side that you chose to be the front of the earring.
Then close it up with pliers.

Here is the final result of these mermaid-inspired earrings:

Resin earring ideas: DIY mermaid earrings
The options are endless once you learn how to make resin earrings.
Did you enjoy this project? If so, leave me a comment down below.
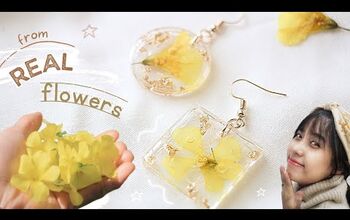
For more resin earring ideas, check out how to DIY cute resin flower earrings with me.
The author may collect a small share of sales from the links on this page.


Comments
Join the conversation