DIY Rose Slides

Need some new shoes for the summer? These DIY rose slides are the perfect pair! Completely transform a pair of simple, plain slides to create beautiful rose slides. This project is fun, easy, and super quick.
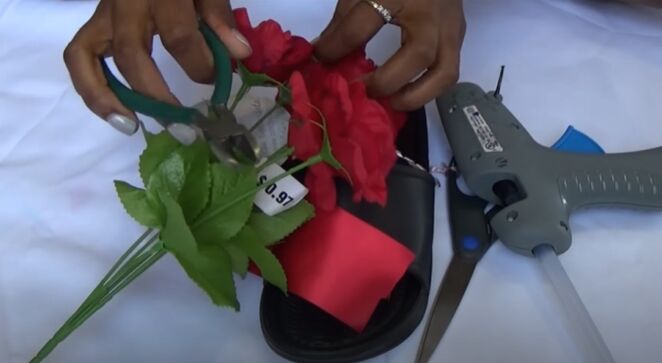
Tools and materials:
- Slides
- Red ribbon
- Rose flowers
- Pliers
- Hot glue gun
- Scissors
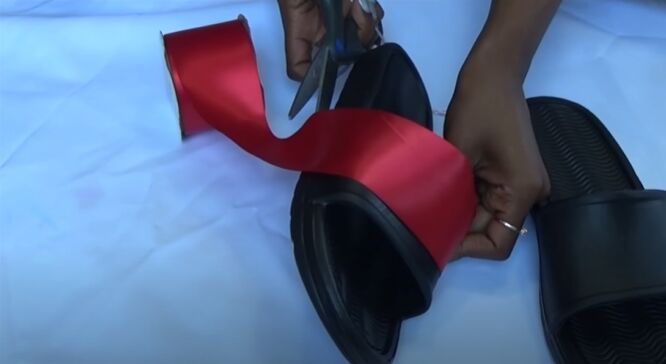
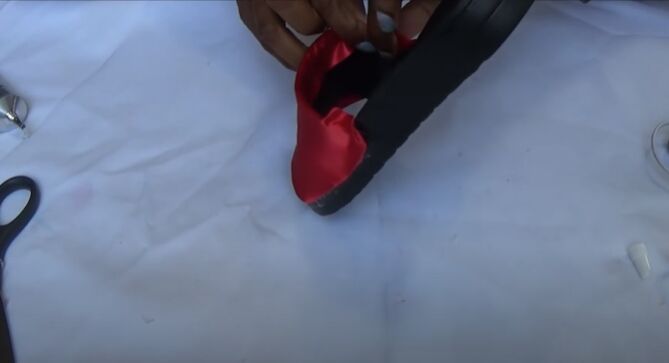
Cut the ribbon
The first step of this DIY is to measure and cut the red ribbon. Make sure that you have enough ribbon to overlap over each side of the top of the slide. Then use the piece of ribbon as a template to cut 3 more.
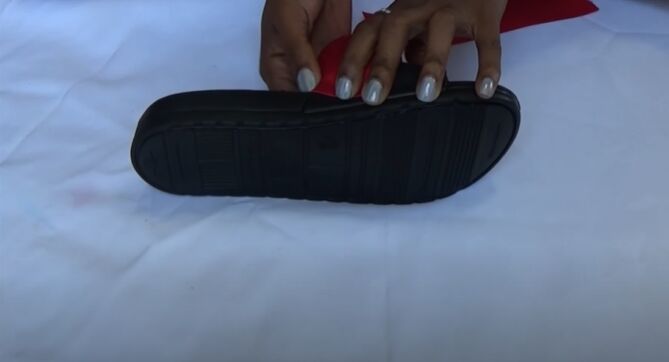
Next, place the ribbon on the top of the slide and fold a crease line into one corner.
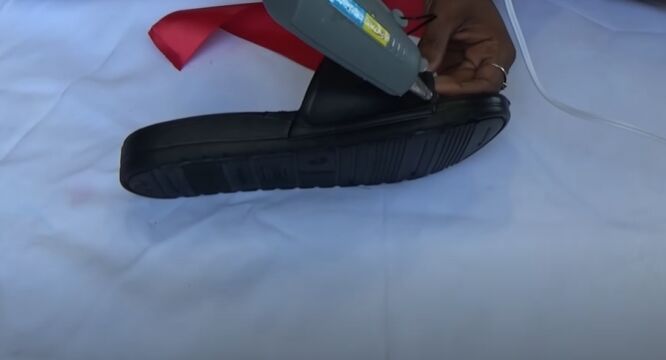
Glue on the ribbon
Apply the glue in this area and then place the folded ribbon over it, sticking it down. You’ll have to use both pieces of ribbon to cover the top of the slide. Let the glue dry before you continue sticking down the other side.
Once you have glued down the sides, put a single strip of glue on the inside and fold over the fabric to stick it down.

Add roses
Next, use the pliers to remove the wire stem from the roses.

After cutting the stem all the way down, apply some hot glue to the back of the rose to hold the petals together. Repeat this for all the roses and let the glue dry.
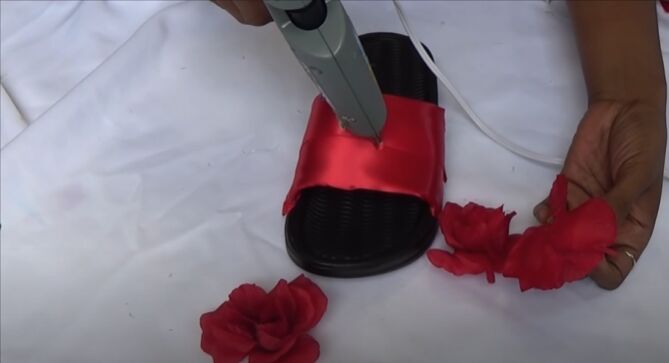
When applying them to the shoe, you want to make sure you have your largest flower in the center of the shoe. Apply some glue to the center and stick the rose in place.

Once the flower is in the center you can reinforce it by adding some glue under the bottom petals. Then go ahead and add the other two flowers to the shoe. Try and fill up the shoe so that the ribbon shows as little as possible.
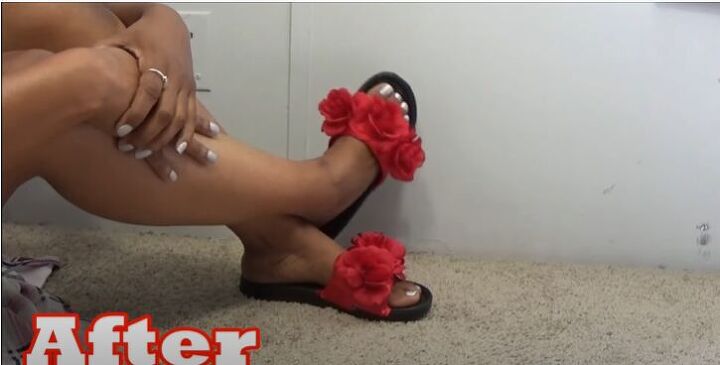
Let the glue dry and you will have yourself a pretty pair of rose slides! Share your thoughts on this DIY project in the comments below!
The author may collect a small share of sales from the links on this page.


Comments
Join the conversation
Going to walmart and buying several pr to do different colors
I love them!