How to Do Super Cute Rose Embroidery on Canvas Shoes

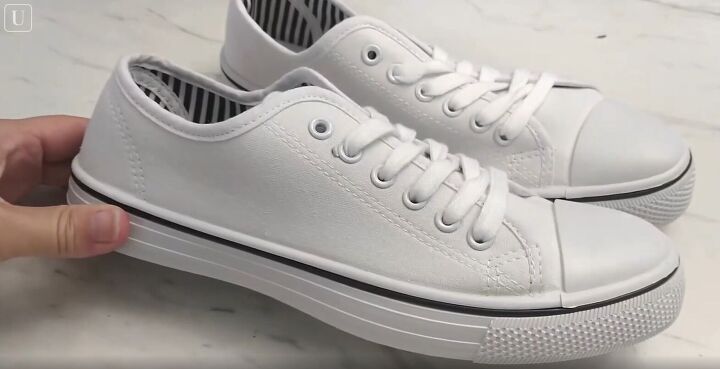
Let’s dress up these plain, white canvas shoes with some rose embroidery designs. If you don’t know how to embroider on shoes, this quick tutorial is for you. Let's get started.
This post was transcribed by a member of the Upstyle editorial team from the original UpstyleTV video.
Tools and materials:
- White canvas sneakers
- Pencil
- Needle
- Embroidery floss in a few colors (for flowers) and green (for leaves)
- Mod Podge
- Paint brush
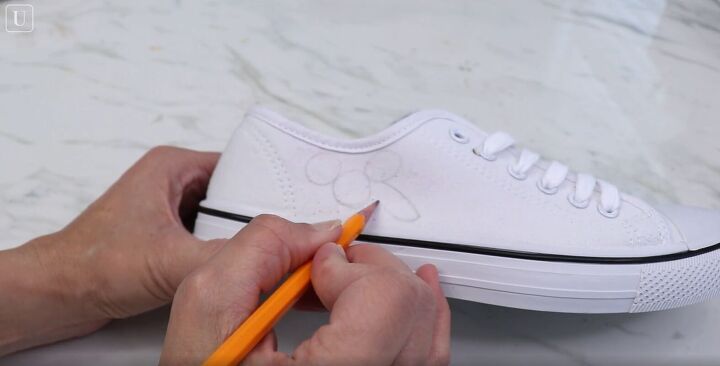
1. Sketch the design
Draw three circles and two leaves with a pencil.
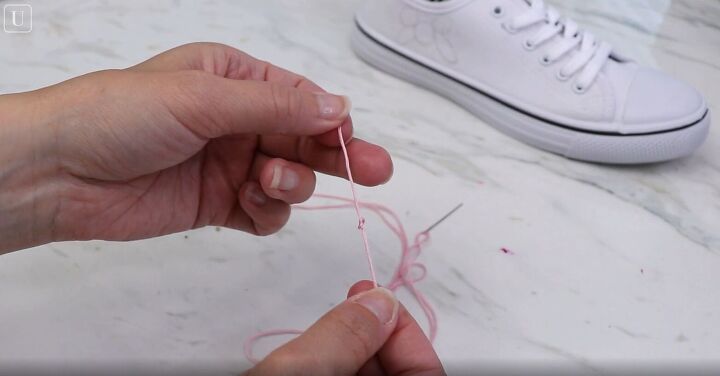
2. Begin sewing
Thread a needle and double the embroidery floss back just a couple of inches, then at the very end, tie a knot.
To begin sewing, poke the needle through the center of one of the circles, from the inside of the shoe, then pull the string all the way through.
Complete one stitch toward the edge of the circle, like this:

3. Sew a 5-point star
Sew a 5-pointed star using the outside of the circle as a guide.
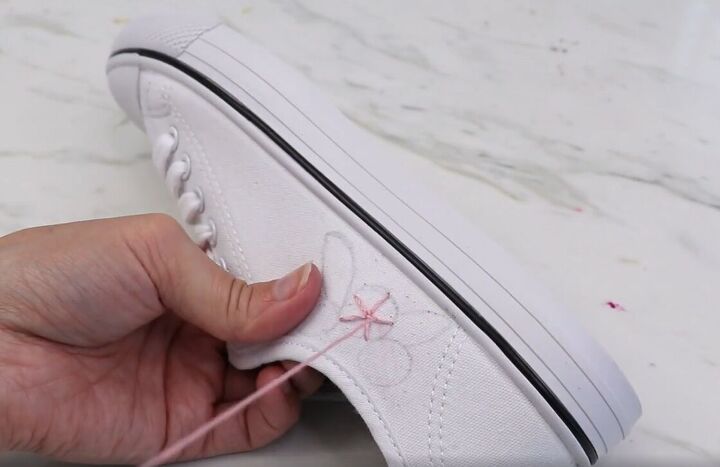
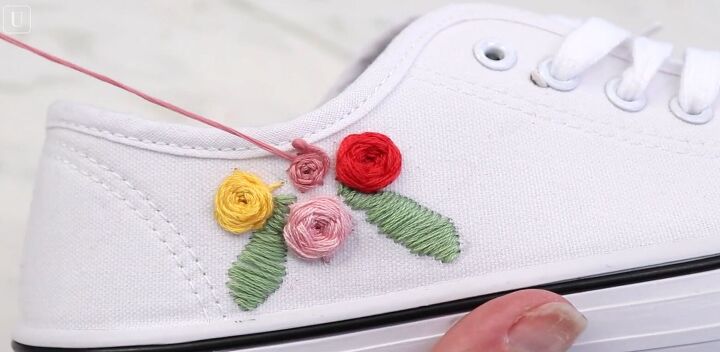
4. Sew a rose
Now that you have all 5 points, bring the needle back up through the center and weave the stitches around the center of the star.
Essentially, you should take the needle under one of those points, not through the canvas, but just under the embroidery floss.
Then, switch off going over and under the next points. (See video 0:24 - 0:50)
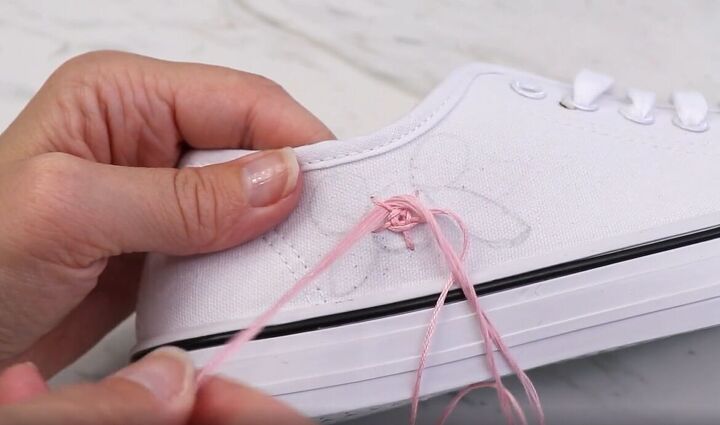
Continue that over-under pattern until you’ve filled the entire circle, covering all the spokes of the star.
Then, you should have a beautiful rose, like this one:
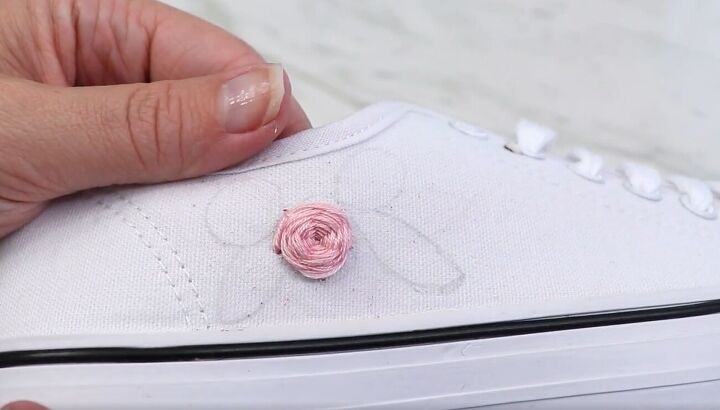
To finish up the rose, pull your needle through the center, back down through the canvas to the inside of the shoe, snip off the end and tie.
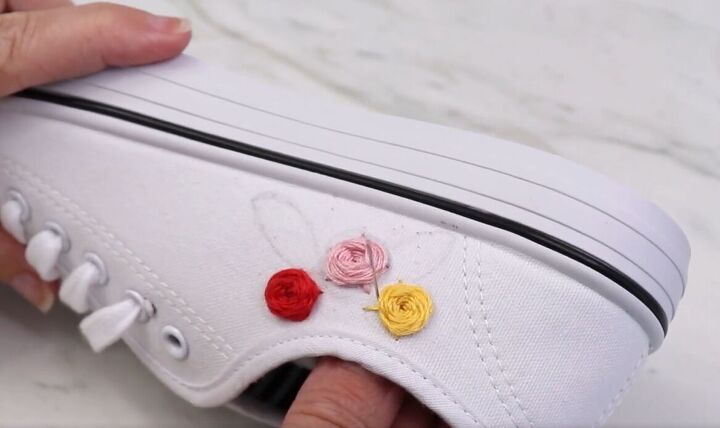
Repeat this same technique for the other two rose circles in a few different colors.
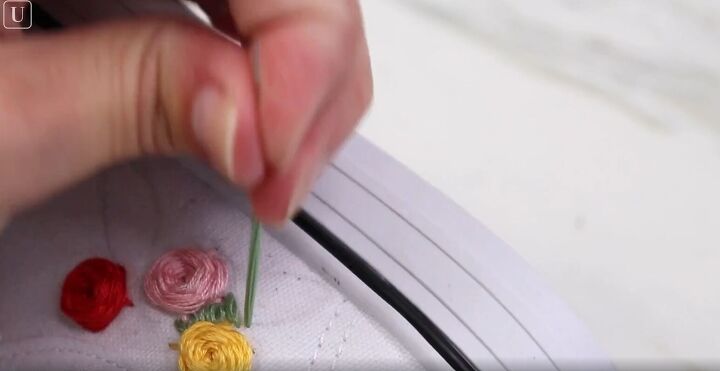
5. Fill in the leaves
With your green thread, sew a satin stitch to fill in the leaves. It’s a simple, back and forth stitch.
Start by coming up through the inside, then back down on the other side of the leaf. If you’re unfamiliar, see the video 1:30 - 1:55.
It’s turning out really beautifully. I decided to add one more, smaller rose to the composition. Tweak yours as you see fit.
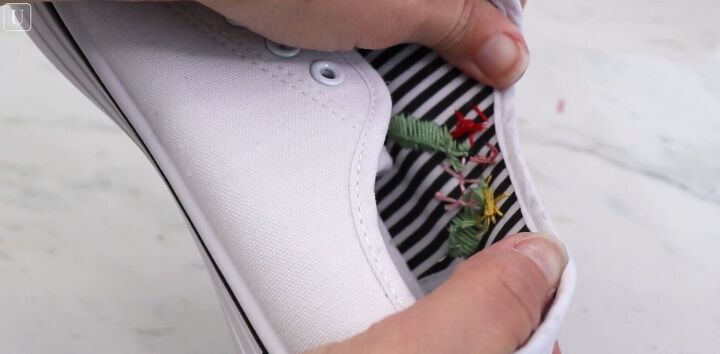
Here’s how the embroidery looks from the inside:
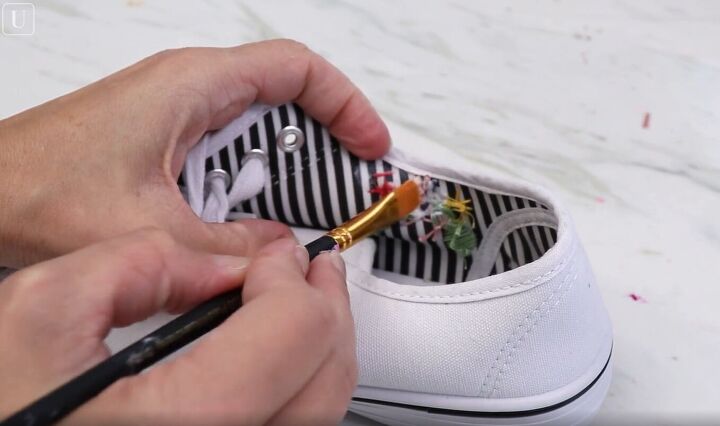
6. Seal with Mod Podge
On the reverse side of the embroidery, paint over the thread with modge podge.
Start with one light coat, let it dry and then go back and add a couple more. This will ensure that the strings and knots stay in place, even when you put the shoes on and take them off.
Rose embroidery
Now you have some really cute, custom embroidered shoes! These beginner stitches are easy enough for everyone to try.
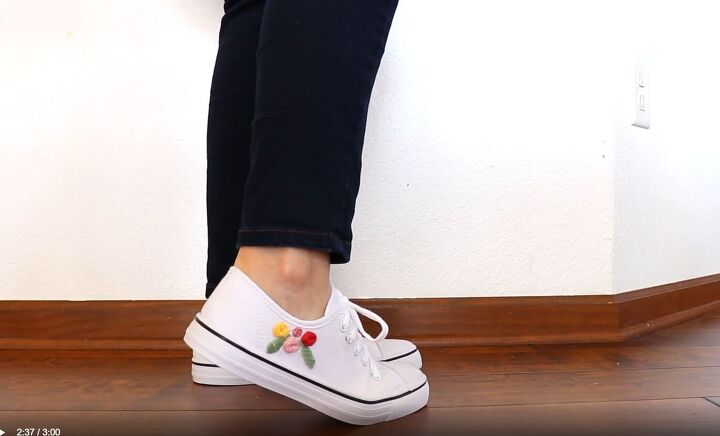
Now that you’ve seen how simple it is to embroider your own shoes, I hope this tutorial has inspired you to upgrade your own with rose embroidery.
Show us your results in the comments below!
How to tie dye shoes
The author may collect a small share of sales from the links on this page.


Comments
Join the conversation