From 80's Pencil Skirt Summer Suit to Shorts & Open Top Set
Dear readers,
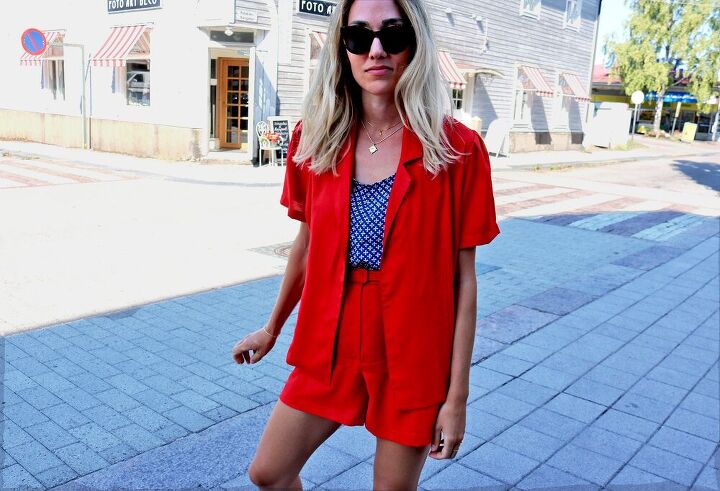
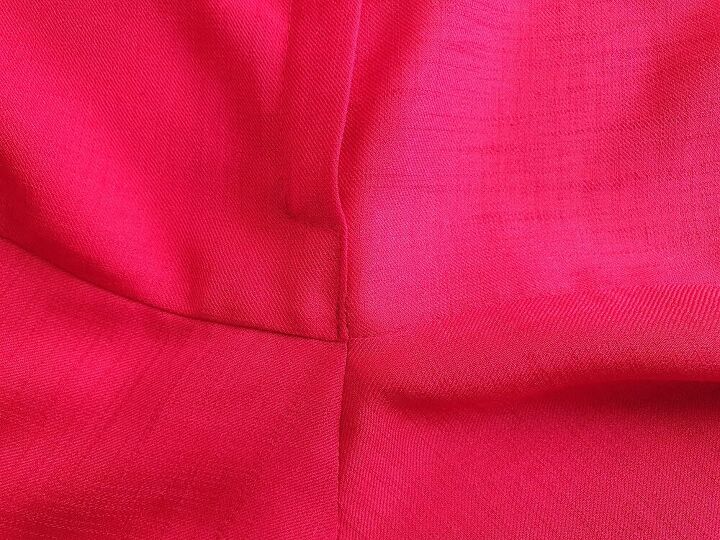
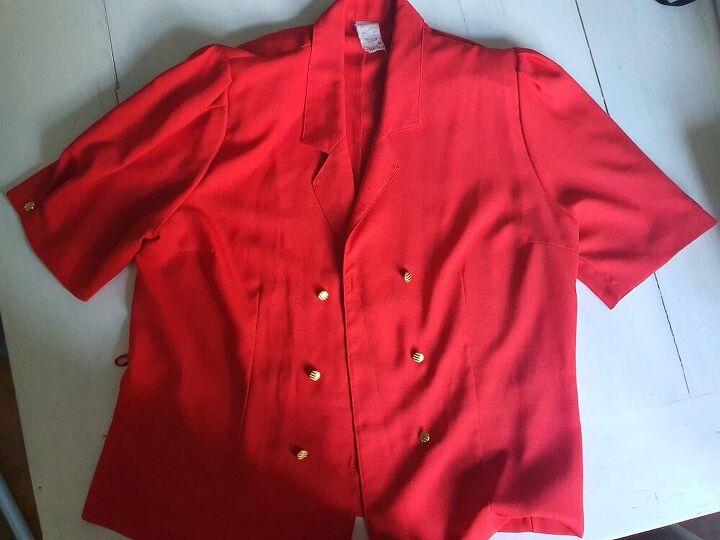
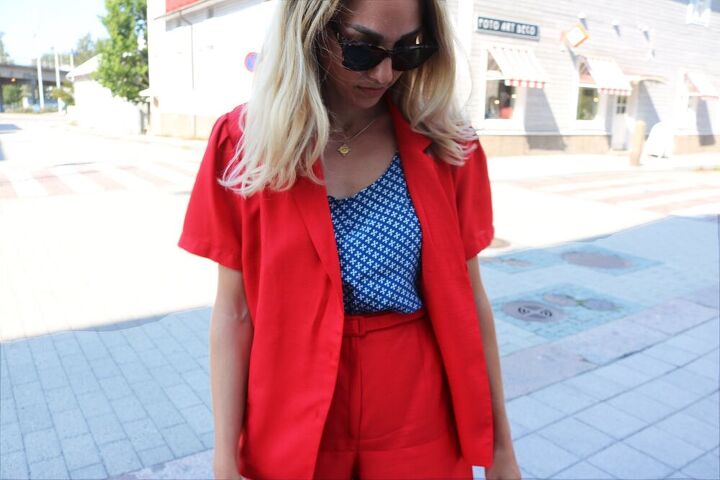
I am JUST. A. LITTLE. EXCITED about this one. I got this vintage summer suit from a secondhand store in Finland, purely based on the delicious colour, didn't even try it on. My initial plan was to somehow transform it into a dress, but on closer inspection I realized there was no good way to make that work. Until one night lying in bed it hit me - I can turn the skirt into shorts!! Anyone that's been here for a while knows I love myself a matching set. Oh and did I mention this suit is SILK. And came with a matching belt. 🤩
I've been wanting to share this project for a few weeks, but had to sit on my hands since it fit perfectly with the Week 2 theme of our IG challenge - Use what you have. So if you have a pencil skirt you're not wearing, or next time at a secondhand store spot an amazing one.. maybe shorts are in the cards.
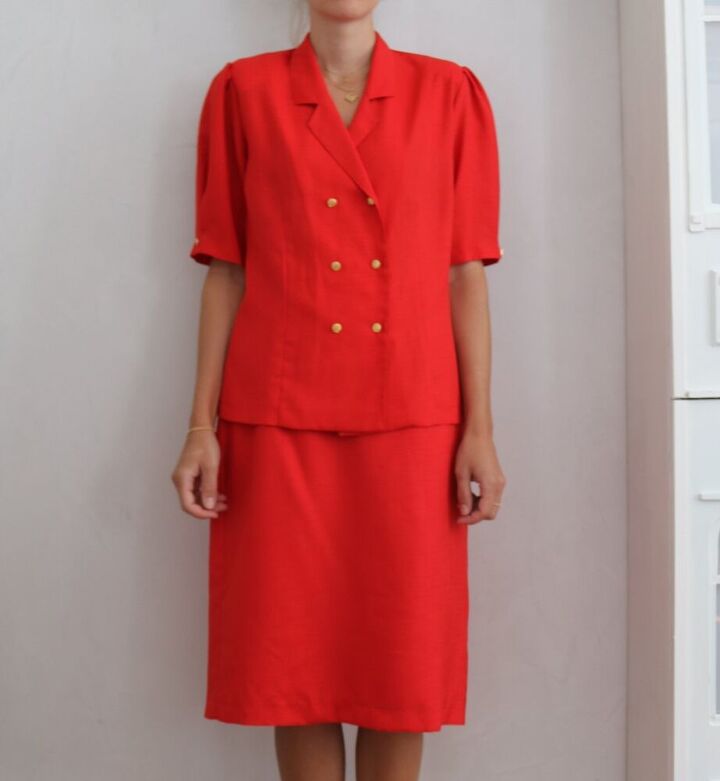
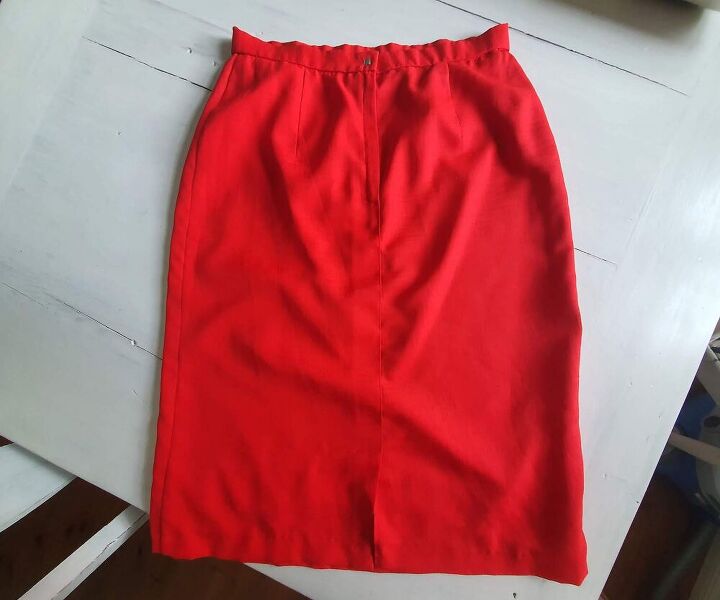
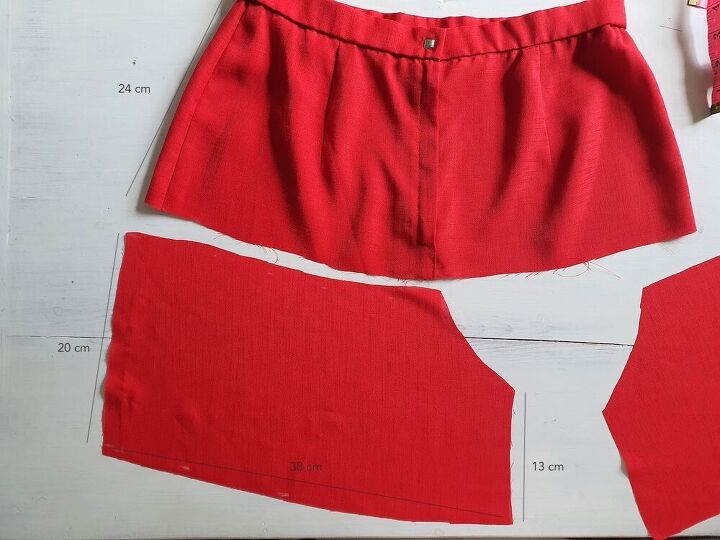
Here's what I started with:
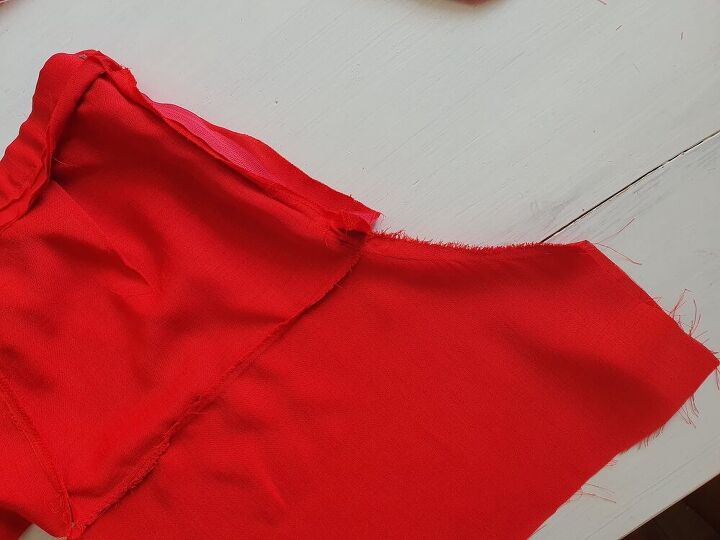
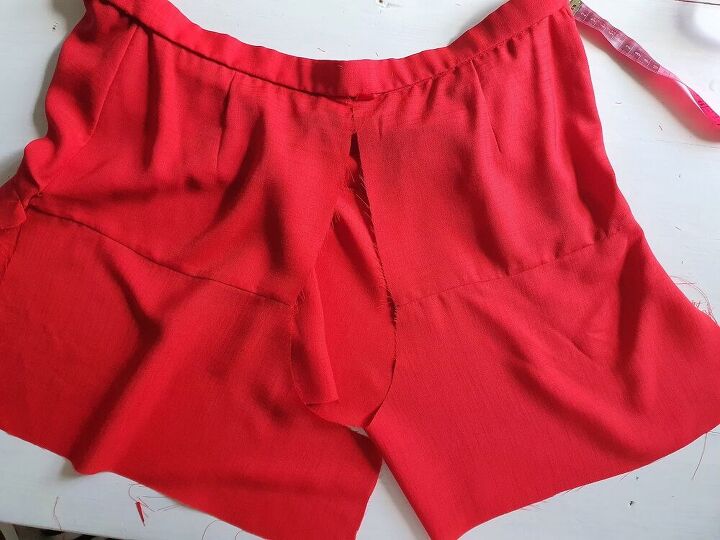
The skirt already had a feature I was determined on keeping - the zipper. It was a back zipper, but I figured I could use it as a front fly. And boy did it work out.
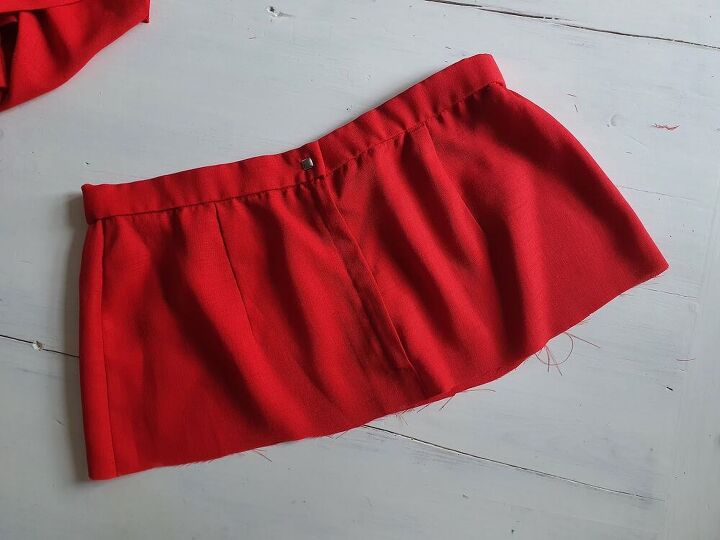
I. The first thing I did was to chop the whole skirt across (I cut it at 24 cm down from the waist).
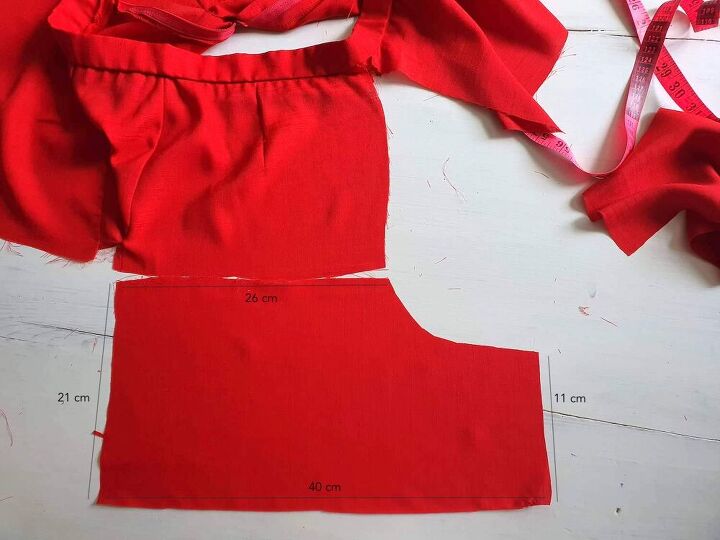
II. Then I strategized for a while on how to cut the short legs out of the part of the skirt I just chopped off, and cut away, starting with the front pieces:
III. To get ready to attach the leg pieces, I opened up the ex-skirt side seams & now center seam (the seam just below the zipper) a bit..
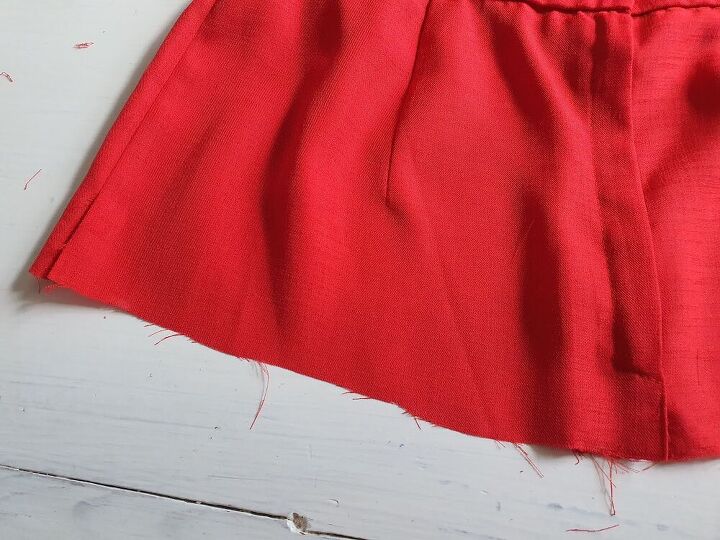
.. And then pinned the leg piece right sides facing, and sewed in place.
IV. Repeated for the other side and I had this:
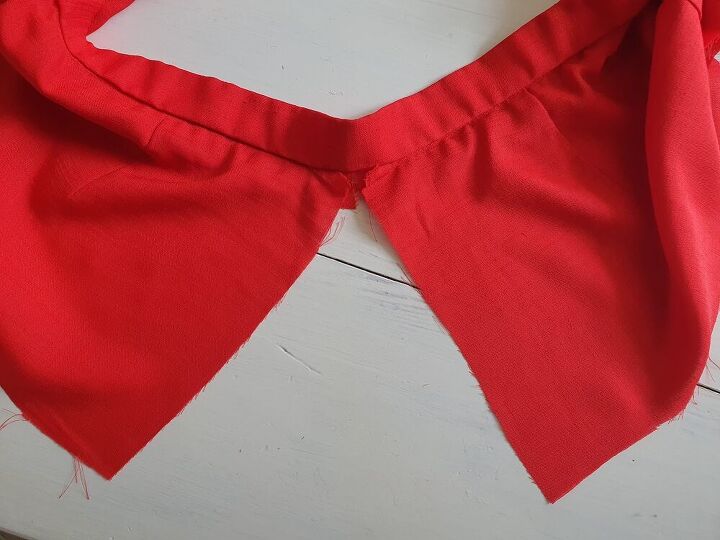
V. To finish the front, last bit was the crotch seam. Folded the front right sides facing, and sewed along the curve. It was a bit tricky to get all the way in to connect the stitch with the below-zip center seam...
.. But I got there, finished that bit by continuing the top stitch that was there originally.
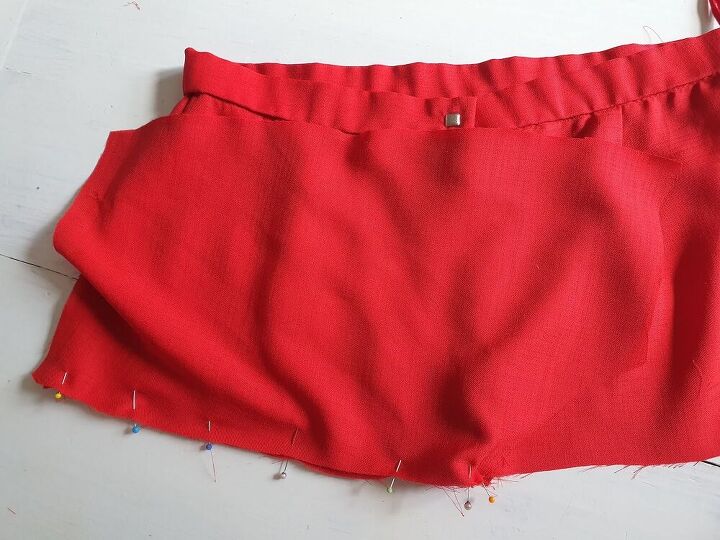
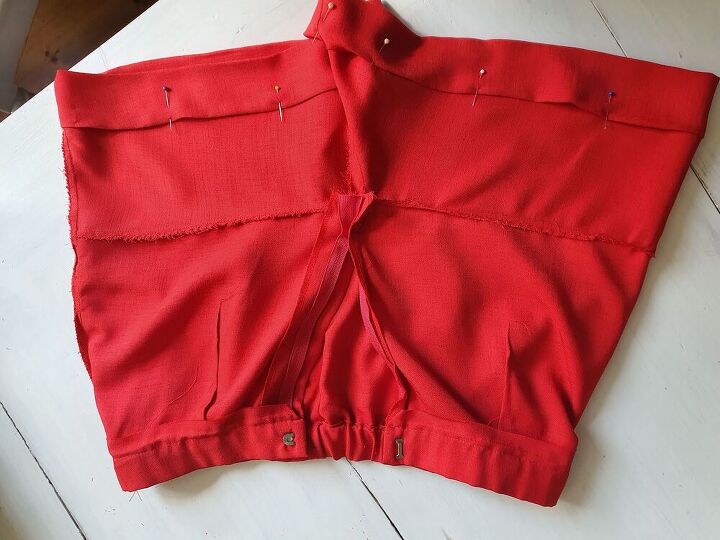
VI. Moving onto the back. First cut my leg pieces again:
VII. And then I needed to do something to adjust the waist which was a few cm too big for me. If the skirt's waist was the right size, I could've just skipped this part and gone straight to attaching legs, as I did with the front. But I had to open up the center back seam, get into the waistband, where to my delight I discovered an elastic! That made it super easy to adjust the waist.
VIII. So I added the leg pieces..
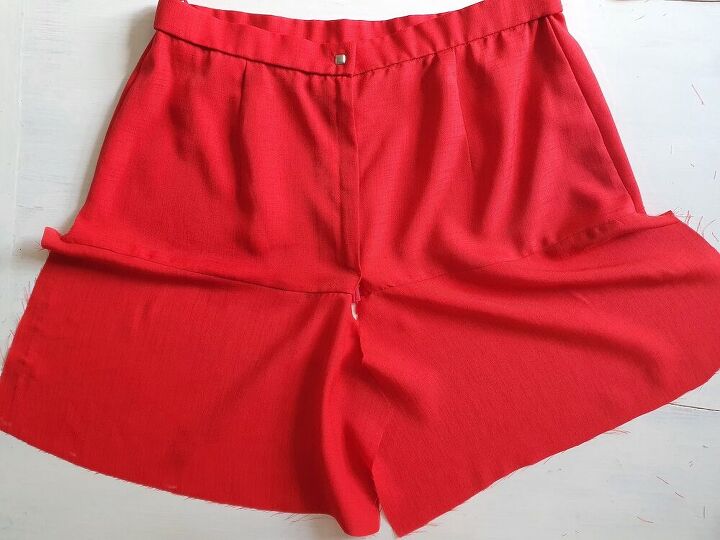
IX. .. And took the elastic in the waistband in a bit.. Then re-did the center back seam, closed up the waist band. Last two steps were to sew the side seams, and hem the shorts!
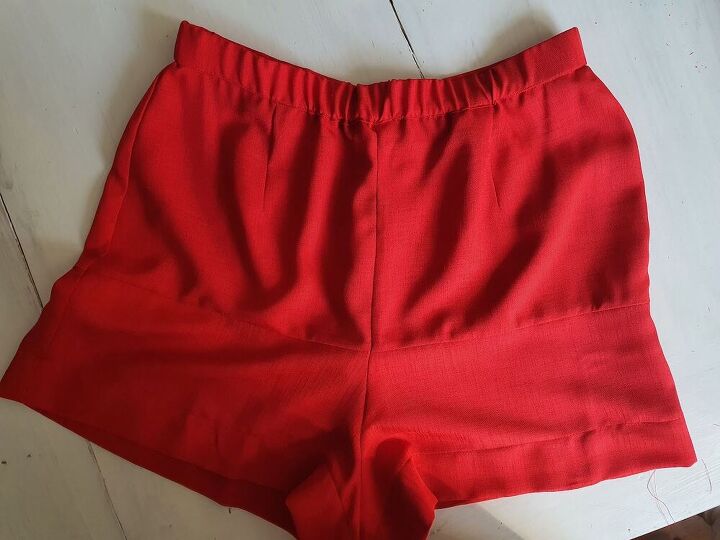
X. For hemming I did the usual double fold.
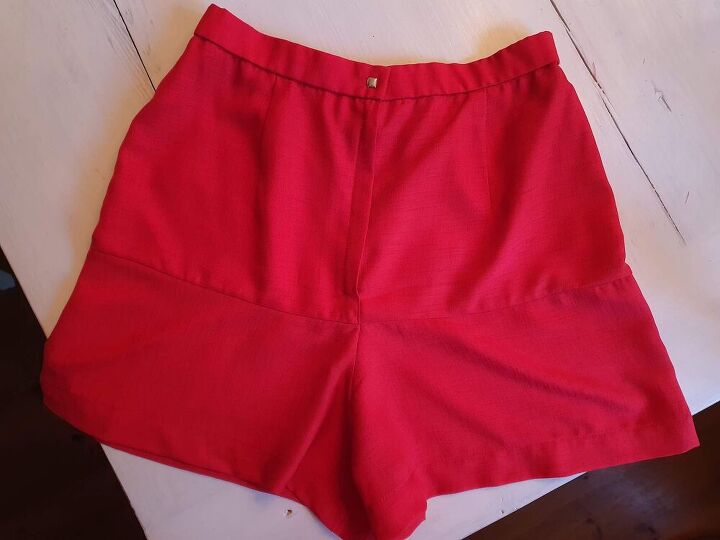
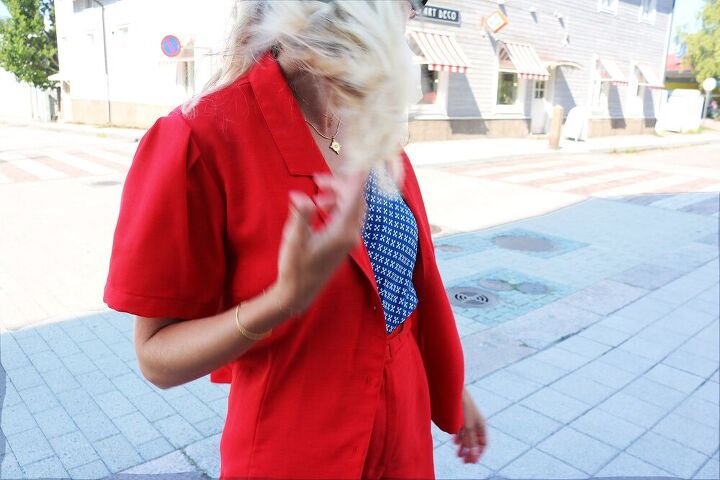
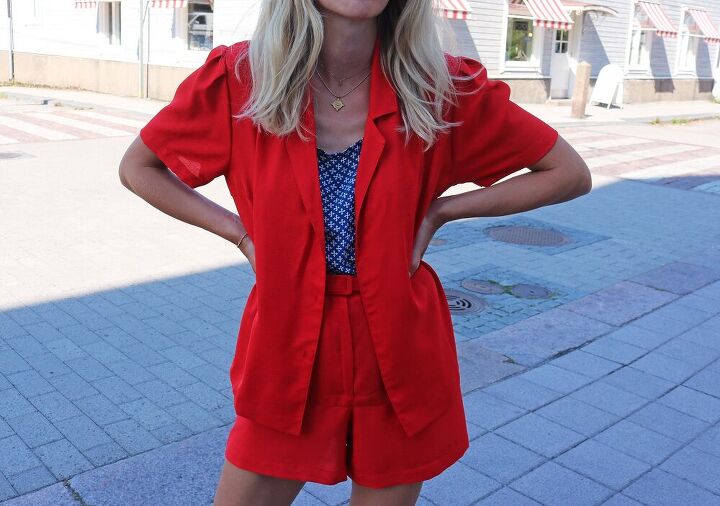
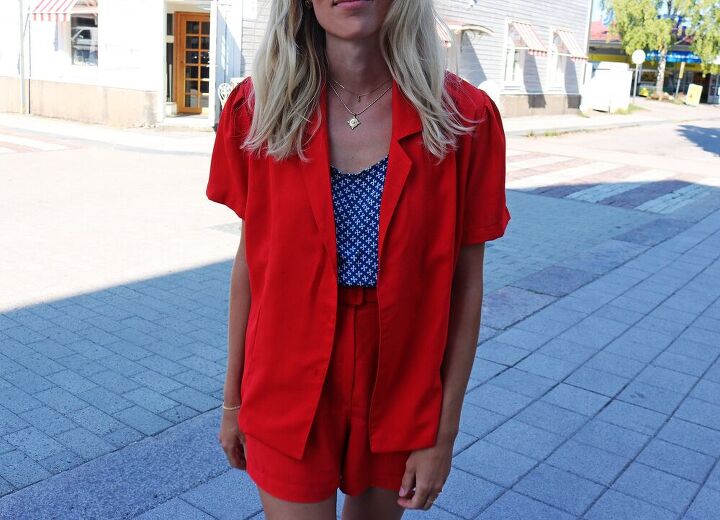
And TA-DA!! Back zipper successfully converted to front fly and skirt to shorts!
XI. The top was a much simpler transformation. All I did was to remove the buttons & take in the sides to make the fit a bit more fresh. I didn't even add new buttons since I dind't have any that I liked, and to be honest I may not add buttons at all since I'll always wear this open.
For the sleeves, I liked the pleats at the shoulders so I kept those, but chopped them a bit shorter and got rid of the box pleat.

Selfdrafting and making from scratch will always be my #1 love, but vintage flipping can be so much fun!!
The author may collect a small share of sales from the links on this page.


Comments
Join the conversation
Adorable!
I love it! ❤️ Great vision and execution of your idea! Nice job! 👍