Hidden Pocket Biker Shorts!

I’m a sucker for a simple sewing pattern and project. That’s why I love Biker shorts. They are easy to throw together and require such a small amount of fabric. They are also super practical to wear while sitting in the stifling stadium during highschool football season here in the desert where I live. The only problem is they usually don’t include pockets. Well, pockets are not something I’m willing to compromise on. No one should ever have to do that. That’s why I added a little hidden pocket to mine. It’s super easy and I’ll show you how.
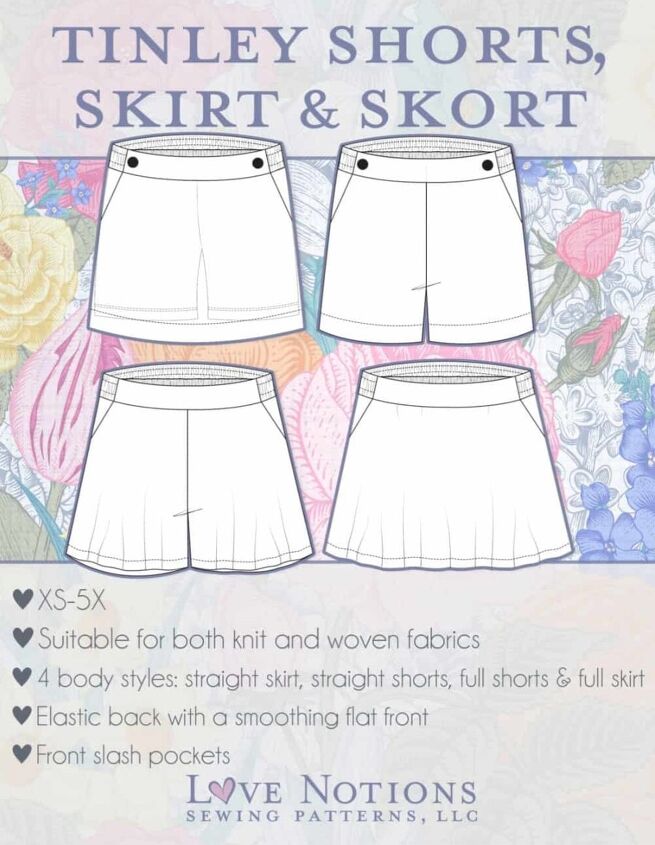
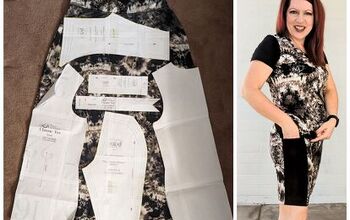
The Pattern!
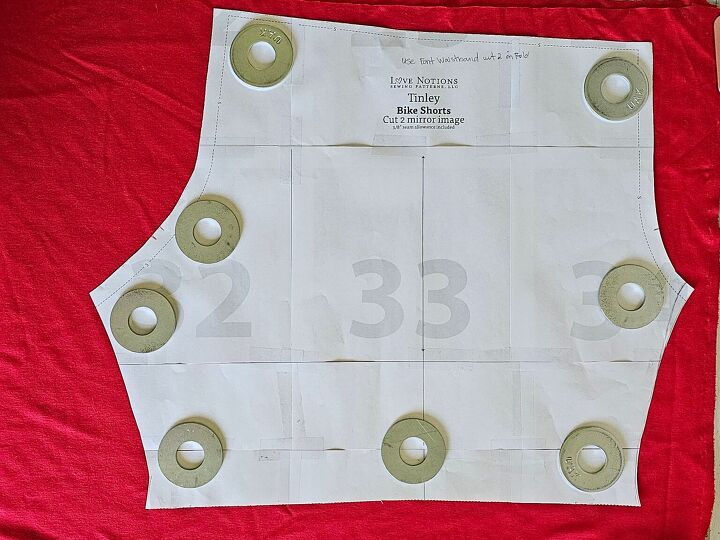
I love this particular biker short pattern because it’s one piece plus a waistband. So two pattern pieces!! It’s part of the Tinley pattern by Love Notions. Most people may have missed it because the intention for them is to be worn underneath the skirt, which you can see in the picture below if you look close. But I do what I want when it comes to sewing. For that reason I decided to make it my new favorite biker short pattern. I did lengthen the pattern by 4 inches first.
Because this pattern is one piece it means it doesn’t have a side seam. Side seams are ideal for adding a quick pocket. Because of the absence of the side seam I decided that a hidden pocket in the waistband seam would be a quick and easy option. One pocket would be just fine too.
Make a Simple Pocket…
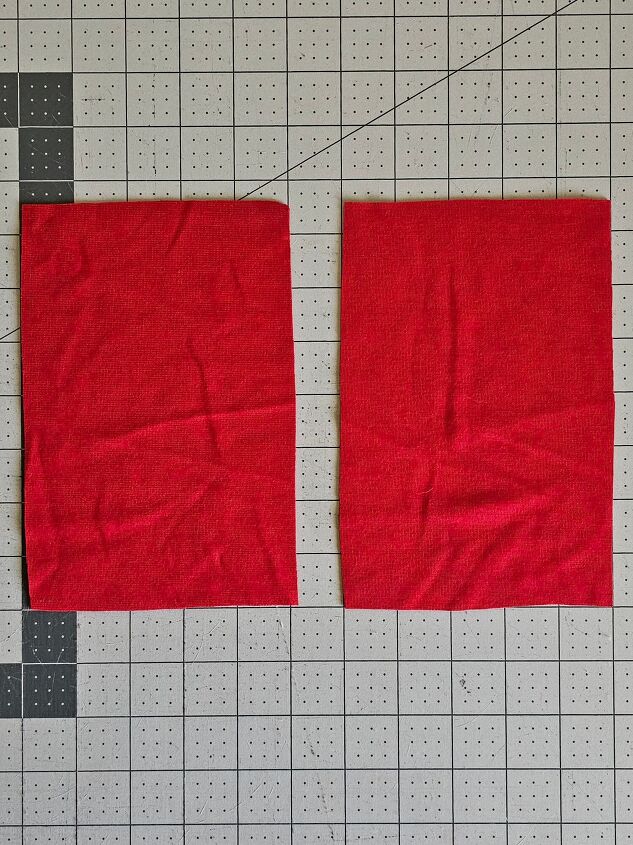
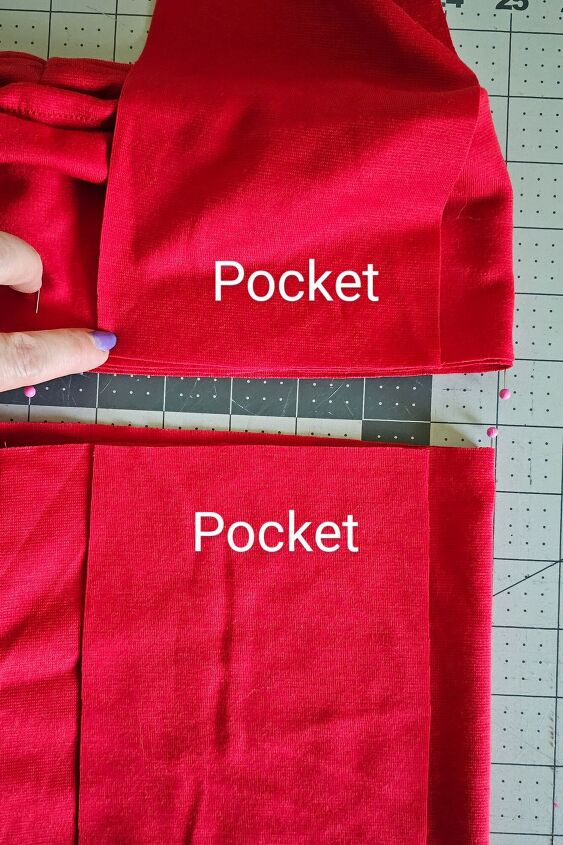
To make the pocket I simply measured my cell phone and then cut two rectangular pieces that would fit it. They measured 7 ½ x 5 inches.
Pocket Installation…
To install the pocket I pretty much thought of it like I would install regular side seam pockets in a dress. Except, for the shorts it would be the waistband and the front of the shorts I was attaching the pocket to rather than the front and back side seams of a dress. First I needed to assemble the shorts and the waistband.
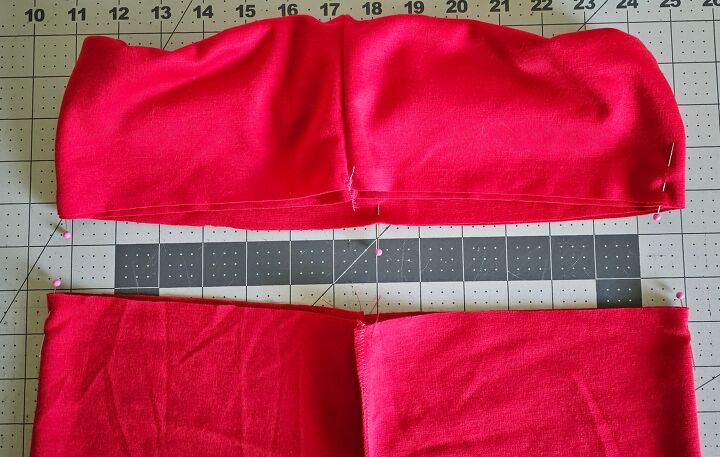
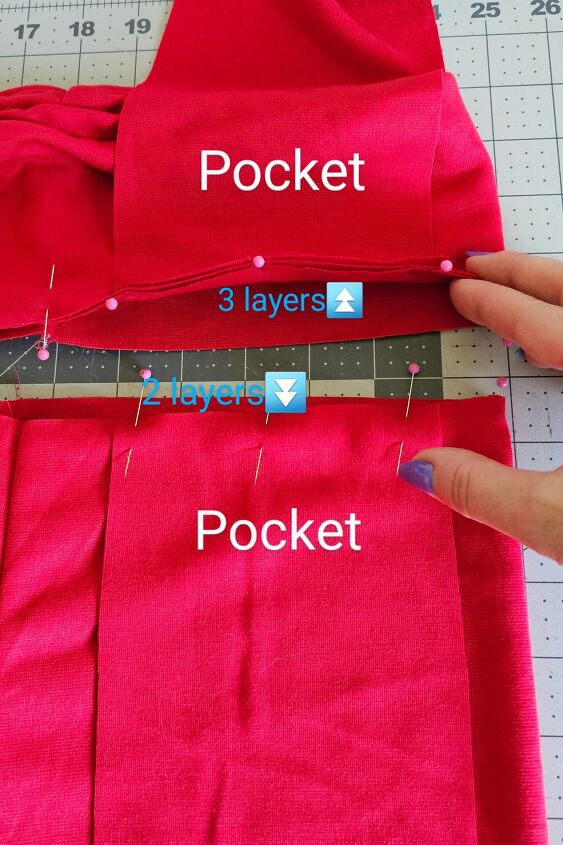
I marked the quarter markings with pins on the shorts and waistband. Then I pinned one side of the pocket to the front of the shorts, one inch from the side. The other side of the pocket I pinned to the front of the waistband, one inch from the side.
The waistband will have 3 layers to sew through(two waistband and one pocket). The shorts will have 2 layers (front of shorts and pocket. I sewed the pocket pieces to their corresponding pieces before attaching the waistband.
Attaching the Waistband…
Once the pocket pieces were stitched in place, I attached the waistband. To do that I sewed around the waistband until I got to the pocket. I went around the pocket and then continued around the waistband to where I started.
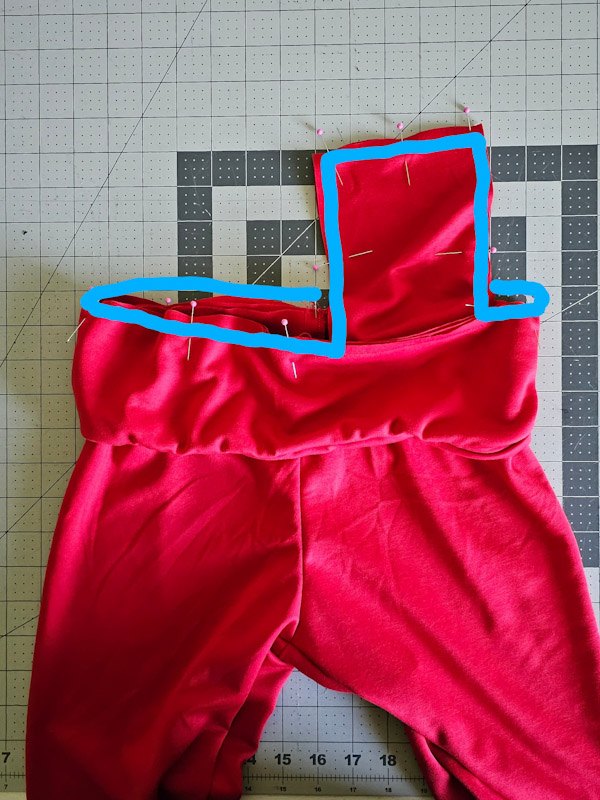
Because the pocket pieces were attached to the waistband first, that part of the waistband didn’t need to be sewn and I could just sew around the pocket. Hopefully the above picture helps that make sense.
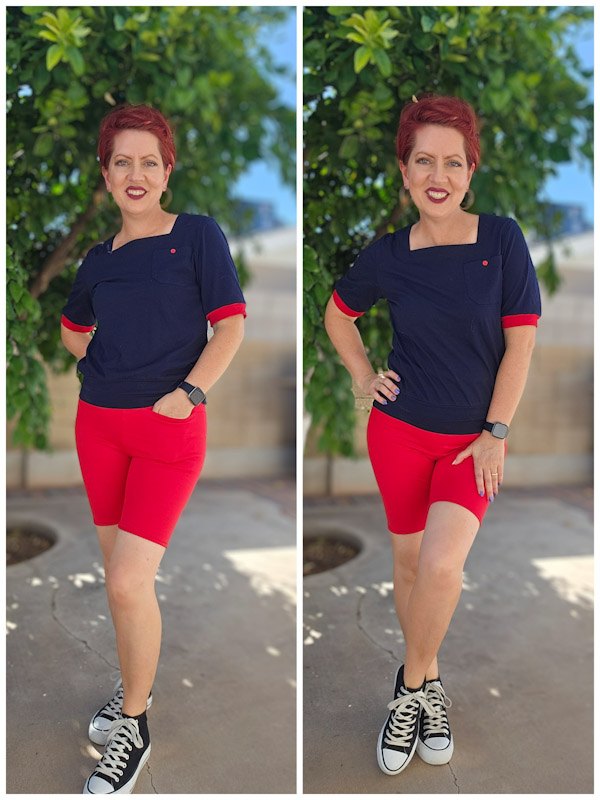
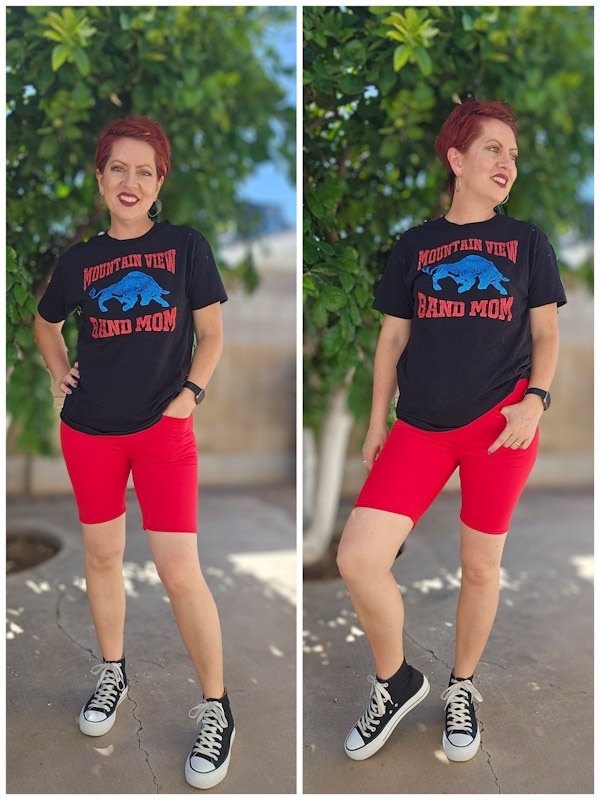
The Finished Look!

Now I have a nice little pocket hidden in my waistband to carry my cell phone, keys or little doggie bags when I take my pups out for evening walks. It’s perfect!
Let’s be friends!
If you are looking for a pattern suitable for more than one occasion, hopefully this post helps you figure out what will work best with your wardrobe needs. Let’s be friends on all the socials! Come follow along on Pinterest, Instagram and Facebook so we can chat about all our sewing projects!
The author may collect a small share of sales from the links on this page.


Comments
Join the conversation