How to DIY a Super Cute Knit Shorts Set for Spring and Summer

If you've seen those super cute matching knit shorts sets that pop up on Pinterest every spring, you'll know why I'm obsessed with them!
I got an amazing knit fabric remnant that’s perfect for them. I'm using a sweater and a pair of shorts I already have as templates, so no knit shorts pattern is needed.
Tools and materials:
- 2 yds knit fabric
- Top and shorts as templates
- 1 inch and 2 inch wide elastic
- Tailor's chalk
- Pins
- Scissors
- Safety pin
- Sewing machine
- Serger (optional)

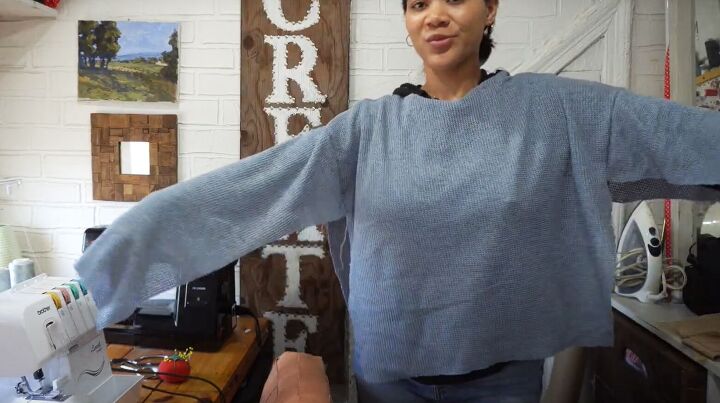
1. Top front
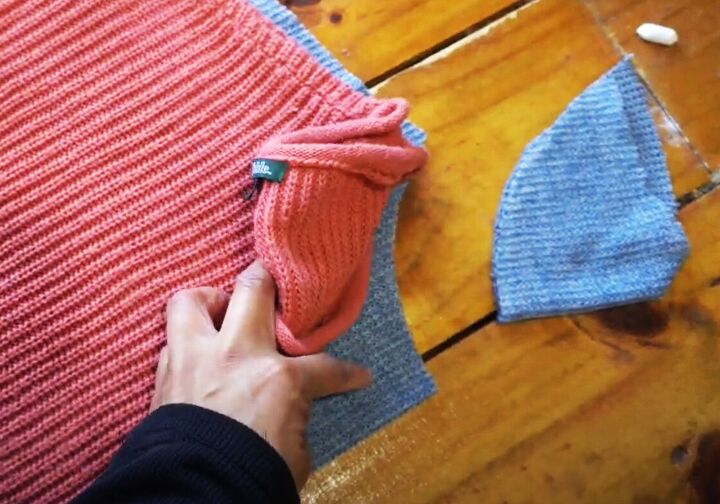
Fold your sweater in half lengthways, with the front to the outside.
Place the fold of the sweater on the fold of your fabric. Trace the outline of the front onto your fabric.
I added 2 inches to the length of my sweater as a hem allowance and casing, and a little extra on the width.
Cut out the front neckline curve.
2. Back and sleeves
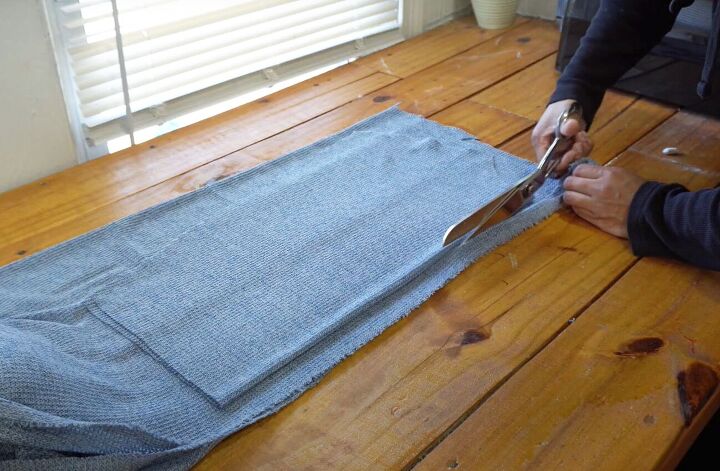
Use the front as a template for cutting out the back. Fold the front in half lengthways and lay it on a double layer of your fabric.
Cut around it, remembering to add a half inch seam allowance at the center back.
Cut the back neckline curve.
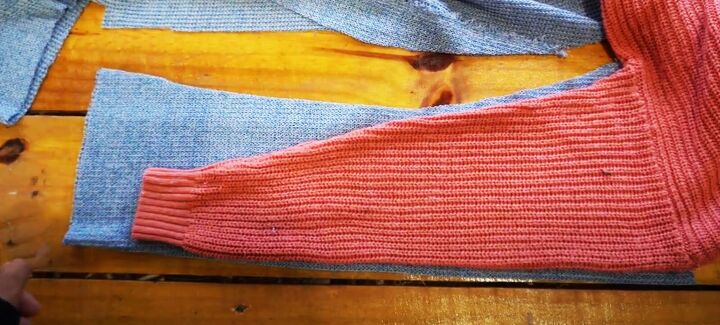
Fold one sleeve in half lengthways and place the fold on the fold of your fabric.
Cut around the sleeve from the top of the shoulder seam to the cuff. I reshaped my sleeve and made it longer.
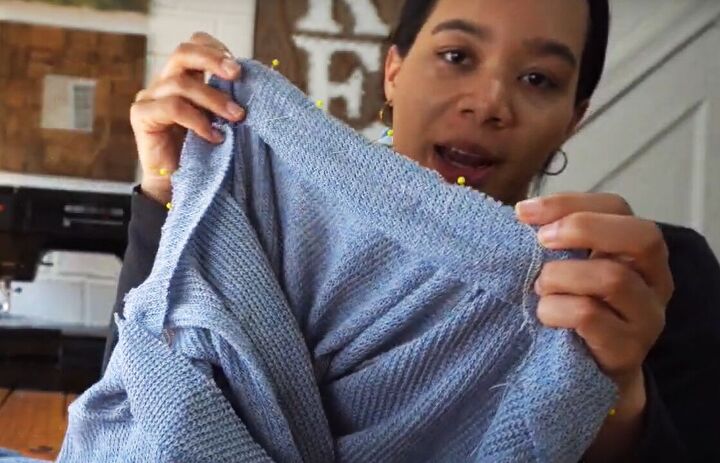
3. Center back seam
Cut two strips of fabric 1 inch wide and the length of the center back seam.
Sew one edge to the center back with the right sides together. Turn the strip to the inside and stitch it down.
Join the center back seam, leaving the top 6 inches or so open.
Turn the binding on the open section to the inside. Top stitch the full length of the center back seam.
4. Assemble
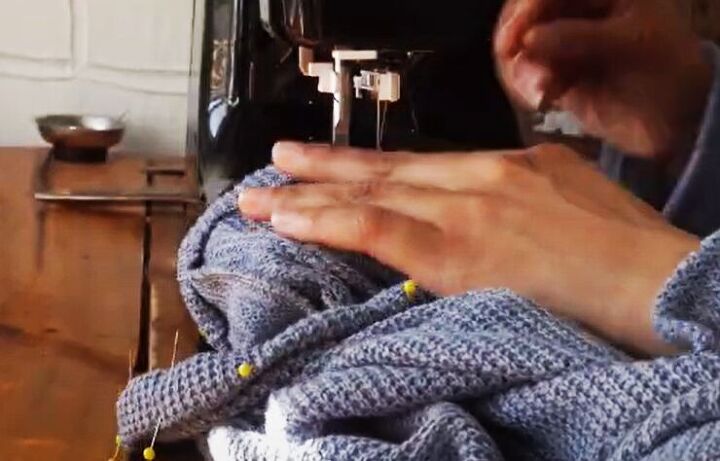
Sew the front to the back at the shoulder seams, with the right sides together.
Pin the center of the top edge of the sleeve to the shoulder seam.
Pin and sew the sleeve in place.
Join the side and sleeve seams.
5. Hems
Serge or zigzag stitch the raw edges.
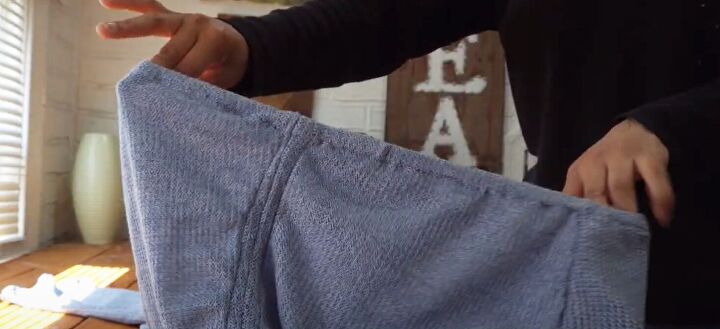
Turn up a narrow hem at the bottom of the sleeves.
Turn up the lower hem to create a casing, leaving an opening to feed in the elastic.
Use a safety pin to thread the elastic through the casing.
Cut the elastic to length. Overlap the ends and sew them in place.
Sew the opening closed.
6. Neck edging
Measure around the neckline of your top.
Cut a 2 inch strip of the knit fabric on the bias, the length of the neckline plus an extra 12 to 16 inches to make the ties.
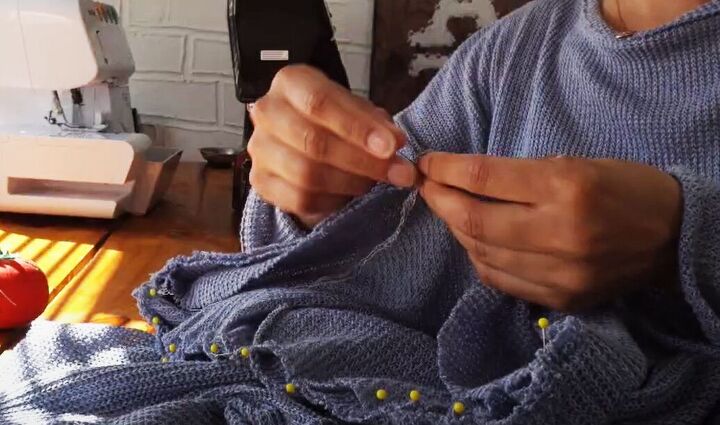
Find the center front of the neckline and of the strip. Match the center points and pin and sew one edge of the right side of the strip around the wrong side of the neckline.
Turn in and sew the short ends of the strip.
Fold the strip to the right side and pin in place around the neckline.
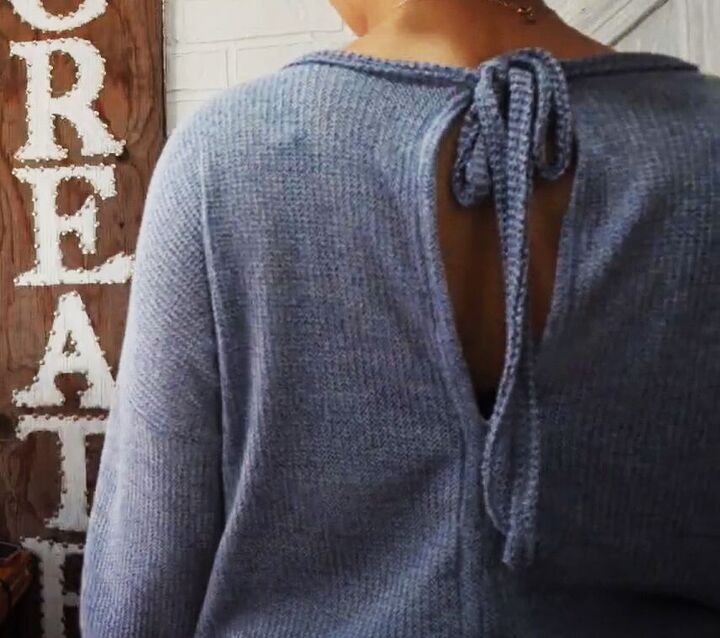
Fold the free ends of the strip in half lengthways, turning in a small hem on each edge, and sew the long edges together.
Top stitch the strip around the neckline on the right side.
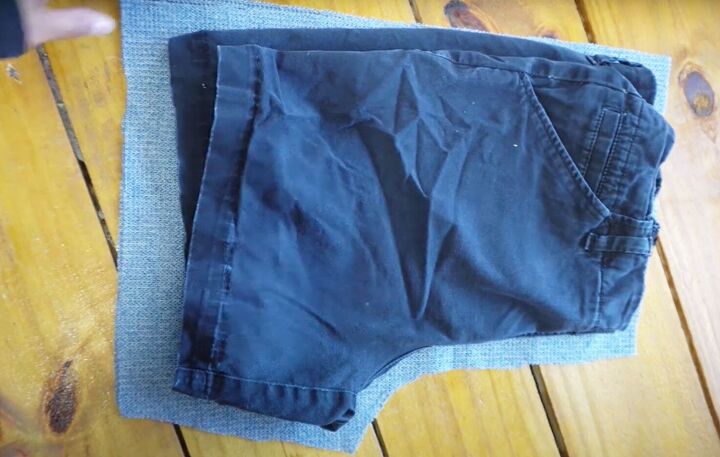
7. Shorts
Fold your template shorts in half lengthways with the front seam showing, and place them on your doubled fabric.
Cut around them, adding 2 inches to the length and half an inch to each side.
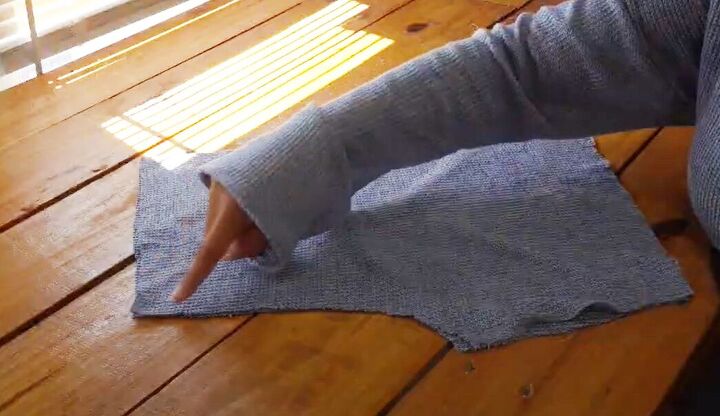
Refold the shorts with the back seam showing and cut 2 back pieces.
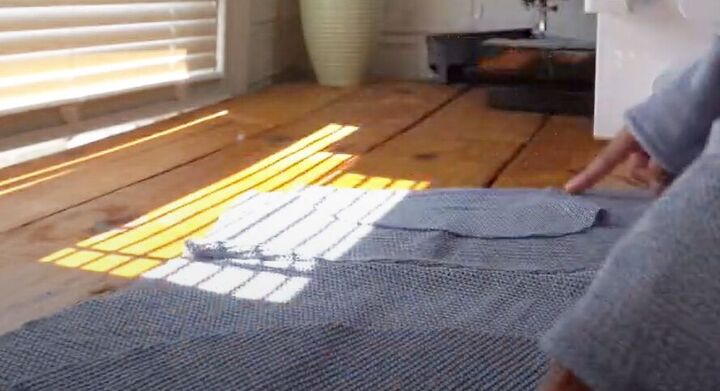
8. Center seams
Join the two front pieces along the curved edge, with the right sides facing. Repeat for the two back pieces.
9. Pockets
Cut 4 pocket pieces.
Serge or sew the pocket pieces to each of the side seams, with the right sides together.
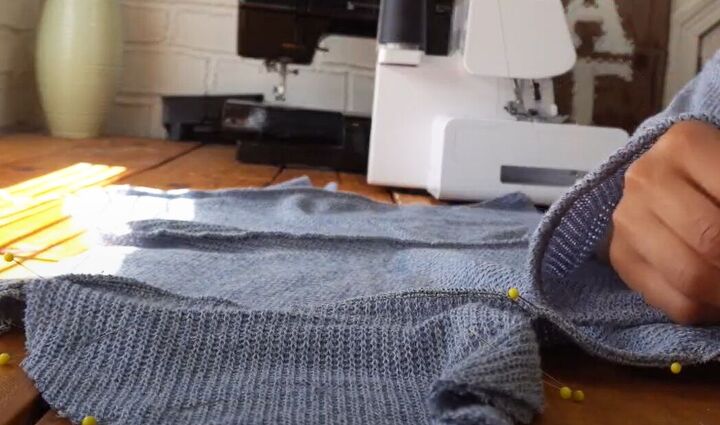
Pin and sew the shorts together at the side seams, sewing around the pocket bags.
Join the inner leg seam.
10. Waistband
Cut a 3 inch wide strip for the waistband.
Pin the elastic to the wrong side of the waistband and stitch the waistband closed over it.
Pin the waistband to the shorts with the right sides facing and sew it in place.
11. Finishing
Turn up a double hem on the legs of the shorts.
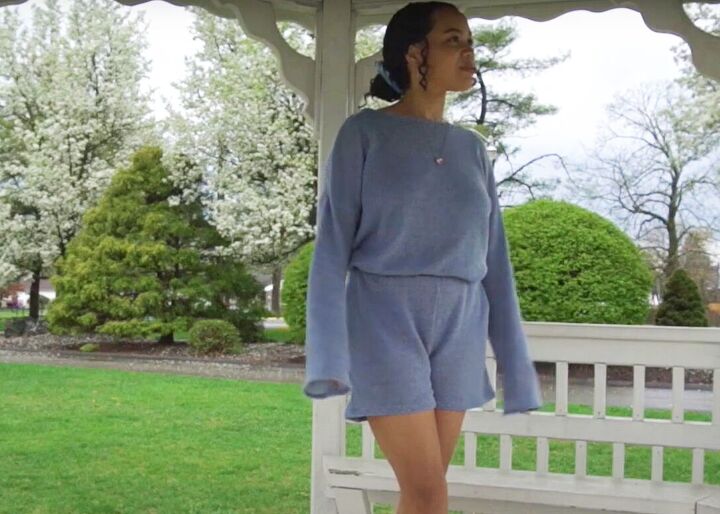
Cute knit shorts set
I've been wanting to make myself the perfect knit set shorts and top for the last two years, so I'm really happy I got to make it so cheaply.
This is a very beginner-friendly sewing project, so I really hope you try it. Let me know in the comments how you get on.
Next up, check out my post on How to DIY a Cute Adidas Dupe Jacket and Skirt Set.
The author may collect a small share of sales from the links on this page.


Comments
Join the conversation