DIY Biker Shorts

Athletic wear is not only functional but it is very trendy as well! In this tutorial, we will show you how to sew a pair of biker shorts from scratch. You can purchase and print the pattern here. Get started on sewing the perfect pair of biker shorts.
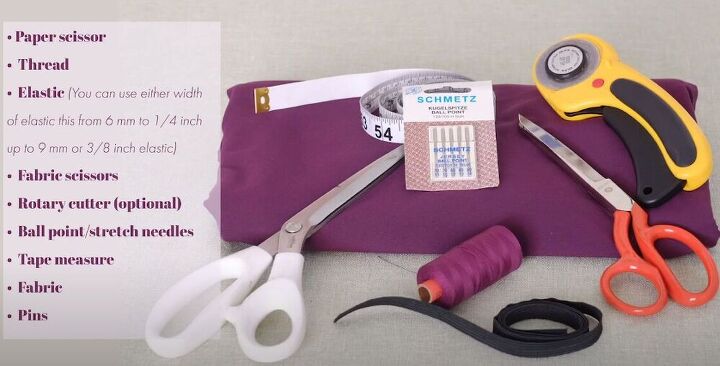
Tools and materials:
- Fabric
- Pattern
- Scissors
- Thread
- Elastic
- Pins
- Tape measure
- Ballpoint needles
- Sewing machine
- Serger/ overlocker (optional)
Before you start sewing this pair of biker shorts, make sure to download and print this pattern. Once you have printed the pattern, assemble it while referring to the size chart and fabric layout.
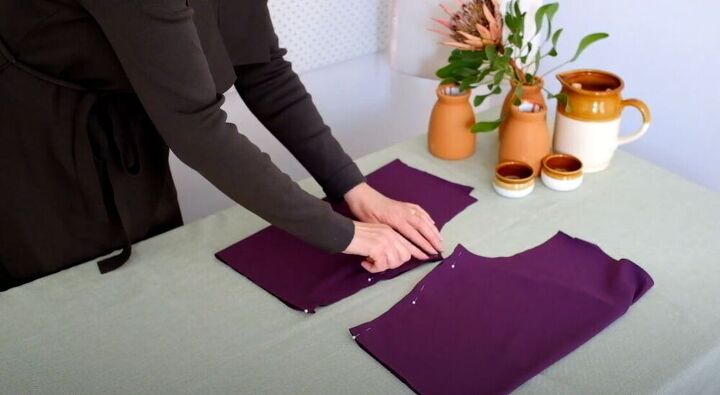
Assemble the shorts
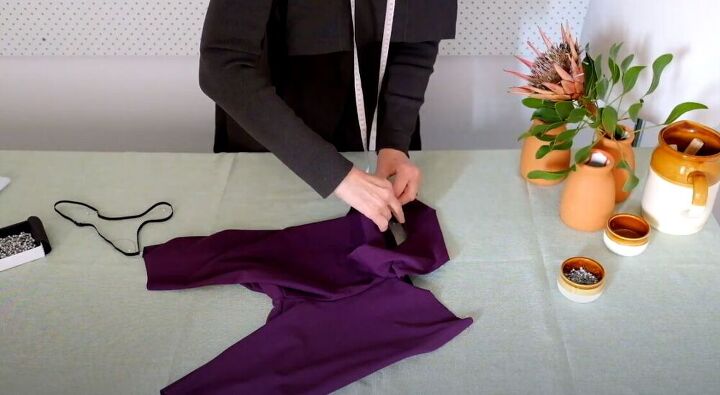
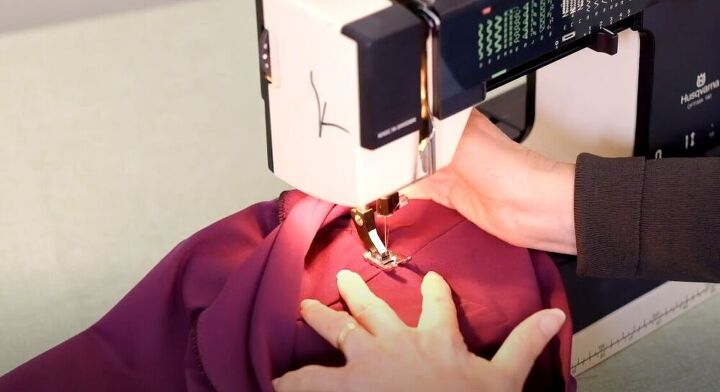
Once you have cut out your fabric pieces, pin and stitch the front and back pieces at the inside leg seam. Make sure your fabric is placed right sides together. Stitch with a medium zig-zag or, if you prefer, use an overlocker or serger. If you do end up using an overlocker or serger, remember to stitch ⅜ of an inch in from the edge.
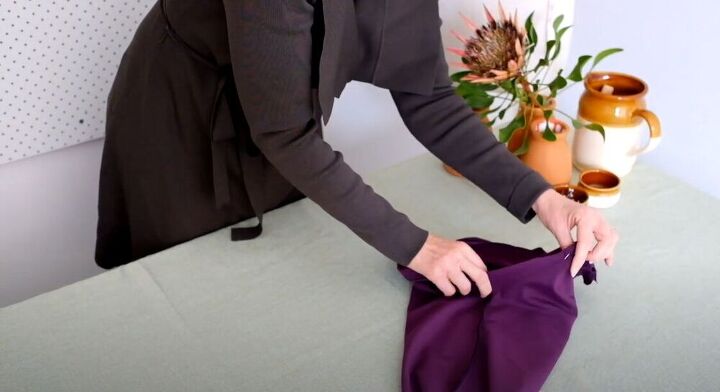
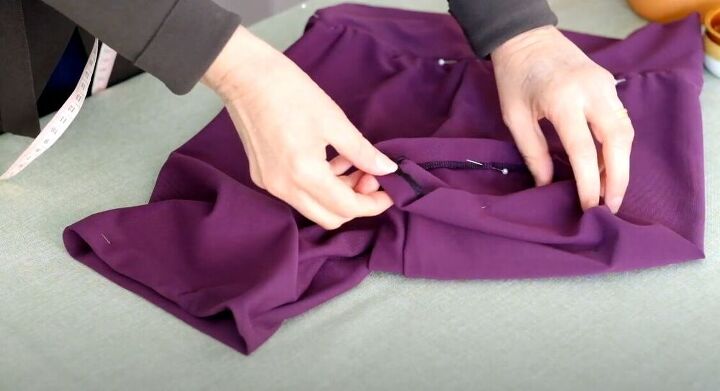
Next, turn one leg right side out and slide it into the other leg so that they are right sides together. Make sure to align the crotch edges. Then match up the double shaped notches at the center back seam and pin the seam edges together from the back to the front. Go ahead and stitch the leg sections together at the center back and front seam.
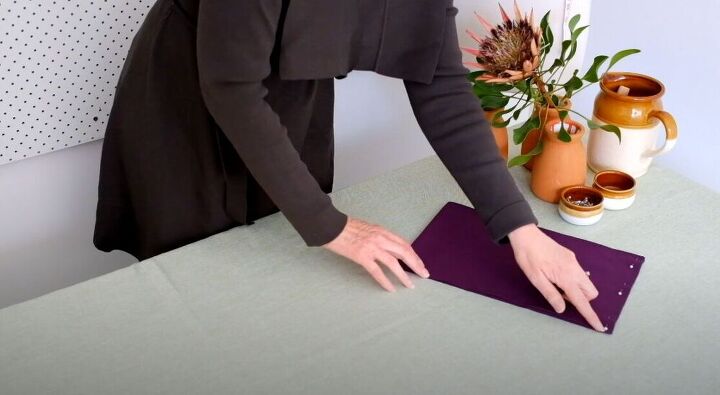
Make a waistband
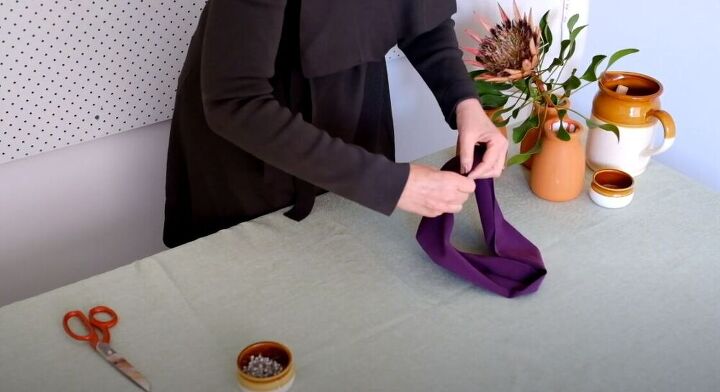
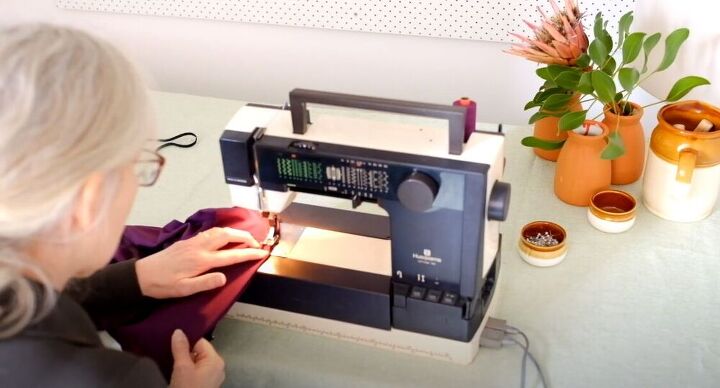
Turn the shorts right side out and put them aside for now. Next, move on to work on the waistband. Fold the waistband right sides together and then pin and stitch the short ends together.
Next, find and mark the quarter points on the waistband. Make the seam the first quarter mark and make sure that if you are marking with a small snip, the snip is no longer than a ¼ of an inch.
Fold the waistband right side out, matching the markings. Then pin the raw edges together. Stay stitch the raw edges of the waistband to match the quarter markings.
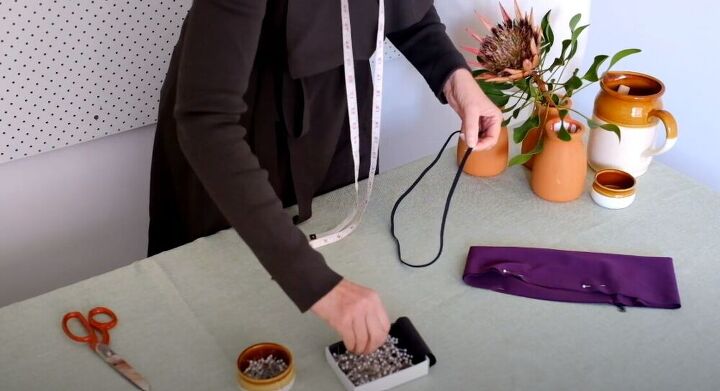
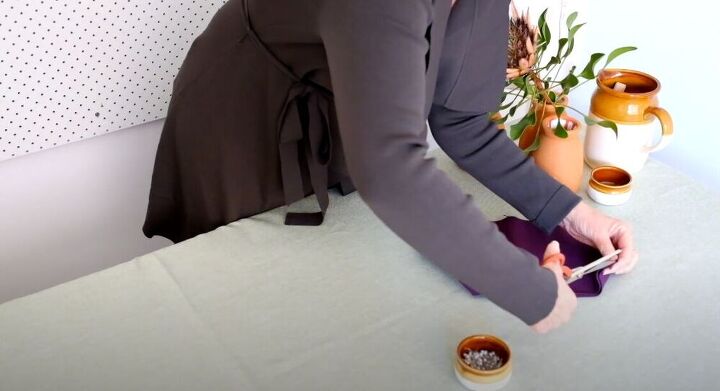
Next, cut your elastic according to the instructions in the pattern. We used elastic with a ¼ of an inch width but if you want more support choose a width of up to ⅜ of an inch. Go ahead and pin the ends of the elastic together by overlapping them by 3/4 of an inch.
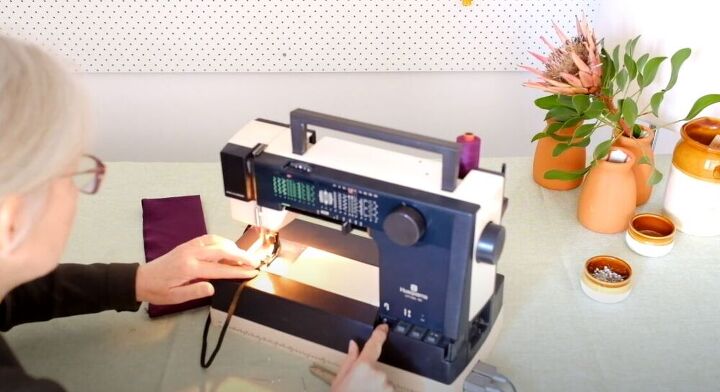
Stitch the elastic
Stitch the elastic together at the overlapped edges. At this point, remark your quarter markings on the waistband if necessary. Mark quarter markings on the shorts’ waistline and on the elastic.
Attach the waistband and elastic
Take your waistband and match the quarter markings to the ones you made on the shorts. Pin the raw edges of the waistband in place on the shorts, right sides together.
Then go ahead and stitch the waistband to the biker shorts. Stretch the band just enough to meet the quarter markings on the shorts.
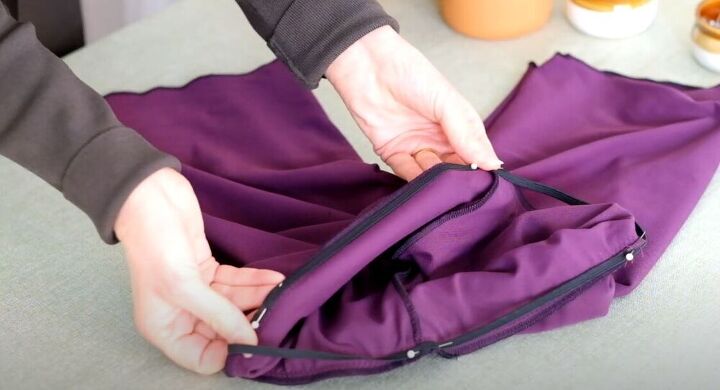
Next, pin the elastic to the seam allowance of the underside of the waistband, matching the quarter markings.
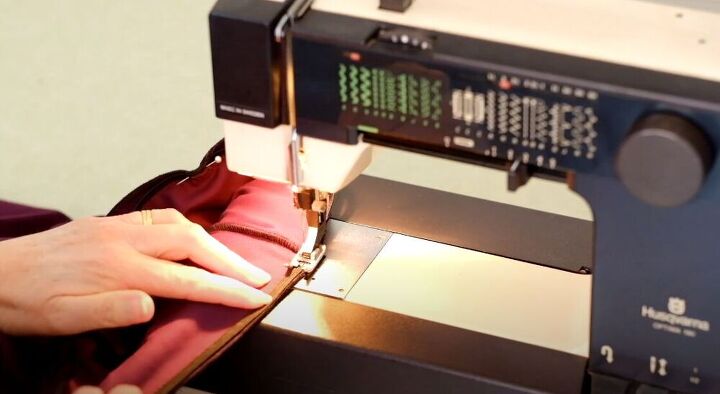
Stitch the elastic to the seam allowance. Make sure to stretch the elastic evenly.
Finish the biker shorts
Move on to serge the raw edges of the legs. Then press the raw edges toward the wrong side with a ¾ of an inch fold. Stitch to hem the bottom of the biker shorts.
Then topstitch along the lower side of the waist seam. This step is optional so feel free to leave it out. Trim your thread and press under a lightweight iron.
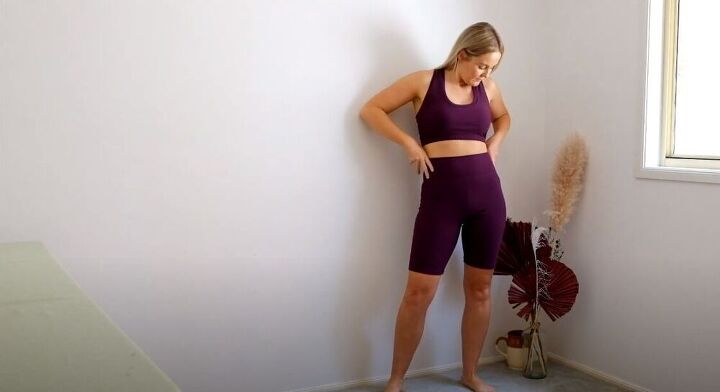
Here is a look at the finished product! These are the perfect biker shorts for all your athletic and exercise needs! What other DIY athletic wear would you like to make? Let us know in the comments!
The author may collect a small share of sales from the links on this page.


Comments
Join the conversation
I would love to know how to make this whole matching set!
beginning sewers would not know the fabric to buy