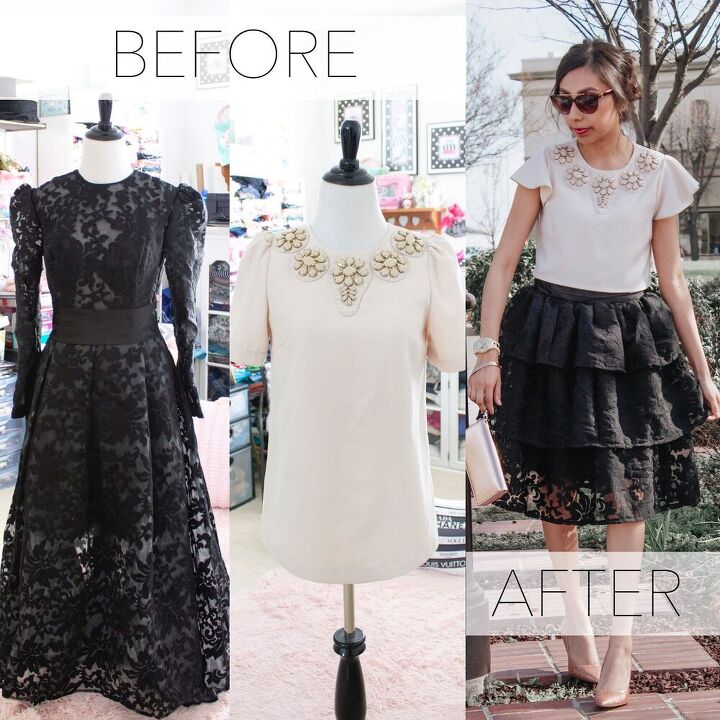
Prom Dress Fail and Outdated Blouse Refashion


The author may collect a small share of sales from the links on this page.

Want more details about this and other fashion and style ideas? Check out more here!


Comments
Join the conversation
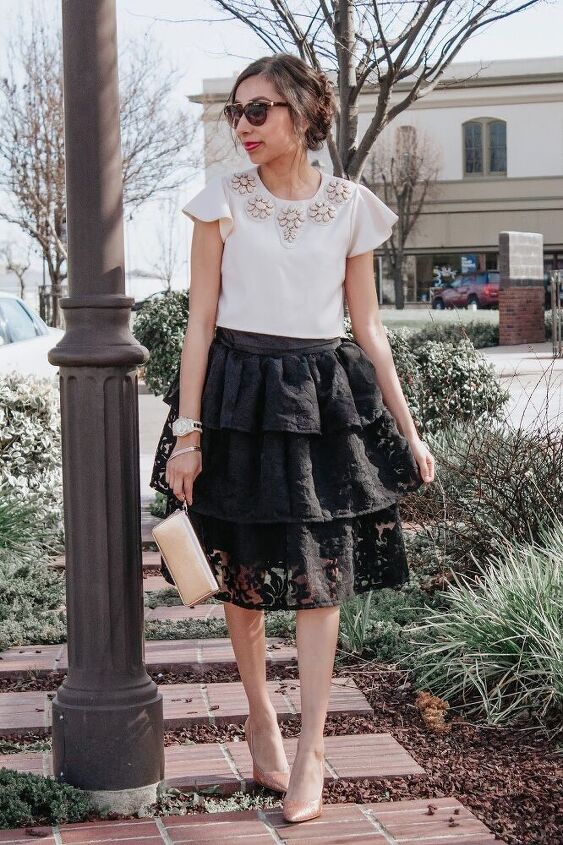
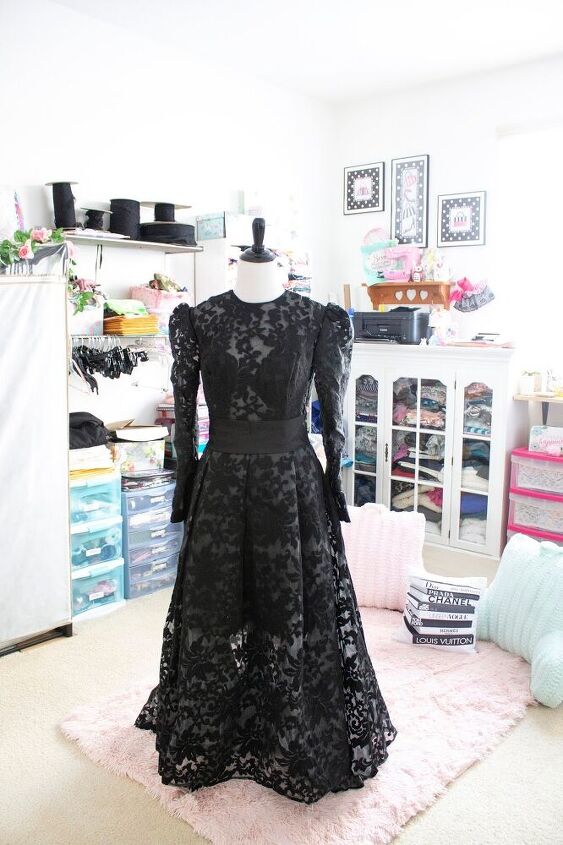
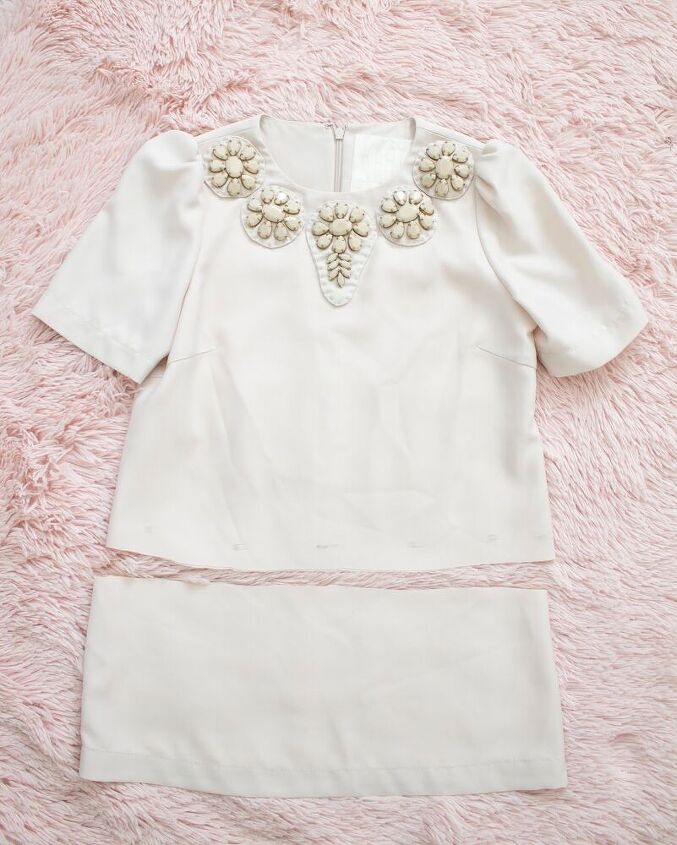
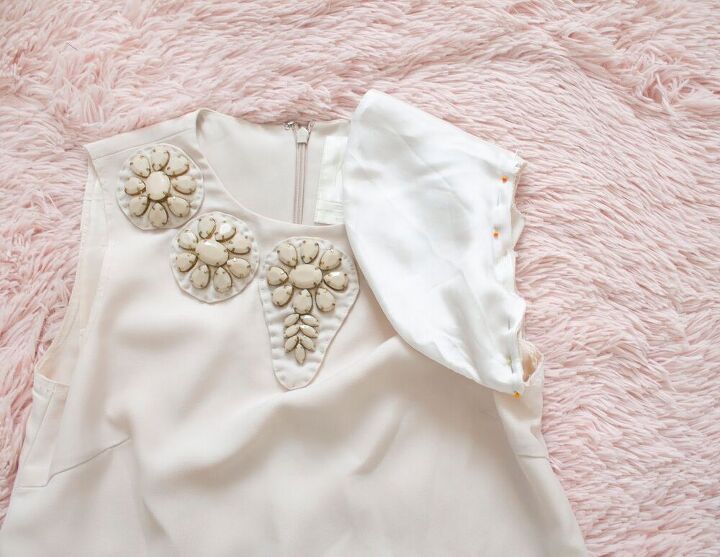
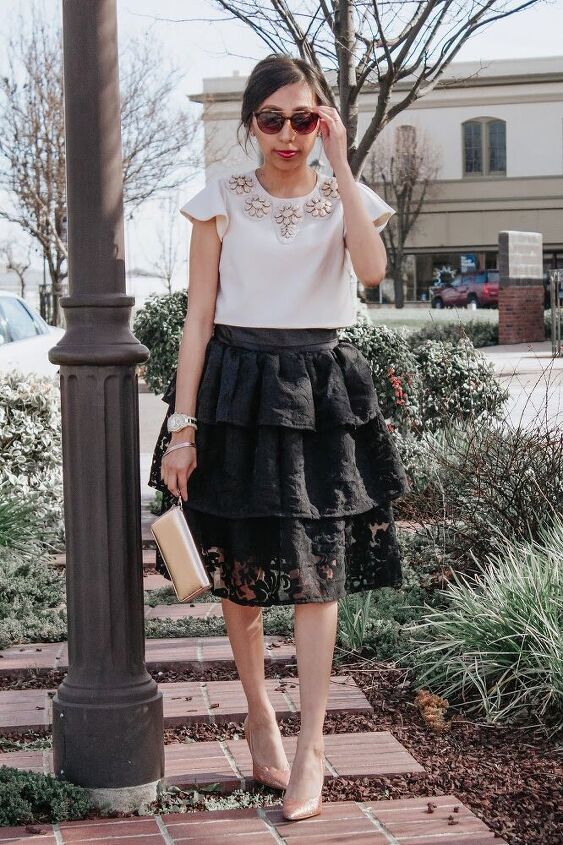
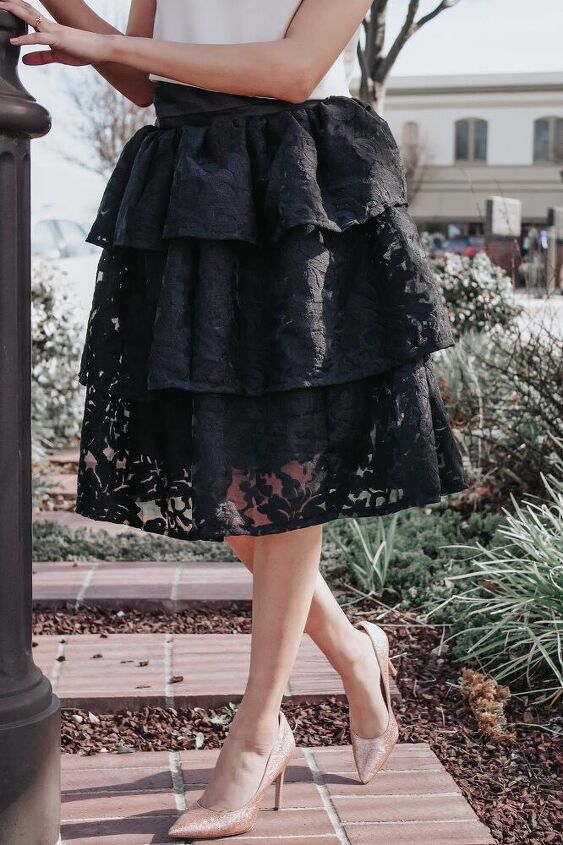
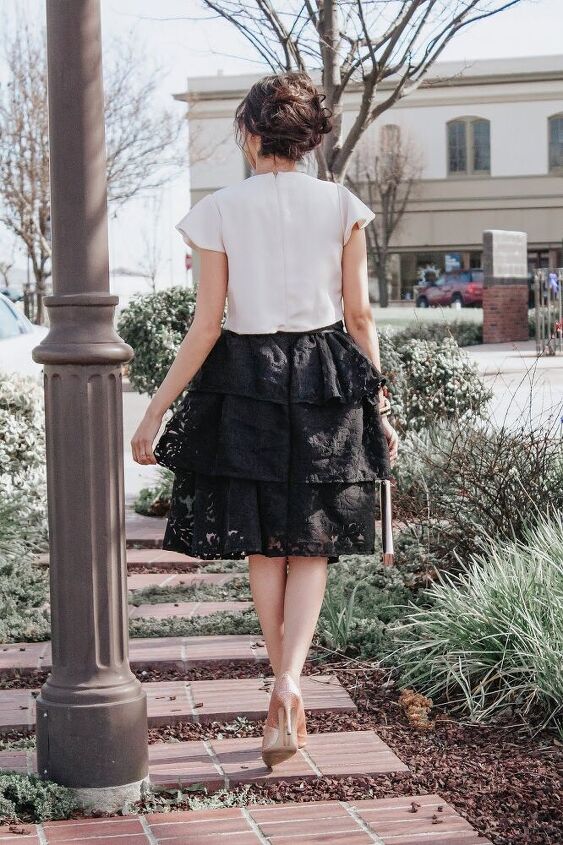
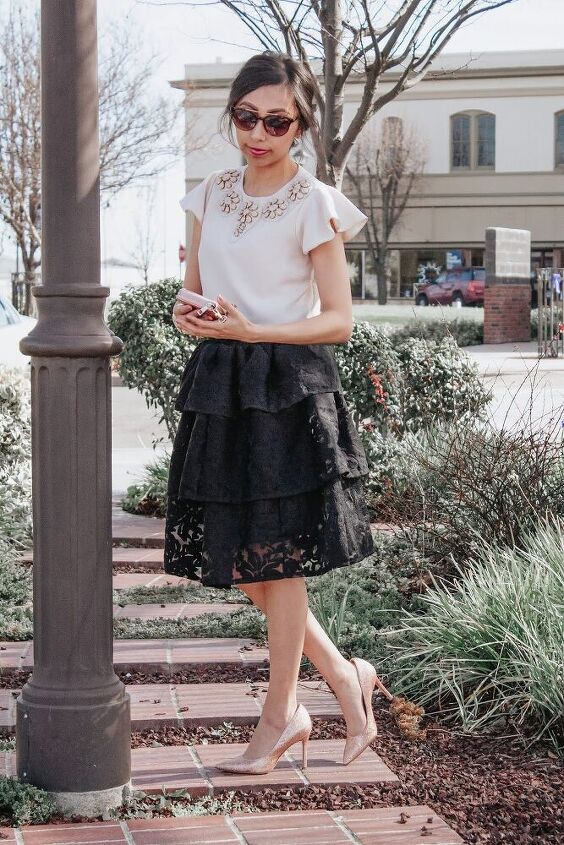
The original dress looks so Victorian, I really liked it; sure it could have been made more comfortable to wear. The new blouse with the cut down dress bottom just don't go together. I like the blouse but not with the cut up dress. You did a nice job of sewing but together, not my thing; then you didn't make it for me and you are happy with the results.
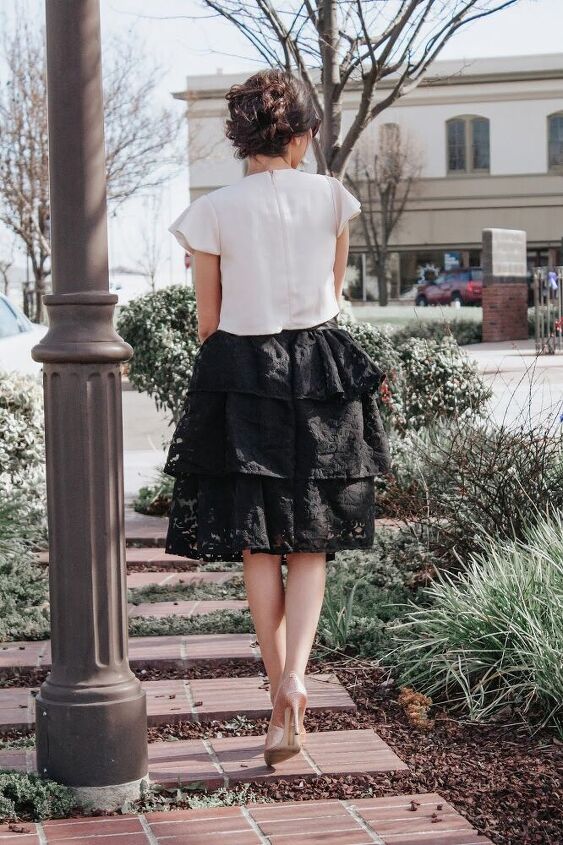
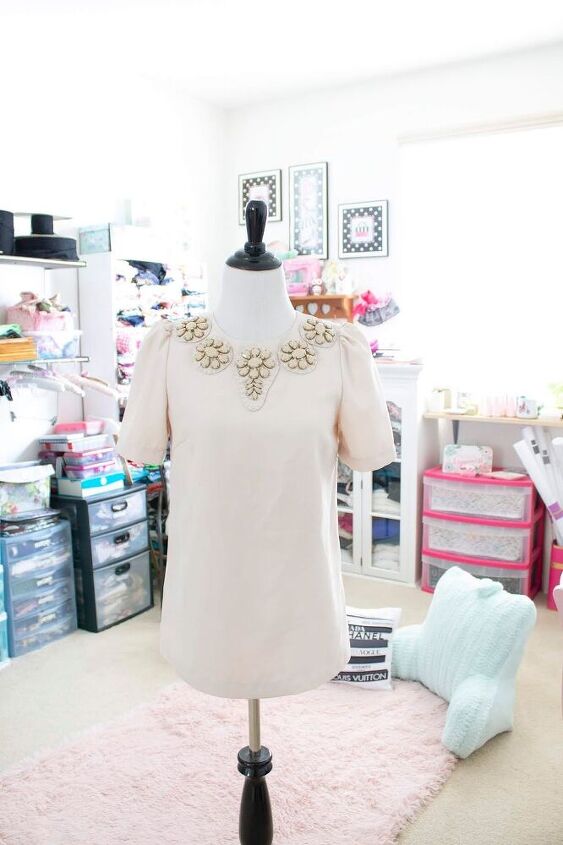
The finished product, with the cropped top, made her look fat. Very unflattering look.