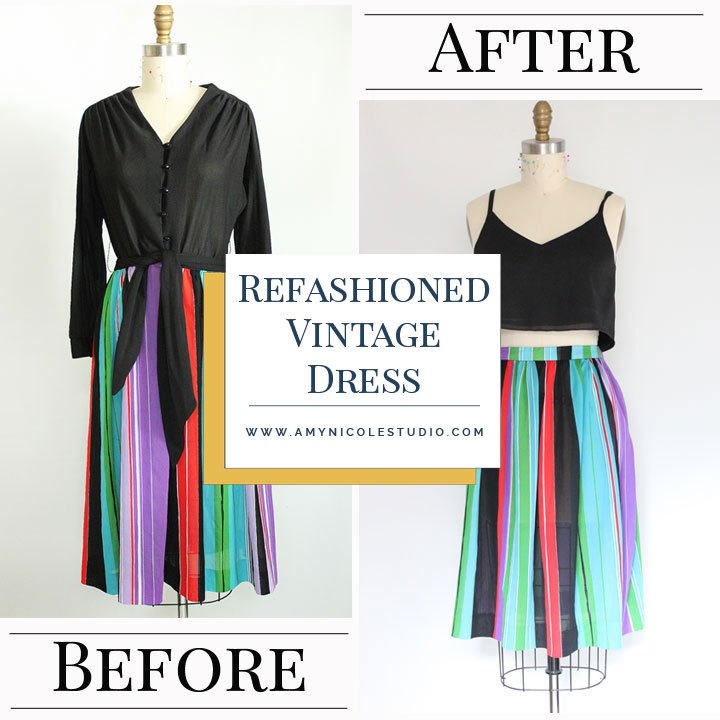
Refashioned Vintage Dress & A Tie Back Ogden

I’ve been wanting to share this refashion for a while but it sat on the back burner and then it was winter and seemed seasonally inappropriate but now spring is upon us so here she is!! Keep reading for more on my process & inspiration for this project.
When I’m at the thrift store looking for things to refashion there are a couple of criteria I keep in mind. 1. When I’m scanning the racks I first wait for a specific color or print to stick out to me. 2. When I see something I like, I pull it out and hold the fabric in my hands, check it’s drape & check for any stains or damages. 3. Lastly, I try to imagine it’s potential. I always try to go for things that are several sizes larger than I need, and/or have a lot of fabric to work with.
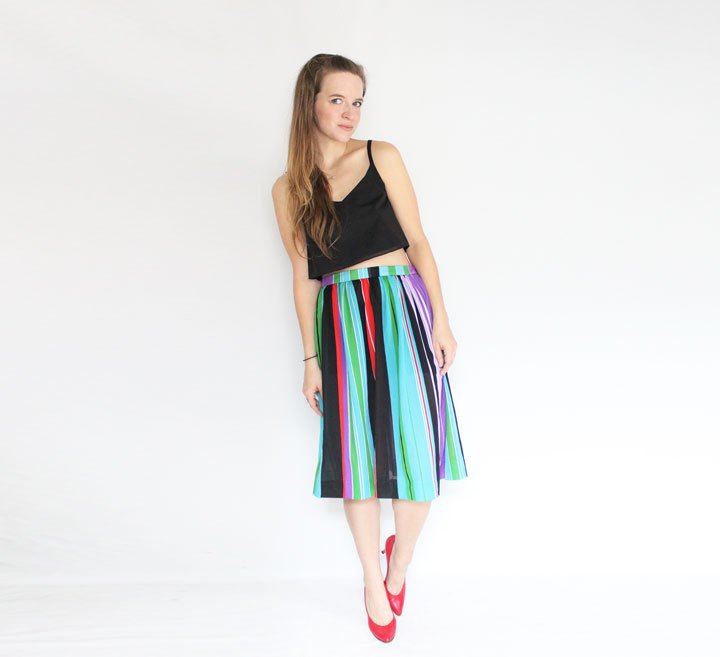
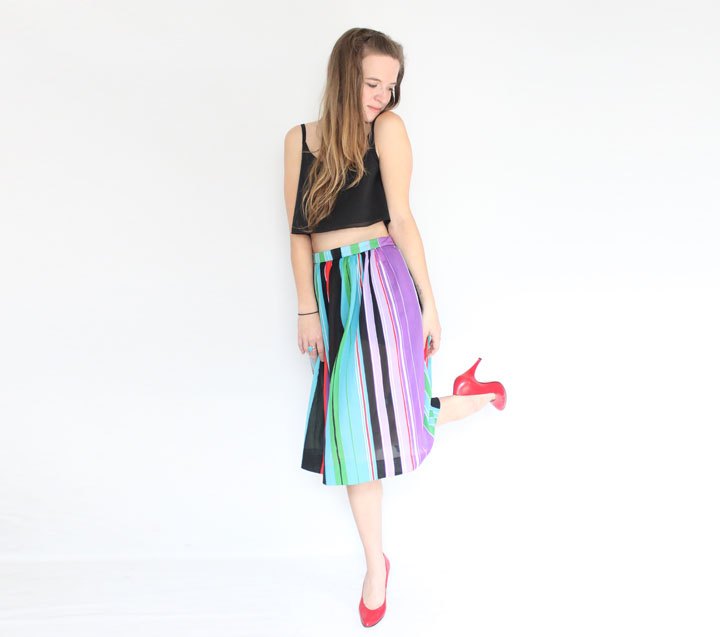
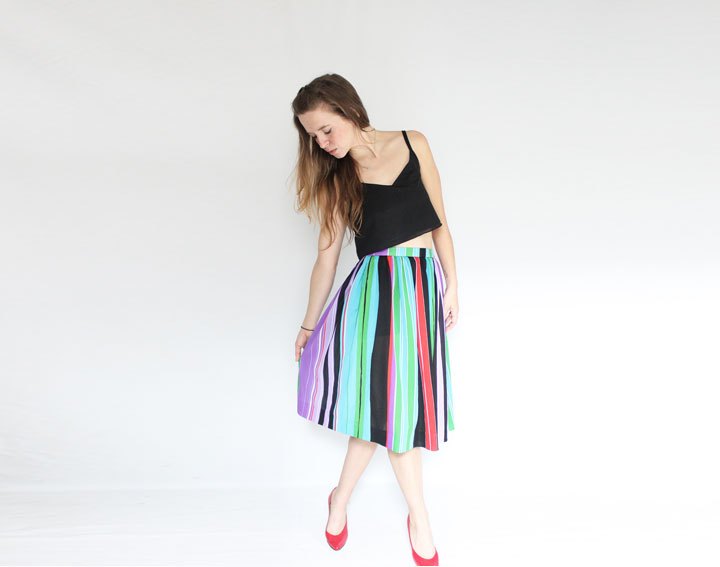
What caught my eye with this dress was the bold stripe colors. I love the retro color theme and something about it just had me at first sight. Even though the fabric quality isn’t ideal, (its polyester… and not the nice modern kind) it had a soft enough hand and a really nice drape. I had a lot of ideas of what I could do with it from the get go. I knew I’d probably separate the top and bottom (I’m not a fan of two tone dresses). But it was SEVERAL years before I finally got around to it and had a lightbulb moment.

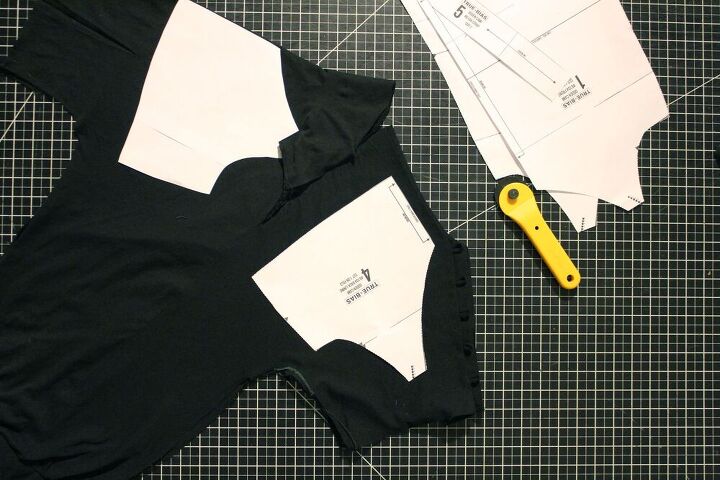
The Ogden Cami by True Bias is the perfect pattern to have on hand for refashion projects. It takes very little fabric and is such a great basic to have around – a classic silhouette with clean lines. When I decided to make this a top & skirt set, I knew this would be the pattern I wanted to use.
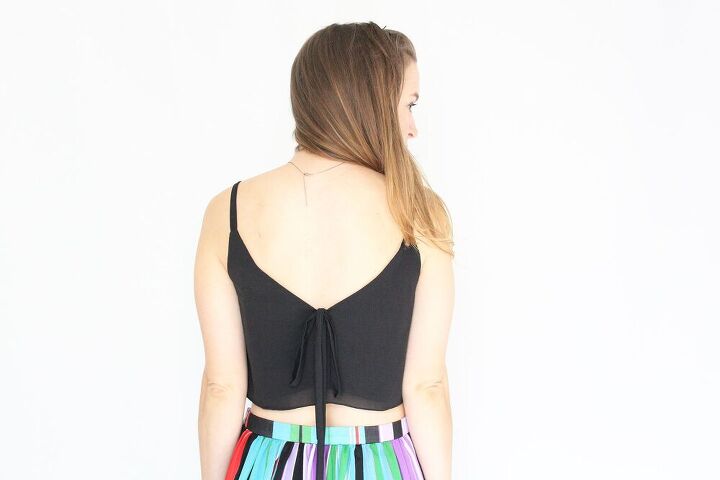
The only problem was, once I got the top all taken apart I didn’t really have a ton to work with without having random seams down the middle of my top (which could be an interesting design choice, but not what I was going for). I didn’t have enough seamless surface area to cut both the front and back on the fold. When I realized I was going to have to have a center back seam, I decided to do something fun with it.
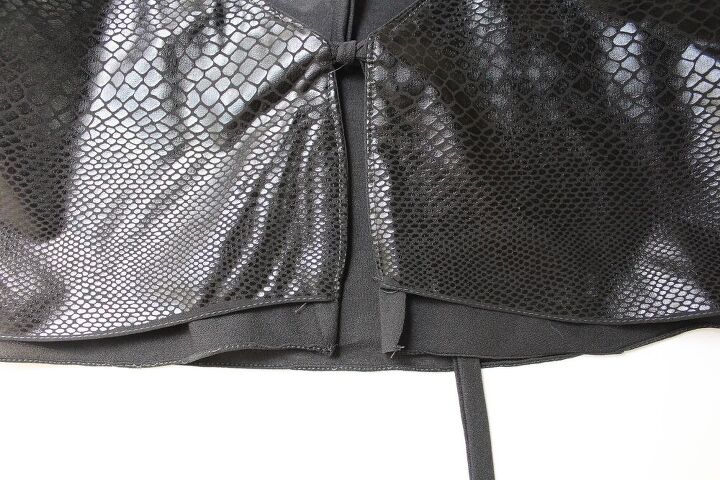
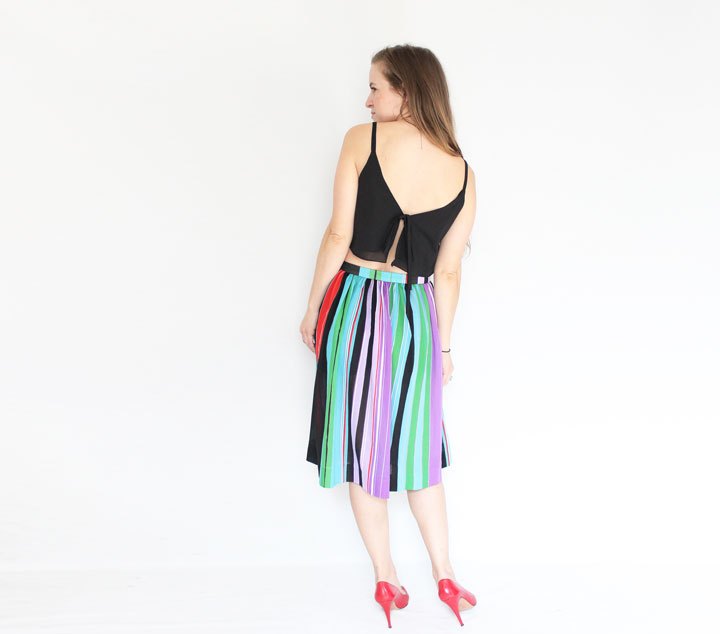
I cut the top with an open center back, created ties out of scraps I had leftover, and clean finished the center back with the lining. For lining I just used some fun snakeskin lining I had in my stash leftover from a costume I was hired to make a while back. I knew I wanted a crop top, so I used the lining pattern pieces to cut the self fabric, adding as much length as the dress bodice fabric would allow. Self & lining hems were finished with a baby hem. I love the way it turned out and now I get two fun mixable separates out of one previously unloved dress.
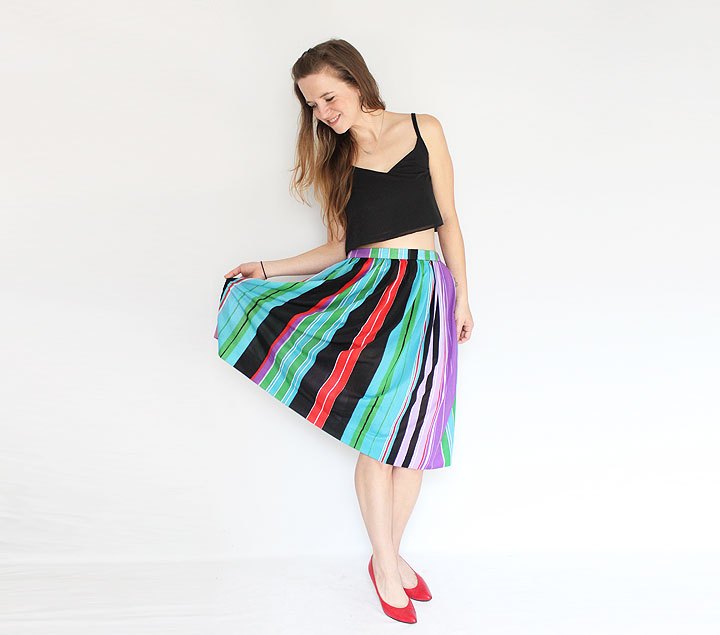
The skirt transformation was easy. First, I simply removed the skirt from the dress. The length was going to be long so I hemmed the skirt to the desired length, then used the extra I cut off to make a waistband, which I interfaced. The front of the original dress had just a flap opening that continued down from where the button-front opening was. I installed a zipper into the original opening, sewed on the waistband, and added a hook and bar closure. I wear the skirt with the opening on the side.
I do have to wear a slip with it as the skirt is see-through. But I’m so happy with the result, and so glad I hung on to this dress as long as I did. Sometimes you just have to wait a while for the inspiration to strike!

Original: Vintage Two-Tone Dress
See this re-make in action on you tube:
The author may collect a small share of sales from the links on this page.


Comments
Join the conversation
I love how you handled the struggle on the back. It turned out so well!
super update, love the colours too as the skirt can be worn with a fall sweater etc.