From Boxy Blazer to Stunning Skirt - Thrift Flip

Recently, I did a huge closet cleanout and found this boxy, oversized blazer. Instead of throwing it away, or donating it, I decided to give the blazer new life. This is great for thrifters who are looking for an easy thrift flip.
Tools and materials:
- Blazer
- A-line skirt
- Chalk
- Scissors
- Ruler
- Roller cutter
- Pins
- Sewing machine

Trace and cut
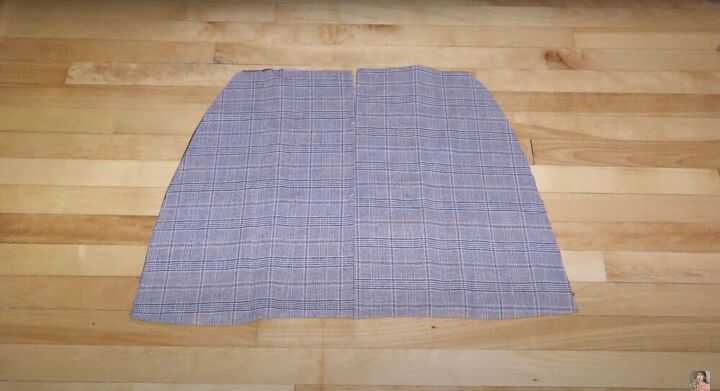
The first thing you want to do is remove all of the buttons. Then, flip the blazer over and place an a-line skirt on the back. Place the bottom of the skirt by the bottom of the blazer and use some chalk to trace it out. Make sure to only trace the body of the skirt and not the waistband. Add half an inch with seam allowance all around and cut out the skirt.
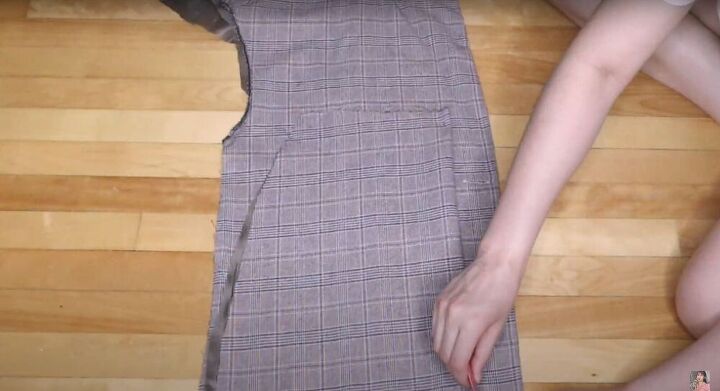
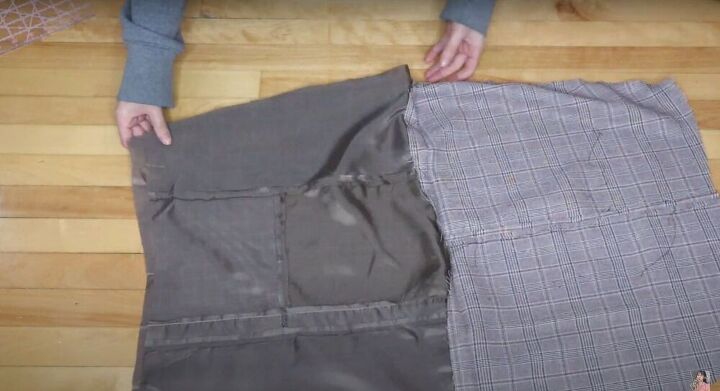
Cut out the back
For the back of the skirt, we’re going to use the front part of the blazer. So, remove the pockets and cut the side seams and sleeves so that the body of the jacket can lay flat. Take the front piece you cut out, fold it in half, and place it onto the jacket. Use it as a template and trace it onto the fabric.
Repeat the same steps on the second side to be left with two pieces for the back - just remember the template over so that the two pieces will be symmetrical and not identical.
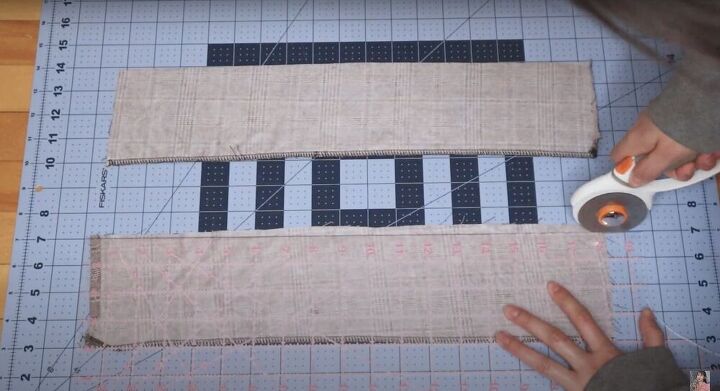
Make the waistband
For the waistband, I used the facing of the blazer (mine already had interfacing, but if yours doesn’t make sure to add some to give the waistband more strength. Next, use a ruler to measure three inches (for a one-inch waistband) and cut your waistband to three inches wide.
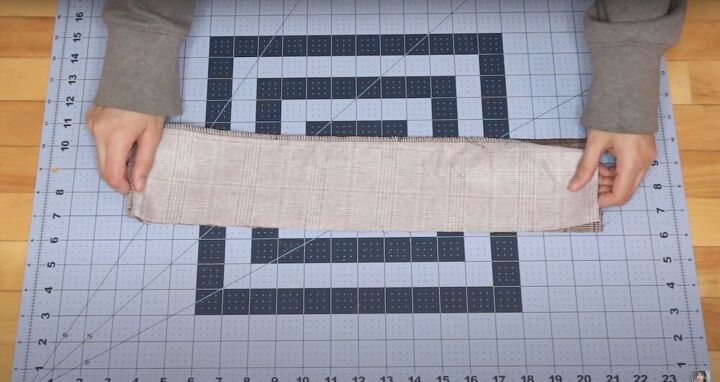
Sew the waistband
Place the two waistband pieces right sides together and sew one side. Next, cut the waistband to your waist measurement and then your piece is ready to be attached.

Sew the skirt
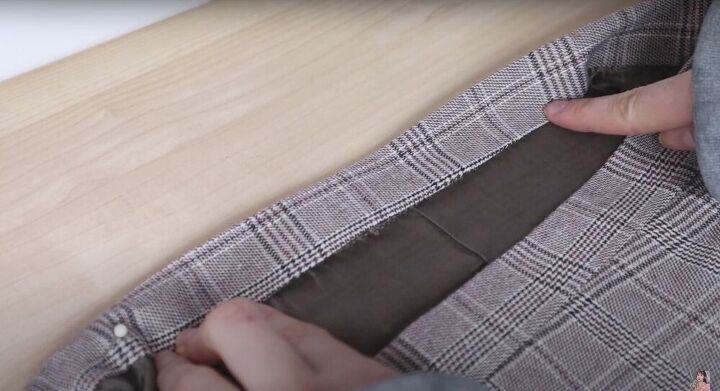
Place the two back pieces right sides together and sew. Once you have a full back piece, place the front and back pieces right side together and sew the right side. Make sure to only sew the outer fabric and not the lining.
Once the skirt is attached, put the lining right sides together and sew them as well (along the same side). This helps keep the lining and fabric separate so that all of the raw edges of the skirt are hidden inside.

Attach the waistband
Place the waistband right sides together along the skirt and align the side seams. Pin it and sew it. Next, iron the waistband facing up, and then iron a quarter of an inch down and fold it in half.
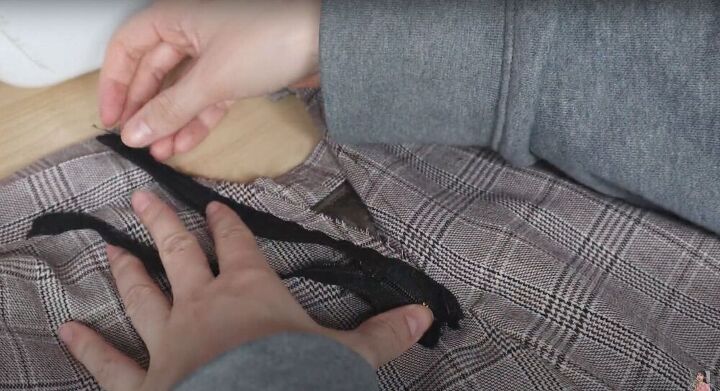
Add a zipper
Place the zipper on your skirt, right sides together, and sew it. When you’re sewing try to be as close as possible to the zipper teeth. Repeat the same thing on the other side. Next, fold the edges of the lining over the zipper and pin it down. Then sew and your zipper is complete.
Finish the waistband
Fold all the raw edges in and then fold the waistband in half. Pin it down and topstitch as close to the edge as possible.

There you have it, from drab to fab! I hope this video encourages you guys to recycle old clothes. This can be done with anything you have in your house, or you can thrift and flip to make good use of some really cool pieces in thrift shops!
The author may collect a small share of sales from the links on this page.


Comments
Join the conversation
Awesome idea...,. adorable look.... and grateful to watch your frustration with zippers. I too avoid them whenever I can.
Love what you did and love your tenacity in completing the zipper. Wish I had of been that creative in my younger years. You Go Girl!!!....