Thrift Flip: From Blazer to Blazer Dress

I got this oversized men’s blazer from my mom’s friend and immediately fell in love with the gorgeous blue color. And, since I had seen a gorgeous blazer dress a few days earlier in the same color, I knew what I had to make.
Tools and materials:
- Blazer
- Scissors
- Pinking shears
- Ruler
- Marker
- Buttons
- Sewing machine

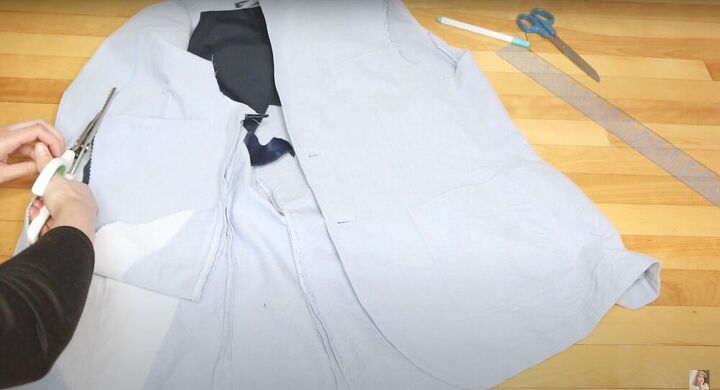
Deconstruct the blazer
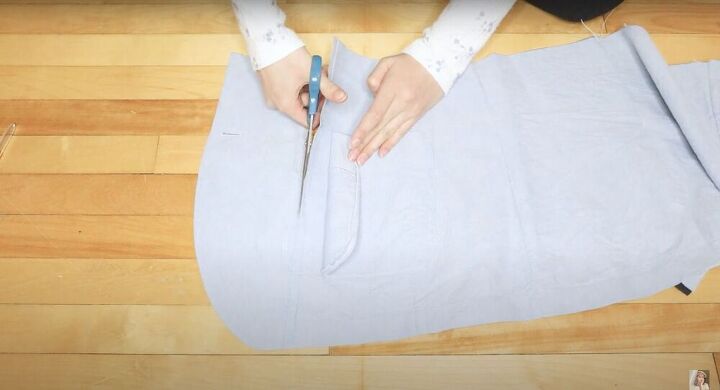
The first step is to deconstruct the blazer; cut off the sleeves, remove the padding and trim down the front (keeping 2.5 inches for interfacing). I cut the blazer using pinking shears (which are scissors with a zigzag blade) in order to prevent fraying. If you don’t have pinking shears, sewing the edges with a zigzag stitch will work just as well.
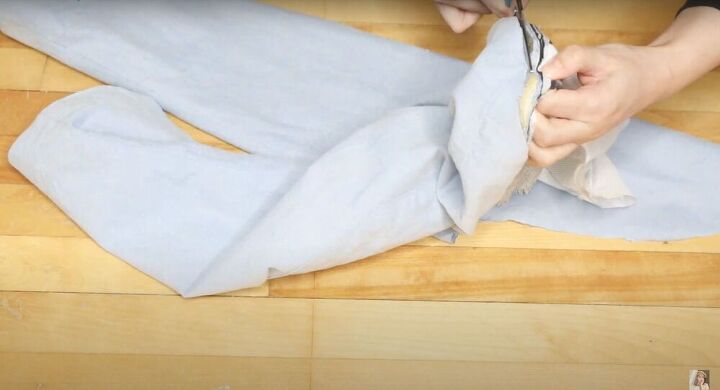
Prepare the sleeves
Trim off the bulk from the sleeves (I cut as close as possible to the edge, pulled out the padding, and took the lining off). I also removed the elbow pads, because we are trying to get the sleeves as smooth as possible - anything adding extra layers that don’t serve a function, needs to go.
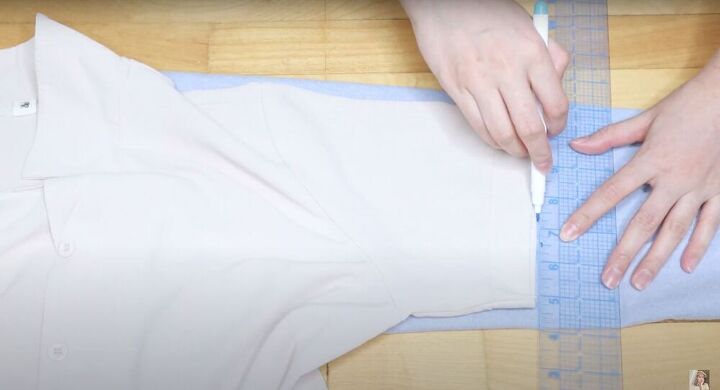
Make your sleeves
I cut the blazer by my waistline, giving me two separate pieces for the top and the skirt. Next, I traced out my sleeves using a top I already like as a template. Next, I trace the seam (for the armhole) by marking along the fabric. Simply place your finger by the seam, lift the remaining fabric and place a mark by your finger. When you’re done, cut out the fabric. Remember to be generous with the seam allowance so that you can be sure the sleeves will fit. Cut the remainder of the sleeve open - we will add it to the skirt later on.
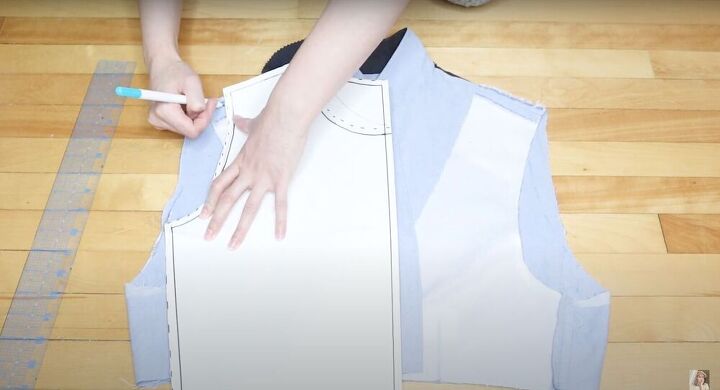
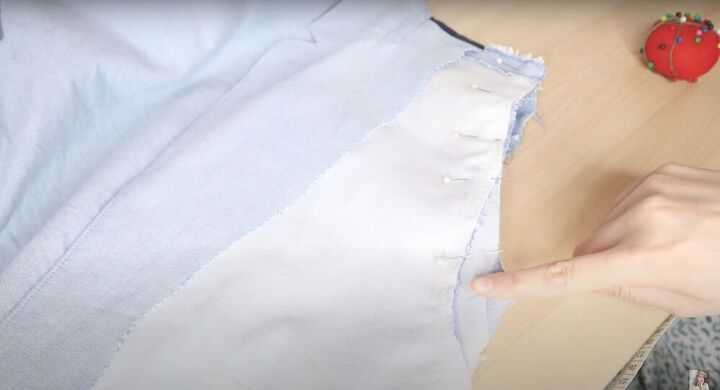
Make your top
To make the wrap effect on the top, place a marking by 4.5 inches from the edge. Next, overlay the front over each other, bringing the opposite edge to the marking. Pin to secure. Now, flip the blazer top inside out and trace any bodice pattern onto the top. Finally, take the extra fabric from the sleeve (not the part being used for the skirt) and use it to patch up the armhole. (One armhole will need filling in because it is being pulled to the center more than the other). Pin the right sides together and sew. Finish the armhole marking and cut it out to rid of any excess fabric.
Attach the sleeves
Sew the side seams and a zigzag stitch to finish the edges. Cut off any excess fabric. Next, we are going to attach the sleeves to the top. We do this by turning the top inside out and placing the sleeve into the top so they are right sides together. Then add lots of pins to secure the sleeve in place (make sure all the seams align) and sew it. Once attached, turn the top right side out and double-fold the raw edges of the sleeves. Sew the hem and the top is done.
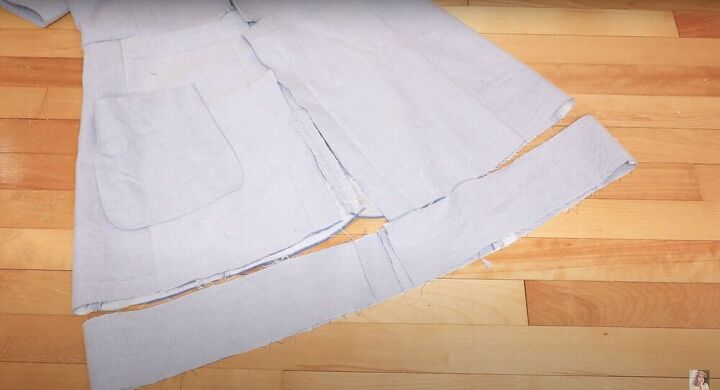
Attach the skirt
For the skirt, I started by undoing the hem - this will add more length to the skirt. Then, I laid it flat and added markings straight across. Next, place the sleeve panels on either side of the skirt, right sides together. Pin and sew it.
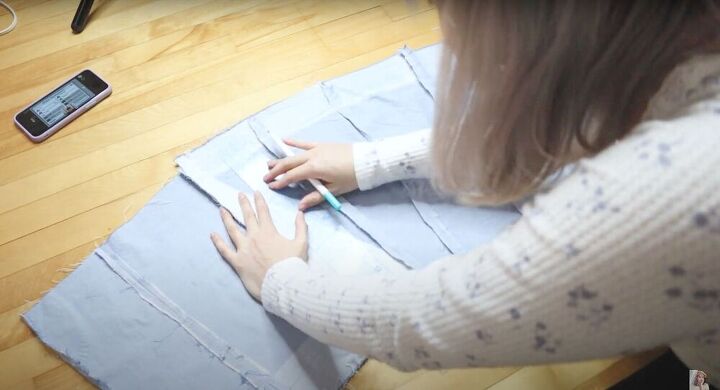
Using a ruler, measure out about half an inch and take the skirt in by the top of each seam. Next, sew the side seams until the top is taken in by about an inch - both of these will help give the skirt a better shape and form. Finally, adjust the skirt to be the same length by measuring and cutting any excess fabric. Once you’re done, the skirt should resemble the shape pictured above.
Attach the top and bottom
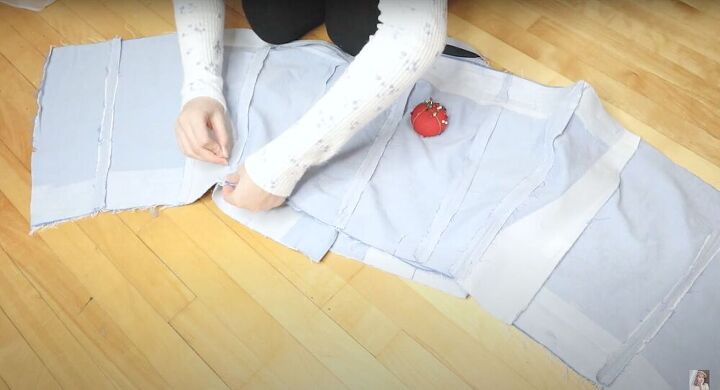
Place the top on its face and the skirt over it so they are laying right sides together. Next, use pins to secure the edges in place. Do this around the entire skirt and then sew the two layers together. If like me you have extra fabric around the skirt, use a ruler and cut it off - this extra fabric can be used later on for the skirt facing.
Lengthen the dress
Because I felt like my dress was a bit too short, I cut out as many rectangles as I could and then sewed the shirt edges together. Next, I measured the length to match the bottom of the skirt and pinned the strip to the edge. Make sure you pin the strip right sides together and sew it.
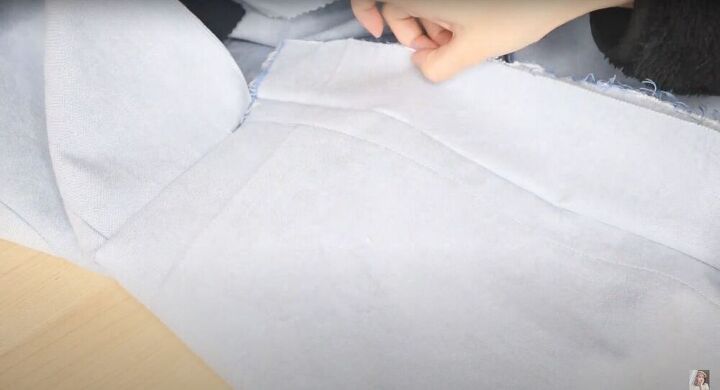
Sew the facing
Place the skirt facing onto the skirt, matching the edges and right sides together. Once you find the correct placement, sew it down. Once it’s secure, pull the facing to the side (so the right side is facing out as pictured above) and sew the top and bottom facing together.

Hem the dress
To finish the dress, hide all the raw edges by folding in the facing and use a top stitch to secure. Finally, hem the dress. The hem you do will depend on how much length you want. If you want to keep the length then make a smaller hem and if you want the dress a bit shorter then double fold and make a thick hem like me.
Finish the blazer
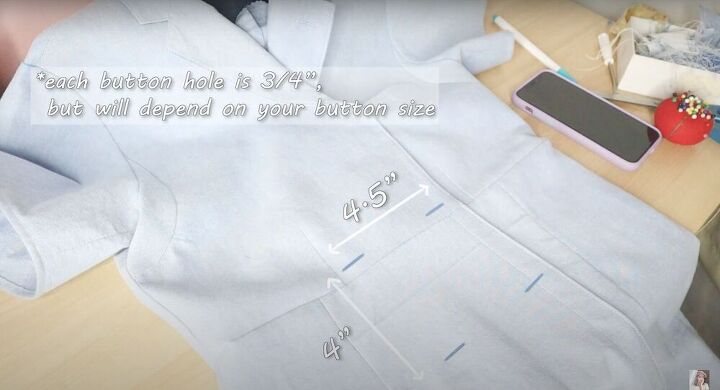
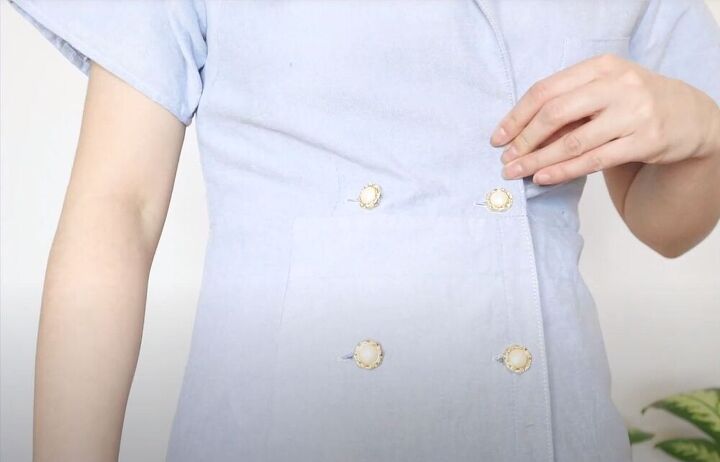
Using the 4.5 inch marking from before, overlay the dress and find the placement of your buttonholes. The spacing of your holes should have to do with the blazer you used and your own measurements, but I still included mine (pictured above) as a reference. Sew your buttonholes in place and use a seam ripper to open them. Finally, find some buttons you love (I chose some pearl and gold ones) and hand sew them in place.

I am so happy with how this women’s blazer dress turned out. I think it looks super chic and cute, without being too over dressy. I especially love this gorgeous blue color and can’t wait to try it out with some other unique tones.

The author may collect a small share of sales from the links on this page.


Comments
Join the conversation
Too short for someone my age. It also looks a little dated. Love the color, but that's about it.
I love that younger people are sewing and coming up with such great ideas that some of us older ones can learn from.