How to Sew a Blazer Dress & Pants From Your Dad's Old Suit

In this tutorial, I'll show you how to sew a blazer dress out of a men's suit jacket. My dad had an old suit lying around in his closet, doing nothing. So, I decided to create a formidable upcycle out of both the jacket and pants.
First, I made a DIY blazer dress from the blazer, and then I transformed the pants. So, if you want to know how to make a sexy blazer dress, this is the perfect tutorial for you. Let’s start!
Tools and materials:
- Old suit
- Sewing machine
- Pins
- Seam ripper
- Ruler
- Chalk or marker
- Measuring tape
- Thread
- Needle
- Scissors
- Buttons (optional)
DIY Blazer Dress
1. Adjust the shoulders
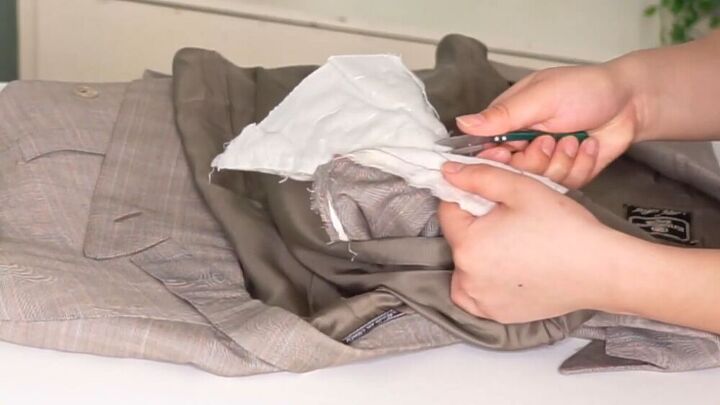
First off, I seam ripped the shoulder area and removed the shoulder pads.
Next, shape up the shoulder seam so that it is more fitted. Do this by reducing the width on the top. Use a pencil or marker to draw a line as a guide. Blend it into the middle seam of the armhole so it looks as natural as possible. Also, blend it in at the back.
Unpick the shoulder seam to cut the area to reduce the shoulder part of the blazer.
Fold your whole blazer in half and copy what you just did to the other shoulder seam. This will make the process quicker. Then, repeat the same steps to reduce the width.
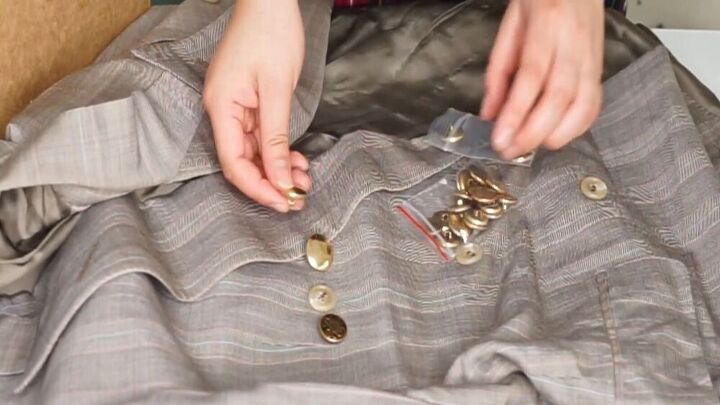
2. Change the buttons
You can either leave the buttons on the blazer or if you want to jazz it up a bit, feel free to change them.
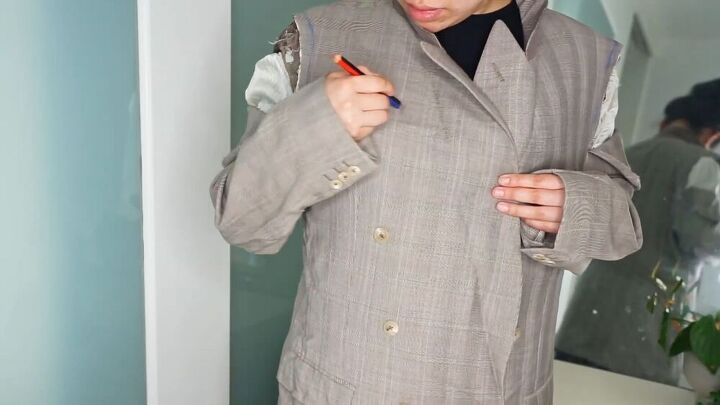
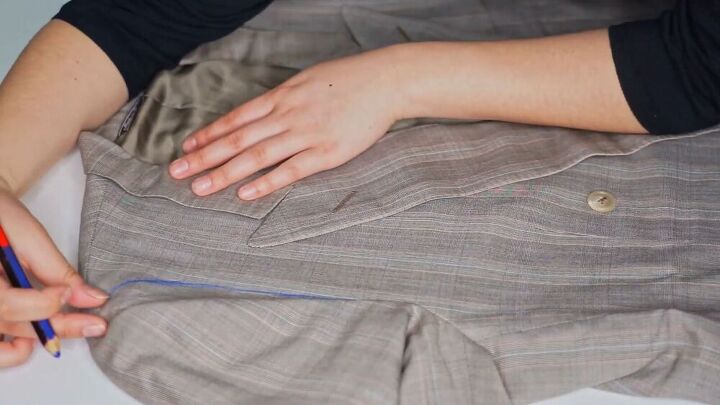
3. Adjust the neckline and bust area
Wear your blazer, and draw an imaginary line on how you want to modify the neckline. Also, this is the perfect time to see where you’ll reattach your buttons.
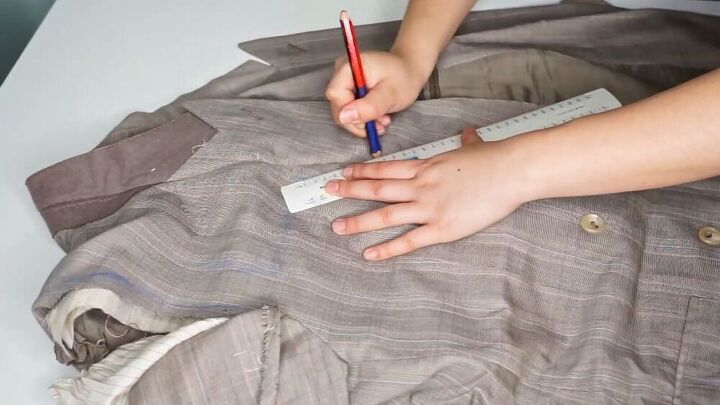
Now, draw the bust line properly using a ruler as a guide. The bust line should blend with the center back seam. Be sure to reflect the same to the other side.
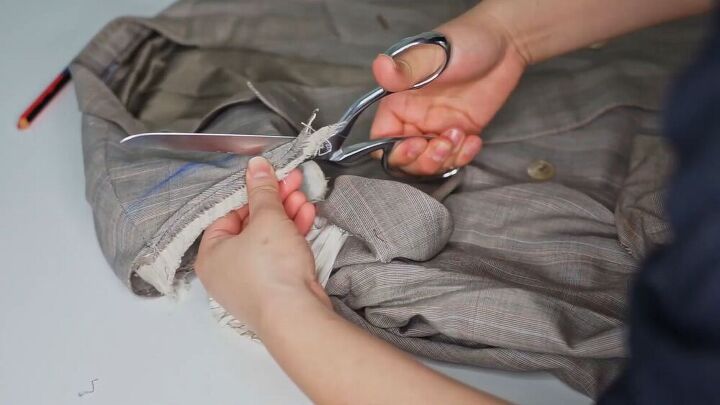
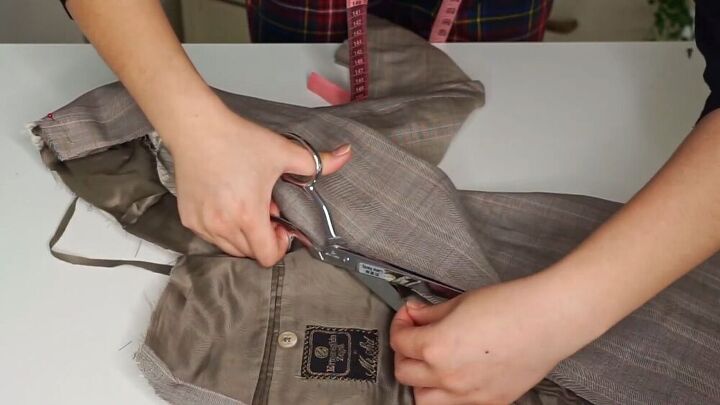
Now, fold the blazer in half, making sure it all aligns nicely. Then, cut the bust line all in one go, as shown.
The center-back is a little oversized for me, so I decided to take it in. To see how I do this, skip to 4:48 minutes on my video.
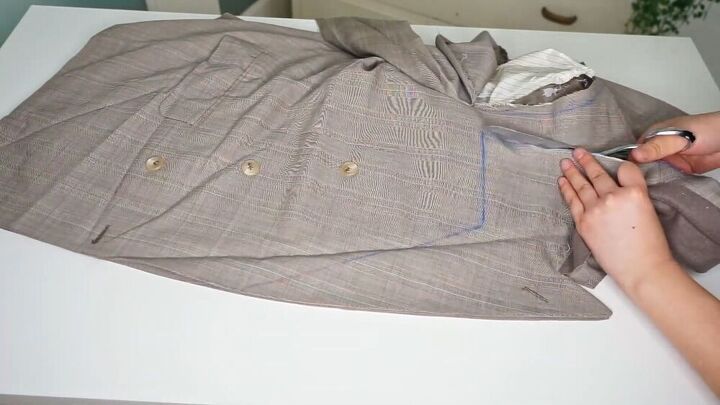
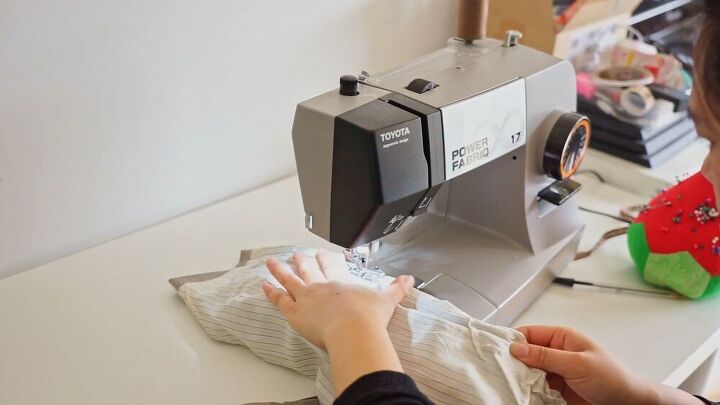
4. Pin and sew the raw edges
Now, pin the raw edges, and cut off any excess fabric that doesn’t match up to the seams.
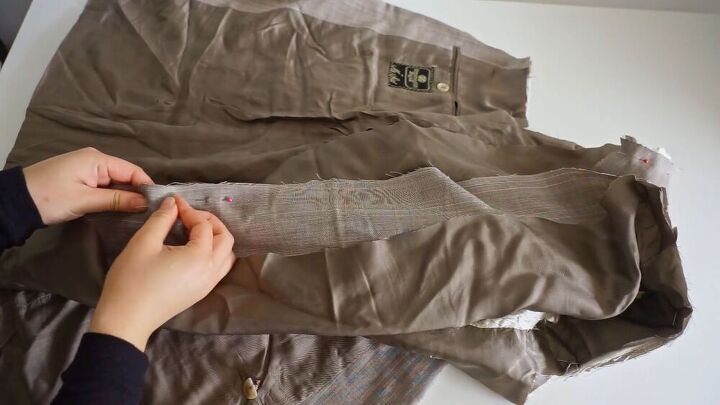
Pin the center-back seam, and pin each layer separately; fabric to fabric, lining to lining.
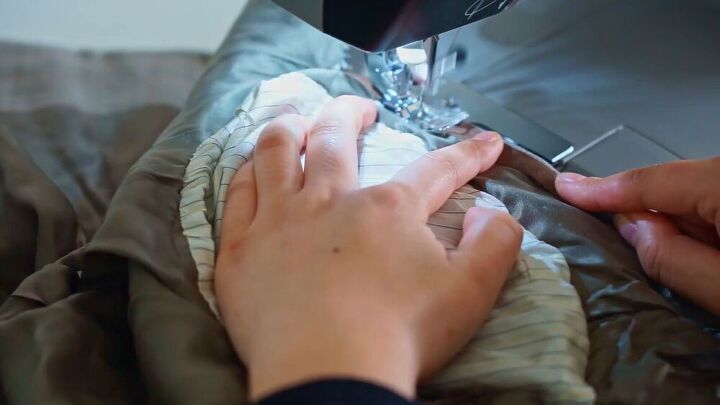
Now, sew each layer together.
5. Add bias binding
Now, add bias binding to the neckline, do this all in one go.
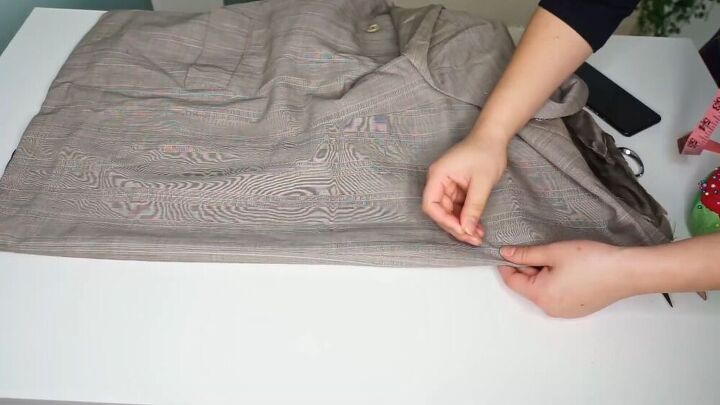
6. Slim down the sleeves
The sleeves are a bit oversized, too. So, stitch the sleeve to your desired length and cut the excess. I took mine in by about 2cm (0.78 inches).
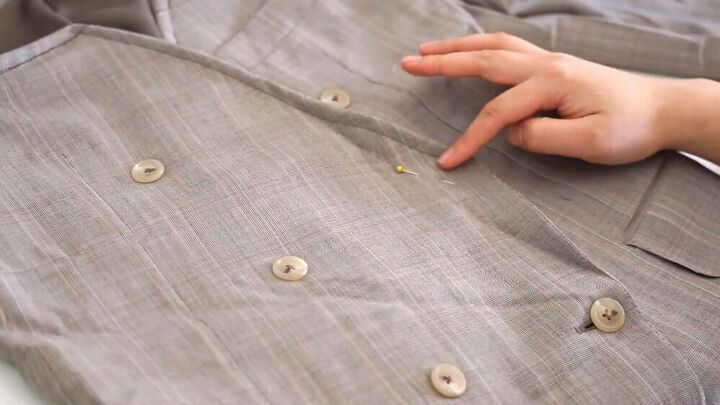
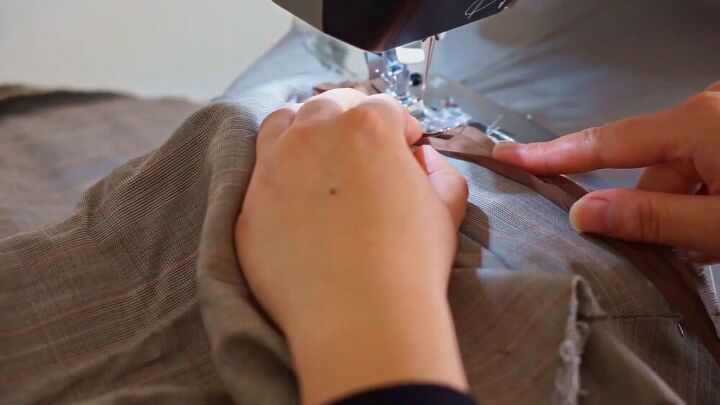
7. Sew the front of the DIY blazer dress
Now, sew the front, overlapping part, as shown.
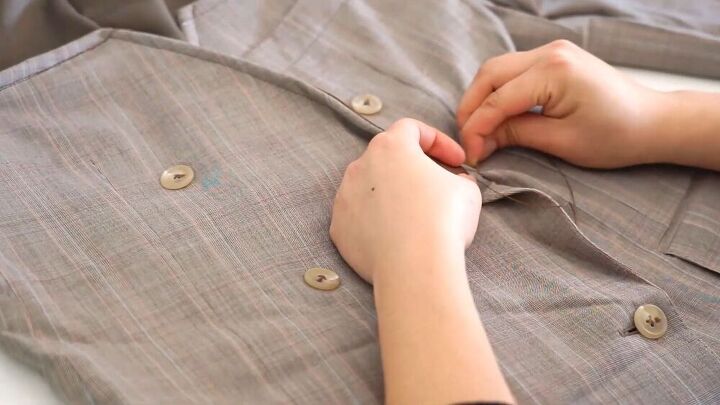
Hand-stitch it down and sew a button feature, too.

8. Add mini buttons
For a little bit more security around your bust area, sew invisible mini-buttons around the bust line by hand.

9. Finalize the shoulder seam
For the shoulder seam, hand-sew the remaining exposed seam.
10. Press
Then, give your DIY blazer dress a good press, and you’re done!
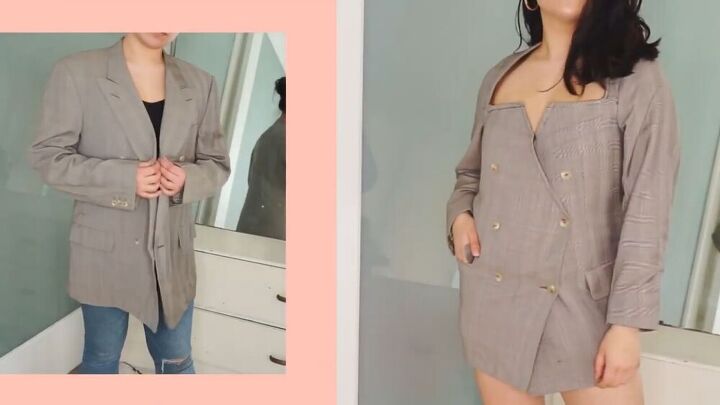
DIY blazer dress
How do you like this stunning DIY blazer dress? It fits so great and shows just enough skin in the right places. I really love this sexy look, and I hope this tutorial gave you a pretty good idea of how to make a blazer into a dress!
Pantsuit
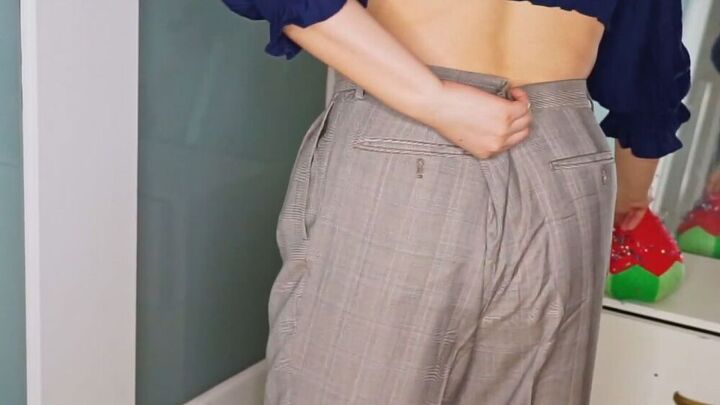
1. Take the pants in
Wear the pants and at the back, take the extra fabric in and pin where necessary. Doing this at the center-back seam instead of the side seams will not destroy the pocket area.
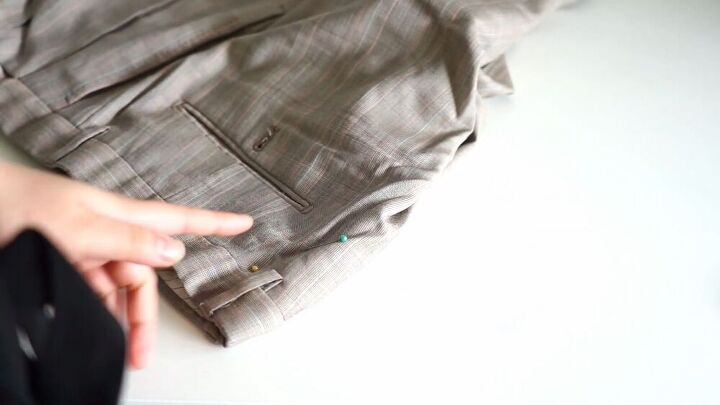
Now, take the pants off and pin a better line, as shown. Following the pins as a guide, draw a line where you’d like it to be reduced. Blend the line in with the existing seam at the bottom.
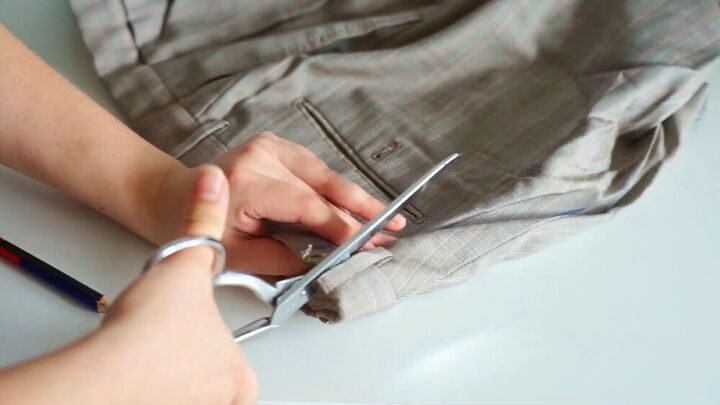
Now, cut along the line, as shown.
Pin the raw edges, and sew the new seam line. Remember to combine it seamlessly with the existing seam.
Tip: Overlock the center back seam after sewing.
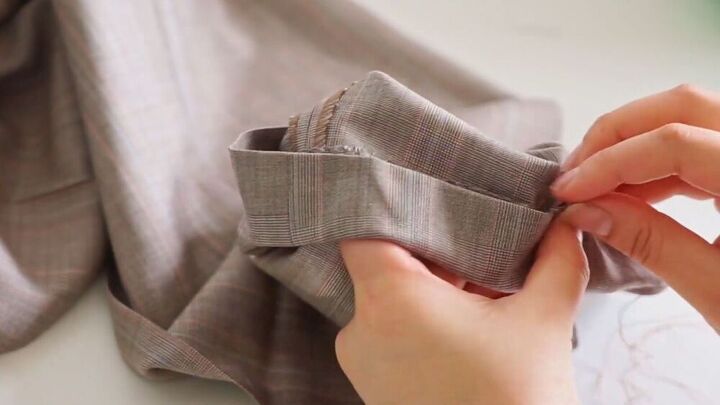
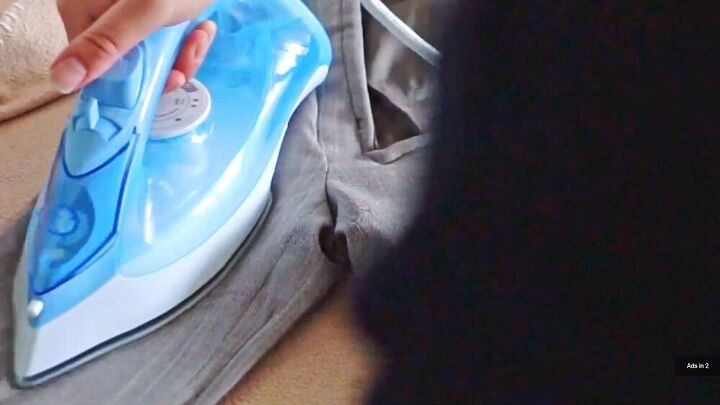
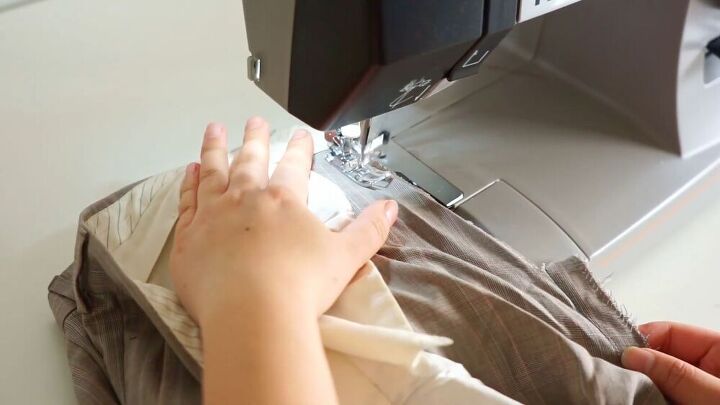
2. Hem the pants
Now, hem the pants to your desired length. Do this by ironing the new hem that you want, so that it stays in place and makes sewing easier, then hand-stitch it together. Press to finish.
Tip: Grab the inside of the hem and a little bit of the front layer of the trousers, so if you pick up a little bit of the fabric it won't be obvious that it's a hand-sewn hem because it will look like a blind hem.
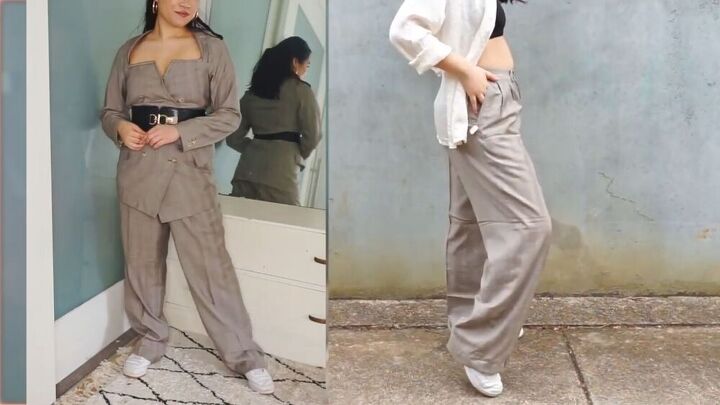
DIY blazer dress / pantsuit tutorial
Now your pants fit like a glove. You can wear the suit pants and blazer dress separately, or you can pair them together to make a really cool pantsuit outfit. Let me know what you think of this tutorial and the finished garments in the comments below.
The author may collect a small share of sales from the links on this page.


Comments
Join the conversation
I like the suit jacket the most, I like the pants I just would have the pants a lot slimmer, but they are still nice.