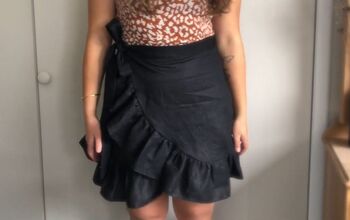
DIY: Linen Tulip Wrap Skirt
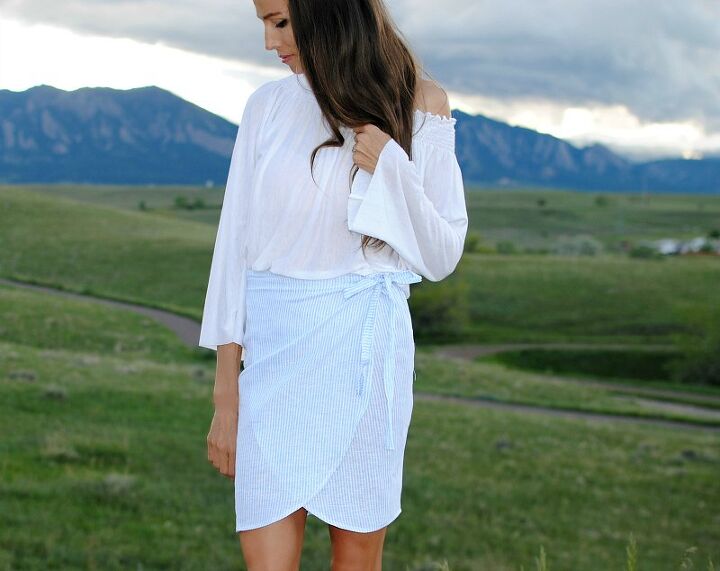


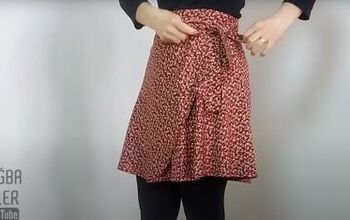
Nothing says Spring sewing like a linen tulip wrap skirt. This is easy to make and can be customized with all kinds of fabrics and prints. I got a lot of interest in my gingham wrap skirt I posted on IG so I thought this would be a perfect tutorial to share. I drafted the pattern so you'll have to have a bit of pattern making skills. If you have a skirt that fits you well you can even use that as a pattern and just create 2 front pieces that have a tulip hem on alternating sides.
Sew your own tulip linen wrap skirt in the tutorial below:
Supplies:
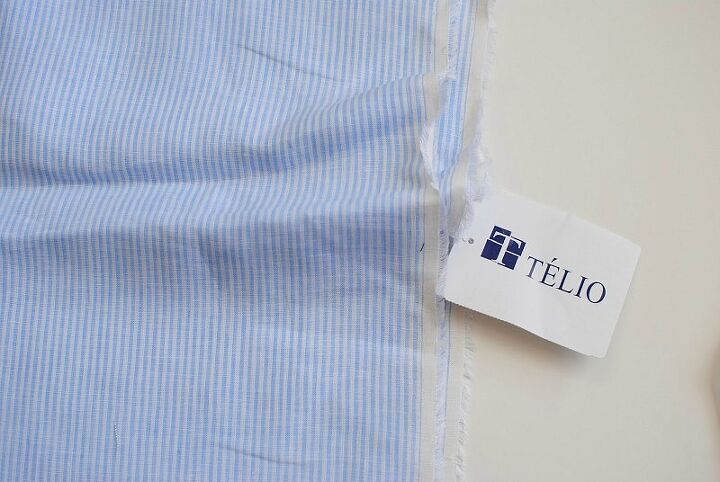
- 1 yard woven fabric
- Dritz Loop Turner
- Pattern paper
- Marking tools: Dritz Tracing Paper and Dritz Tracing Wheel
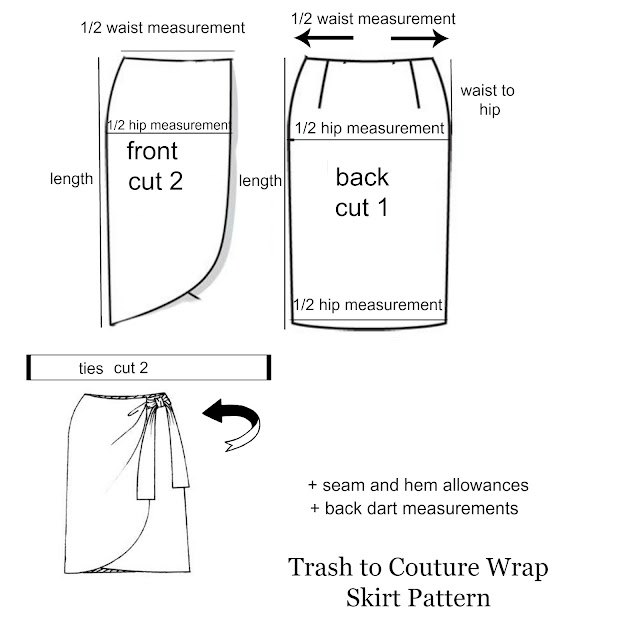
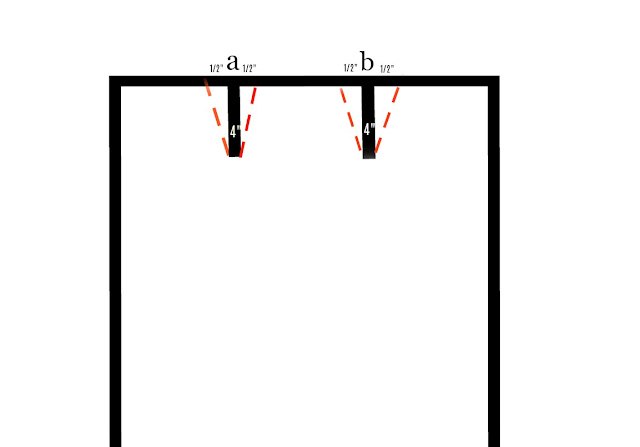
For darts I divided my back measurement into 3 equal parts and marked each center point as (a) and (b). I then drew a straight 4 inch line down. I marked out 1/2 inch on each side of the lines and connected that to the bottom of the line as shown above with the red dashed lines.
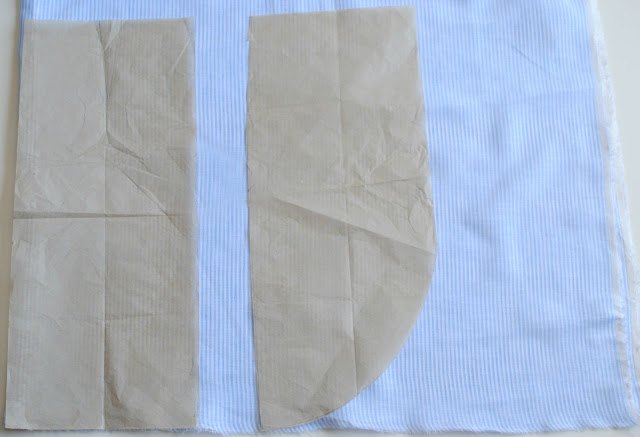
Draft your pattern from the above illustration and cut.
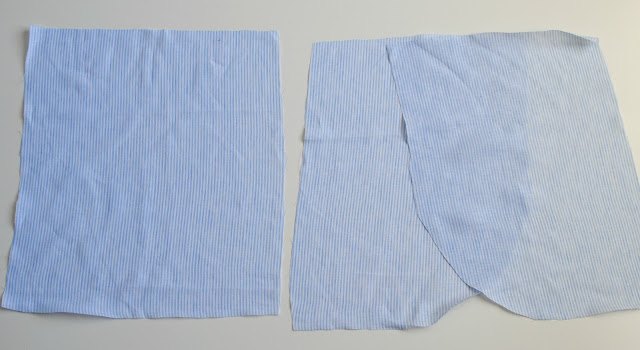
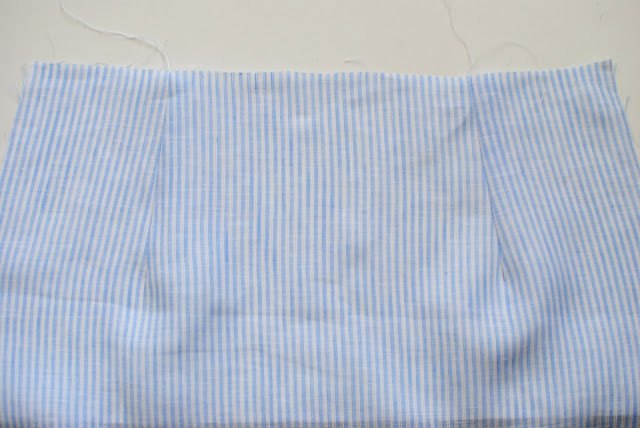
You will have 3 pieces for the skirt: 2 front pieces and 1 back.
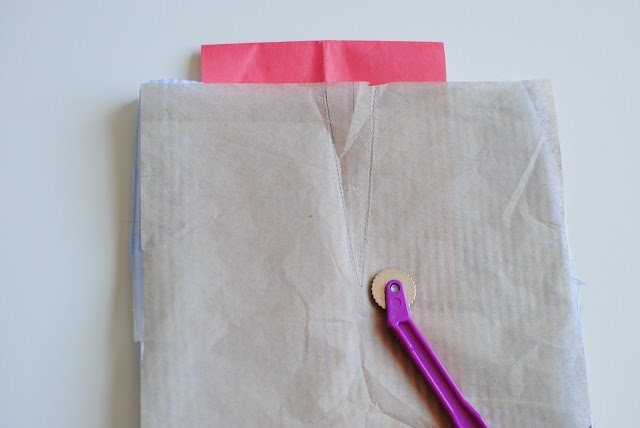
Mark darts in the back. This will help with the overall fit.
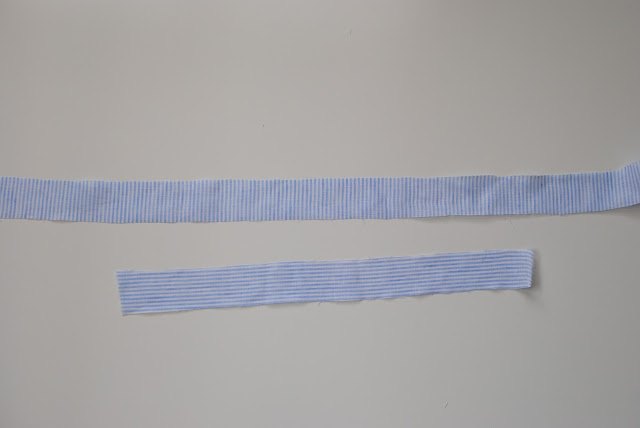
You will need 2 strips for the ties. One that is 2" x 16" in and another 2" x 32". You can also use bias tape or make bias tape.
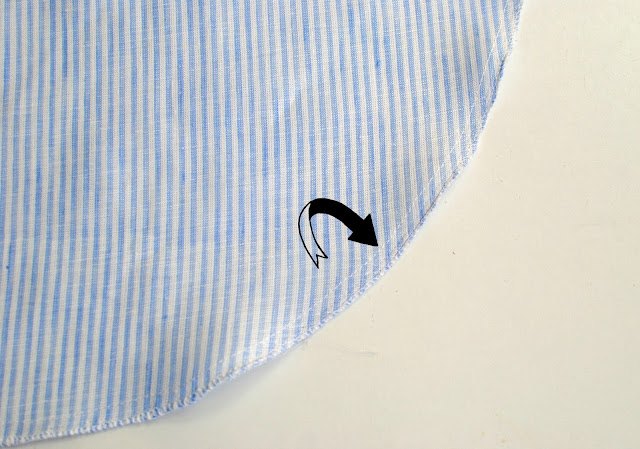
When sewing a curved hem I begin by basting 1/4 in. from the raw edge. You can increase your tension a bit. This helps sewing the curve and gives you an even 1/4in. line to fold over when pressing the hem. I did serge my raw edge but if you don't have a serger that's fine. You will however want to fold over another 1/4 inch to incase the raw edge.
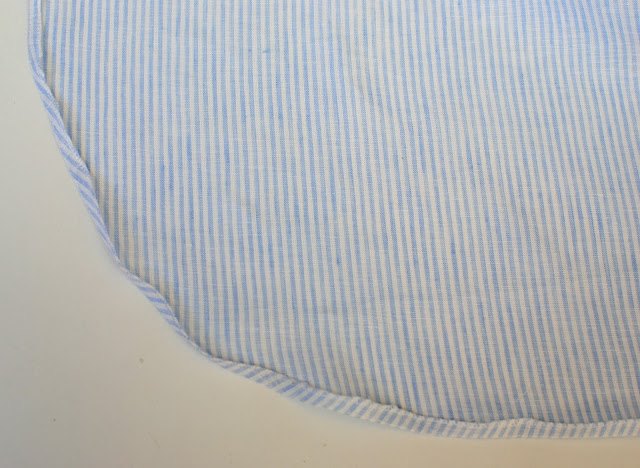
Press so the baste stitches are just barely over the fold on the wrong side and edge stitch, then repeat pressing over and edge stitching if you didn't serge your edge.
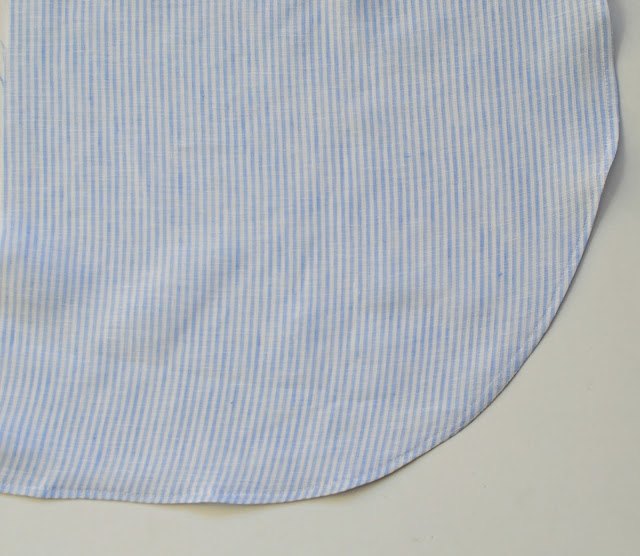
Press so you have a nice curved hem.
Sew the back darts and press to the right. Finish the bottom hem of the skirt. I serged the raw edge and folded over a 1/4 inch to match the front hems.
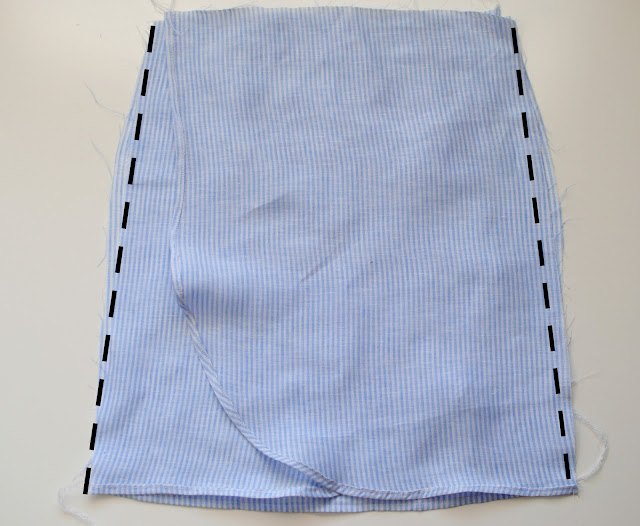
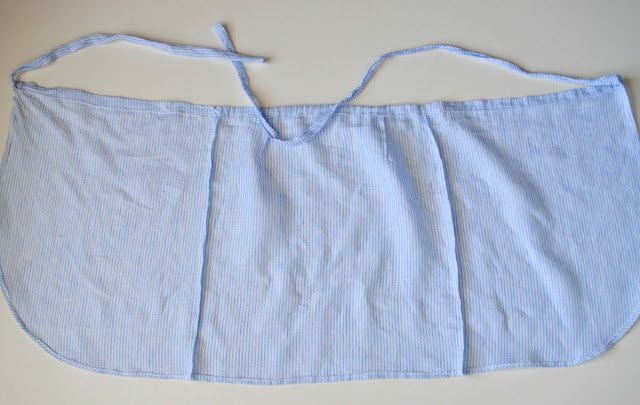
Sew front pieces and back pieces right sides together. Start at the bottom hem and sew up toward the waist so the finished hems match up. You can always cut the top back and front pieces if they don't match perfectly.
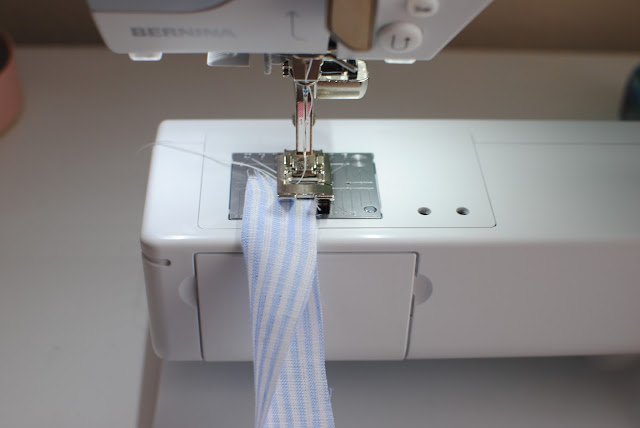
Fold your ties in half and sew right sides together.
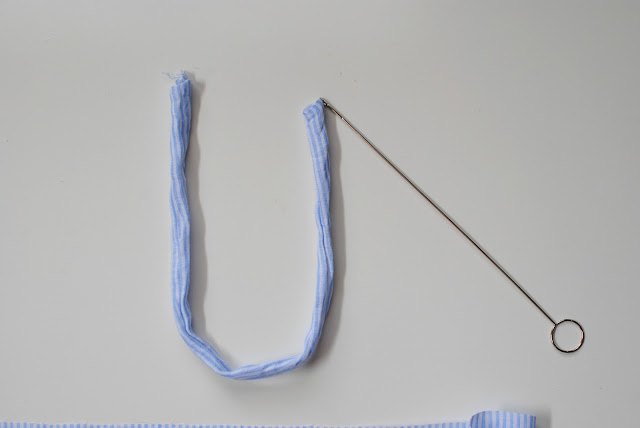
Use a loop turner from Dritz and pull the strips out right sides together. Press so the seam is in the middle of the back.

Fold your top hem over 1/4 inch and press to incase the raw edge and then another 1/2 inch. Again, I serged my raw edge.
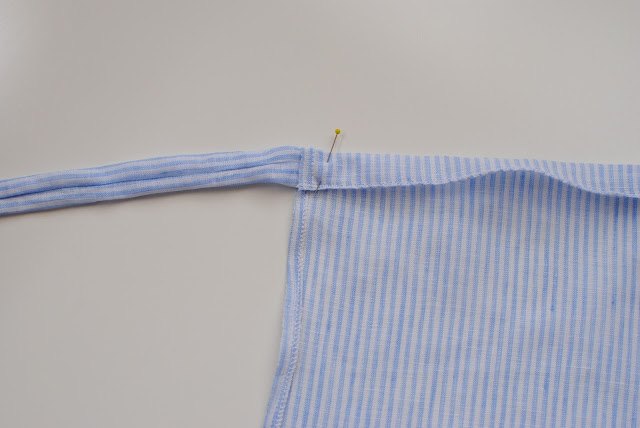
Pin each strip to the each side of the front pieces and then edge stitch the strips and hem into place. The small strip I placed on the left side and the longer strip on the right.
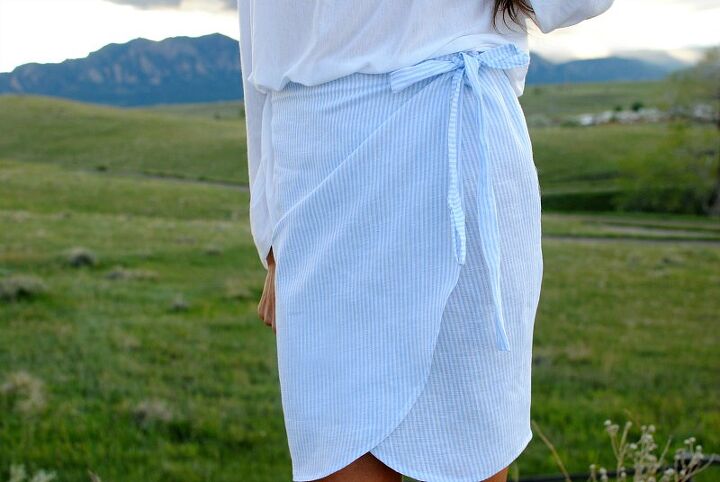
Wrap the long strip all the way around and tie at the front/side. Mine is a bit sheer so I'm going to line it or use it for a pool wrap.
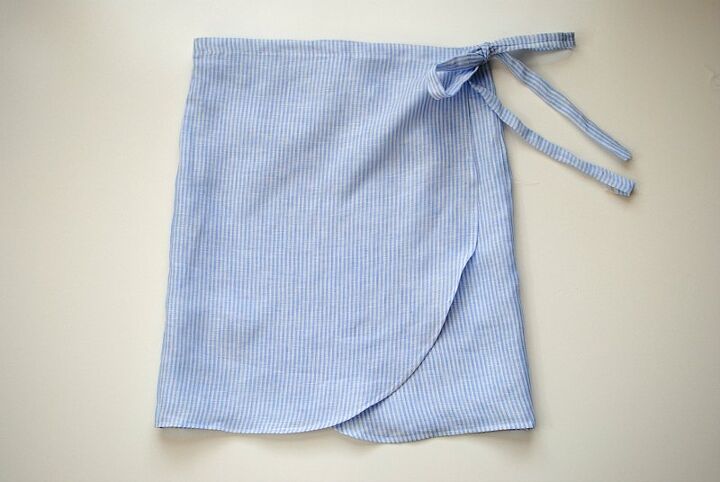
And that's a WRAP...

The author may collect a small share of sales from the links on this page.


Comments
Join the conversation