You’re Going to Adore This Stylish Midi Skirt Tutorial!

There’s nothing more sheer, soft, and sultry than a silk midi skirt! Today, I will show you how to make your own DIY midi skirt with silk fabric. The details are gorgeous and intricate and will surely take your midi skirt to the next level! It’s also a functional fashion item as it’s breathable and comfy, especially in the warmer months. So, come sew a midi skirt with me, you will not regret it, I promise!
Tools and materials:
- Silk fabric
- Thread
- Sewing machine
- Scissors
- Chalk
- Measuring tape
- Pins
- Lining
Make the pattern
Fold the fabric in 4 layers and draw a straight line.

Then, measure 9 inches across and 9 inches down and make a mark. These measurements may vary depending on your waist size, so to work it out, follow the equation above.
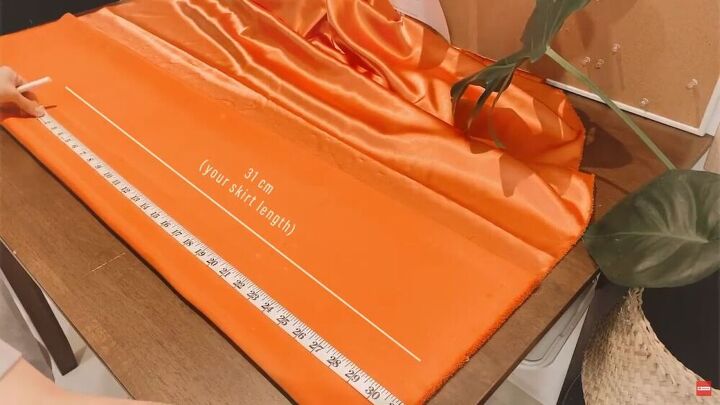
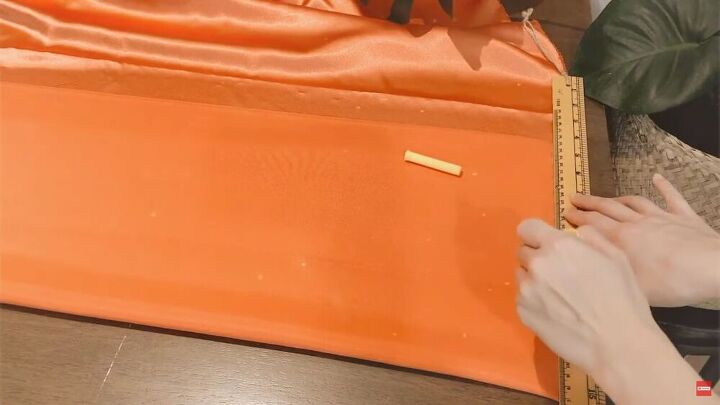
Now, measure your skirt length; mine was 31cm (12 inches).
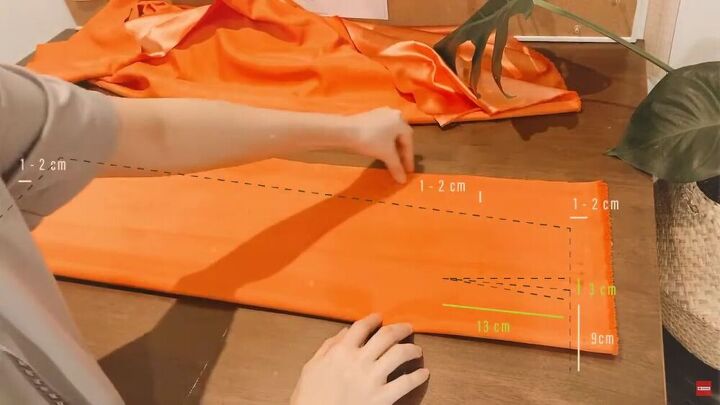
Make a dart and the outer lines of the midi skirt, as shown above.
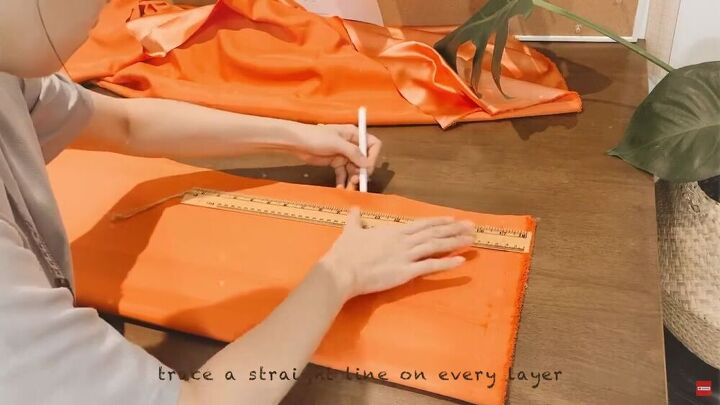
Then, go ahead and trace a straight line on every layer.
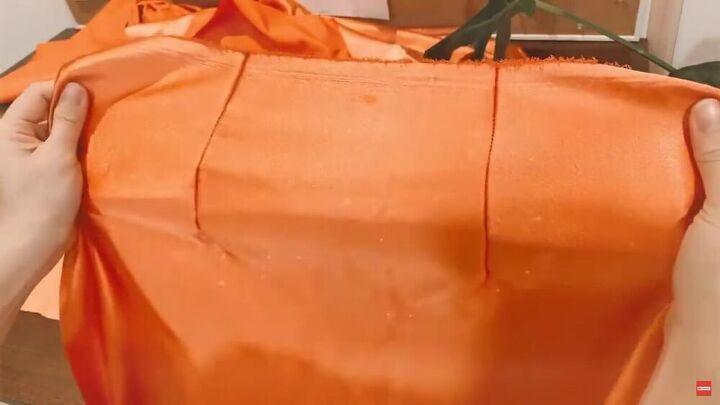
Make the darts
Sew the darts on every side and every piece, as shown.
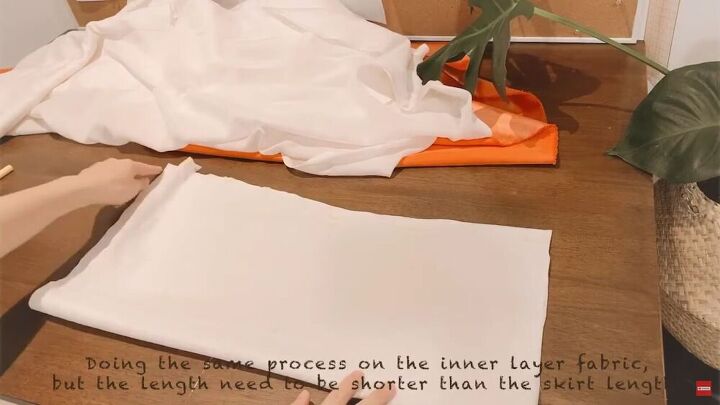
Create the pattern for the inner lining
Following the first step, make the inner lining pattern, but make it shorter in length. Also, make the darts, too.
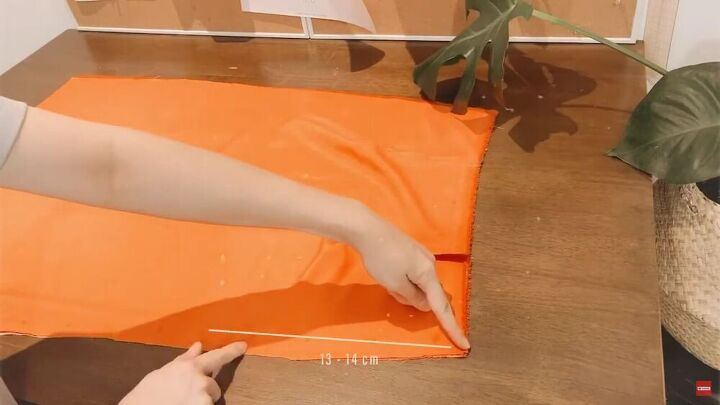
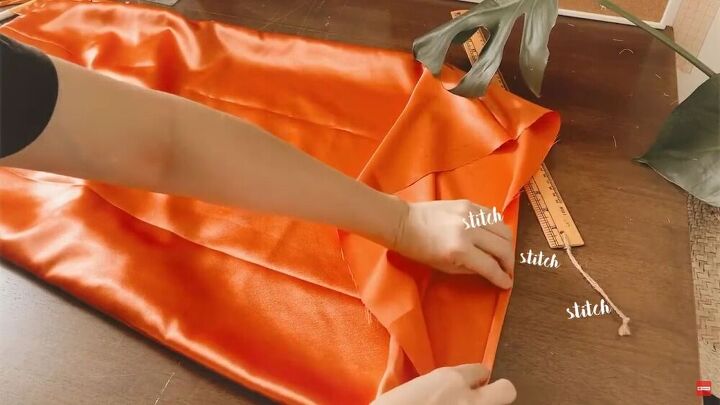
Stitch the side seams
Measure around 13cm (5.1 inches) on one side of the midi skirt and make a mark. Then, go ahead sew the side seams, excluding the area from where you made a mark.
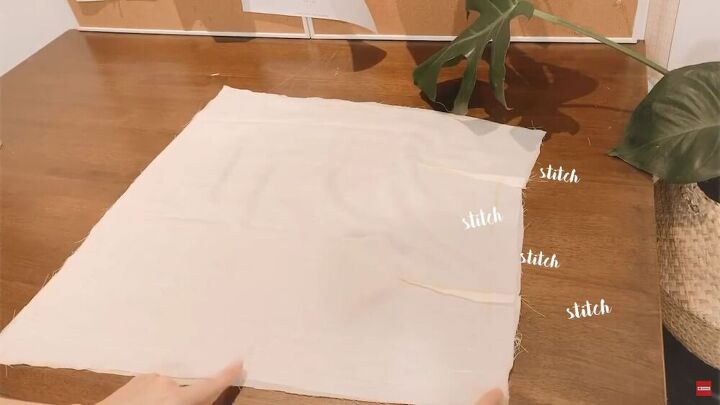
The same goes for the inner lining; repeat the step as above and make sure to leave a slit on top.
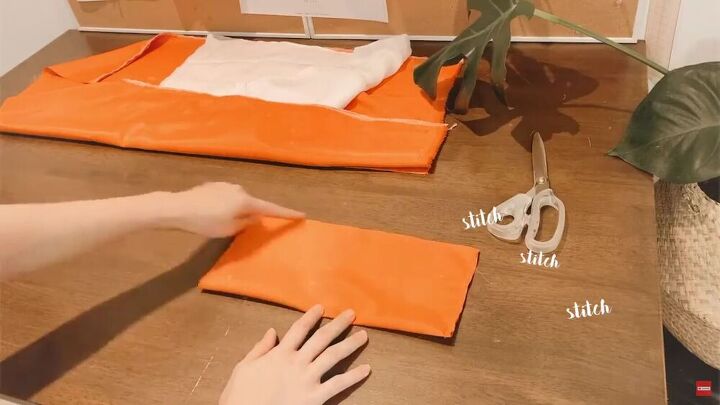
Make the straps and rectangle
Sew a rectangle as shown. The bottom half should be open.
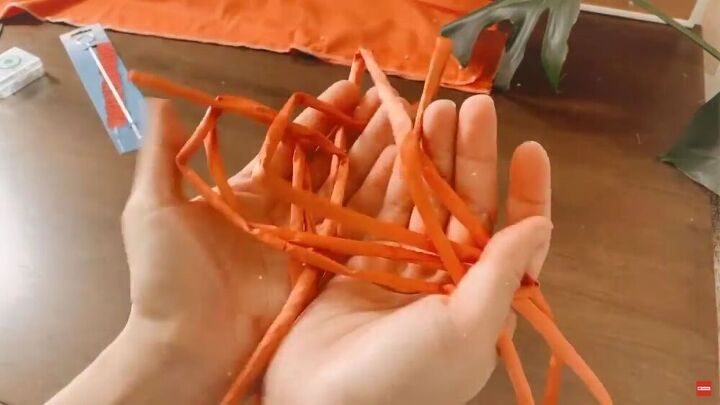
Then, cut a long strip of fabric, fold it and sew along the edge. Turn it right sides out afterward.
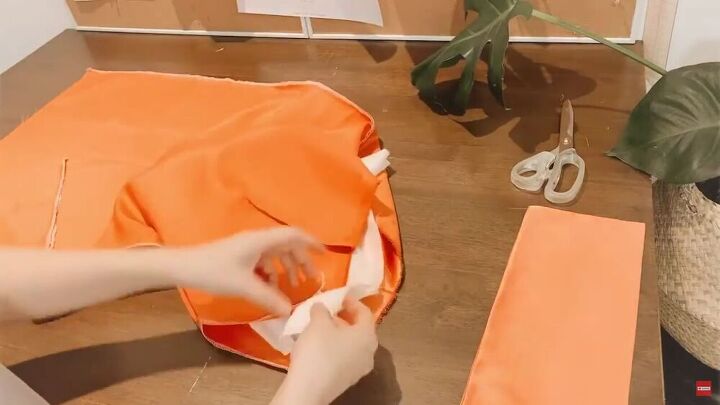
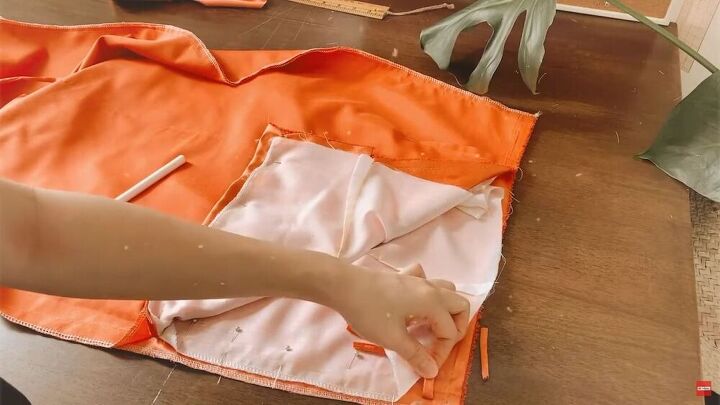
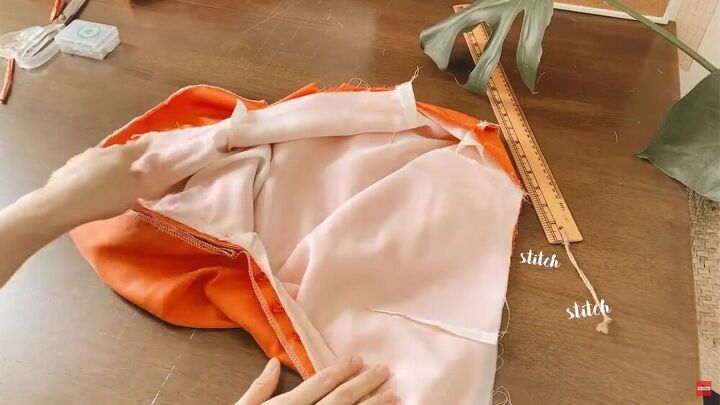
Assemble the skirt
Insert the inner lining inside the midi skirt and pin the edges all around. Align the seams accordingly to ensure that nothing is out of place.
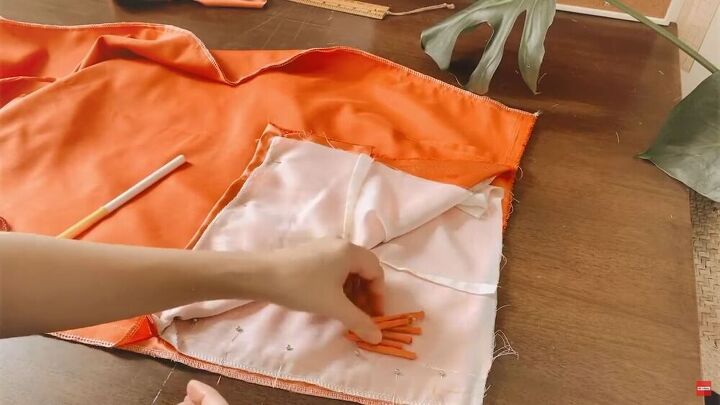
Cut some of the strip into tiny pieces and pin them on the side seam of the main fabric.
Fold them in half to create a mini loop and pin the edges close to the edge of the main fabric of the skirt.
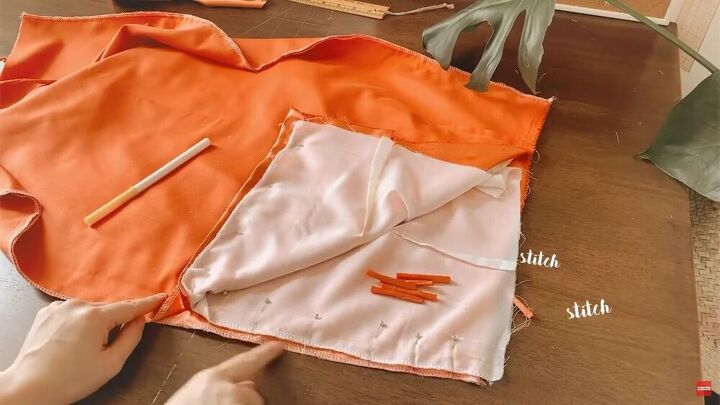
Now, stitch one layer of the side seam, where the loops are pinned.
This is what it should look like.
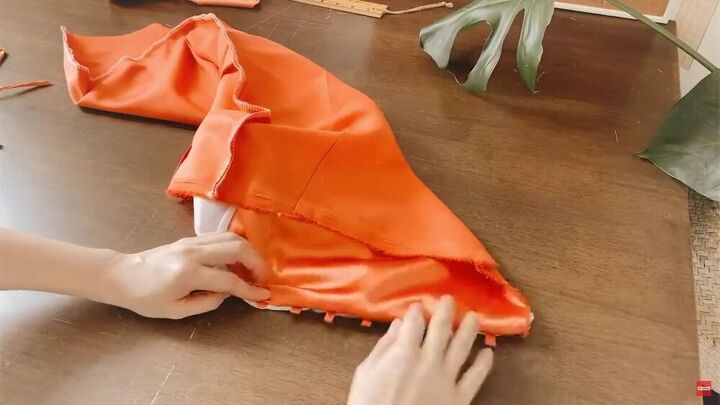
On the other side of the slit, pin the rectangle n between the lining and the main fabric, and sew to secure.
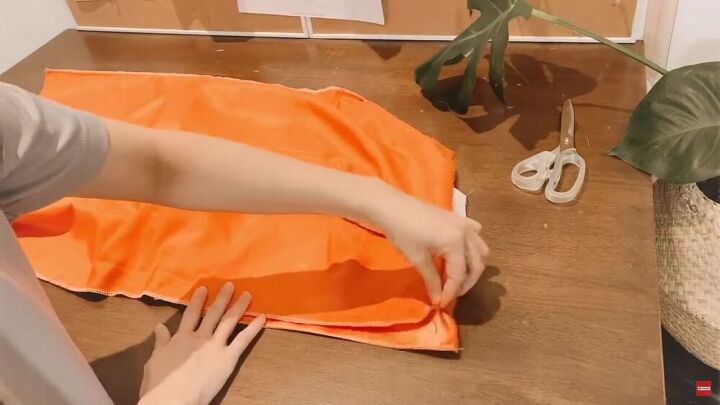
Sew the waistline of both the skirt and lining.
Your silk midi skirt is almost done! Now hem the bottom of the skirt for a lovely polished look.
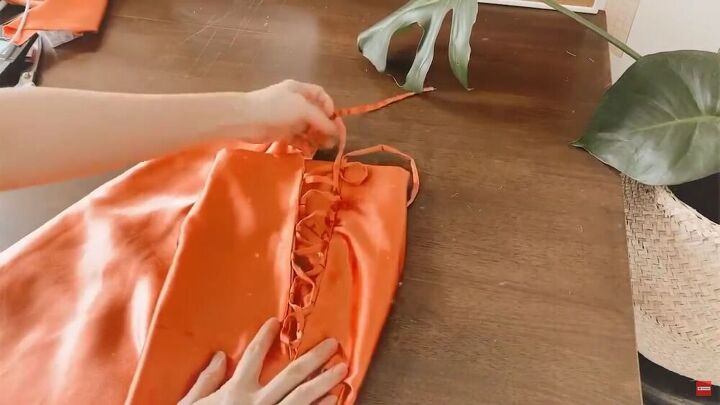
Loop through the remaining strip of fabric to make a cute criss-cross design.

Talk about classy, unique, and oh so stylish! What do you think of this silk midi skirt? I love the fit, and the color is just so special. It will go well with any plain top. You definitely don’t need much to look great with this wonderful DIY midi skirt. What color will you choose when you make a midi skirt of your own?

The author may collect a small share of sales from the links on this page.


Comments
Join the conversation