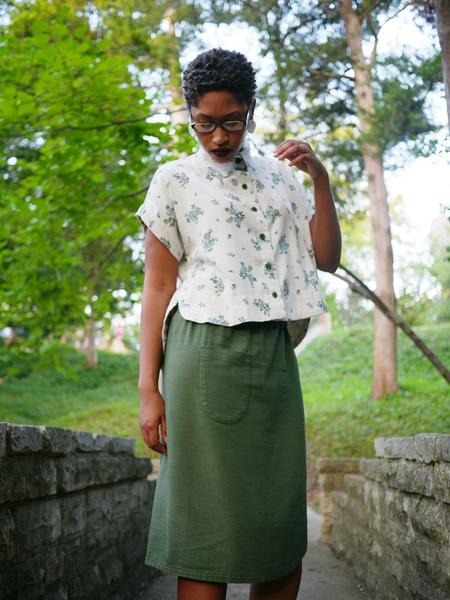
Midi Skirt ROMA | Sew Along
I am thrilled to have the beautiful and ever-so-stylish Alexis Bailey on my blog! Alexis is offering up a short and sweet Sew Along for the midi skirt ROMA. This sew is fun and fashionable and surprisingly versatile. So without further ado...
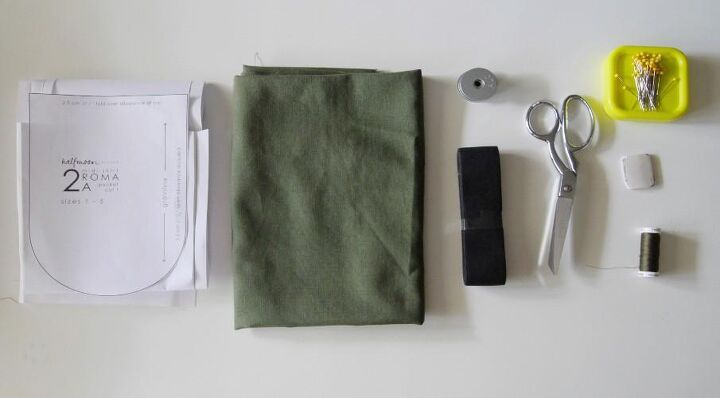
WHAT YOU'LL NEED
- 1 yd Medium weight fabric such as cotton or linen
- 2" elastic
- Scissors (or rotary cutter and mat)
- Safety pin
- Matching Thread
- Sewing machine
- Iron
- Pins
- Pattern weights (optional)
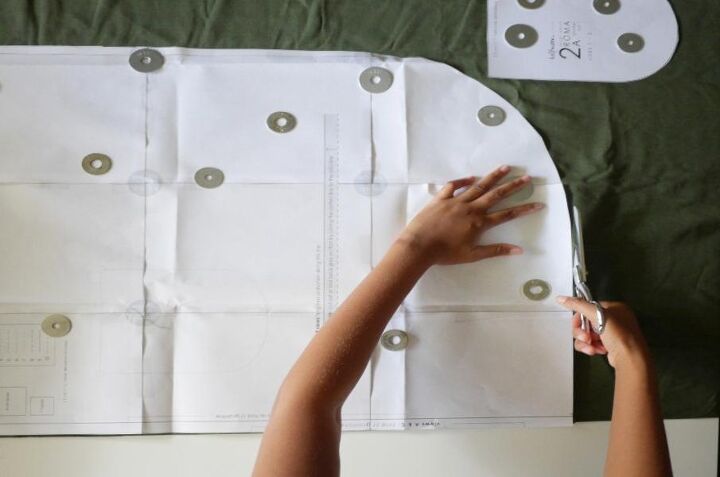
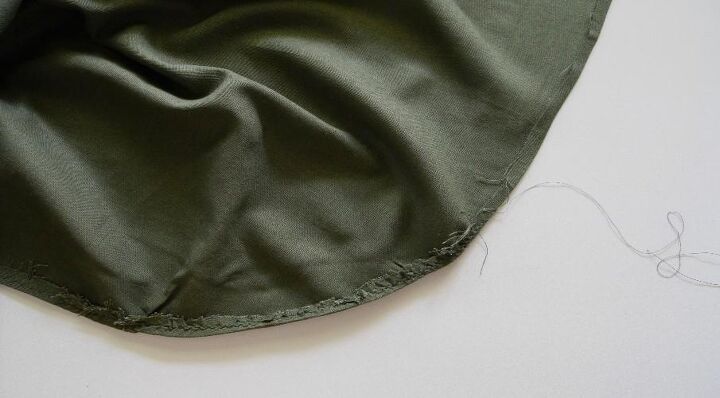
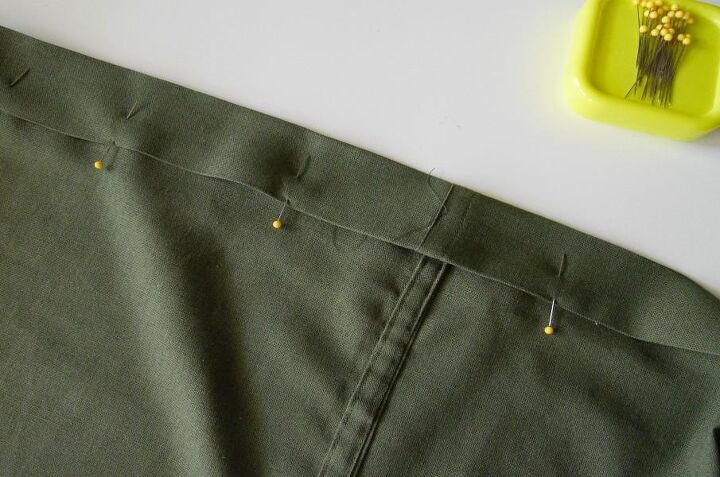
STEP 1
STEP 2
STEP 3
STEP 4
STEP 5
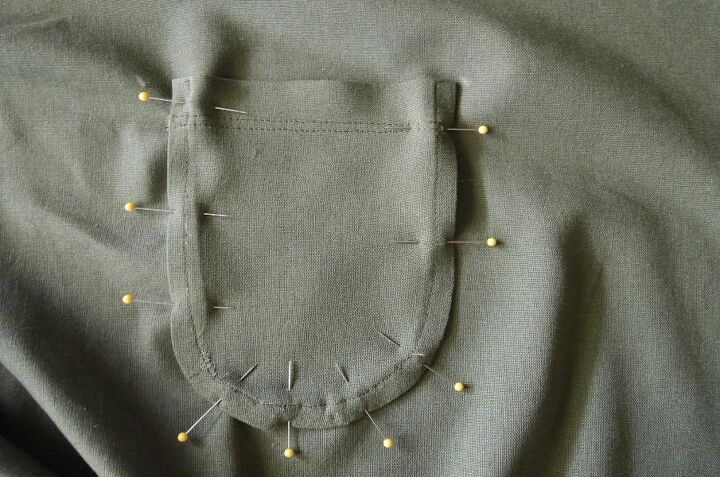
STEP 6
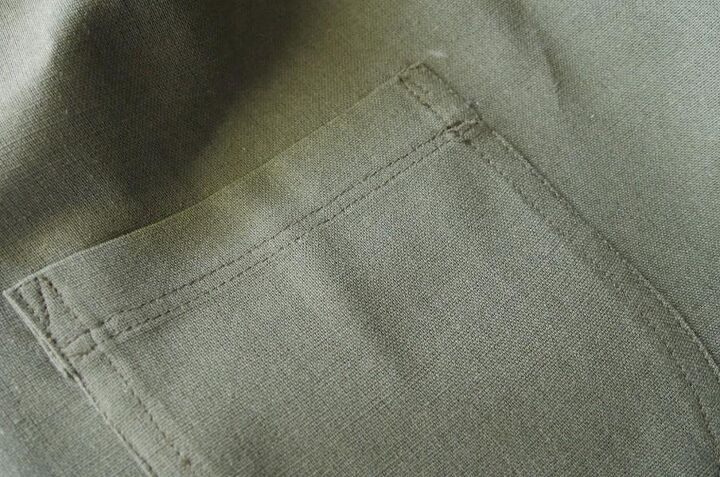
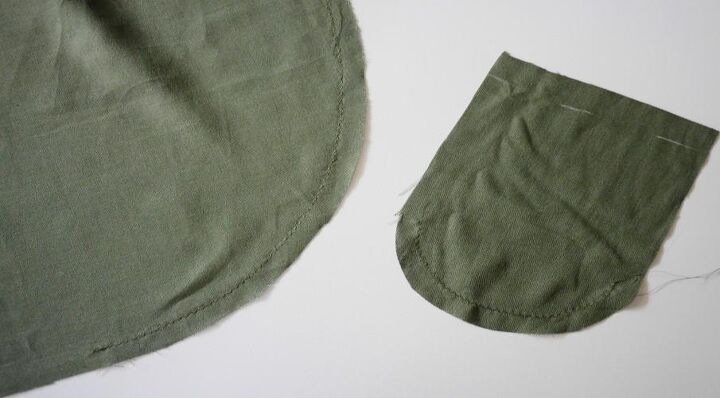
Sew a parallel stitch to the pocket hem sewing two reinforcement stitches at the beginning and the end.

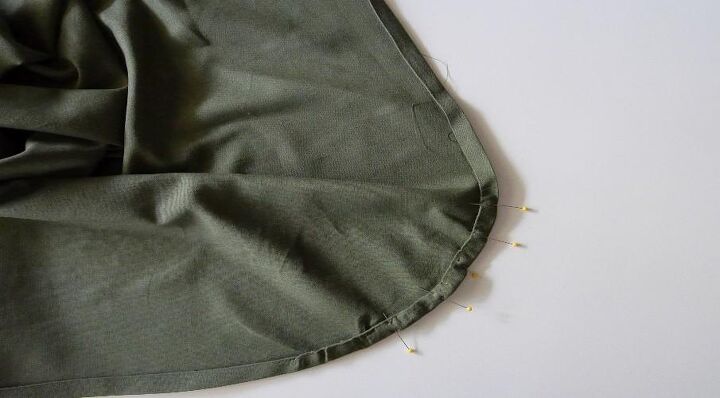
STEP 7
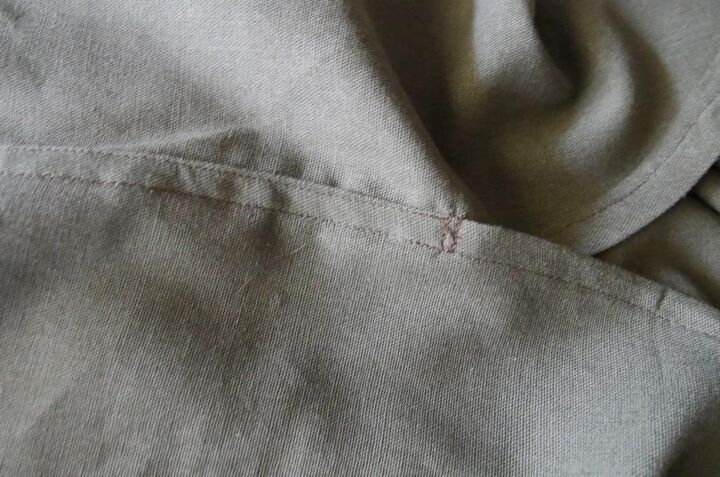
Sew until you reach the lowest small dot. Sew a parallel stitch to this edgestitch. At the end, pivot your needle and create 2 perpendicular stitches at the dots.
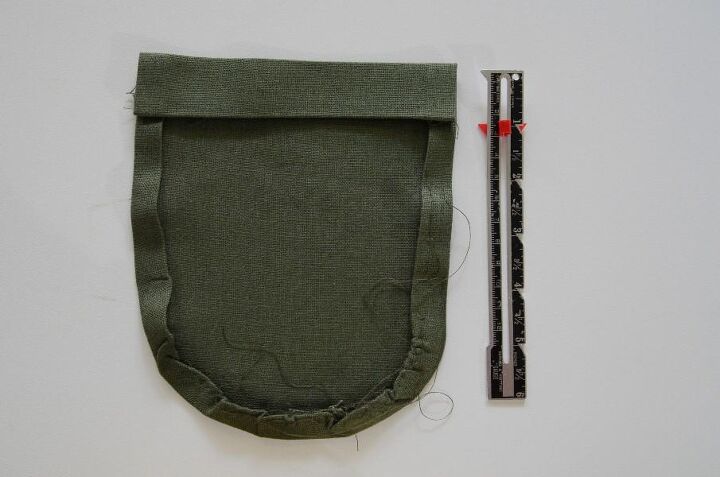
STEP 8
... then fold it again another 2⅜" and press again.
STEP 9
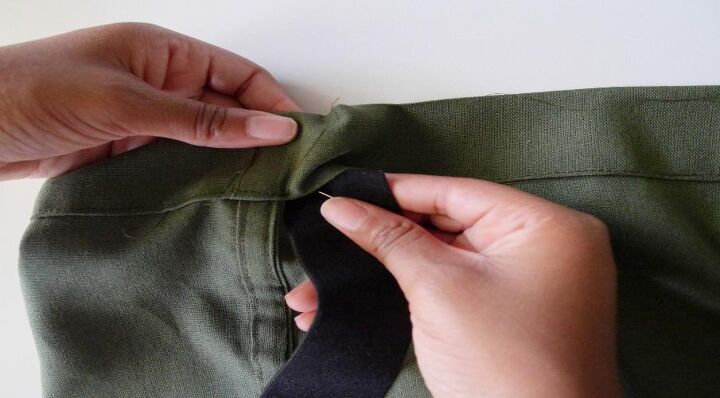
Note: you may want to use a pin to keep the tail end of the elastic from being pulled into the skirt. Also, make sure your elastic is flat as it is being fed through.
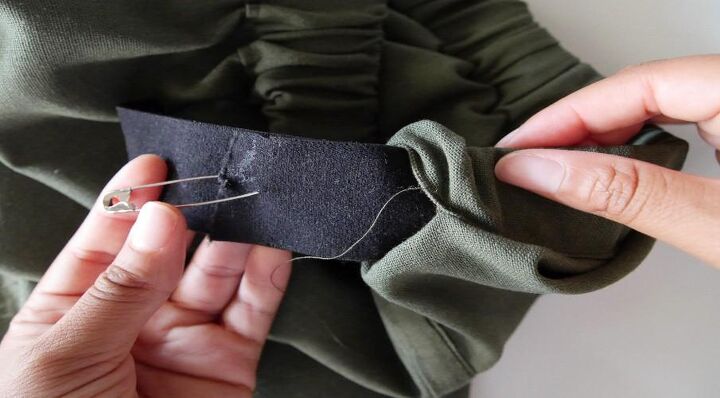
STEP 10
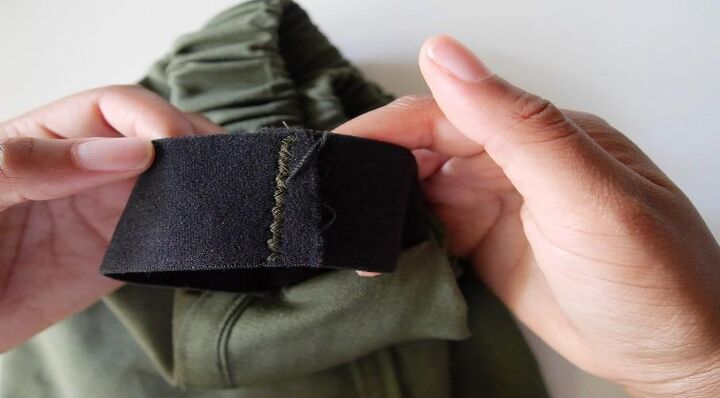
Nudge the elastic into the waistband at the opening and stitch the opening closed with a straight stitch. At opposite sides of the skirt, sew a perpendicular straight stitch to hold the elastic in place and keep it from twisting.
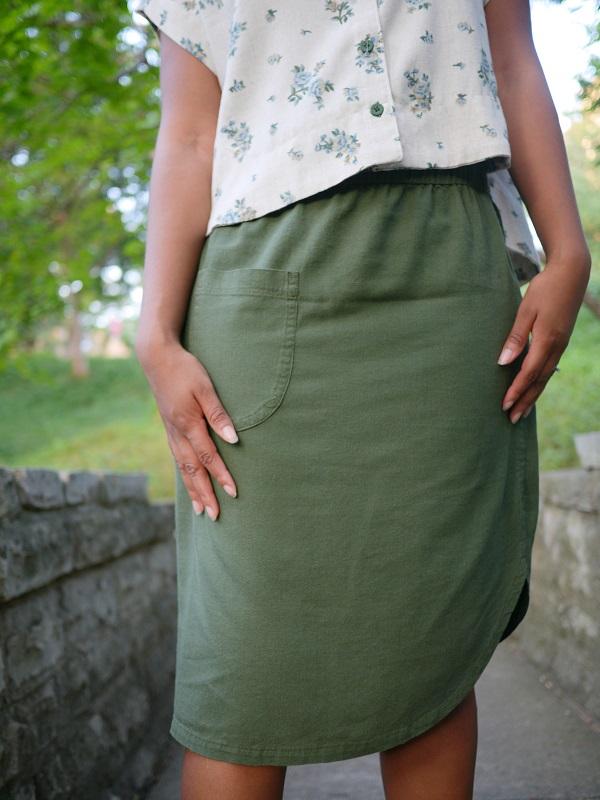
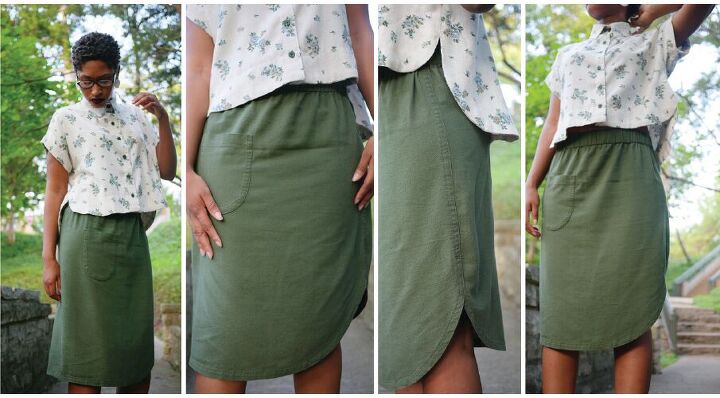
Voila! You are ready for the streets of the market or your next business meeting. Pair your midi skirt ROMA with a collared shirt, t shirt or crop top, the possibilities are endless!
Alexis Bailey is a modern sewing and fashion content creator who loves traveling, tacos and spending time with her husband watching movies. She works as an administrative assistant and in her free time runs a blog and Instagram page creating inspiring content for creatives of all learning levels. @therealalexisbailey on Instagram
The author may collect a small share of sales from the links on this page.

Want more details about this and other fashion and style ideas? Check out more here!


Comments
Join the conversation
I wish the photos showed the more of the "feature" (the curved slit) of the skirt front and back.
Love the skirt. Where can I find the pattern?