How to Do a Simple Sleek Low Ponytail With a Weave on Natural Hair

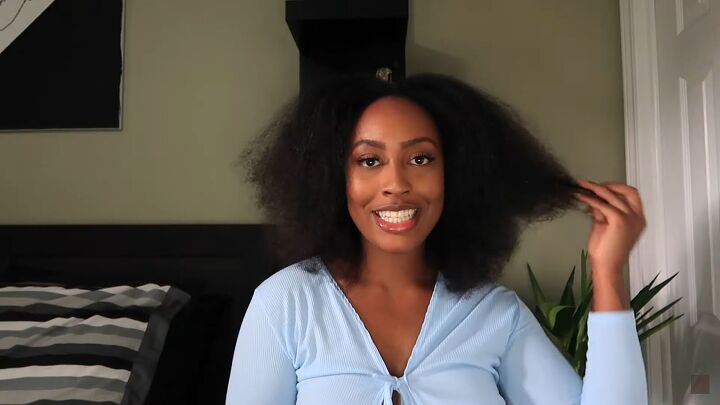
In this tutorial, I’m going to show you how to do a sleek low ponytail using a weave on natural hair. The weave I’m using has a nice wavy appearance, and this is a cute and natural-looking style that is really easy to achieve.
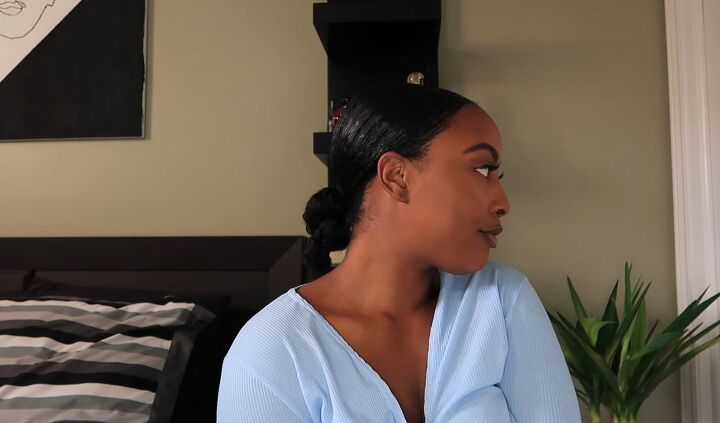
I wore my hair in braids for much of the lockdowns, so my hair is a little dry. This sleek ponytail is a great way of styling my hair without worrying about my ends on display looking frazzled.
Let's get started!
Tools and materials:
- Weave
- Anti-humidity spray
- Styling gel
- Hairspray
- Comb
- Hair ties
- Toothbrush
1. Blow dry and prep your hair
Start by blowdrying your hair. I like to use an anti-humidity spray on my hair as this product works in my hair really well and doesn’t leave it super dry.
This step is optional; you don’t need to blowdry your hair, but I feel like it gives it more of a sleek, low-cut look rather than looking wavy, and that’s why I think it’s important to at least get your hair a little bit straight.
I’m also using some styling gel. I like that this gel doesn’t flake my hair, and it gives my hair a sleek look. In addition, I’m using a spray to make sure that it is extra sleek and to help lay down my edges.
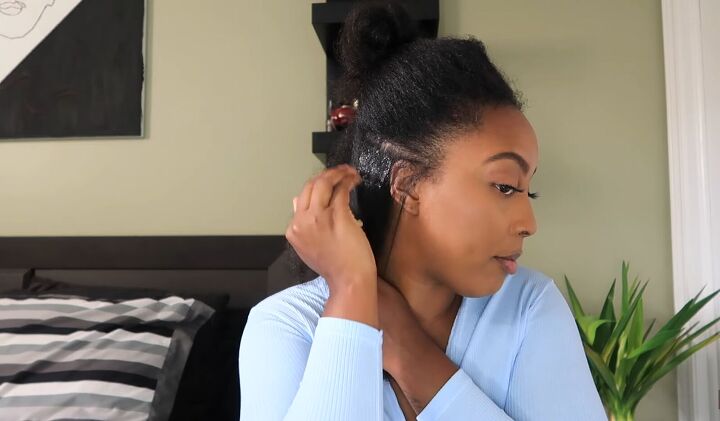
2. Gel your hair
Part your hair down the middle, or you can do a side part if you’d prefer. Then, separate your hair into two sections.
Don’t worry about it being super neat because it honestly doesn’t matter. I do this because I want my hair to be as slicked down as possible.
Tie the top half in a bun and work on the bottom half. You want to go in with the gel and apply the gel in a downwards motion.
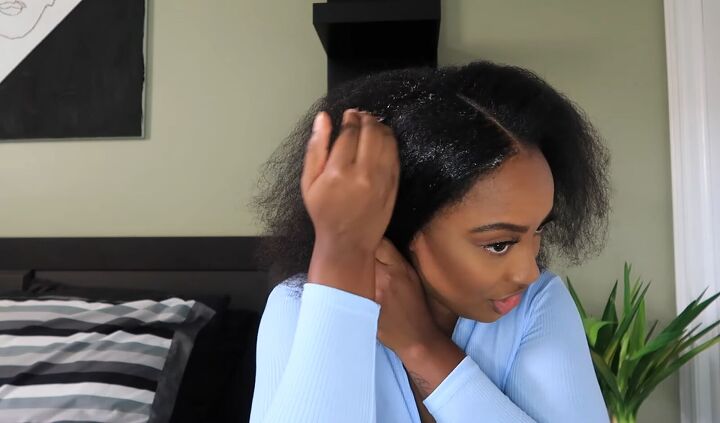
Put the bottom part in a low bun and gel the top part. Start to gel it down from the front of your head and work your way to the back.
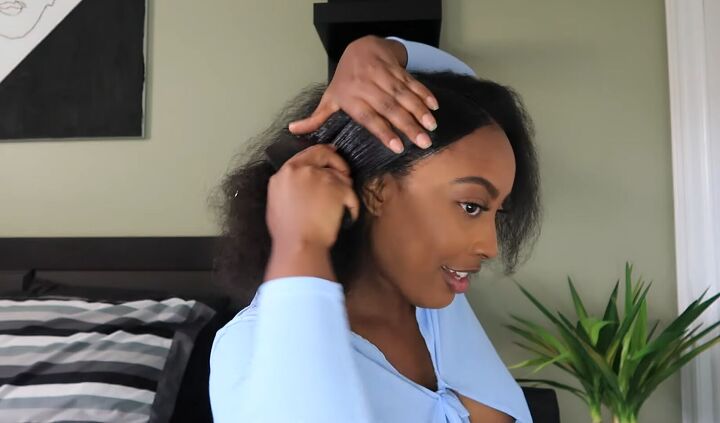
Comb the gel in. Then spray down the edges and continue to brush it in.
3. Tie your hair up
Next, you want to tie your hair up and make a little bit of a twist at the back.
You don’t have to worry about the twist being super neat because if you use a weave with a lot of hair, then it won’t show anyway.
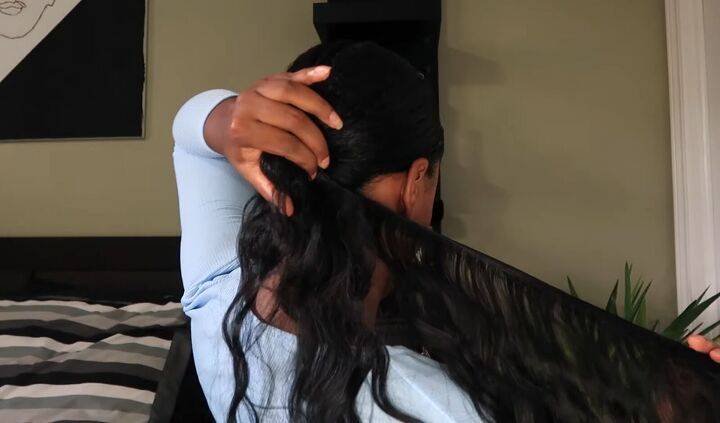
4. Put the weave on
The next step is to put the weave on. I am using one that is 18 inches (46cm) long. First, you want to make sure that it is all straightened out.
You don’t want it to be twisted, you want it to be all straightened out so that the track is facing upwards.
Go ahead and wrap it around your hair until you get to the end. As you approach the end, you want to pull on the hair a little bit to make it tighter and more secure.
When you get to the end, wrap the hair around to make a band. Finally, grab some bobby pins to make sure the ponytail stays in place.
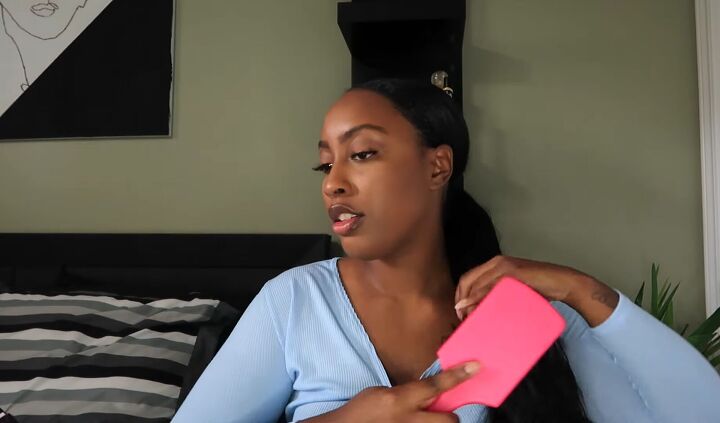
5. Brush
Finish off the look by brushing out the ends to make it look a little bit more fluffy and less like a fake weave.

6. Lay down the edges
You have the option to either keep your hair looking slicked down or take out some of your baby hairs using a baby hair comb (a toothbrush in my case).

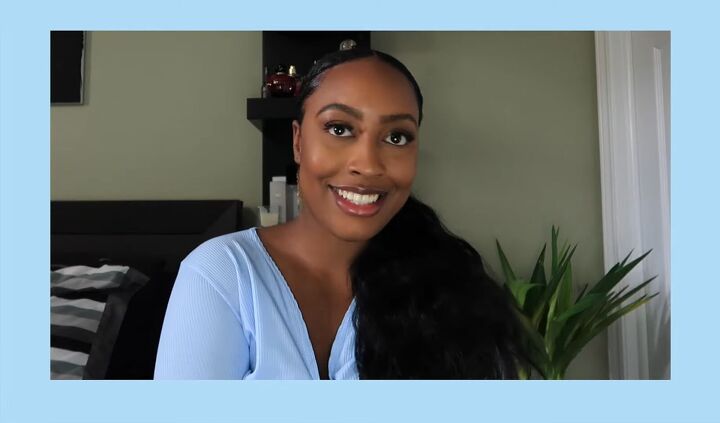
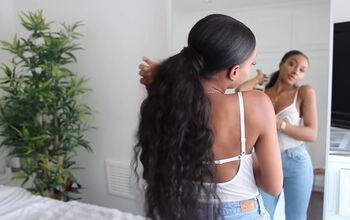
Sleek low ponytail tutorial
Here is the finished sleek low ponytail look. I love that it was so easy to apply and has such a natural appearance. I am going to go out and rock this look because I am just in love!
Products used:
- Creme of Nature heat protection spray
- Eco styling gel with argan oil
- G2B glue freeze spray
The author may collect a small share of sales from the links on this page.


Comments
Join the conversation