How to Easily Do a Chic Sleek Low Bun on Natural Hair

I wanted to show you how I do a sleek low bun on my natural hair. This sleek low bun hairstyle can last days and it's super easy to do. It can be done on many hair types. What's important is that you don't have to have a tight hairstyle just to make it lay down flat and neither does your hair have to be straight! Let’s start!
Tools and materials:
- Scarf
- Toothbrush
- Gel
- Detangling shampoo
- Leave-in conditioner
- Hair elastic
- Detangling brush
- Comb
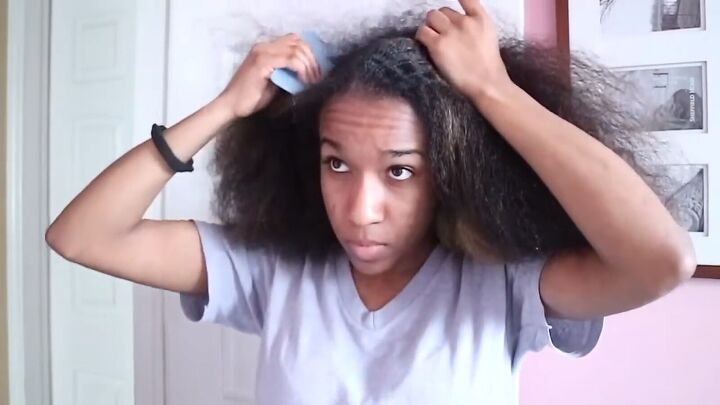
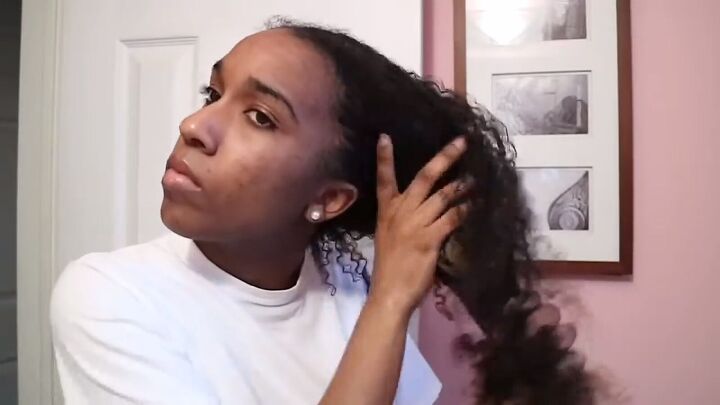
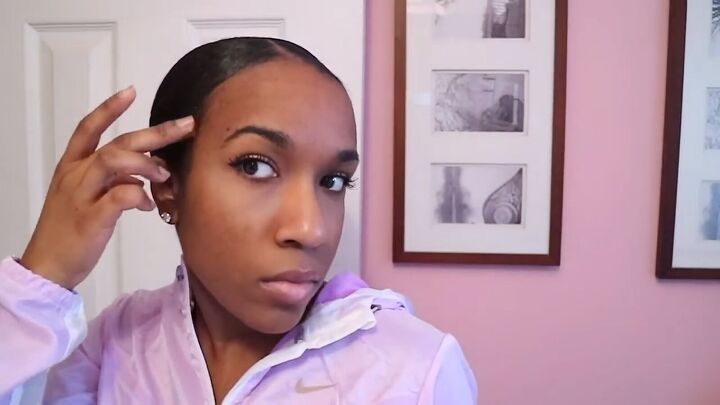
1. Part and section your hair
The first step is to part your hair to the side. I like to do this before I get into the shower for many different reasons. I also like to shampoo my hair outside of the shower.
Now that your hair is parted to the side, start sectioning it off and wetting it section by section.
2. Wash your hair
I recommend using a really good detangling shampoo with all-natural ingredients to wash your hair. Since I’m washing my hair outside the shower, I simply run the shampoo through my hair and massage my scalp.
Then, wash your hair but ensure that you still have a side part.
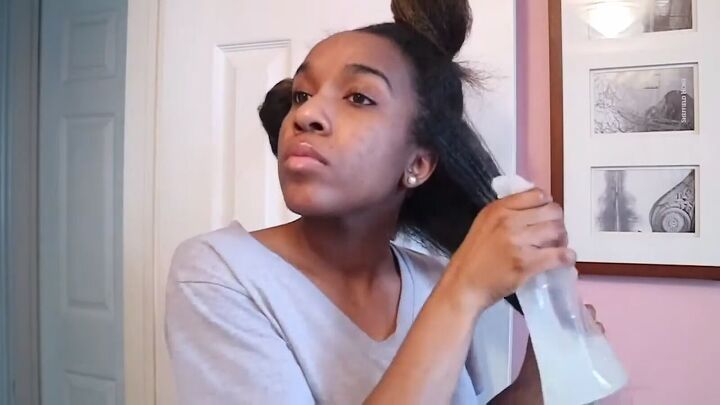
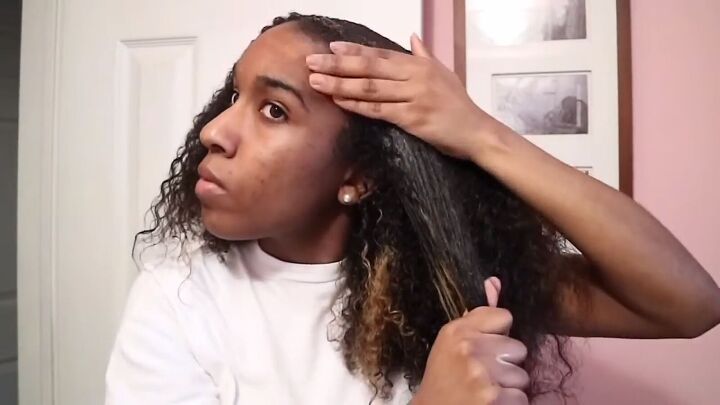
3. Apply leave-in conditioner
Next, apply a leave-in conditioner to half of your hair and detangle it a little more. My hair at this stage is fairly detangled (which I’m really happy about) and it makes it easier to work with.
Once you’re done with one section, twist it and curl it into a bun. Then, move onto the other half.
4. Apply gel
Next, apply a large amount of gel to your part. Also, run it through the edges and sides of your hair.
Smooth out the gel with your fingers.
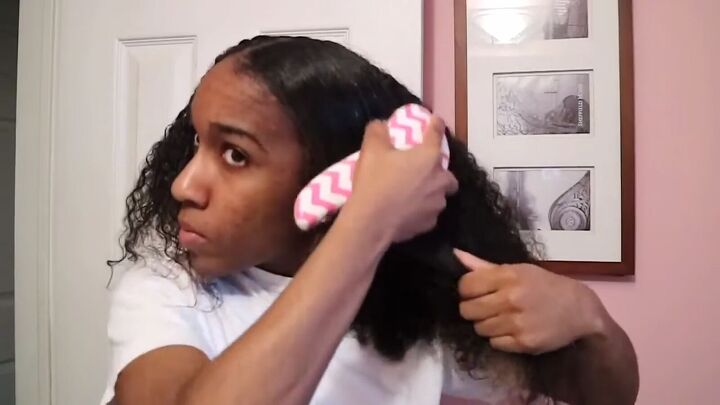
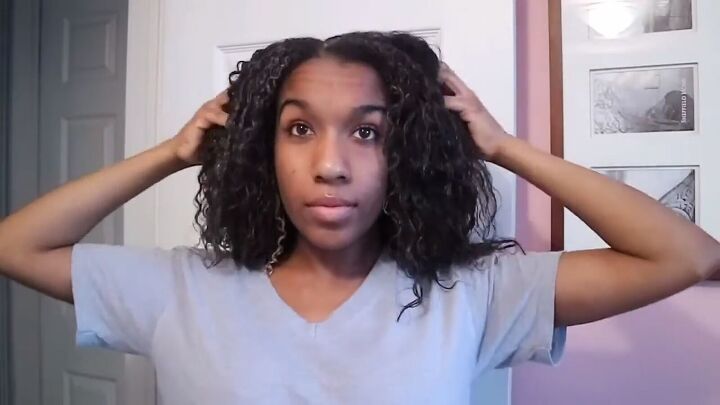
5. Smooth out the roots
For this step, you can use a bristle or detangling brush to go over your roots. This will detangle your hair a little more, making it easier to work with and pull back for that sleek low bun natural hair look.
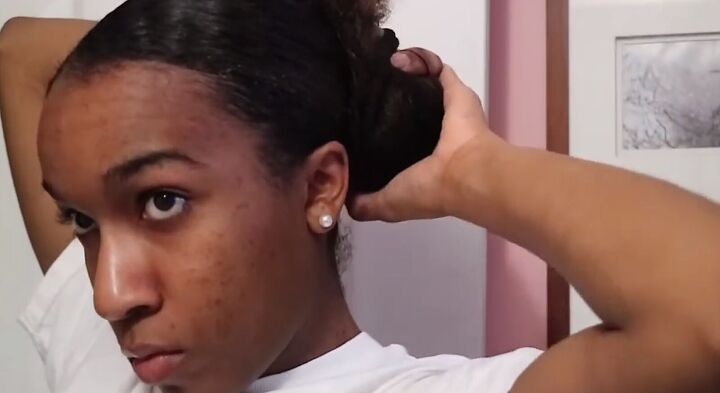
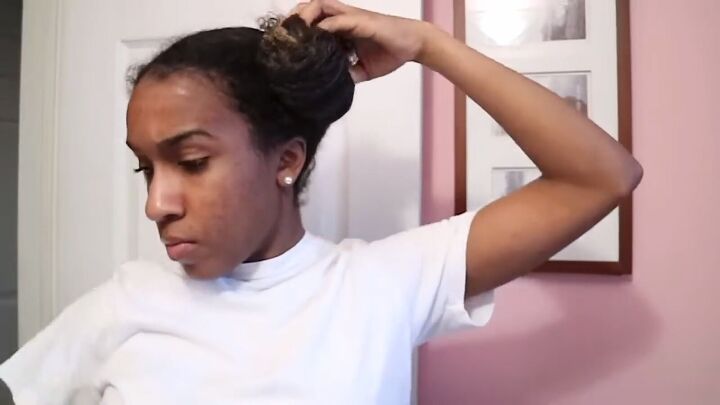
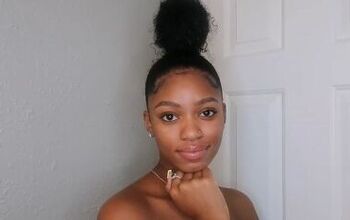
6. Make a sleek low bun
Pull your hair back in a bun. It doesn’t have to be tight; it can be loose.

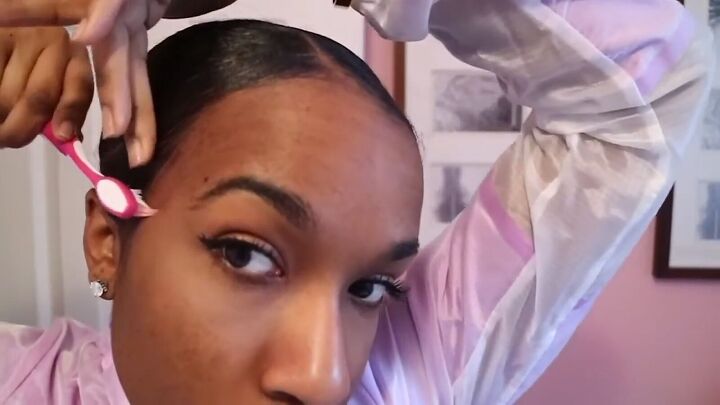
7. Smooth the edges
With a toothbrush, go ahead and slick down the edges. Add a little gel if necessary.
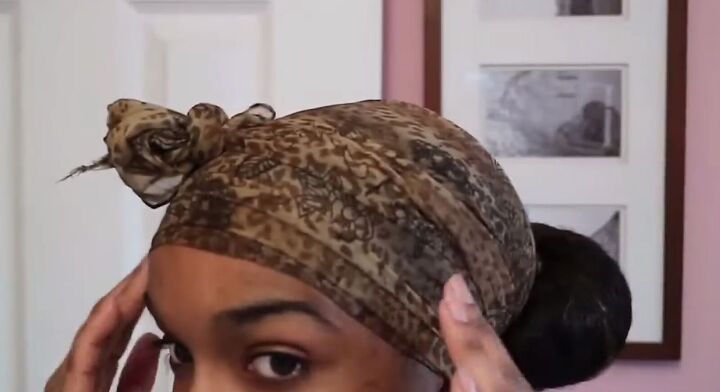
8. Wrap hair in a headscarf
Once you’re done smoothing down the edges, wrap a headscarf around your head and let it set for a few hours.
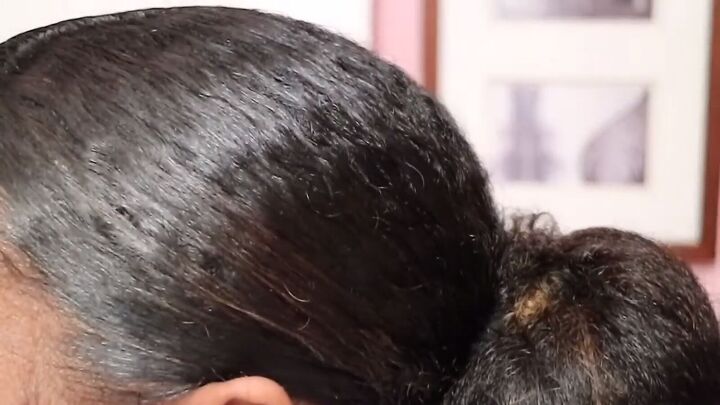
After checking on it, you can see my hair is gleaming and slick. It’s also nice and hard. If there are no fixes needed, tie it down again, and sleep on it.
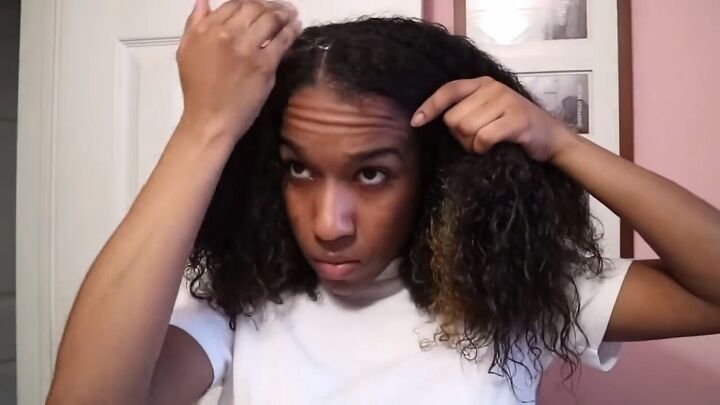
9. Fix the flyaways
This is the day after, and I have some flyaways, and part of my edges are coming up. Yes, I could leave it as it is, but I’m a perfectionist and need to fix it. You can easily fix this with more gel if this is the case for you. The gel I’m using for this step has a more natural hold. Spread it along the edges and flyaways.
Then, take your toothbrush and smooth it as you did before.
Tip: You can tie your headscarf once again or simply stop at this step. I want to make sure I don’t have more flyaways throughout the day.

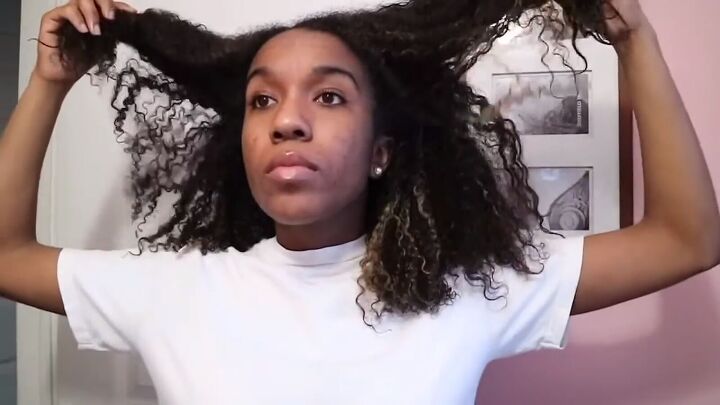
Sleek low bun tutorial
Here’s my sleek low bun! I love how it looks and I also love how easy this hairstyle is! Sure, you need a few hours to get everything flat but it stays that way for a long time.
I hope you found some inspiration in this tutorial on how to do a chic sleek low bun. I’d also love to hear your feedback, so be sure to leave a comment below and tell me what your favorite sleek low bun hairstyles are.
The author may collect a small share of sales from the links on this page.


Comments
Join the conversation