How to Easily Do a Sleek Top Knot Bun on Natural Hair

Buns are so trendy right now! In this tutorial, I’ll show you a step-by-step guide on making a sleek top knot bun on natural hair. Taming the volume and frizz can be a little tricky, but I have a tried & tested way to give you a chic and smooth look. Let’s get started!
Tools and materials:
- Spray bottle
- Leave-in conditioner
- Mousse
- Gel
- Edge control
- Bobby pins
- Brushes
- Hair ties
1. Part your hair
Start by parting your hair into three sections.
Tie the top section of your hair, so it’s out of the way.
2. Start stylin’
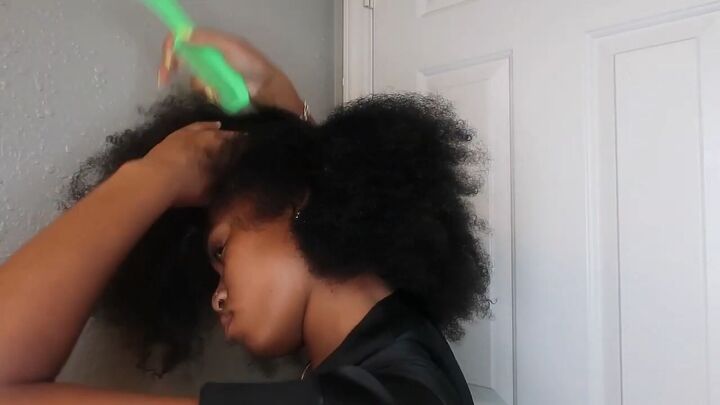
Now, go in with your spray bottle and dampen the bottom two sections.
Apply a generous amount of leave-in conditioner. Remember, you want your hair to look smooth without any lumps or bumps, and by moisturizing your natural hair, it will achieve that look.
Next, spritz your hair again with water and brush your hair afterward.

Now, apply curl-enhancing cream. This is optional, but again, I’m adding this for extra moisture.
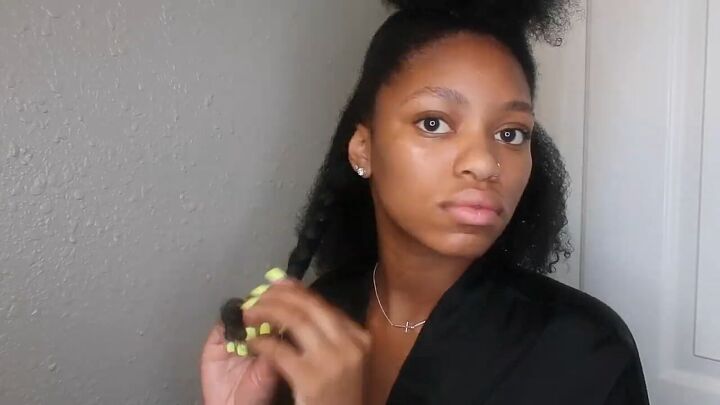
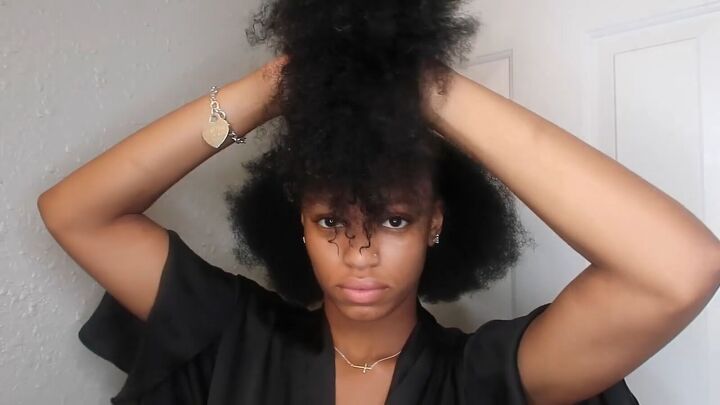
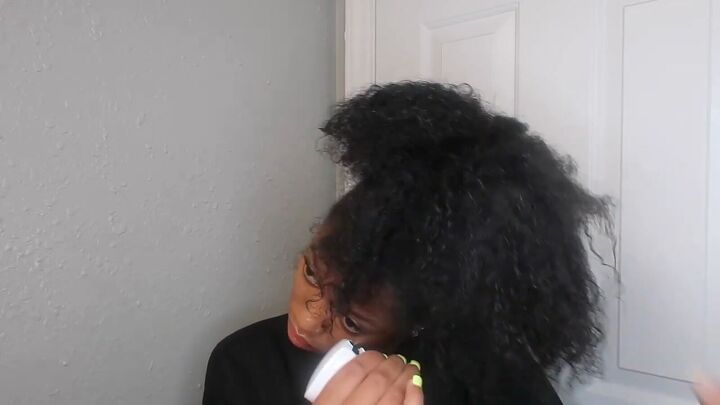
Brush and twist each section, and after that, twist your hair as shown. I ended up twisting three sections.
Divide the top section of your hair into two and repeat the whole process.
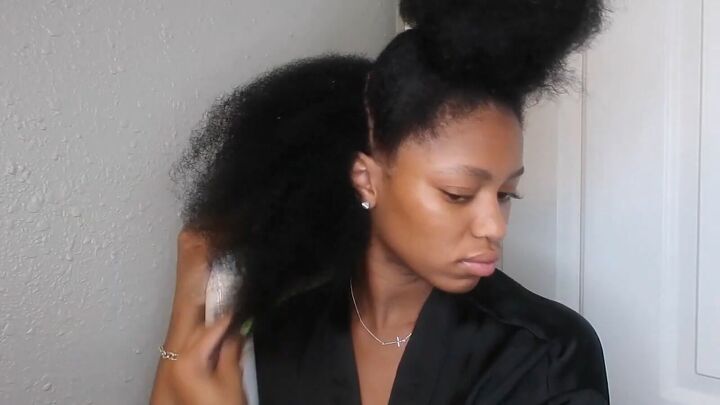
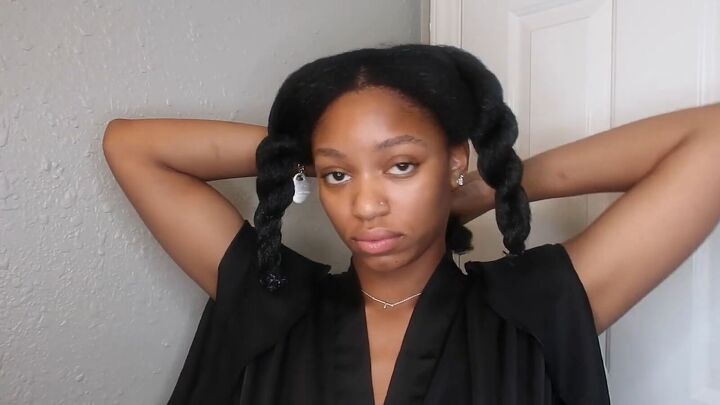
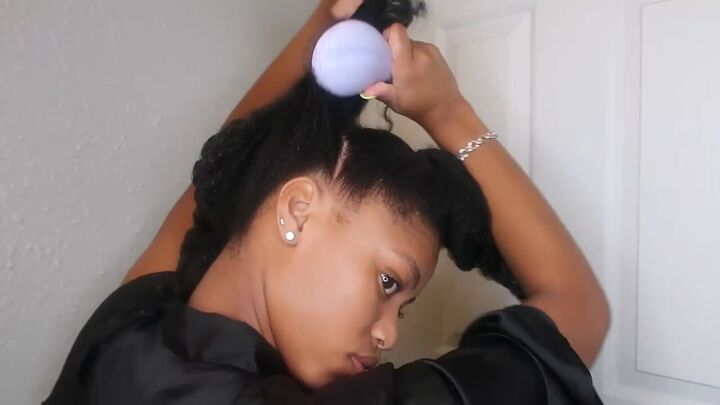
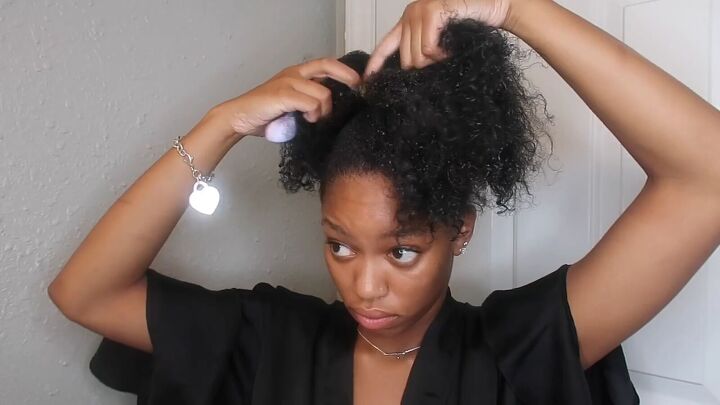
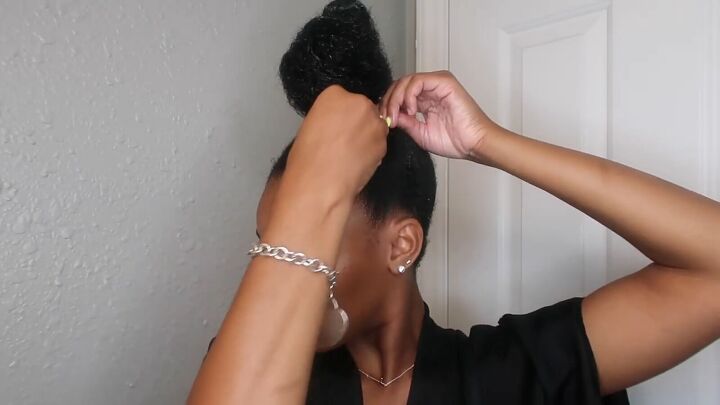
3. Do the ponytail
Untwist the two top sections of hair, and tie it up. Decide where you’d like your ponytail to be placed. Brush your hair upward before tying it, so it’s as sleek and smooth as possible.
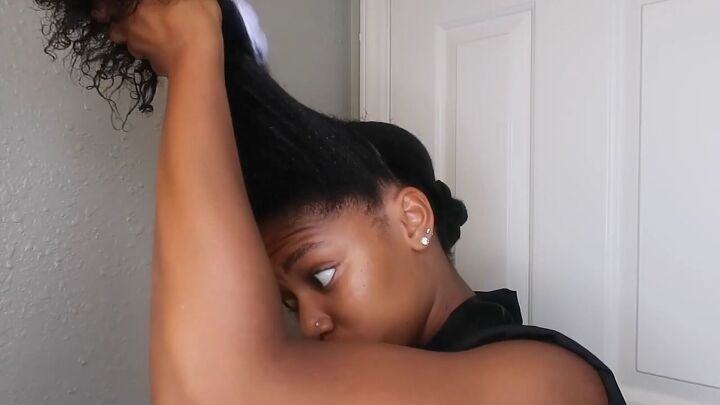
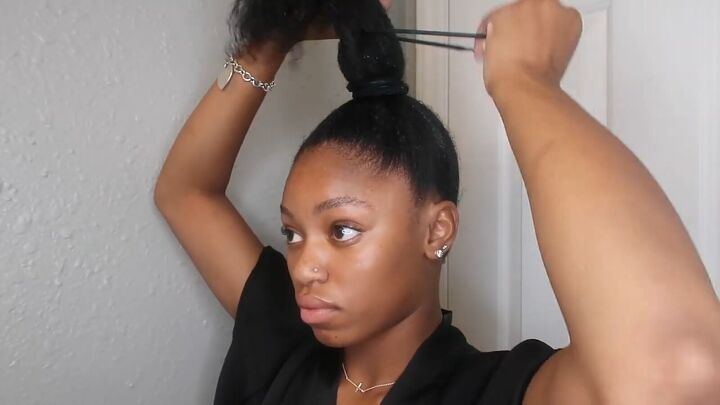
Twist your hair. Add a bobby pin at the end to secure it while you work on the back sections.
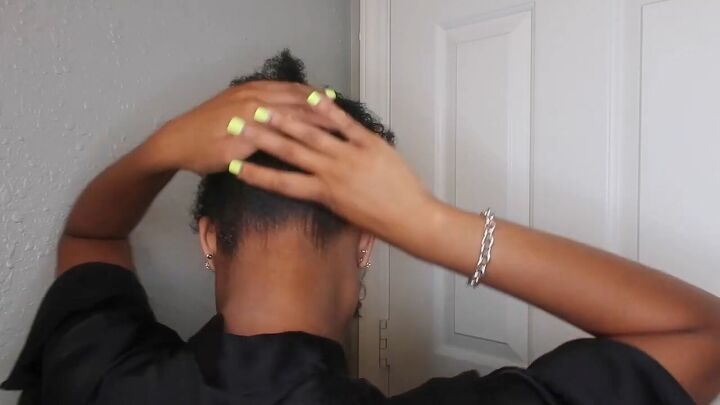
With the back, do the same as you did with the front section; untwist, brush upward, and tie.
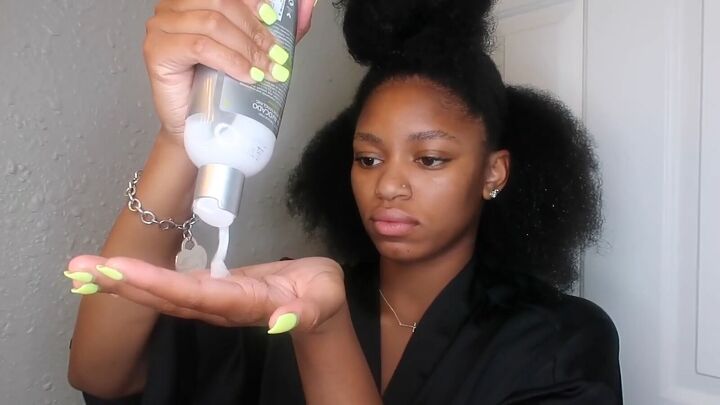
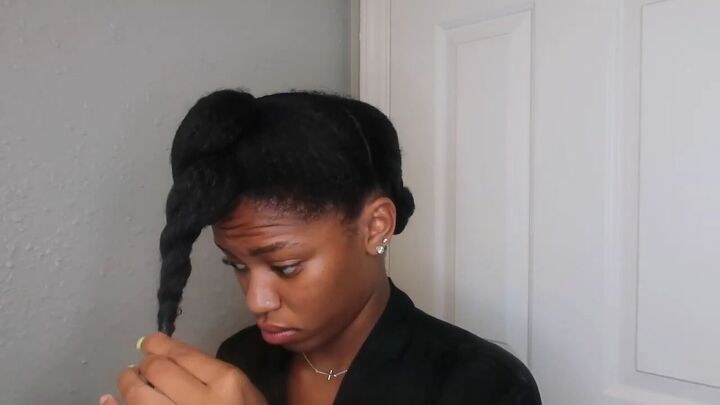
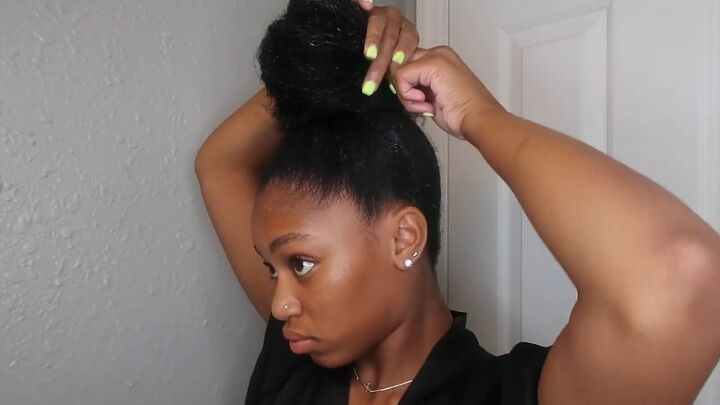
Now, untwist the front section and add a good amount of styling gel to your hair; leaving it sleek as ever! I love the eco-style brand, and I think it works wonders when making a natural top knot bun.
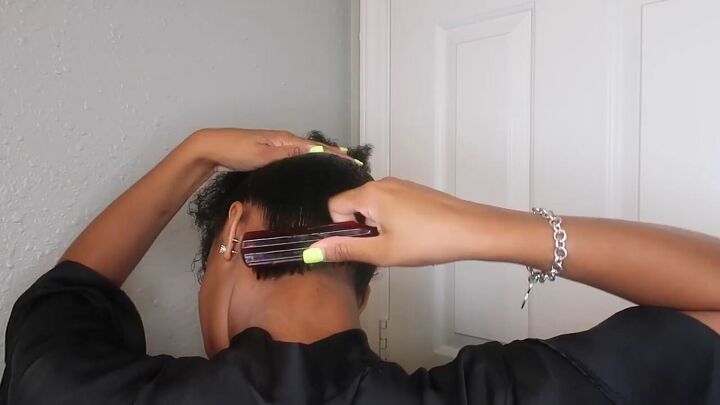
Brush your hair as you apply the gel. It’s not going to be sleek as you first apply the gel, you’ll need to brush it as much as you can, and it does require some arm and elbow work.
Now, brush your hair with a softer brush and tie it all up.
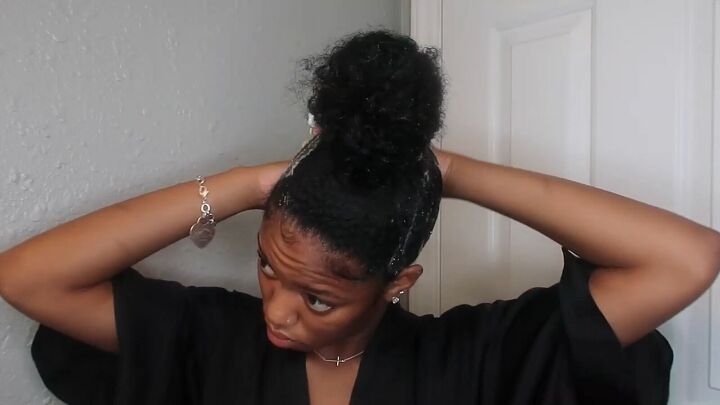
4. Make the bun
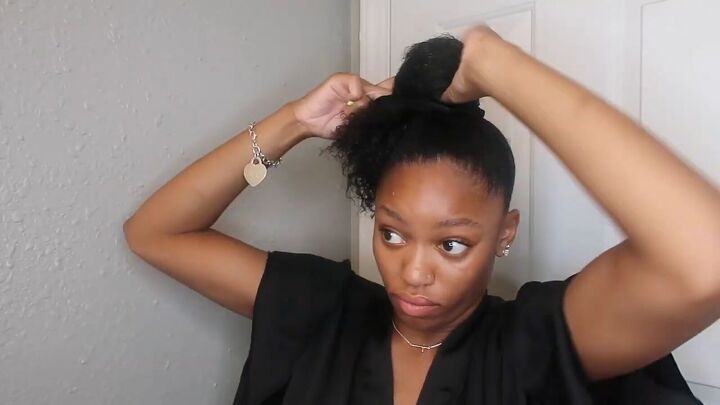
Now, moisten the ends of your hair with some water.
Then, brush it again and do some more detangling.
Now, gather your hair and put a hair tie around ¼ of the way, and this will help give some height to the bun.
Next, wrap the ends of your hair around the heightened pony.
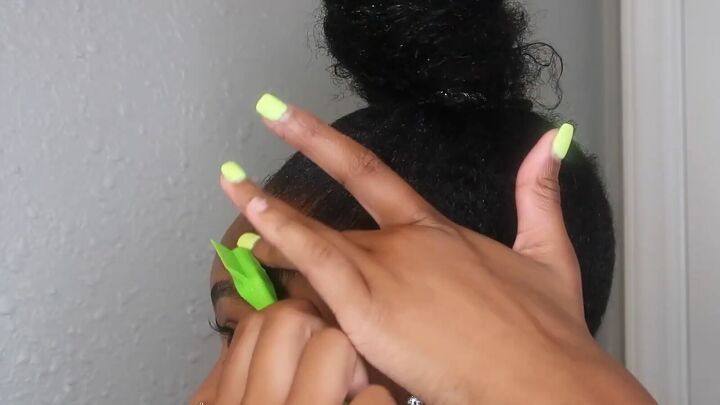
Put a bobby pin to secure the end. Then, add some more bobby pins around the perimeter of the bun to hide any other loose ends.
5. Add the finishing touches
Then, clean up the edges with a smaller, hard bristled brush.

Add some eco-style gel on any flyaways you may have.
Apply the mouse all over your head and smoothen it down.
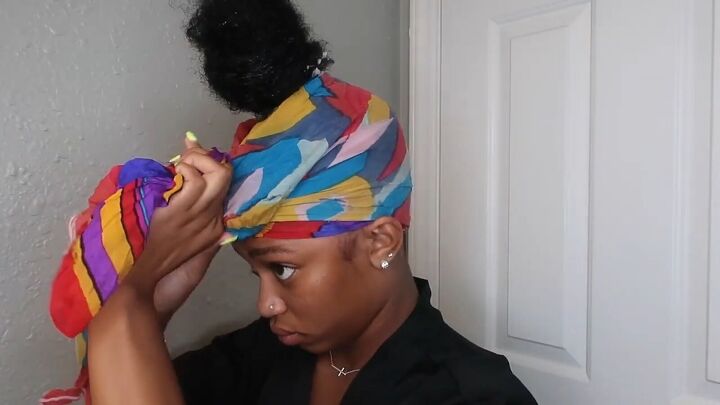
Tie a silk or cotton scarf around your head and keep it there for around 20 minutes.
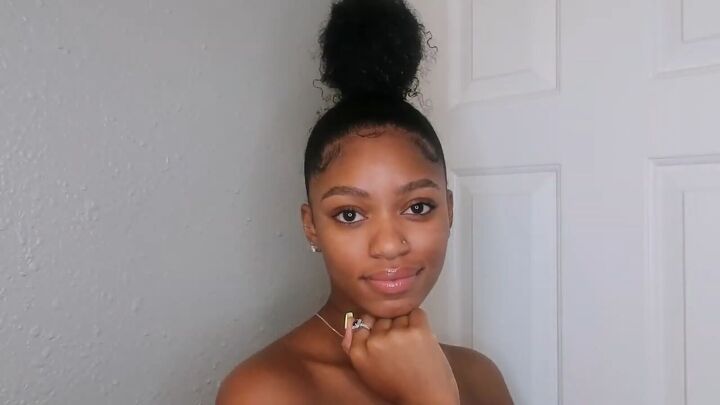
How to do a top knot bun on natural hair tutorial
That’s how you make a top knot bun on natural hair! What do you all think? It’s super chic and sleek, and it looks crazy good! Thanks for joining me - happy styling.
The author may collect a small share of sales from the links on this page.


Comments
Join the conversation