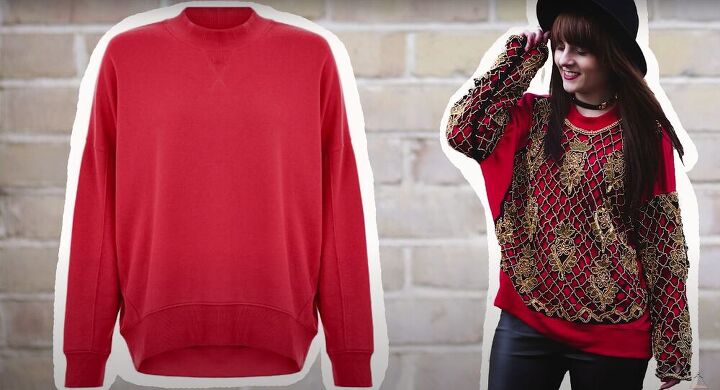
High Fashion Inspired DIY Sweater

Today’s tutorial is inspired by the amazing fashion designer Alexander McQueen. It will take a regular old sweater and turn it into something that is runway-worthy!
Tools and materials:
- Single color sweater
- Embroidered blouse
- Scissors
- Black thread
- Pins
- Needle
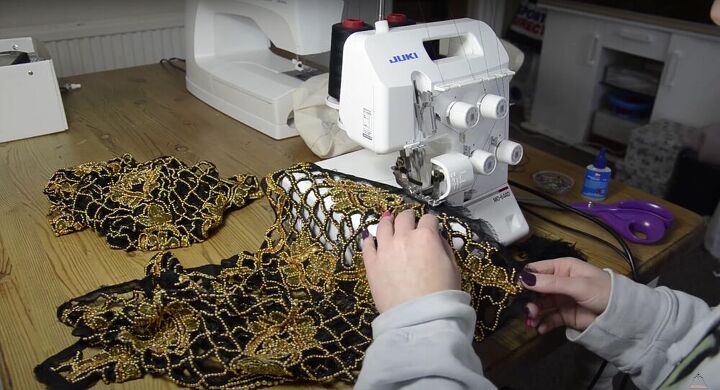
Sew the embroidered pieces
Rip the sleeves off the embroidered shirt so that they are just one flat piece of fabric. Then, place them back together, wrong sides together, pin them in place and sew them back together. If, like mine, your fabric is frayed, overlock all the pieces. Repeat this process with the other sleeve and the shirt's body.
Step: Attach the sleeves
Place the pieces of embroidery onto the sweater, starting with the sleeve. Pin the edge onto the shoulder and sew along the shoulder seam to secure. Next, trim around the edges of the bottom of the sleeves but don’t sew them down - they are going to stay loose because of the weight of the beads.
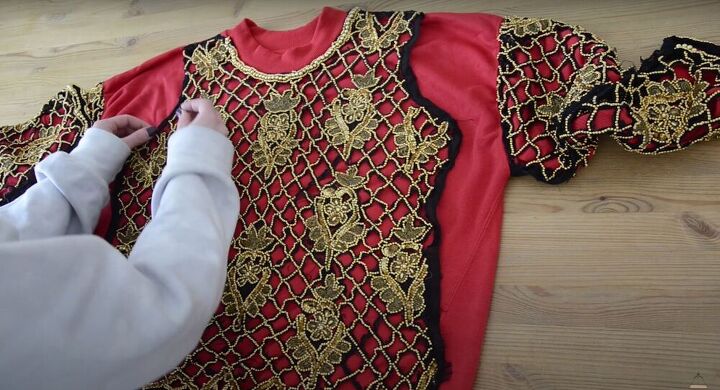
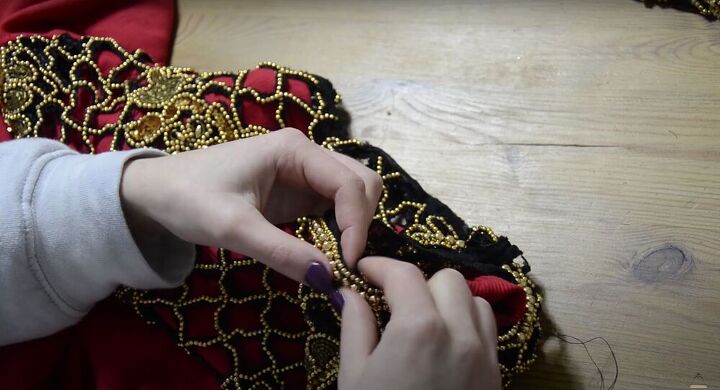
Attach the front piece
Once the sleeves are done, lay the front piece onto the top of the shirt, right side up. Make sure everything is evenly placed and then pin it into place. For a clean look, trim around the neckline and then around the sides and bottom. For the main piece, I will be attaching everything by hand so that I have full control over the embroidered pieces.

I am loving how this sweater turned out. It is chic and stylish, without ever breaking the bank. This DIY sweater makeover is exactly what my day needed!
The author may collect a small share of sales from the links on this page.


Comments
Join the conversation
What’s phenomenal is that you were even able to VISUALIZE these two pieces together! It’s fantastic! Next, one of his runway hats!
great transformation!