How to Upcycle an Old Zip-Up Into an Adorable Embroidered Sweater

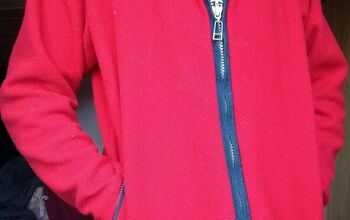
I found this old, boring sweater in a pile of clothes my mother was giving away, but I loved the color so much, I took it with the hopes of being able to upcycle it into something more interesting. Using a Zara sweater as inspiration, I will show you how I created a beautiful embellished sweater, which I absolutely love.
Tools and materials:
- Zip-up sweater
- Embroidery thread
- Embroidery needle
- Seam ripper
- Scissors
- Washable pen
- Ruler
- Six small buttons
- Sewing machine

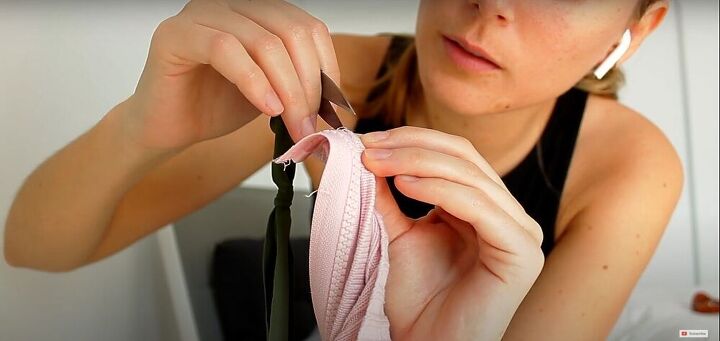
Remove the zipper
I used a scissors to remove the zipper from the sweater, taking care not to cut the knit of the sweater, so it would not unravel.
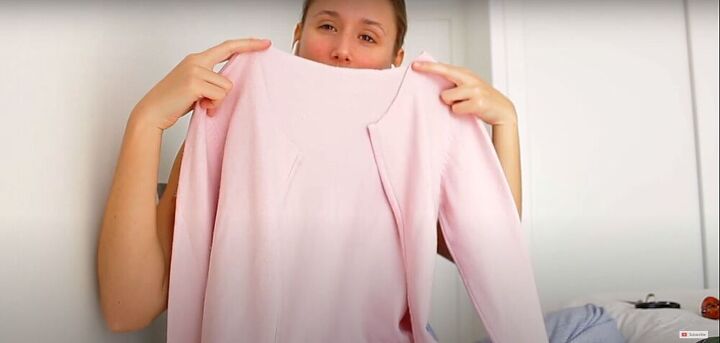
Cut the collar off the sweater
I tried to rip the seam along the collar, but it was time-consuming and difficult, and I ended up poking a hole in the sweater. So, I simply cut the collar off with scissors, knowing I would have to hem it later to prevent the knit from unraveling.
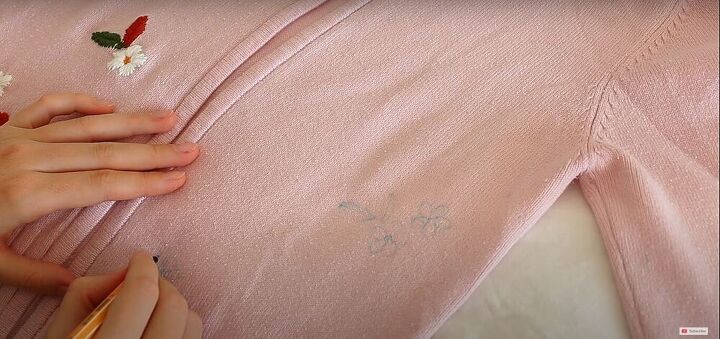
Create your design
Using a washable pen, I drew the design I wanted to embroider onto my sweater.
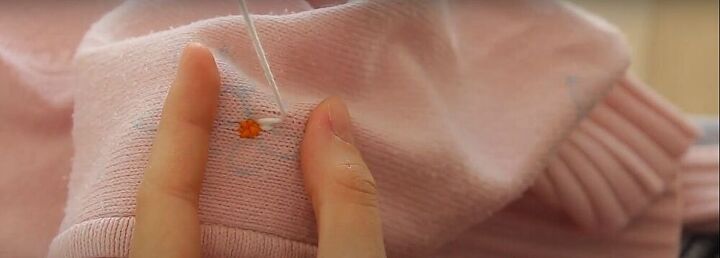
Embroider the sweater
I threaded my embroidery needle with my chosen color and made a double knot at the end. I started each stitch on the outer edge of the outline, and stitched into the middle, continuing in this manner until the section I was working on was completed.
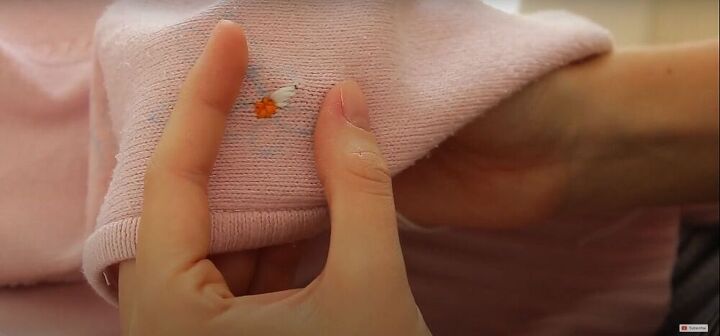
I finished each section by drawing the thread through a loop in the back, securing it with a double knot, and cutting off the excess thread.
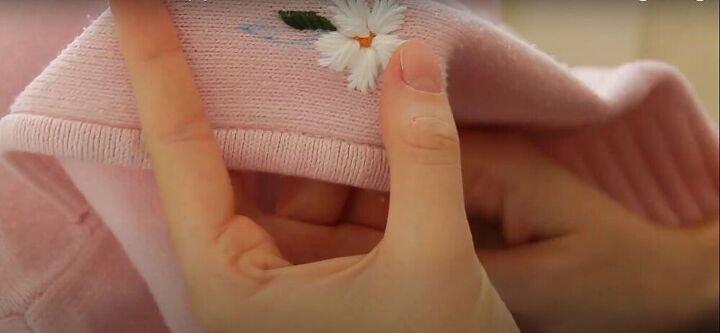
For the leaves, I used the same edge-to-center technique, but each stitch ends along the center line of the leaf, instead of each stitch ending at the same center point.
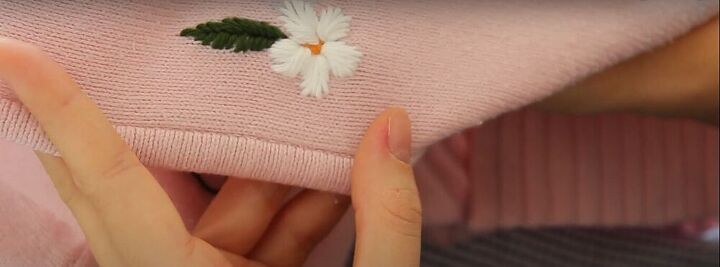
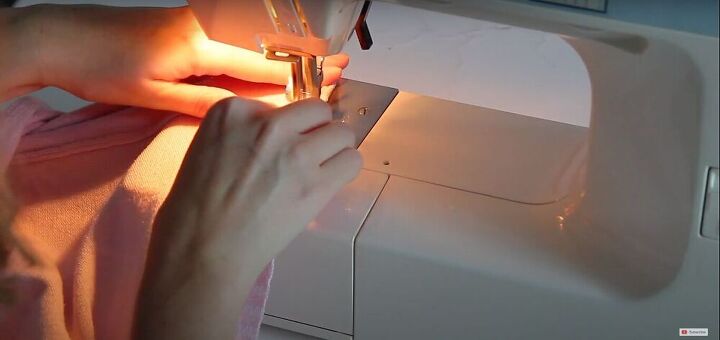
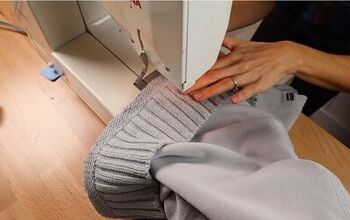
Hem the neckline of the sweater
Using a straight stitch, I hemmed the neckline of the sweater where I had cut off the collar.
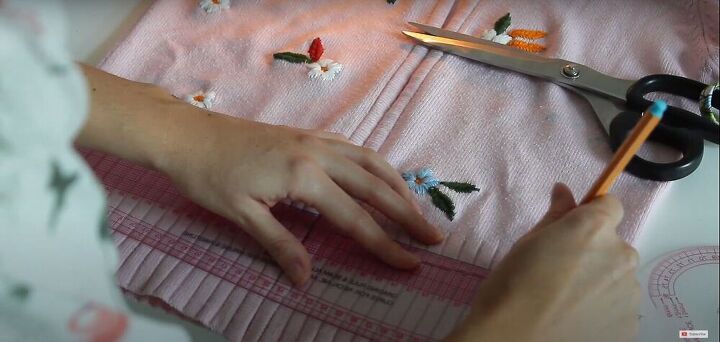
Mark the bottom edge
Once I hemmed the neckline, I tried it on and realized that it was a little too long for my taste. So I decided to cut some of the bottom edge off of the sweater, to make it more of a crop top that I could wear with high-waisted jeans. Using a ruler, I made a line across the sweater to mark where I would cut it.
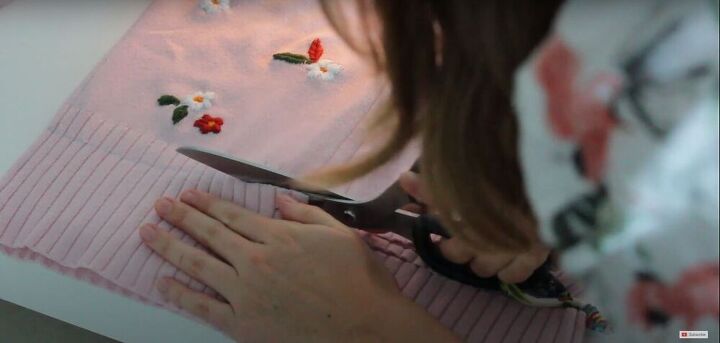
Cut to desired length
I cut the sweater along the line I marked.
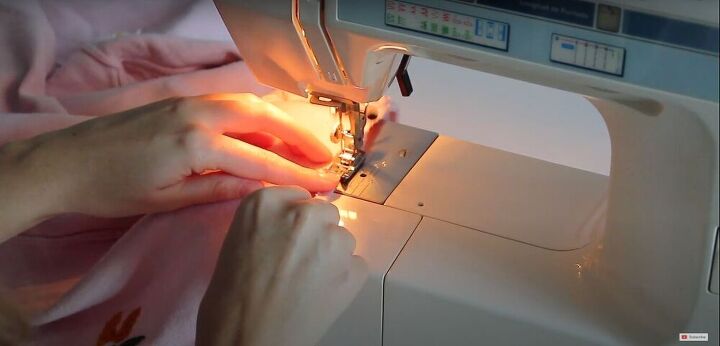
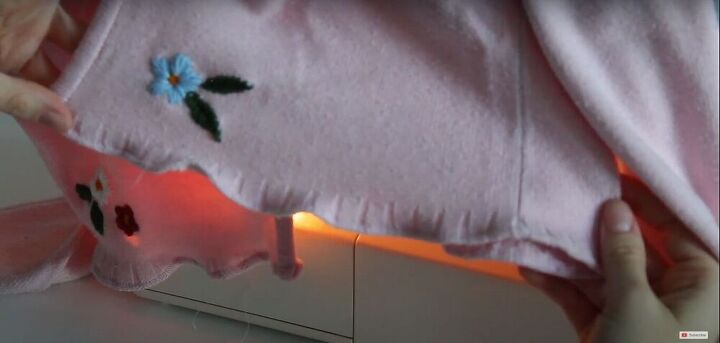
Hem the bottom
I hemmed the bottom of the sweater with a straight stitch.
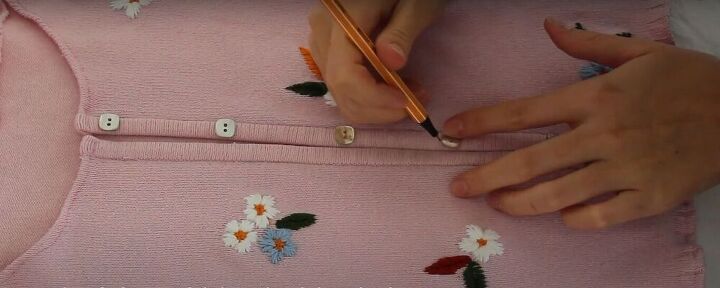
Mark where the buttons will go
I placed my buttons where I wanted them, and using a washable pen, I marked each point, as well as the points on the opposite side where the fasteners for the buttons would go.
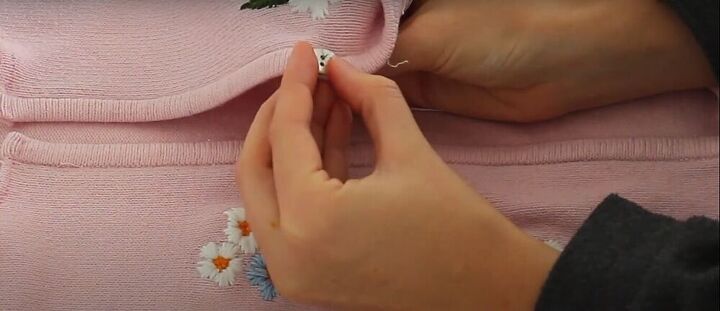
Attach the buttons
I sewed each button on by hand, using the marks I made as my guide for placement.
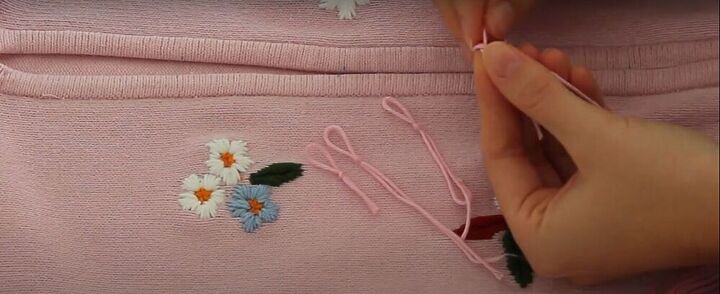
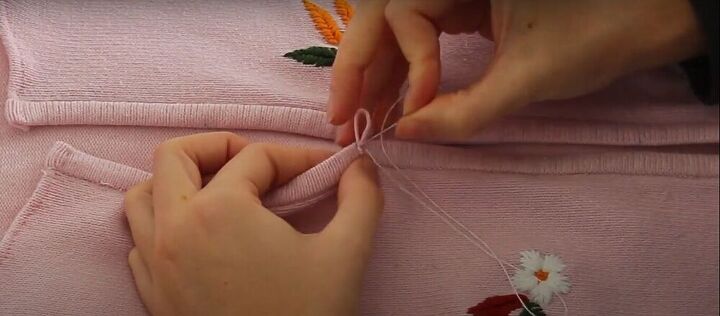
Make loops and sew them on
Instead of buttonholes, I prepared six loops made of embroidery thread in the same color as the sweater, and sewed them into place by hand, using the marks I made as a guide.

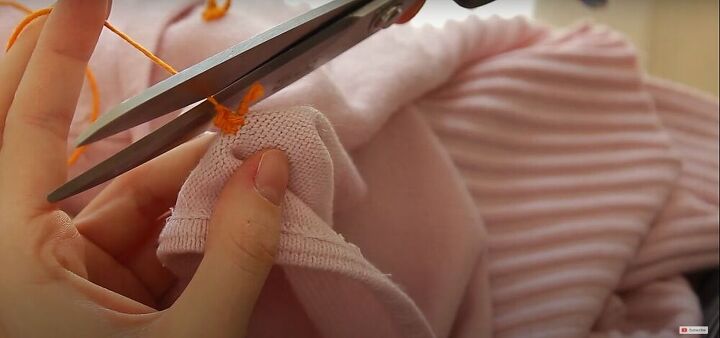
Cut the excess thread
Once the buttons and loops were sewn into place, I cut off any excess thread.
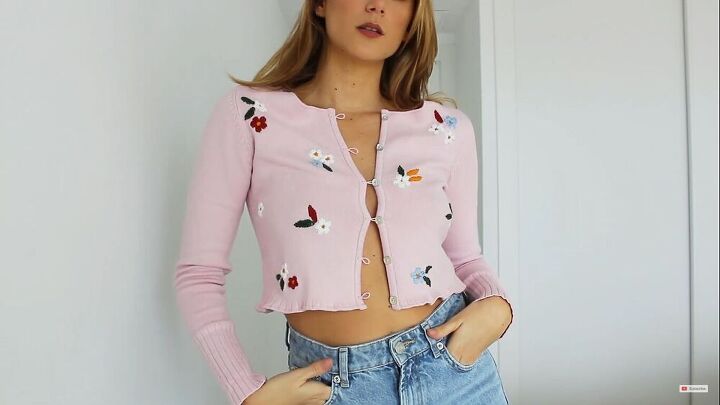

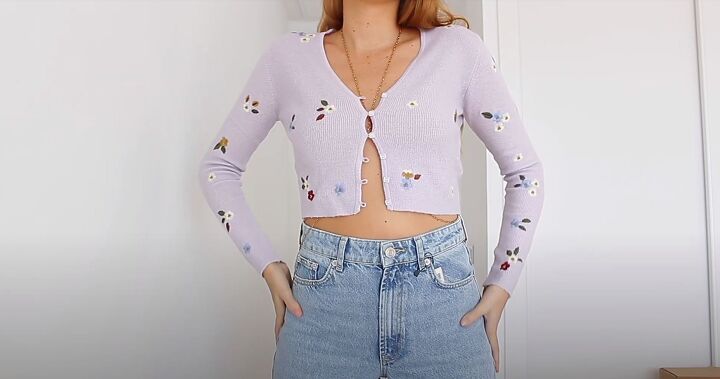
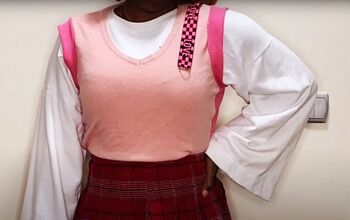
And here it is! I am so proud of this thrift flip. This embroidered sweater upcycle turned out better than I could have imagined! I think it’s the best one I’ve ever done, and I’m so happy I can share it with all of you. Please let me know what you think of this transformation!
The author may collect a small share of sales from the links on this page.


Comments
Join the conversation
HOW did you make the loops out of embroidery thread? It's gorgeous!
Hi Kita, this is a lovely take on a remade sweater. I think for older ladies who would like a similar sweater but feel the style you made is a bit to young for themselves. They can remake the sweater to fit their sensibilities. They can still follow some of the instructions you provided but where the closure is concerned they can reuse the zipper or make button holes in the sweater. Your embroidery is lovely by the way. Thank you for sharing this project with us.