This Cozy DIY Sherpa Sweater is Perfect for the Chilly Winter Weather

Are you looking for a cozy but elegant looking winter sweater for the holidays? Make one yourself with this DIY Sherpa sweater tutorial. Follow along to learn how to make the sweater pattern and then sew your own Sherpa sweater. It’s super easy!
Tools and materials:
- Sherpa wool fabric
- Old long-sleeved t-shirt
- Sewing pins
- Scissors
- Thread
- Sewing machine

1. Make the Sherpa sweater pattern
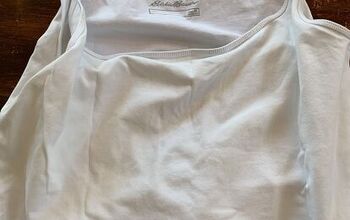
Get an old long-sleeved t-shirt from your closet. Fold it in half and fold in the sleeves.
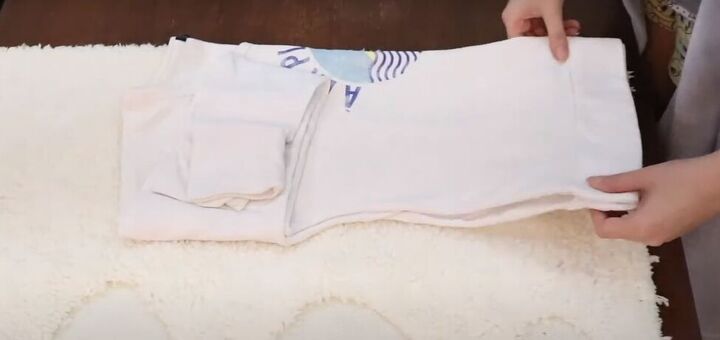
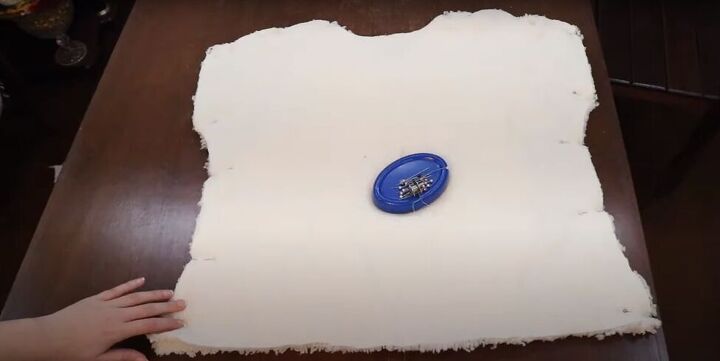
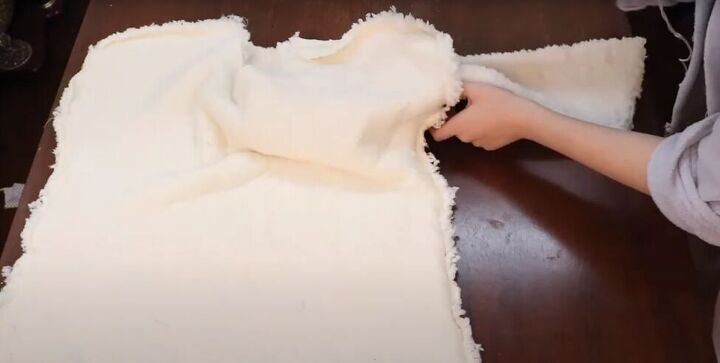
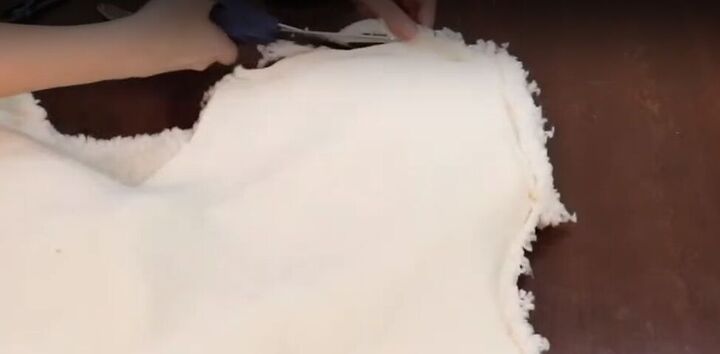
Fold your Sherpa fur fabric in half and place your folded shirt on the fabric with the fold of the shirt along the fold of the fabric.
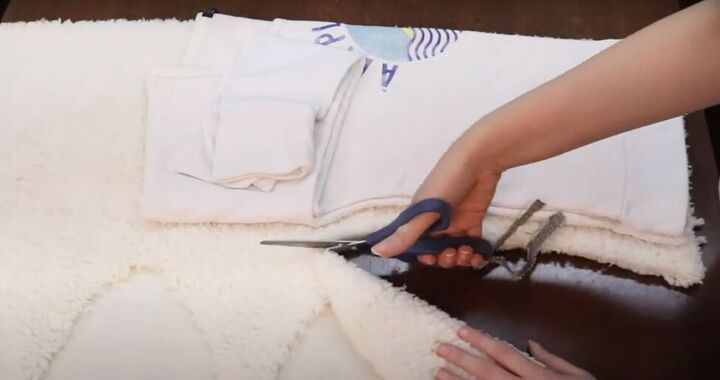
Cut the fabric along the shirt outline, leaving a 1-inch seam allowance along the side and top of the shirt.
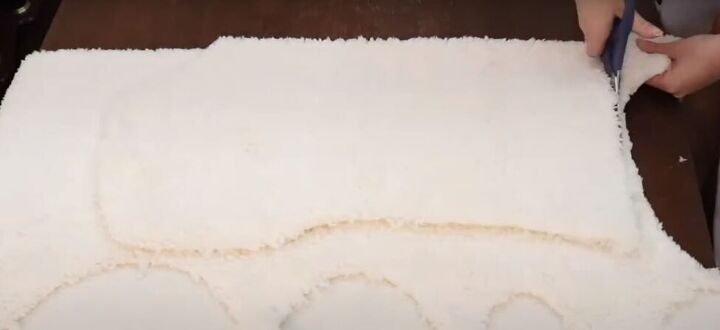
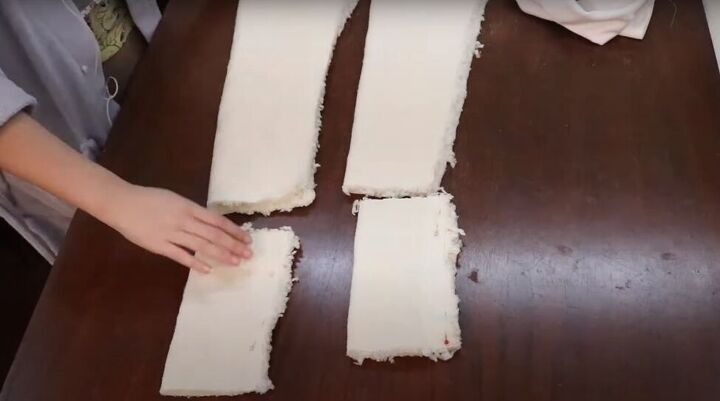
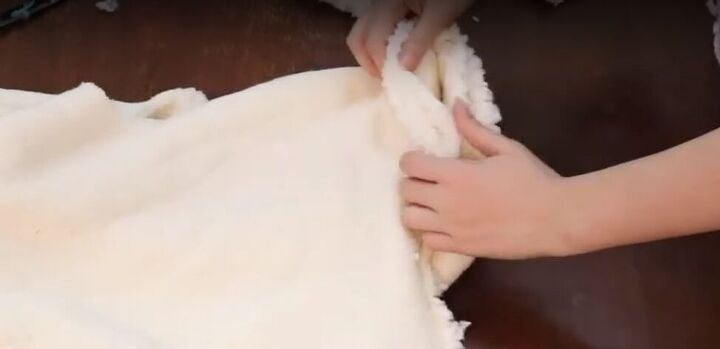
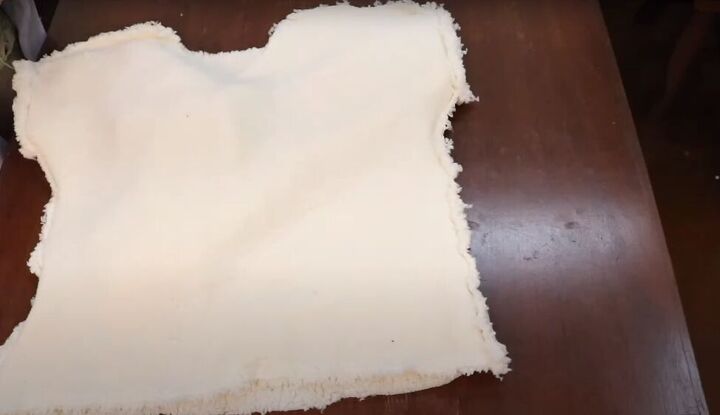
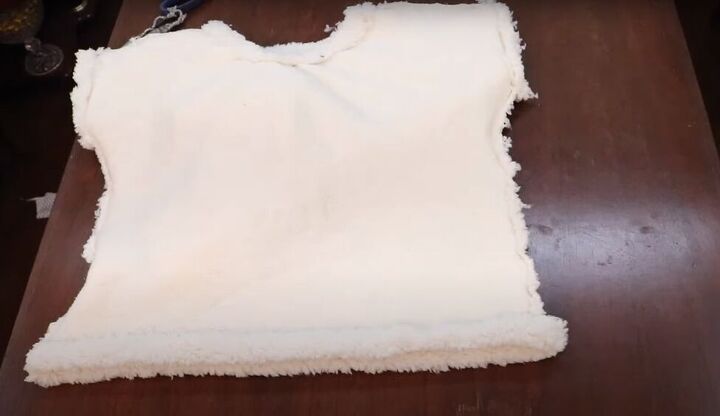
Use the pattern piece you just cut as a template to cut another piece. Now you have a front and a back.
Fold the fabric in half again and lay the sleeve of your shirt along the fold of the fabric. Turn the cuff of the sleeve up and cut the outline of the sleeve from the fabric, leaving a 1-inch seam allowance.
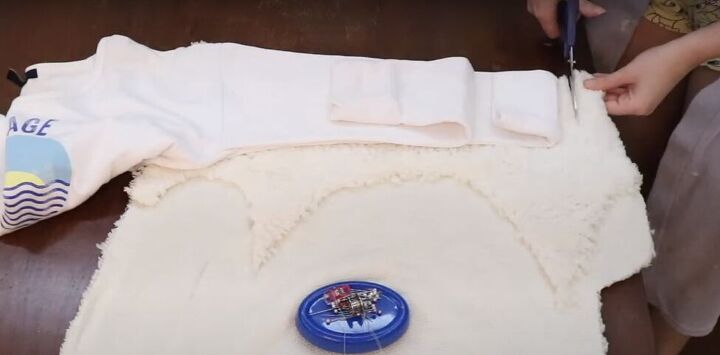
Repeat for the second sleeve.
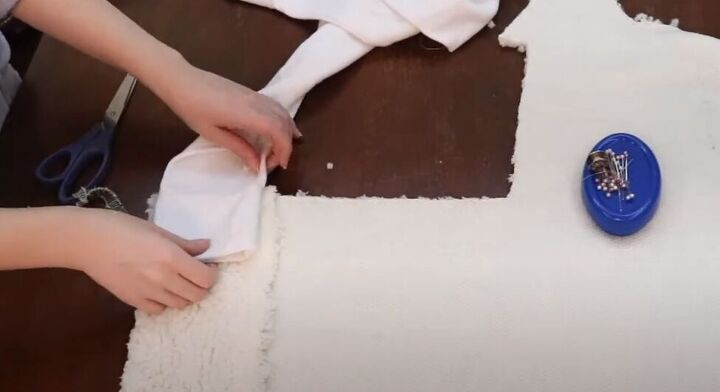
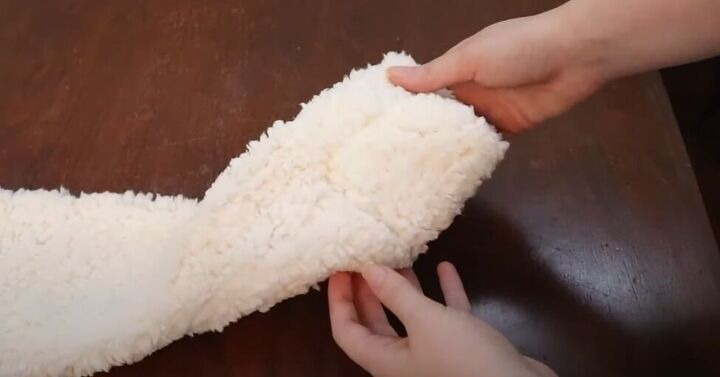
Fold your fabric again. Now, place your shirt sleeve cuff along the fold of the fabric, and then double the length of the cuff and add a 1-inch seam allowance before cutting the cuff out of the fabric.
This way, you will be able to fold up the cuff when you are wearing it.
2. Sew the cuffs, sleeves, and shoulder seams
Fold the cuffs, right side in, and pin along the open side. Sew the open side of the cuffs using a zigzag stitch. Do the same with the open side of the sleeves.
Place the front and back pieces together with right sides facing in. Pin and sew the shoulder and side seams with a zigzag stitch.
3. Attach the cuffs
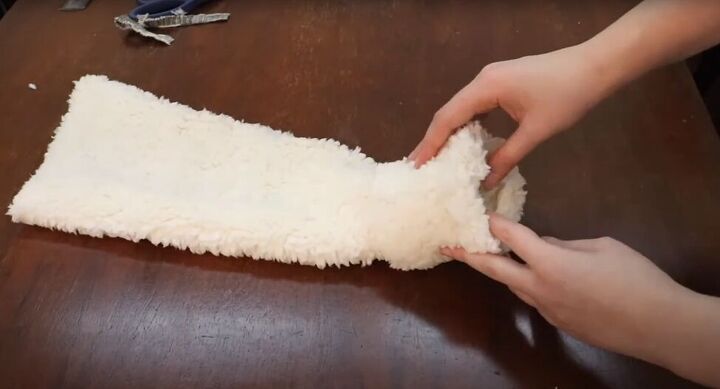
Fold the cuff in half with the right side of the fabric facing out. Now slide the cuff, fold first, onto the bottom of the sleeve, so the raw edges of the sleeve and cuff are aligned.
You will have three layers of fabric to stitch now – the sleeve and two layers of cuff. Pin the cuff to the sleeve and sew it in place along the raw edge with a zigzag stitch.
This is how your finished sleeve cuff will look. Repeat for the other sleeve and cuff.
4. Attach the sleeves
With the sleeve right side out and sweater inside out, insert the sleeve in the shoulder hole, cuff first.
Now, the top of the sleeve aligns with the shoulder of the shirt.
Pin the sleeve in place and sew with a zigzag stitch.
Trim the excess fabric from the shoulder seams.
5. Finish the Sherpa sweater neckline and hem
Fold the neckline and hem of the shirt in one inch and pin in place. Use a zigzag stitch to sew the neckline and shirt hems.

DIY Sherpa sweater tutorial
This DIY Sherpa sweater is so cozy and perfect for the cooler weather. You can wear it tucked in or leave it out. The fleecey Sherpa fabric feels so luxurious! Leave a comment to let me know how your Sherpa sweater turned out.
The author may collect a small share of sales from the links on this page.


Comments
Join the conversation