How to Sew a Cardigan: Cute Cropped Cardigan Pattern for Spring

Follow along with my tutorial to learn how to sew this cropped cardigan that is full of grace and class. Since it’s made out of a stretch knit fabric, it is also super comfortable.
This DIY cropped cardigan goes really well with the DIY mini skirt, so if you like this, try the skirt as well!
Tools and materials:
- Cropped cardigan sewing pattern (downloadable)
- 1.3 meters (1.5 yards) of medium weight knit fabric
- 50 x 3 centimeters (19.68 x 1.18 inches) of iron-on interfacing
- Sewing needle and thread
- Sewing pins (preferably glasshead)
- Scissors
- Seam ripper
- Ruler
- Pencil
- buttons
- Sewing machine
- Serger
1. Cut the Cropped Cardigan pattern pieces
Download the Cropped Cardigan pattern, then print and cut the pattern pieces as directed.
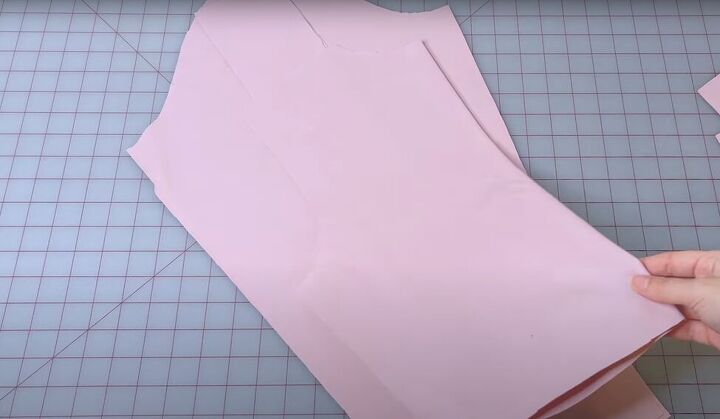
2. Sew the cardigan bodice
If you are including darts on your cardigan, sew them first on the cardigan front.
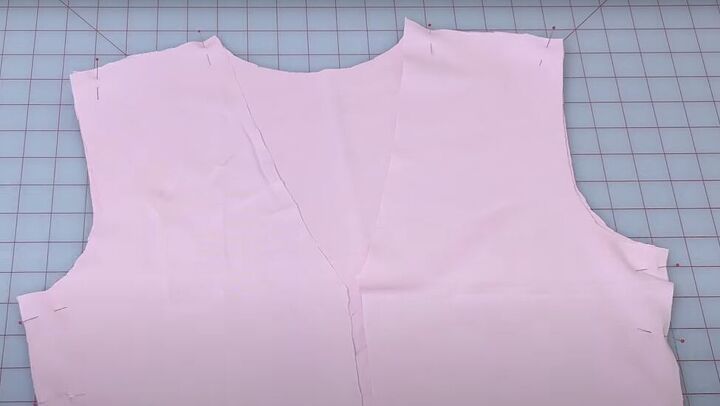
With right sides facing, pin and sew the shoulder and side seams of the back of the cardigan to the two front cardigan pieces using your serger. If you want, you can stabilize the shoulders with stay tape while serging the seam.
Note that you will need to serge all seams of this cardigan.
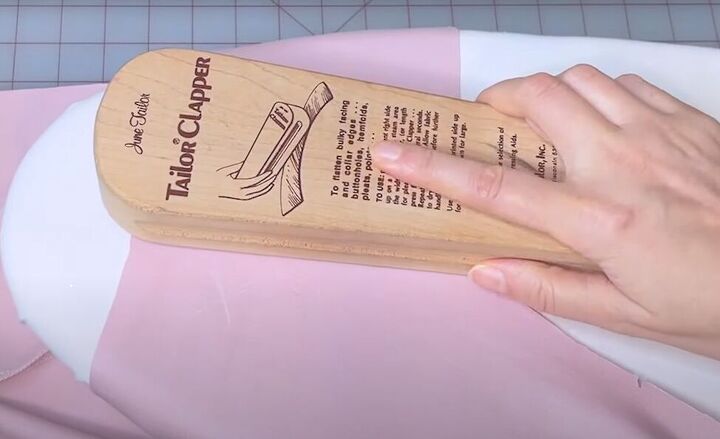
Press the seams toward the back of the cardigan and use a wooden clapper, if you have one, to cool them down.
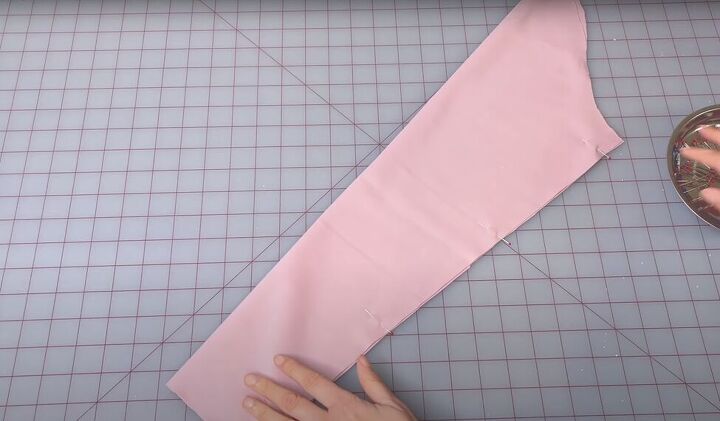
3. Sew and attach the sleeves
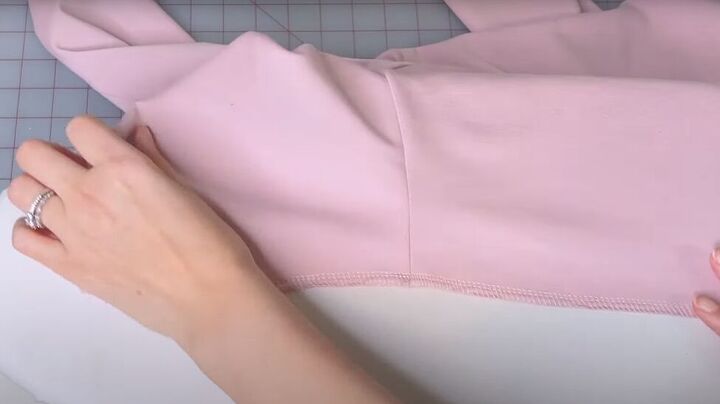
With right sides facing, fold each sleeve in half lengthwise. Pin and sew the inside sleeve seams. Then press the seams to the back.
There is a notch in the pattern at the back of the armhole if you’re not sure which side is the back of the sleeve!
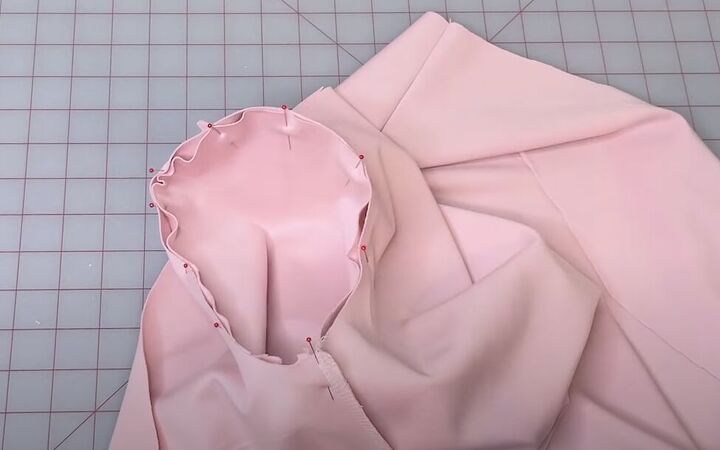
With right sides facing, pin the sleeves to the armholes, evenly distributing the sleeve fabric around the armhole, and matching up the shoulder seams.
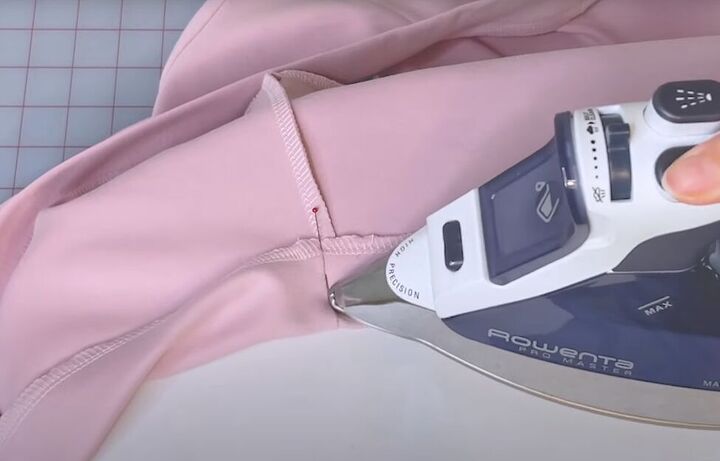
Sew in the sleeve and then press the seam allowances toward the sleeve.
Serge the hem and sleeves of the cardigan. Then press the serged seams to flatten them and eliminate any waviness in the fabric.
4. Make the neckband
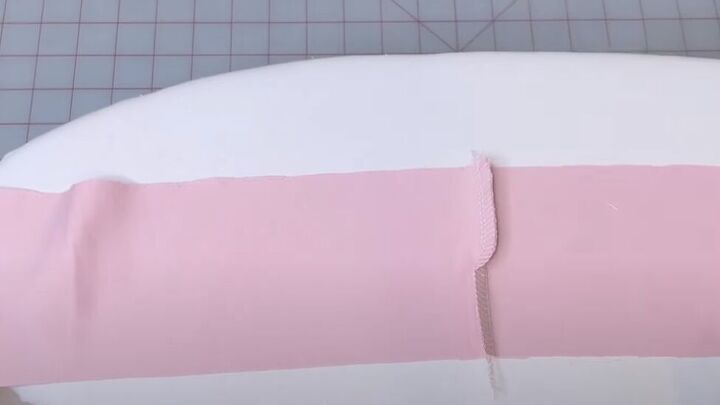
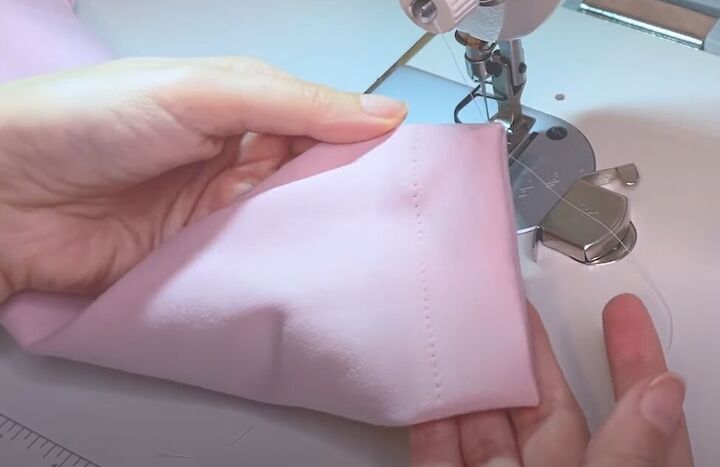
Sew the two neckband pieces together at a short end. Then snip the corners of the neckband in the seam allowance at an angle and press the upper and lower halves of the seam in opposite directions.
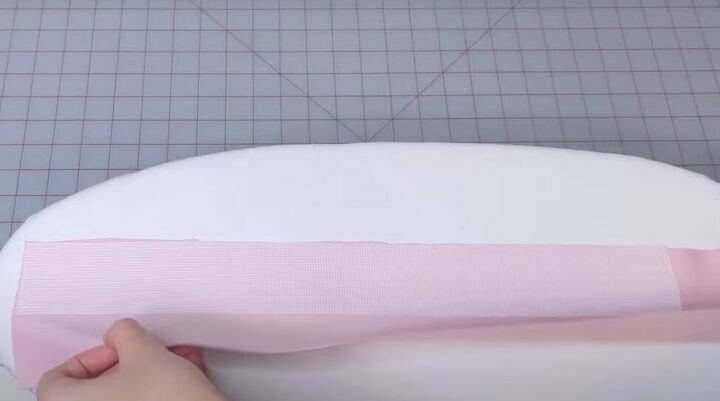
Stabilize the neckband by ironing on interfacing on one half of the band from the hem to the first notch in the fabric. That will be about 20 centimeters (7.87 inches) across the long edge from one end.
Then fold the neckband lengthwise, with right sides together and sew the two short ends closed.
Turn the neckband right side out, keep it folded and press flat.
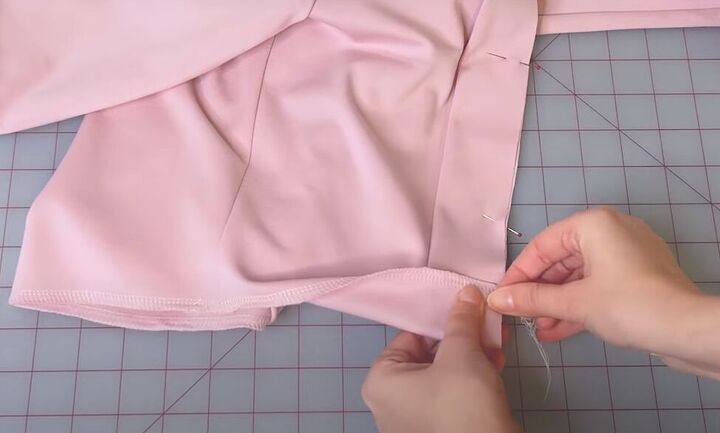
Being careful to not stretch the fabric, pin the neckband to the cardigan with right sides facing. Start by pinning the center back and then work your way out to both sides matching the notches at the shoulder seams and neckline.
The neckband extends right down the sides of the cardigan at the front. When you reach the bottom of the cardigan as you pin the neckband, fold up the hem of the cardigan to cover the bottom of the neckband.
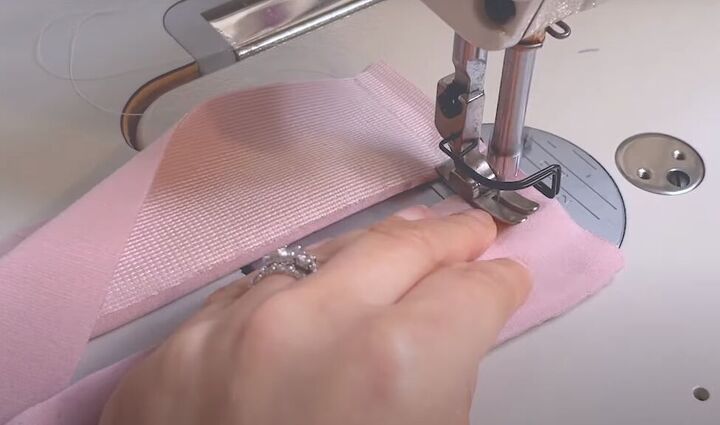
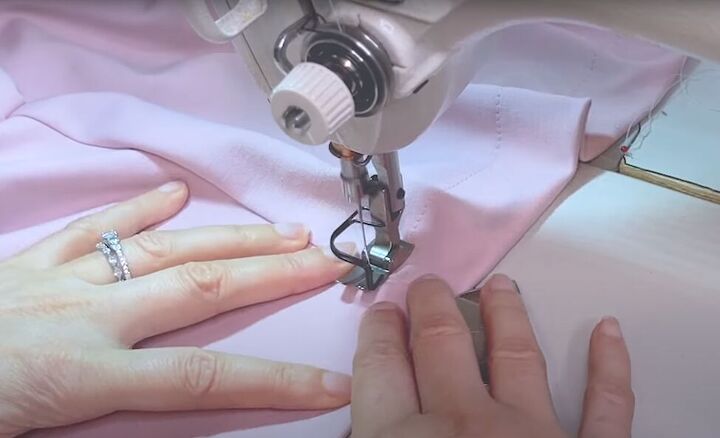
Sew the band to the cardigan with the band side facing up.
Then serge and press the band seam.
5. Hem your cardigan
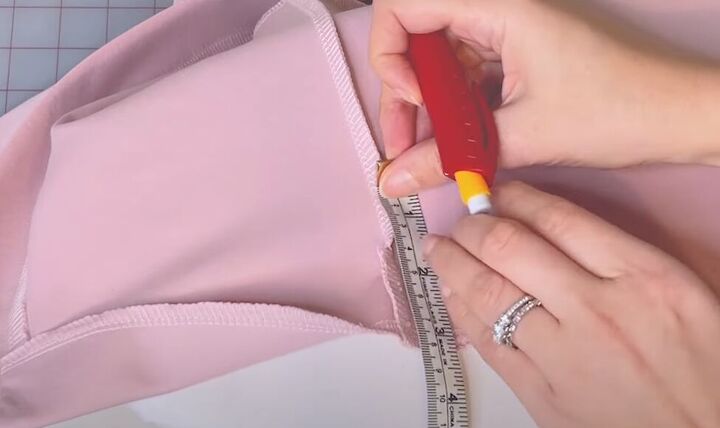
Mark 8 centimeters (3.15 inches) up from the bottom of the cardigan.
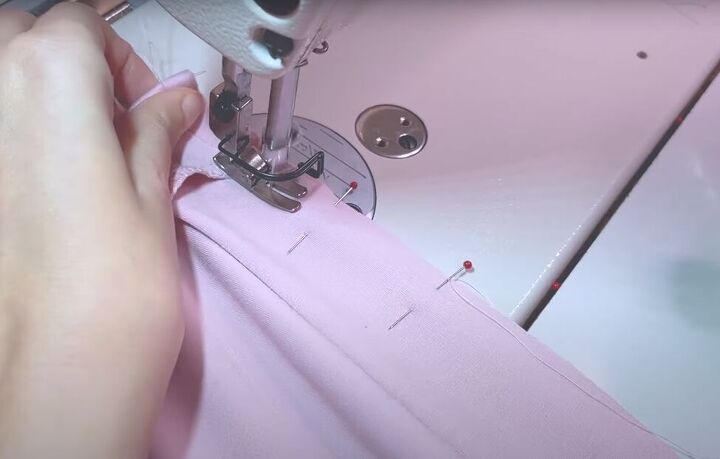
Fold the bottom of the cardigan up to the mark. Pin and sew the hem.
Fold, pin, and press the sleeves in the same way, to your desired length.
Topstitch the hem 3 centimeters (1.18 inches) from the edge.
Do the same for the sleeve hems.
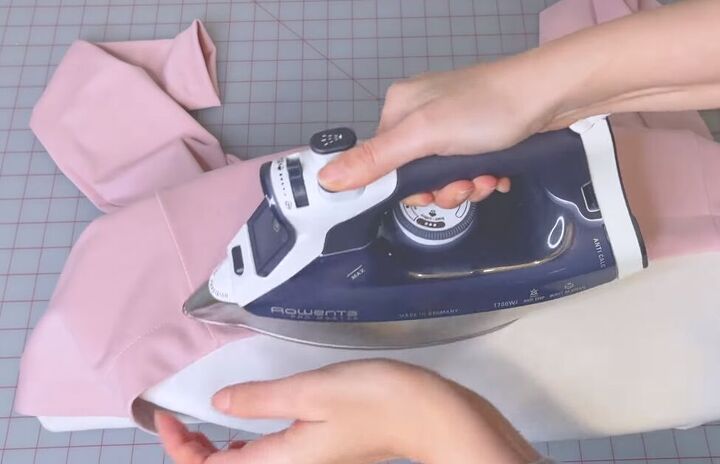
Press all your hems.
6. Add buttons
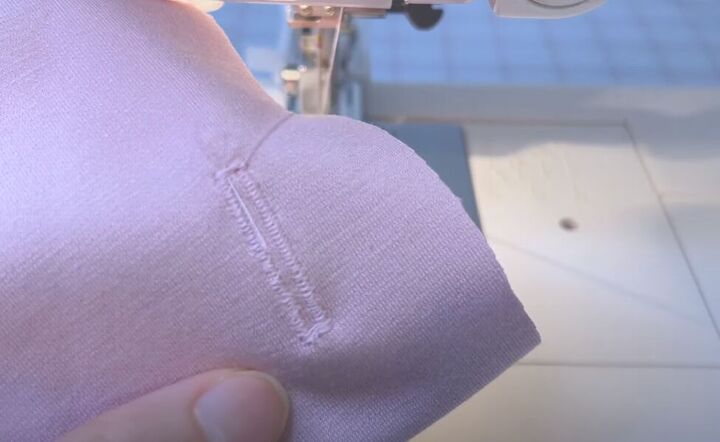
Mark the position of your buttonholes in the cardigan band. The top button should be at bust level and the bottom button at the hem. Use 3 or 4 buttons in total.
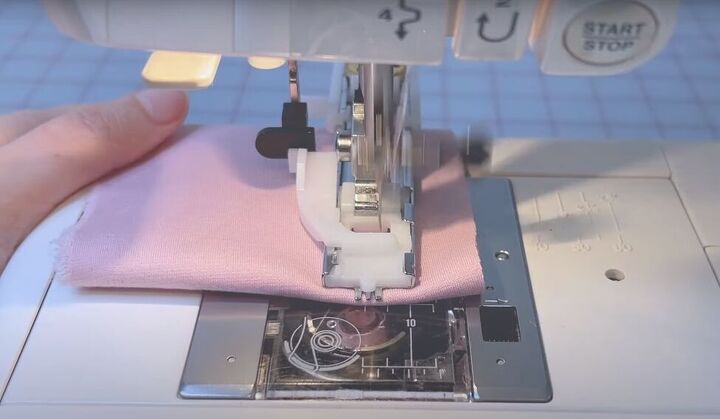
Test your buttonhole sizing on a scrap piece of fabric. To get precisely the right-sized buttonhole, feed your button into the sewing machine buttonhole foot of your sewing machine by placing the button into your machine.
Then, pull down the buttonhole lever, and selecting the appropriate sewing machine settings.
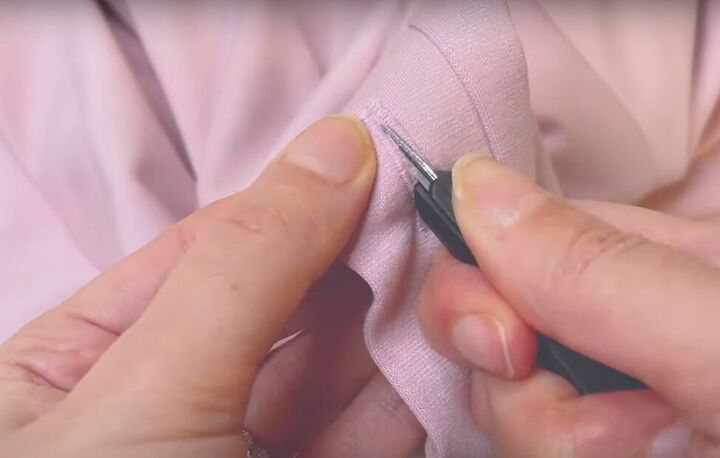
Once you are satisfied with the buttonholes, make them on your cardigan and use a seam ripper or small scissors to cut the holes.
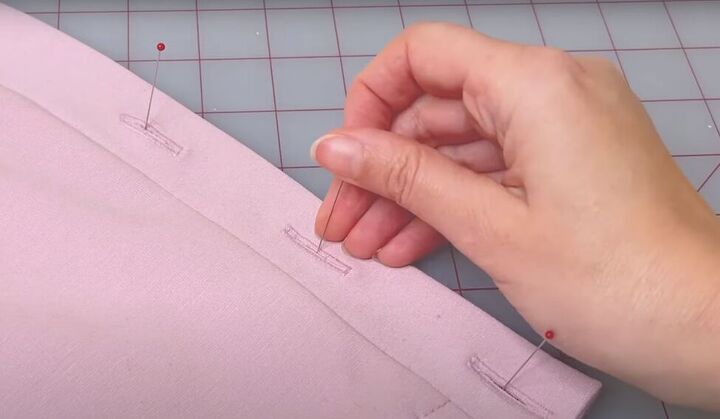
Now, fold your neckband together evenly with the buttonholes on top. Place a pin in the center of each buttonhole to mark the position of the buttons on the other band.
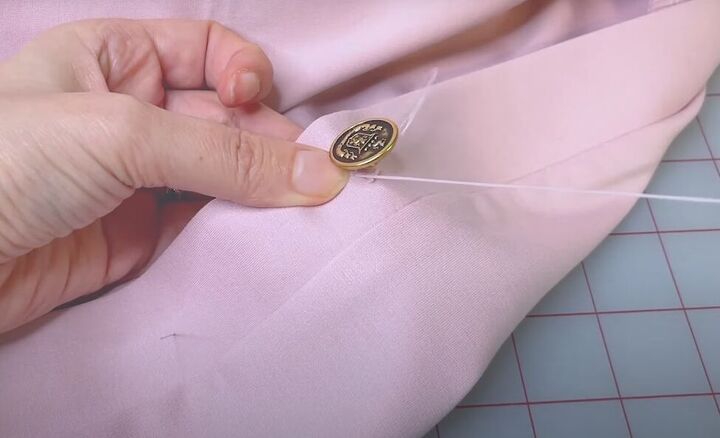
Sew your buttons on at the pin markings.

How to sew a cardigan
Give your cardigan a final press and try it on! It really is elegant. I hope you try this DIY cardigan yourself and let me know how it turned out in the comments. Thanks for joining!
The author may collect a small share of sales from the links on this page.


Comments
Join the conversation