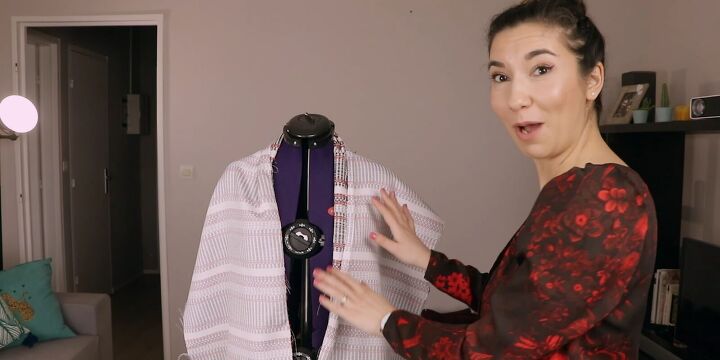
How to Sew a Cute Fall Cardigan Tutorial

Looking to update your wardrobe this Fall with a piece that’s both unique and comfortable? Follow along to learn how to sew this perfect cardigan for Fall. You can get the Luz Cardigan pattern here.
Tools and materials:
- Cardigan pattern
- Fabric (55 inches, or a bit more to spare)
- Fabric scissors
- Straight pins
- Sewing machine
- Iron
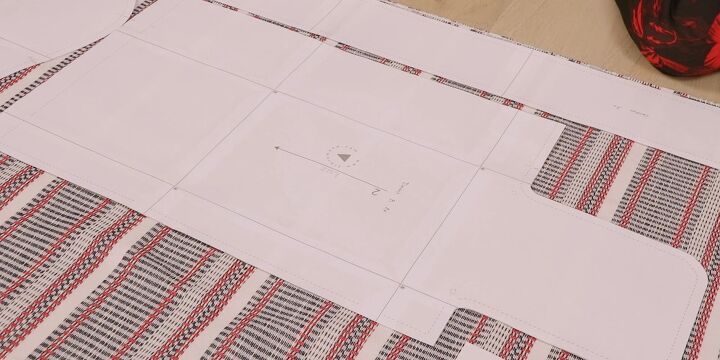
1. Lay out your pattern pieces
Start by folding your fabric in half. The reason is because you need to have several pieces for the left and right sides of the cardigan. Your fabric should be 55 inches (140 cm) in length.
Then, place the pattern pieces on the fabric, making sure that the back piece is placed with the flat edge along the fold of the fabric. You can do this for the belt too, to reduce fabric waste.
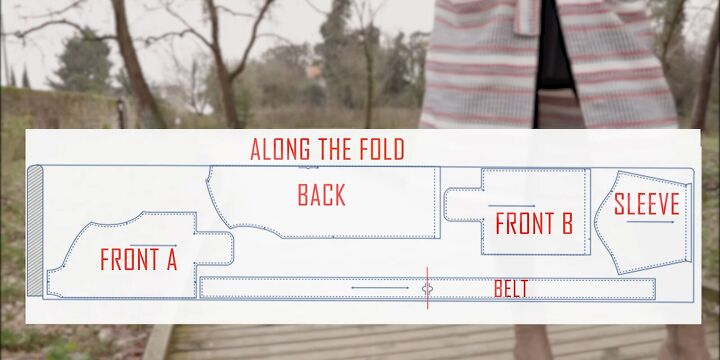
Use this diagram of the pattern on fabric to help you visualize before you cut:
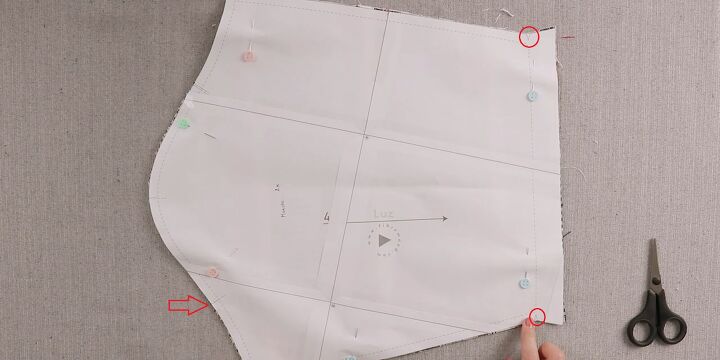
2. Pin and cut
Once all the templates are in place, attach them with straight pins. Then cut around the pieces.
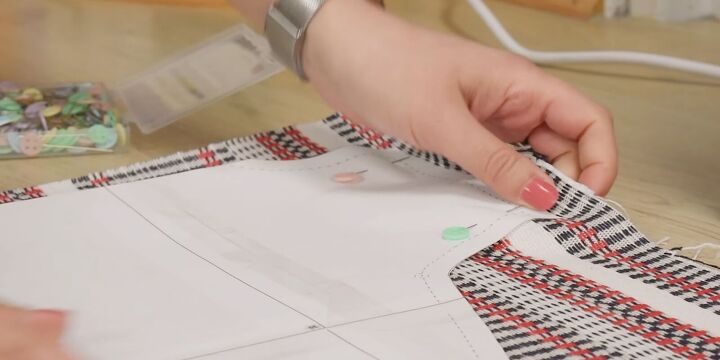
Notice the notches and lines on the pattern. They show you where to cut and this helps to better line up all the pieces of the cardigan.
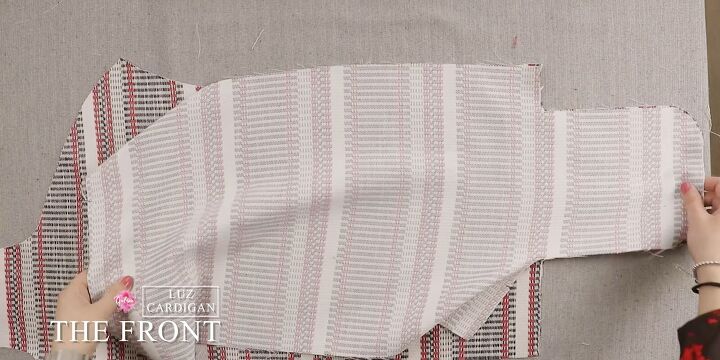
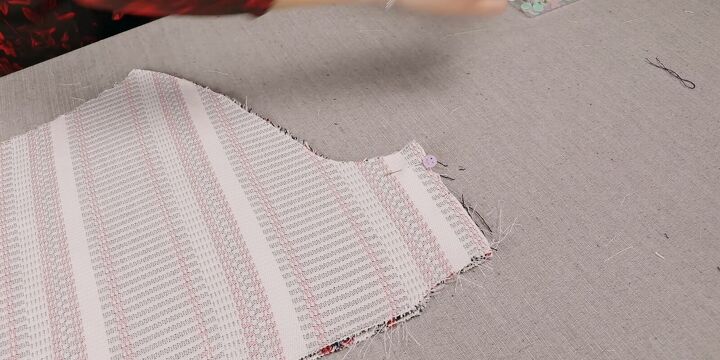
3. Attach front A1 to front B2
Place the front A1 fabric face up with the front B2 fabric face down on top of it.
Line up the bottom of the fabrics together, secure with pins and sew. Be sure to leave about a ½” for the seam allowance.
Then, surge along the edges to prevent the fabric from fraying. Alternatively, you can use a zigzag stitch along those edges.
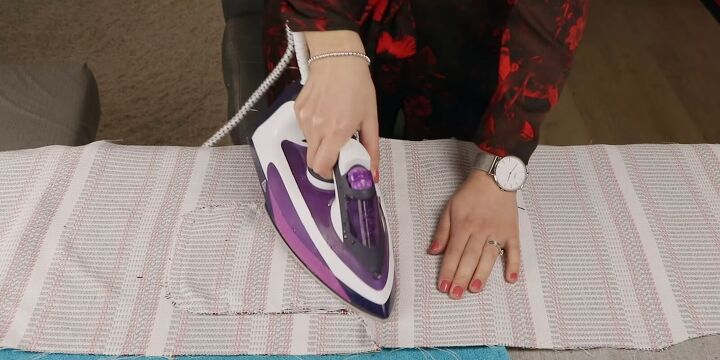
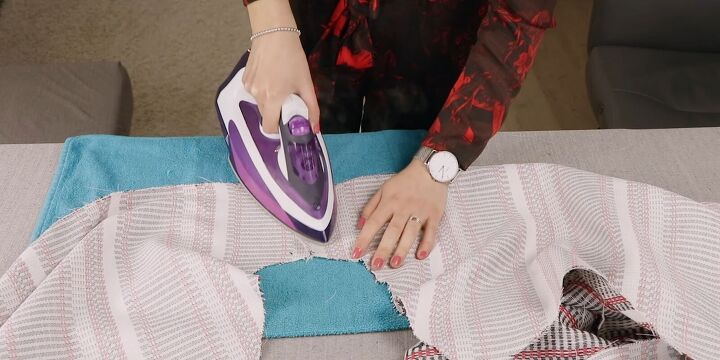
Then, iron the seam facing down, toward the bottom of the cardigan.
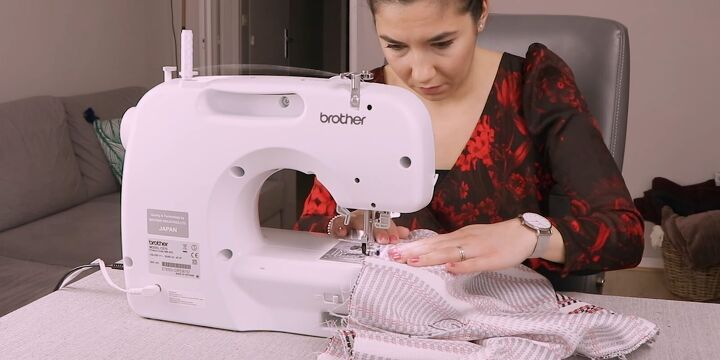
4. Serge or zigzag stitch
Whichever method you choose, surge or sew the zigzag stitch along the inside part of the cardigan.
5. Attach A2 and B1
Repeat the same exact process for the front A2 and B1 pieces.
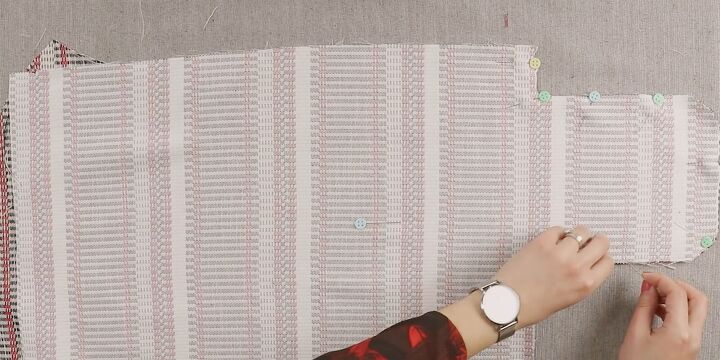
6. Attach the short section of the two front pieces
Iron the seam and place the two front pieces together with the outside of the fabrics facing each other, like in the image below.
Then, pin and serge or sew a zigzag stitch along this short section of the fabrics.
Again, like with the front pieces, iron and sew the seam to the side to flatten it. Make sure you iron it only in one direction.
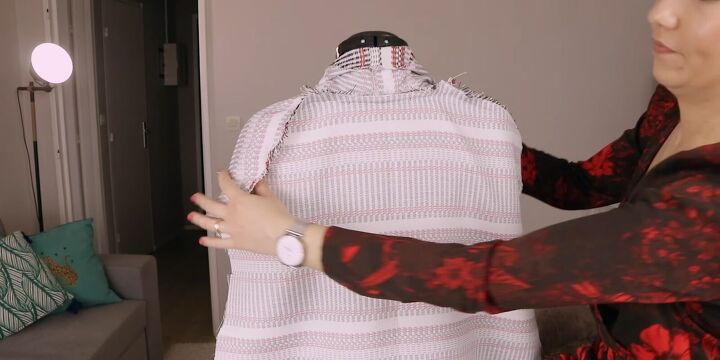
7. The back
Place the back piece down with the outside of the fabric facing up and place the front piece on top.
Line up one shoulder first and pin. At the end of the shoulder, the V cuts from each fabric should line up. Continue pinning around the edges.
Then, stitch the shoulder seam on the front and back, until you reach the V cut. At this point, leave the needle in the fabric, raise the presser foot, cut in the seam allowance at the front to the seam, turn it and lower the presser foot.
Stitch to the next cut, then leave the needle in the fabric again, raise the presser foot. Cut only in the seam allowance of the front, up to the needle. Turn the work and lower the presser foot.
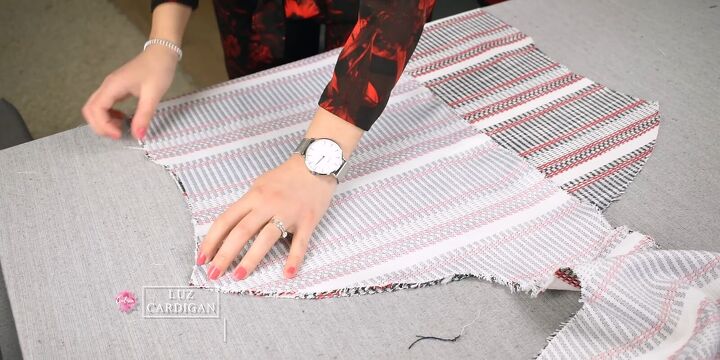
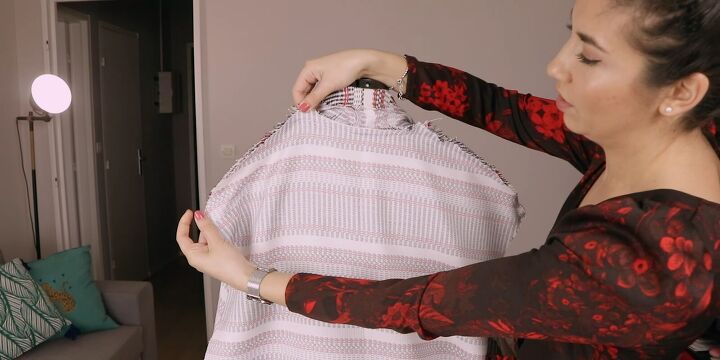
This is what you should have so far:
This is the back of our long cardigan and you can see the shoulder seams:
For the next part, do a zigzag stitch here on both shoulders:
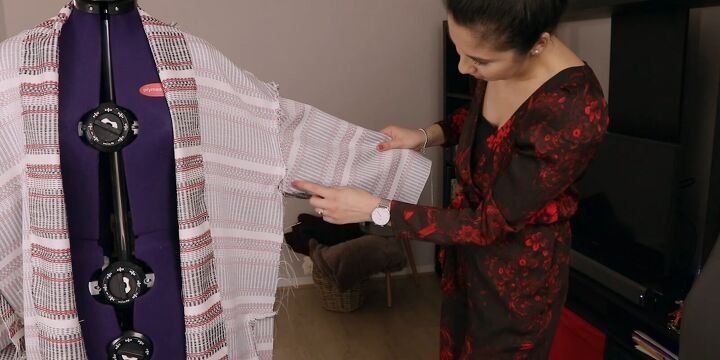
8. Neckline
Fold the face enough to overlap the neckline of the front, and to the edge of the back piece. Pin, then sew with the zigzag stitch.
9. Sleeves
Next, you’ll pin and stitch the upper edge of the sleeve on the armhole.
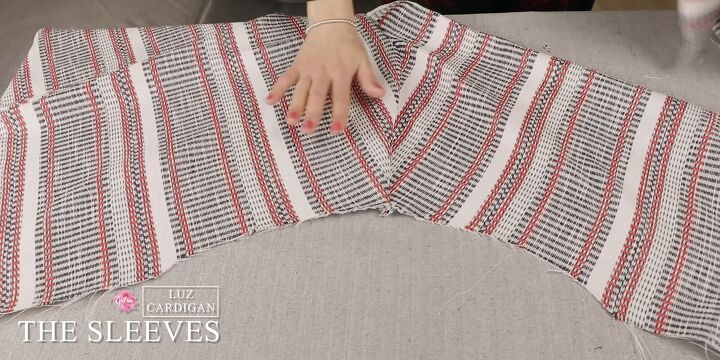
While pinning, be sure to match the markings, like in the image below. The single notch indicates the front, while the double notch shows the back.
The top notch corresponds to the shoulder seam:
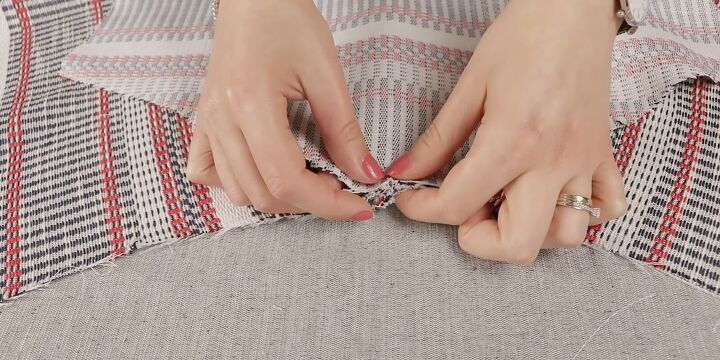
Once you’ve matched all the notches correctly and secured the pieces with pins, use the zigzag stitch on the unfinished edges.
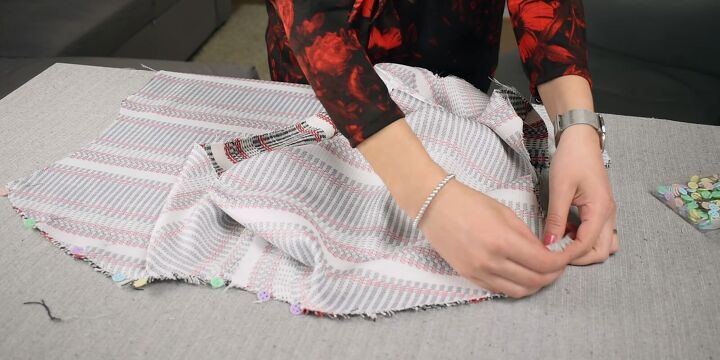
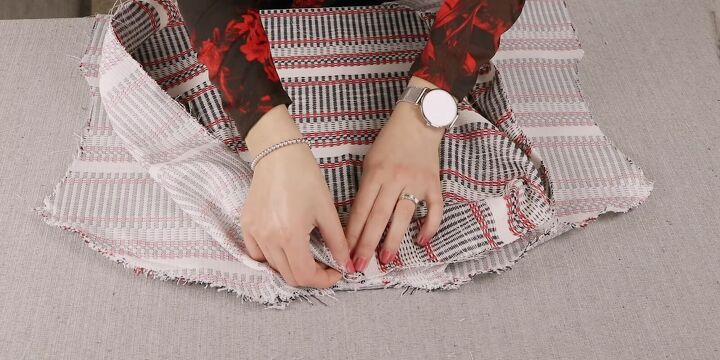
Now that we’ve assembled the sleeves, we’re going to sew the bottom part:
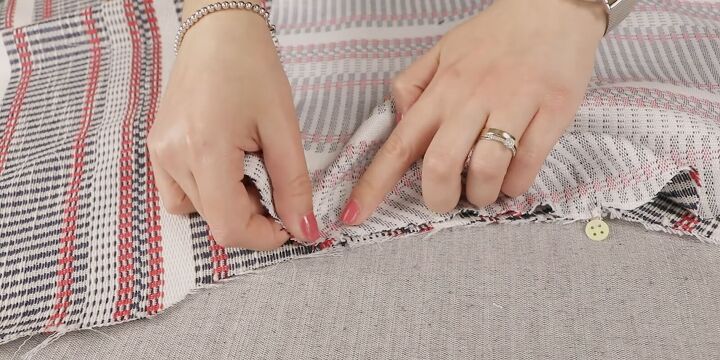
Then we’ll sew the sides:
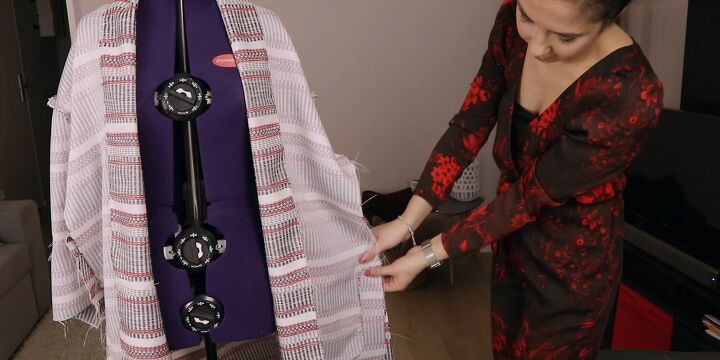
Don’t forget to use pins. Easy peasy!
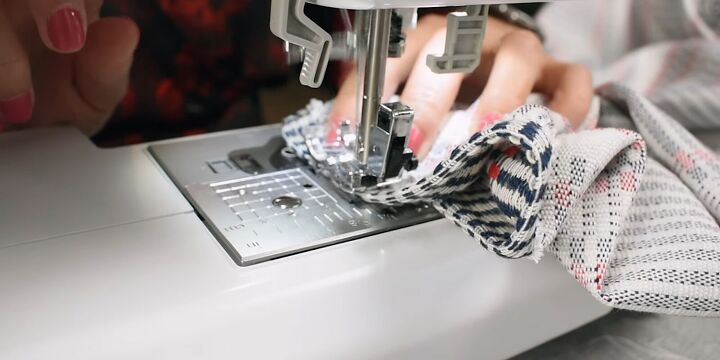
Finally, I did a zigzag stitch along the edges of the sleeves. Also, fold the hem of the sleeve and sew it to keep it in place.
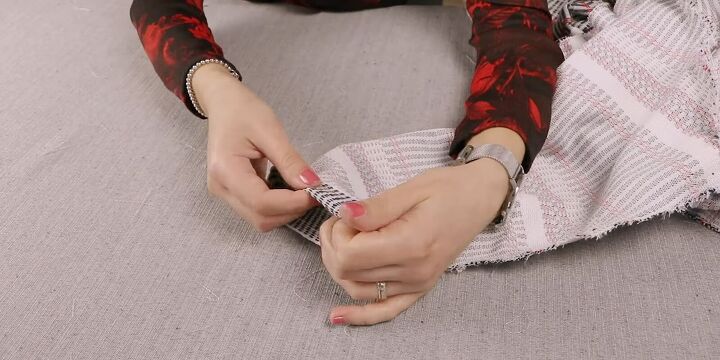
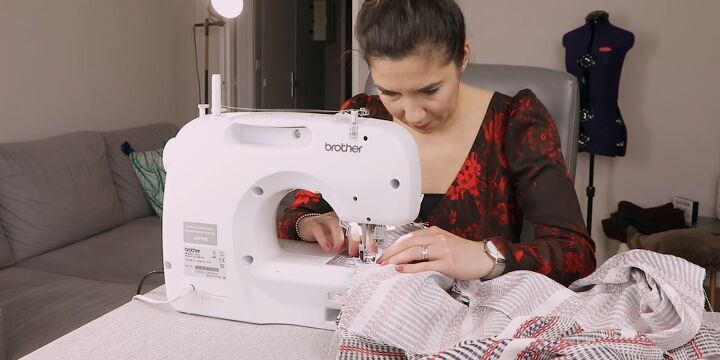
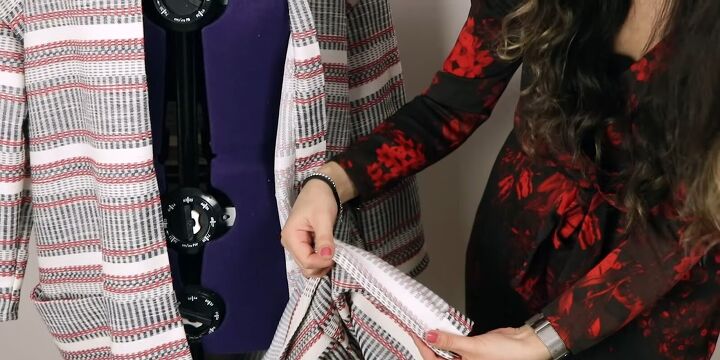
Now we are nearly finished making the cardigan. I didn't follow the instructions for the end because I wanted to do something a little bit different.
In this part, I did invisible stitches to have a clean finish. Then, at the end I did a sewing like this with my sewing machine.
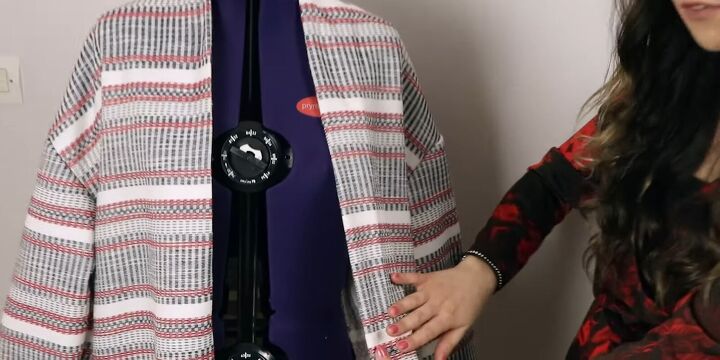
How to sew a cardigan
All that’s left is to iron it and make the belt. But I won't show you how to make the belt as you can see this technique in most of my tutorials.
Let me know what you think in the comments. If you made your own DIY long sleeve cardigan, feel free to share a pic below.
The author may collect a small share of sales from the links on this page.


Comments
Join the conversation