How to Sew a Cute Plaid Purse, Perfect for Fall and Winter

This amazing DIY purse holds so much and looks so gorgeous. You can make it with different fabrics and use your creativity to change the looks. This simple purse sewing pattern makes it easy for you to make your own purse.
If you’ve been wanting to learn how to sew a purse, this tutorial is for you. Let me show you how to make a purse out of fabric.
Tools and materials:
- Fabric:
- Outer layer - 2 pieces 15.75 X 13 inches
- Lining - 2 pieces 15.75 X 13 inches
- Strap - 1 piece 27.56 X 4.72 inches
- Fusible interfacing (medium weight)- 2 pieces 14.96 X 12.2 inches
- Ruler
- Scissors
- Sewing machine
- Needle and thread
- Seam ripper
- Snap buttons

1. Prepare the interfacing
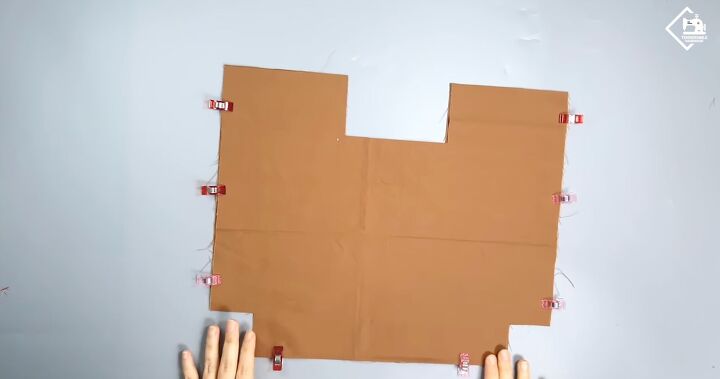
Fold one piece of the interfacing in half. Mark a square at the top at the folded corner that measures 2.75 X 2.75 inches.
Then, make a smaller square on the opposite end at the open corner, marking it at 1.75 X 1.75 inches.
Cut these pieces out.
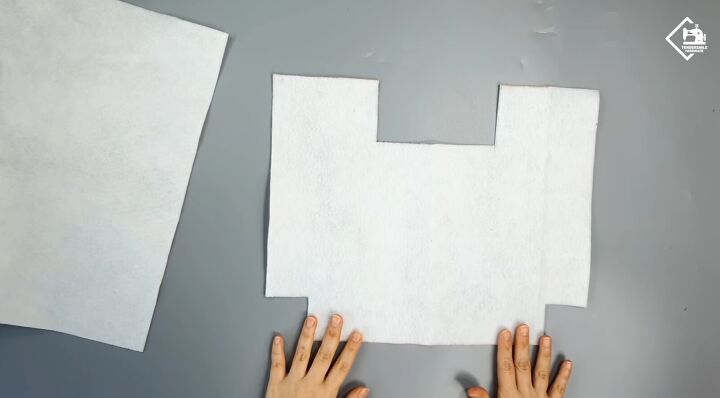
Open up the fold. This your pattern. Mirror the pattern on the second interfacing.
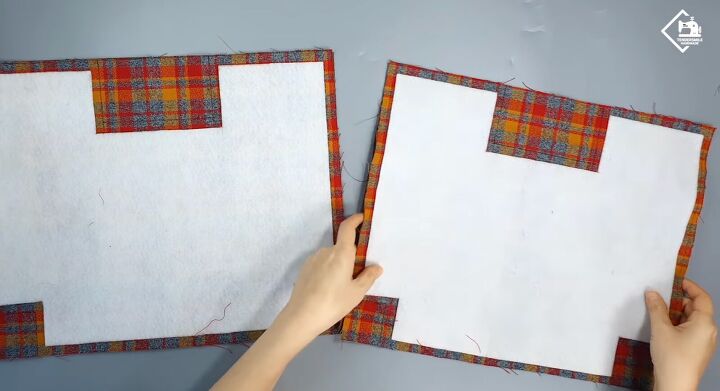
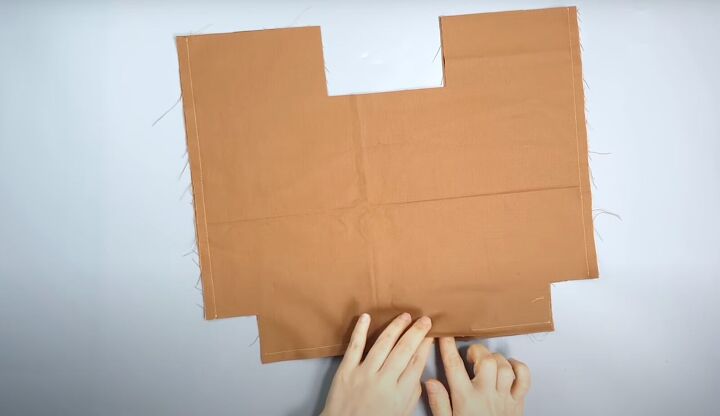
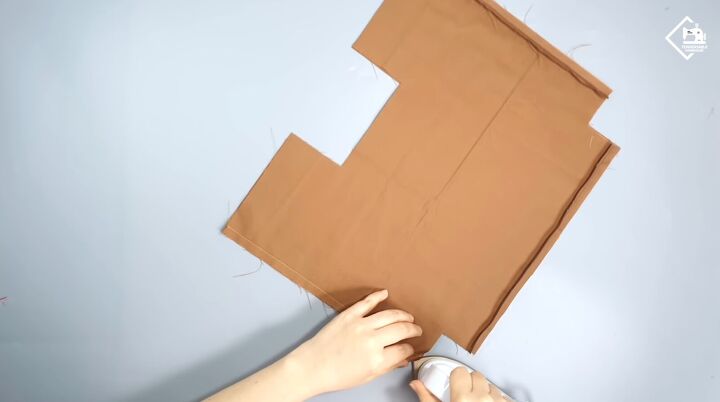
2. Prepare the outer fabric
Lay both pieces of the outer fabric with the wrong side facing up. Lay the fusible interfacing on the wrong sides and iron.
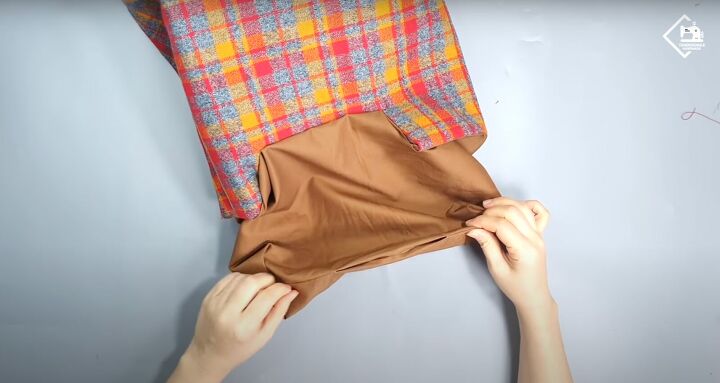
Lay the lining underneath the outer fabric with the interfacing facing up so the right sides are together.
Cut the fabrics to match the pattern, leaving a ¼-inch seam allowance. Remove the lining pieces and set aside.
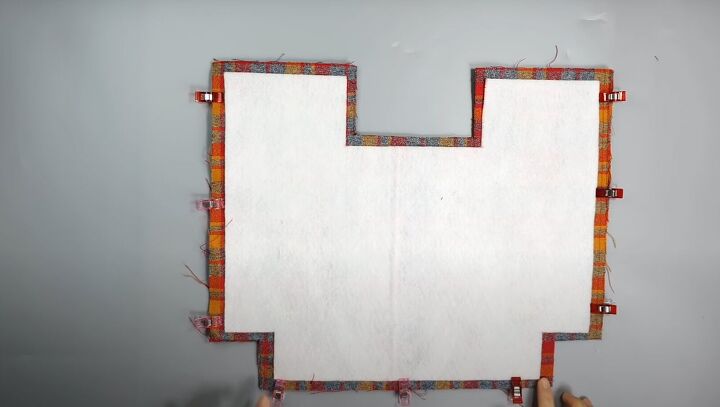
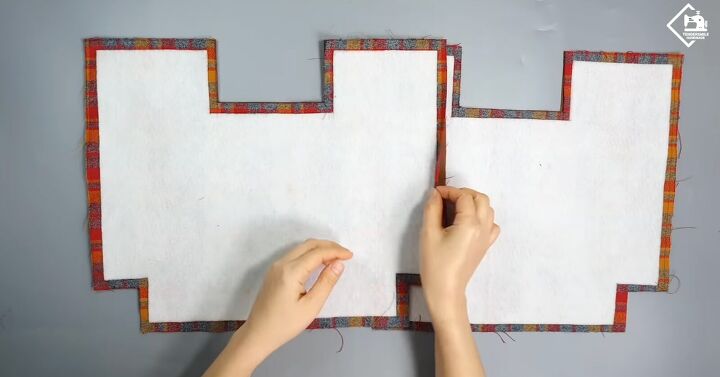
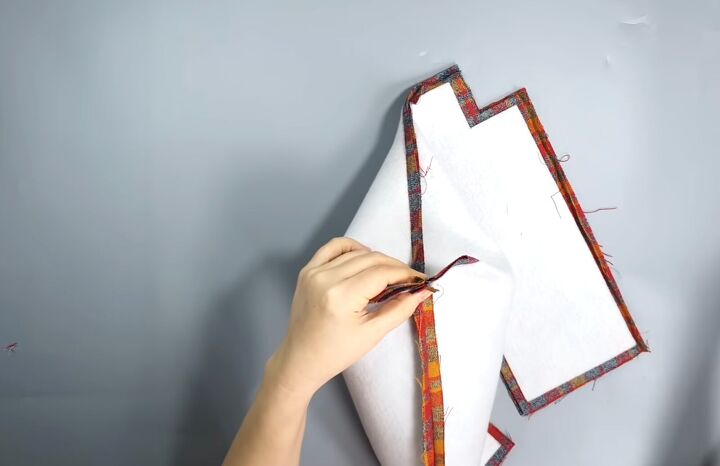
Lay the two outer pieces so their right sides are together. Clip in place.
Sew right at the edge of the interfacing, leaving a ¼-inch seam allowance. Sew on 3 sides, leaving the little squares and the top unsewn.
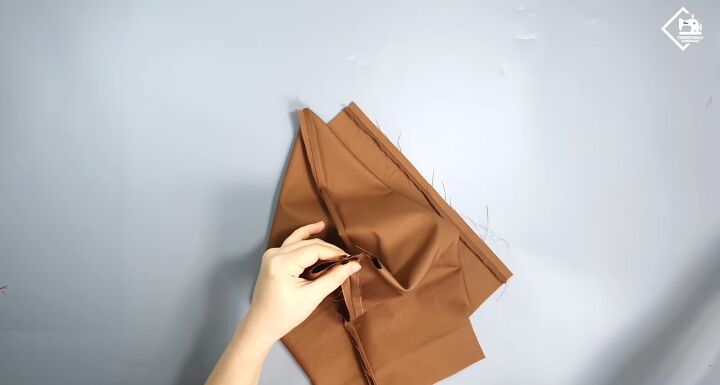
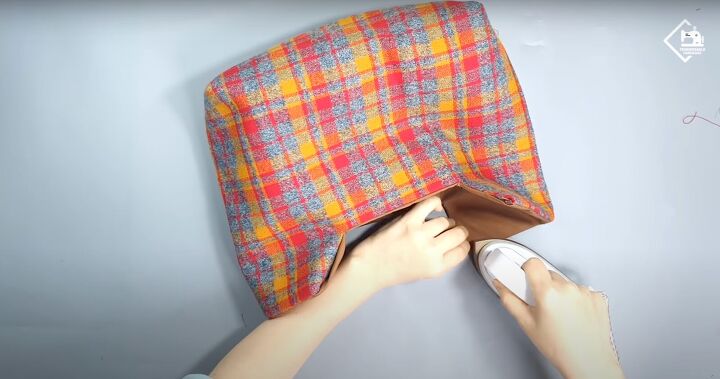
3. Make the bottom of the bag
Grab the bottom of the bag where the little corners are and press it flat. Clip in place.
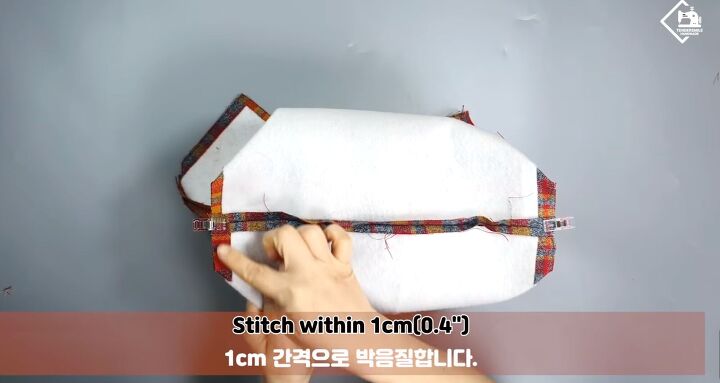
Stitch this closed at the very end of the fusible interfacing, leaving a ¼-inch seam allowance in the fabric. Turn the bag inside out.
4. Prepare the lining
Place the lining right sides together. Clip the lining in place. At the bottom, mark a 4-inch gap that should remain unsewn.
Sew all around the lining, leaving a ¼-inch seam allowance.
Use the iron to press the seams open and flat.
Just like with the outer fabric layer, grab the bottom of the lining, flatten it, and clip or pin in place. Sew across, leaving a ¼-inch seam allowance.

5. Attach the lining to the bag
Slip the outer fabric layer into the lining.
Match up the seams of both the layers and clip or pin in place. Pin at the corners.
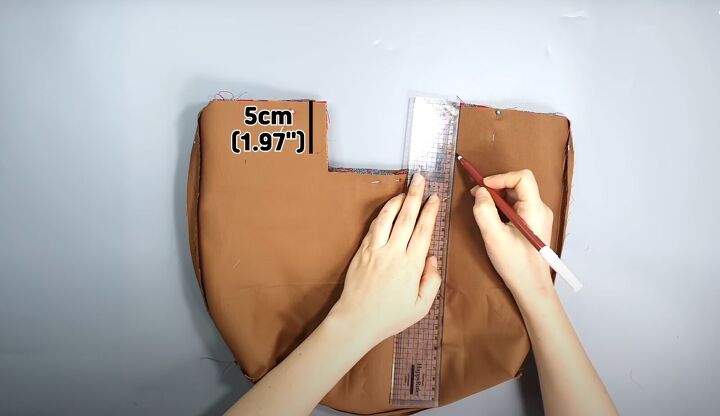
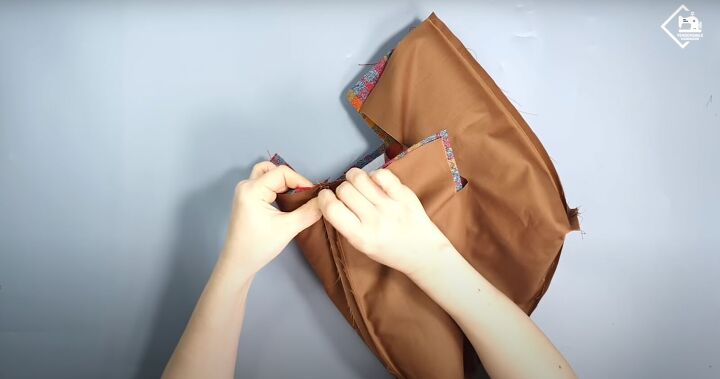
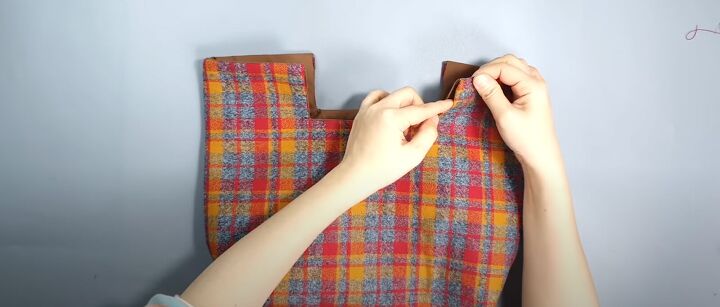
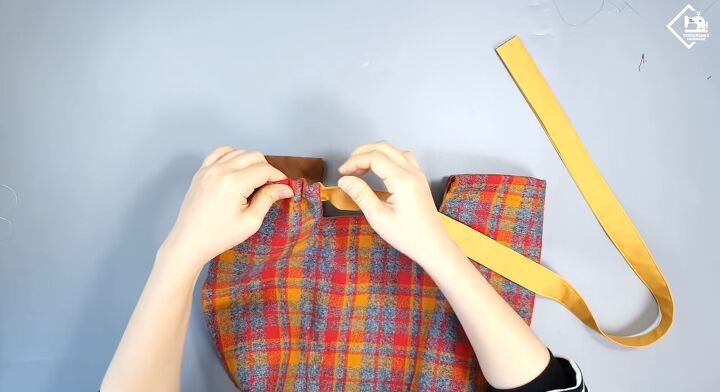
6. Sew the inner handle area
Mark the line of the cut-out for the handle of 1.97 inches or 2 inches on either side.
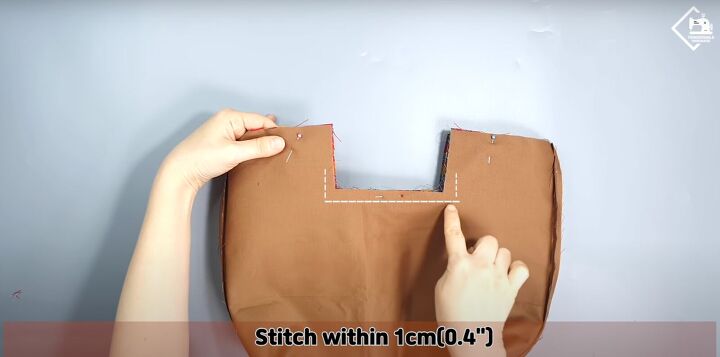
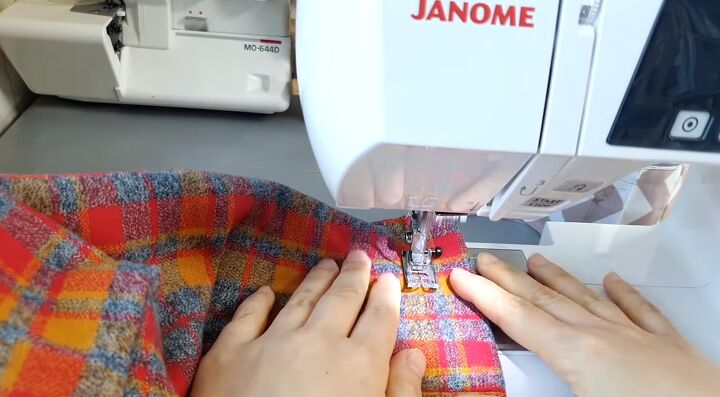
Sew these exact markings on both sides of the bag with a ¼-inch seam allowance. Do not sew above this line.
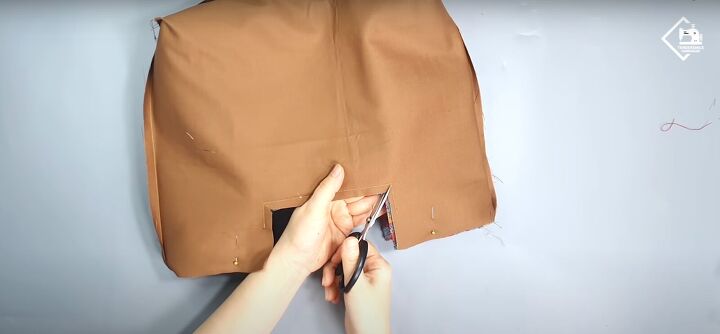
Snip the corners on the seam allowance on both sides in the cut out of the bag.
Fold the lining and outer layer inward, separately. Press. Clip. Do this to all three sides of the cut out.

At the very top of the bag, stitch with a ¼ inch seam allowance.
7. Finish the bag
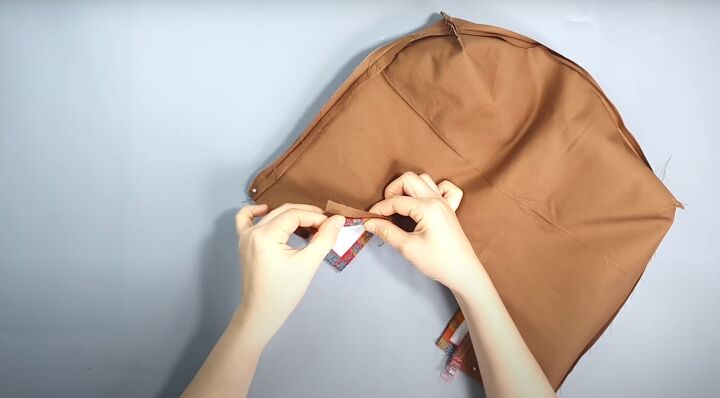
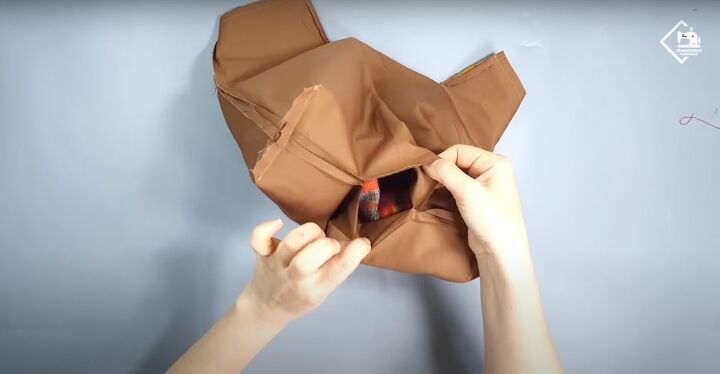
Once everything is sewn, flip the bag inside out using the 4-inch unsewn part in the lining to pull the bag through.
Pull the lining out to hand sew the seam closed. Tuck the lining into the bag.
Iron the interior of the lining, smoothing out any wrinkles, especially near the cut out areas.
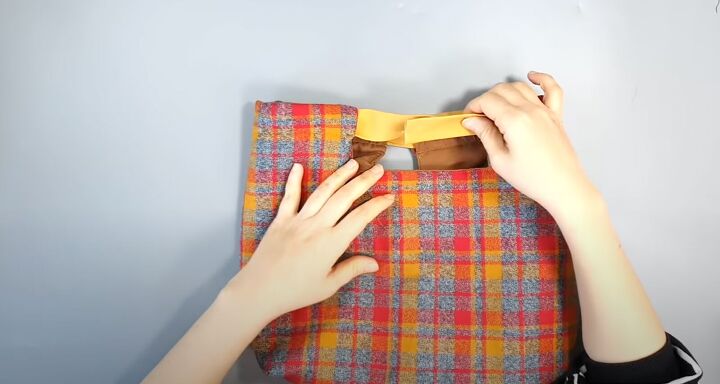
At the top of the bag there should be 4 openings.
Topstitch as close as you possibly can get in the bottom of the cut out at about an ⅛ inch up to the openings. Keep the openings unsewn.
Topstitch across the unsewn top at 1.18 inches to create a channel for the strap.
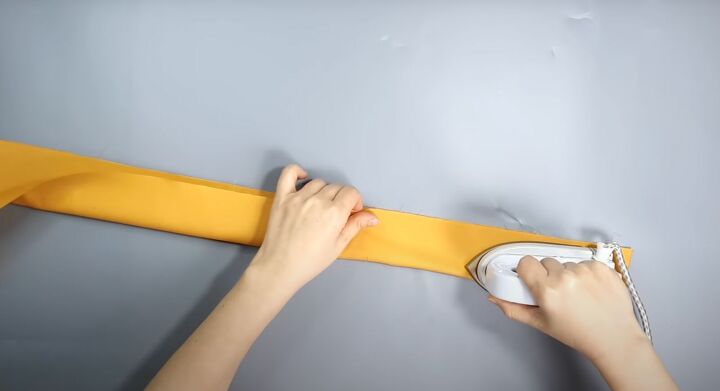
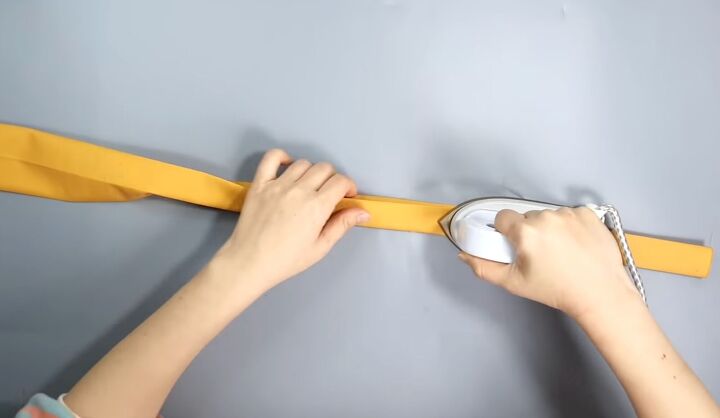
8. Make the strap
Take the long piece of fabric - 27.56 X 4.72 inches (or to simplify make it 28 X 5 inches) and fold it in half. Press to flatten.
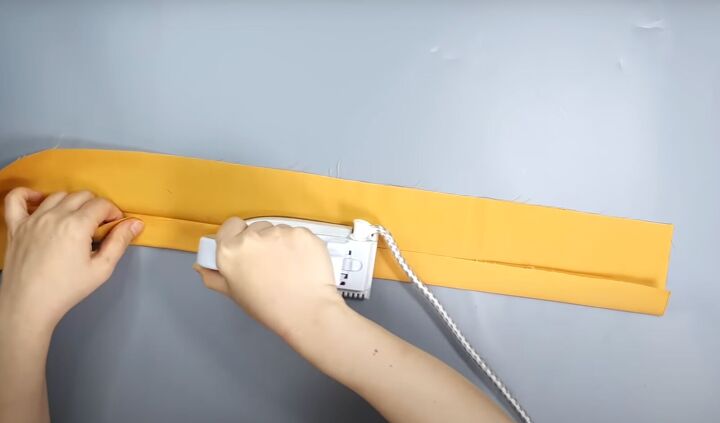
Open it back up and fold it in quarters. Press the first quarter down. Then, fold the other quarter back up to meet the other fold at the center. Press them down.
Then fold the final fold inward to make a narrow strap. Press.
Leave about 2 inches unsewn at either end of the strap. Topstitch on both sides of the strap with less than an ⅛ inch seam allowance.
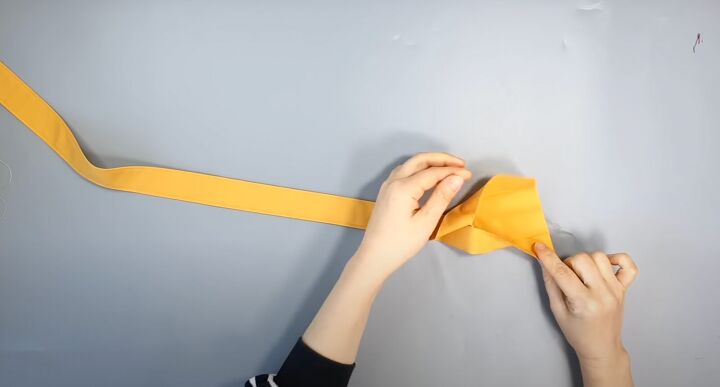
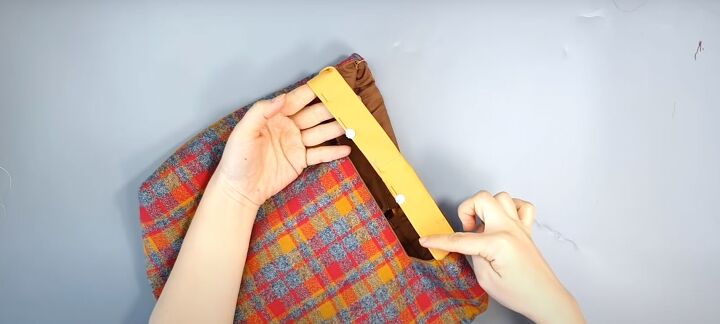
9. Insert the strap
Use a large safety pin or a loop turner to pull the strap through the casing.
When the ends meet, open up the unsewn ends.

Pin these in place and stitch with a ¼ inch seam allowance. Open up the seam allowance. Flatten.
Then, refold the strap. Topstitch at ⅛ of an inch.
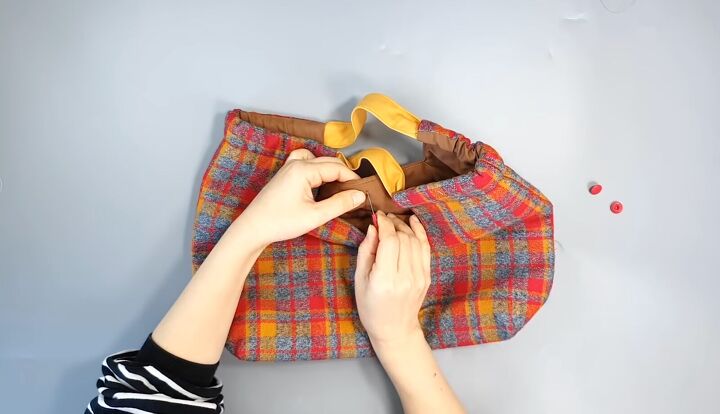
10. Attach the button snaps
Use a seam ripper to create a small hole near the top of the bag by the cutout.
Insert the snap on one side and connect the back portion to make it complete. Then mark the opposite side of the bag to line up the snaps.
Use the seam ripper to create the hole there as well. Insert the snap, following the same method.
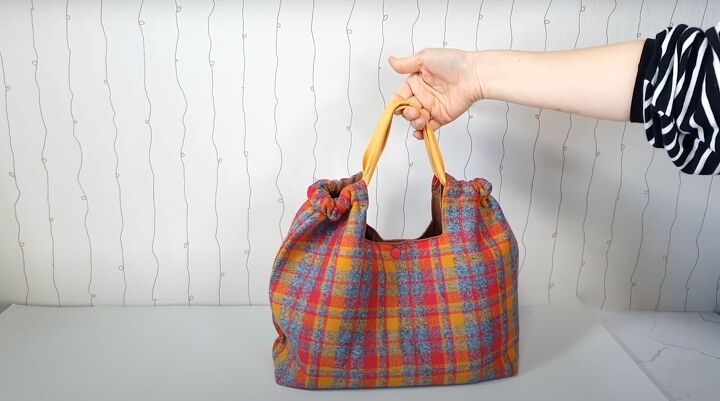
How to sew a purse for fall and winter
You are done! I hope that this tutorial on how to make a purse helps you make your own DIY purse today! Please let me know in the comments what you think of this tutorial and the final result.
The author may collect a small share of sales from the links on this page.


Comments
Join the conversation
I LOVE the plaid!
I agree with Shuganne. Beautiful work.