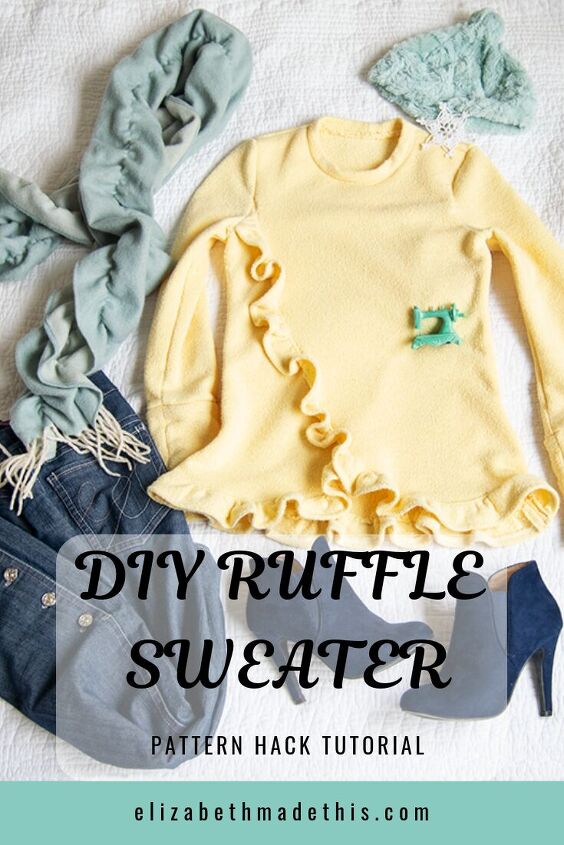
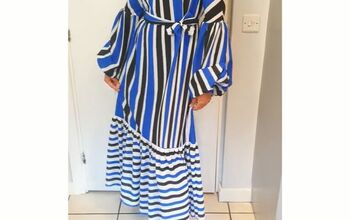
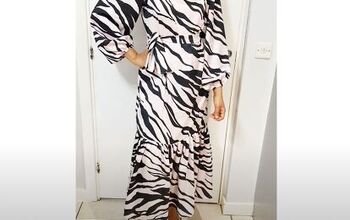
Sew Your Own DIY Ruffle Sweater
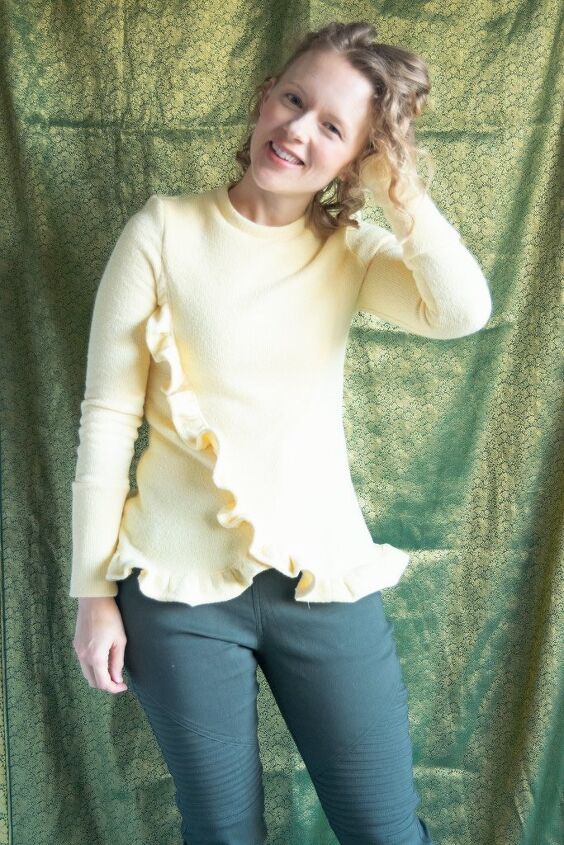
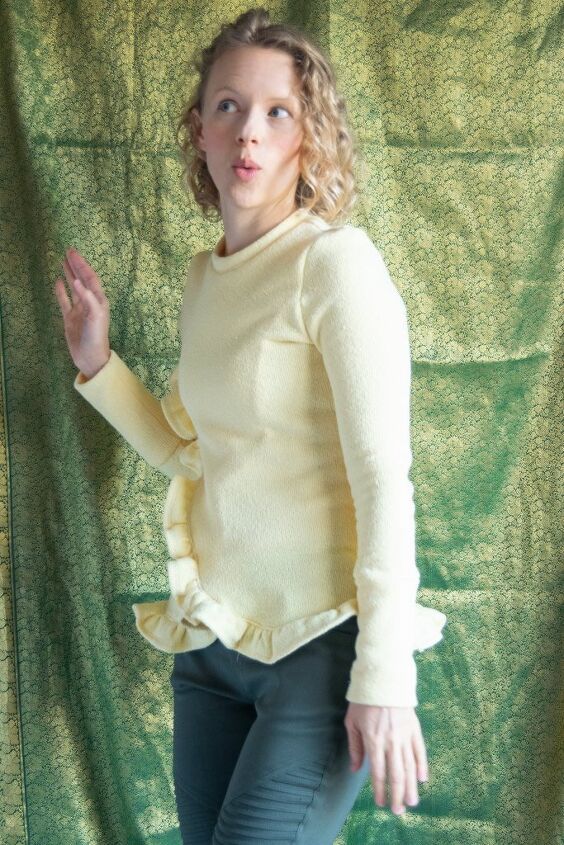
Winter is upon us and this is the time of year that I start loading up the layers in a vain attempt to keep myself warm. So today I’m going to show you how to make this DIY ruffle sweater. It’s an easy pattern hack meets girly style! Let’s get hacking!
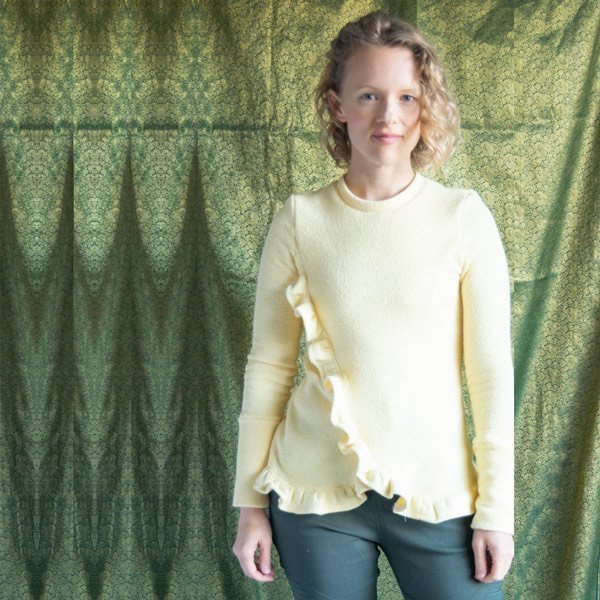
Table of Contents
DIY ruffle sweater
For this ruffle sweater pattern hack, you’ll need a t-shirt pattern that you love. There’s umpteen million choices here, but I’m using Burdastyle 2-2011-106. It’s a great little basic round neck tee that I’ve used before for this Hummingbird tee.
If you don’t have a favorite tee-shirt, here’s some other choices:
- Jalie 2805
- McCalls 6964
- Classic Tee–It’s Always Autumn (free!)
- Doe and Deer Plantain (free!)
- Sewaholic Renfrew
- Union St Tee by Hey June Handmade
Fabric choice
You’ll want to choose some cozy fabric for your ruffle sweater! I’m using a sweatshirt fleece, but a sweater knit, french terry, or wool jersey are all great options too.
If you’re using a t-shirt pattern designed for more stretchy knits like rayon jersey, cut a size larger than you would normally. Sweatshirt knits typically don’t have as much stretch and definitely not the recovery of stretchier knits. If you’re going Team Lazy here, you could also get away with just adding a little extra seam allowance at the sides.
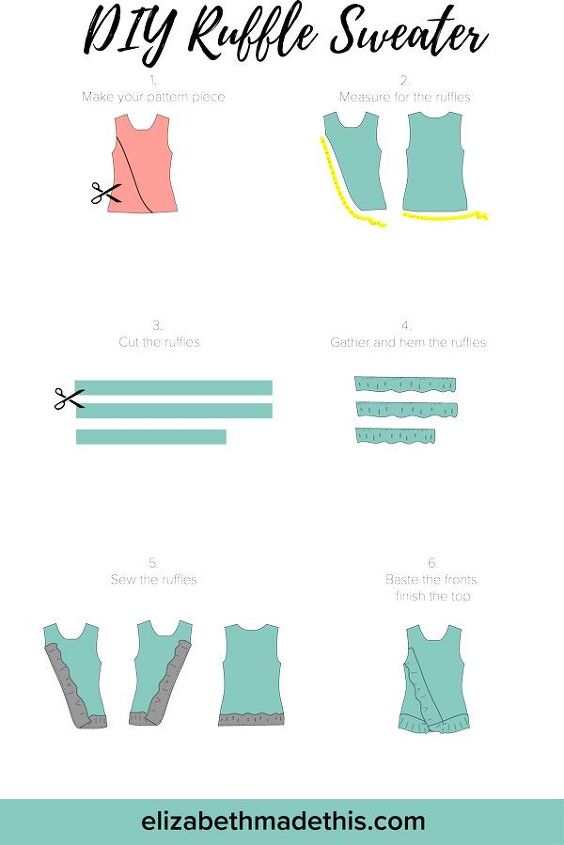
1. Make the Crossover front piece
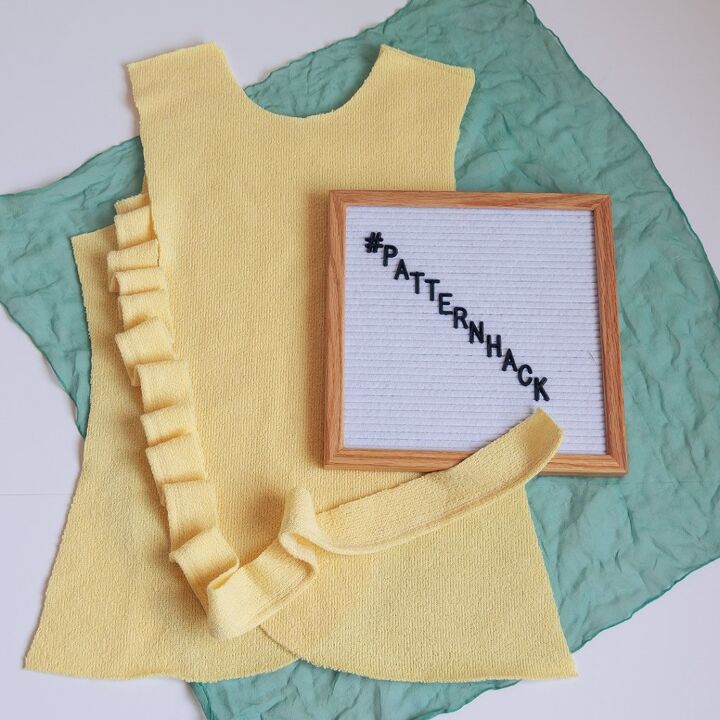
To start, trace off a copy of your front pattern piece. For this project it needs to be a full piece. You can trace a full piece or go the lazy route by using your traced half as the altered part and just overlap your original piece at center front when you cut. When I’m pattern hacking, I’m all about Team Lazy!
Next, draw a curve from the middle armhole down towards the hem. It should crossover center front 1-2″ from the bottom of the hem. For this style, you want to reduce the hem allowance to 3/8″ since we’re going to add the ruffle.
To finish the front piece, add a seam allowance beyond your line that you drew and cut away the excess. You’ll need to cut 2 of these.
2. Measure for the ruffles
Next let’s make the ruffles. Take a measuring tape and measure on your pattern piece along the curve you drew. Multiply this X2 to get the length of your ruffle. Cut 2 ruffle pieces the length you need X 2.5″ wide.
Do the same thing for the back piece. Measure along the hem line, multiply X4 to get the length of the back ruffle (X2 if you’re using a full pattern piece). Cut 1 ruffle that length X2.5″.
3. Cut the ruffles
Cut 2 front ruffles and 1 back ruffle
4. Gather and hem the ruffles
Hem the ruffles by pressing up 5/8″ to the wrong side on the long edges. Topstitch the hem down with a double needle, zigzag stitch or a coverstitch.
Gather the top long edge of the ruffle by first sewing 2 rows of long stitches close to the top edge. From the wrong side, pull on the bobbin threads to gather the fabric. Repeat for the ruffles.
5. Sew on the ruffles
With wrong sides together, pin the gathered edge of the ruffle to the cut edge of a front piece. Adjust the ruffle to fit, then sew the ruffle to the edge with a 3/8″ seam allowance. Repeat for the second ruffle and the back piece.
Stack the front pieces with the right front on top of the left and baste the armholes and neckline together. Trim away any ruffle from the armhole area so that the ruffle is flush with the armhole.
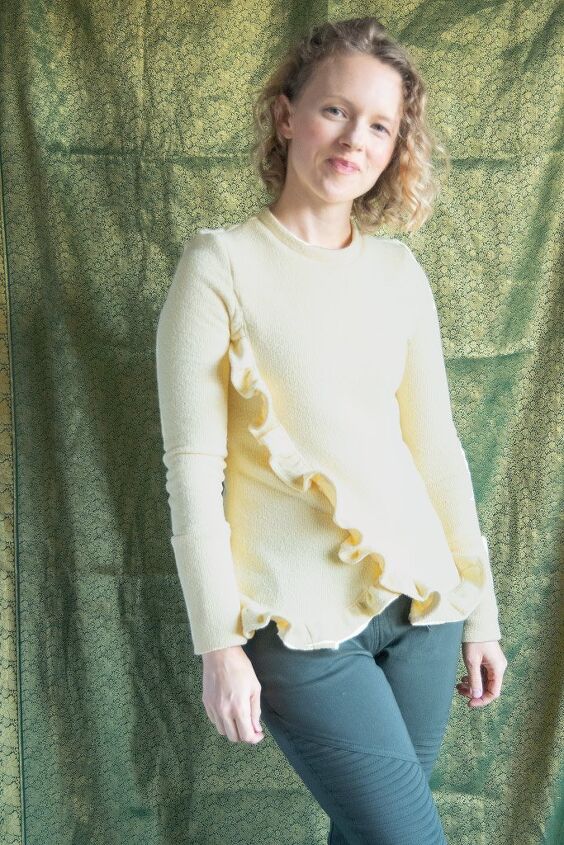
*A note on the left front ruffle*
If you’re using a closer fitting t-shirt pattern as I am and your fabric is a little bulky (mine is!), you might want to have the left front ruffle end just past the point that it crosses over CF. You’ll still get a ruffle hem, but it won’t add extra bulk underneath the right front. But check your pattern. A looser fit tee might be just fine with that second ruffle.
6. Finishing up
After that, sew your shoulder seams, side seams, neck binding and sleeves as you would for any other t-shirt.
Styling your DIY ruffle sweater
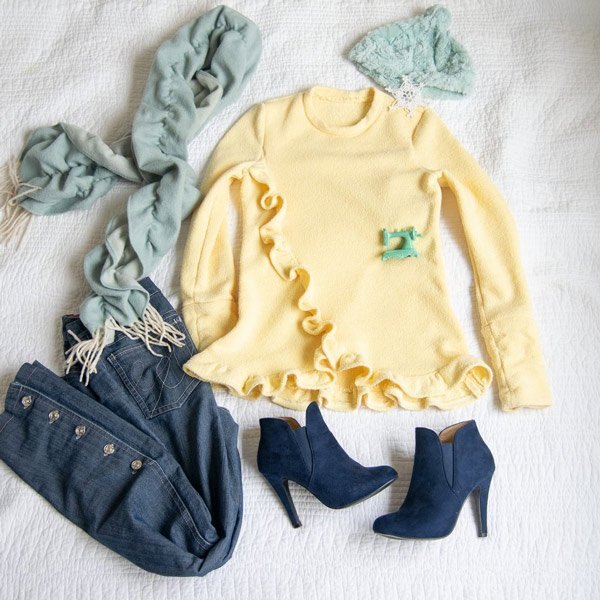
How do you wear something like this? I’m wearing mine with slim motorcycle leggings and boots. Other options would be to pair it with a nice cozy scarf and a pencil skirt or even over a knit dress. Leggings + a longer tunic under the ruffle sweater might be cool too. Or jeans! Always the jeans!
Winter dressing is all about layering! Have a look around your closet and don’t be afraid to experiment. For other styling posts, check out how I styled Sew Over It’s Lulu dress and 5 steps to sewing a flexible wardrobe.
Make a DIY ruffle sweater yourself!
If you make this ruffle sweater yourself, I’d love to hear about it! Feel free to let me know about it on Instagram or you can email me elizabethmadethis@gmail.com!
Elizabeth Farr is the writer behind the Elizabeth Made This blog where she shares helpful sewing tips, step by step sewing tutorials and videos to help you explore your creativity through sewing. She has written sewing Eguides and patterns, been a featured teacher at Rebecca Page’s Sewing Summit and Jennifer Maker’s Holiday Maker Fest and her work has appeared in Seamwork and Altered Couture magazines. She also created a line of refashioned garments for SEWN Denver. When her sewing machine isn’t humming, she’s playing and teaching violin, and hanging around a good strategic board game with her husband and 4 kids.
The author may collect a small share of sales from the links on this page.


Comments
Join the conversation