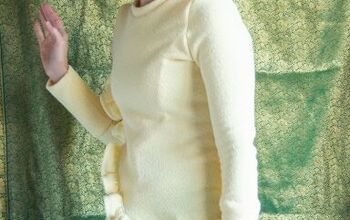
Sew Your Own DIY Peasant Top

I needed a light, breezy top for the sweltering summers here in Tennessee, so I decided to make my own! This top is so versatile, you can make it in almost any fabric, and it only needs two pattern pieces! No finicky sleeves to trip you up and I’ll take you through the basics of pattern making, so this project is great for a beginner. I’ve made this top in so many different fabrics over the years, but today I’ll be working with a linen-cotton blend to keep me extra cool in the summer, but you can work with whatever fabric you like. Check out my step-by-step tutorial below to get started!
Tools and Materials:
- Fabric
- Tape measure
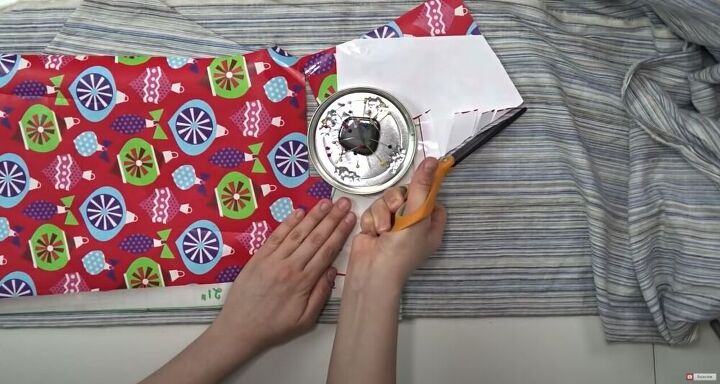
- Pattern paper (I use the backside of wrapping paper that has a 1” grid on it)
- Ruler
- Marker
- Printer paper
- Tape
- Scissors
- Sewing machine
- Pins
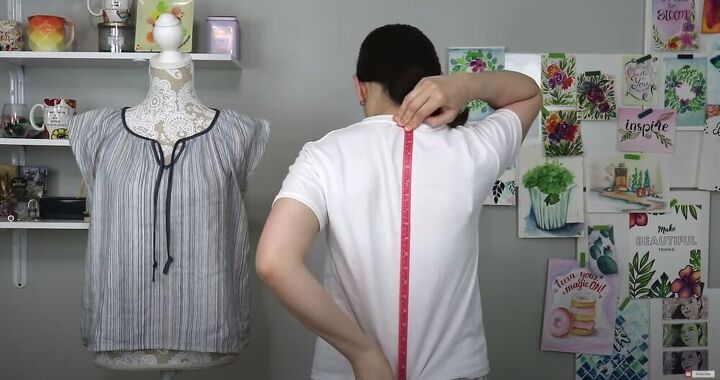
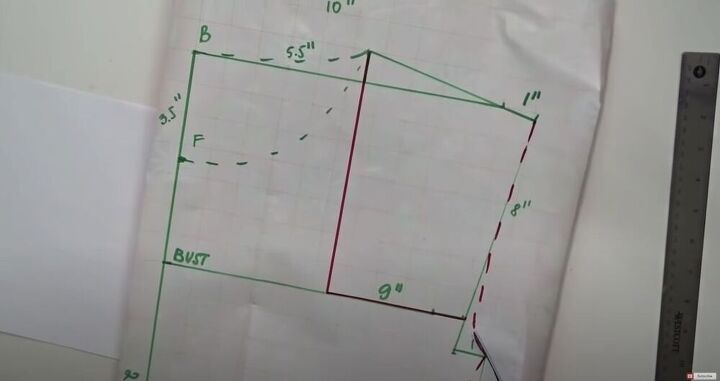
I started by measuring my back. This will be the length of the top. I placed my measuring tape in the center of my back, starting right at my neckline, and measured to my tailbone.
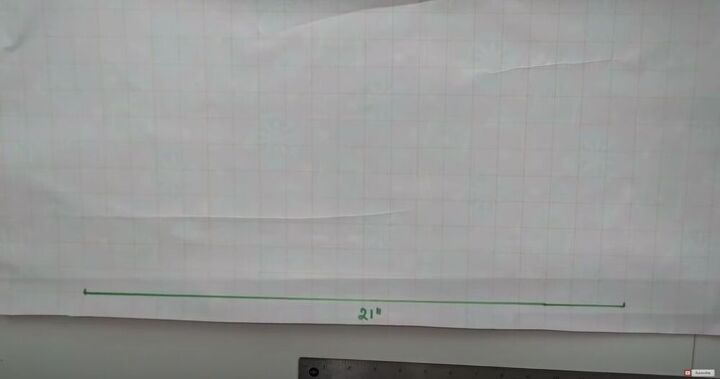
When tracing this line onto your pattern paper, make sure to leave an extra inch from the edge of the paper.
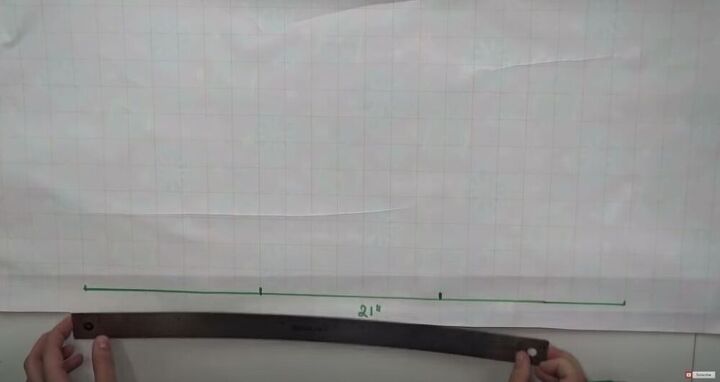
Next, I divided this into three equal parts, for my bustline, waistline, and hips.
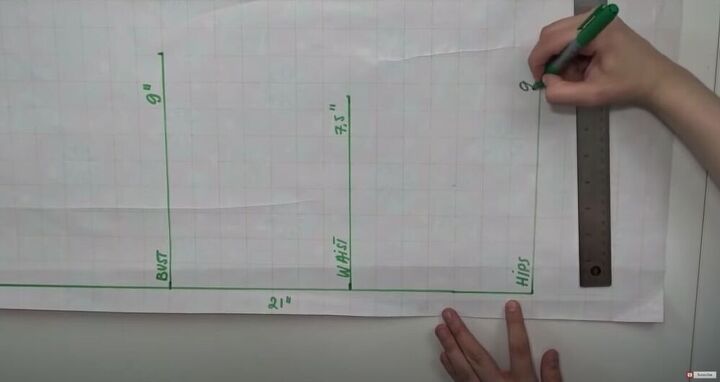
Then I measured each of those parts of my body and divided them into fourths. Then I sketched them out on my pattern. For my bust this was 9”, 7 ½” for my waistline, and 9” for my hips.
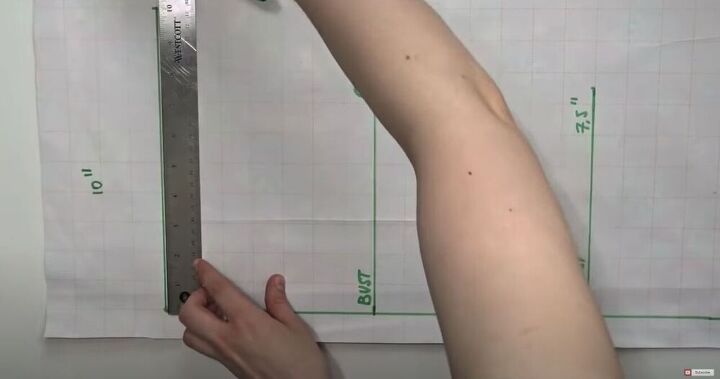
For the shoulders, I add one inch to the measurement for my bustline.
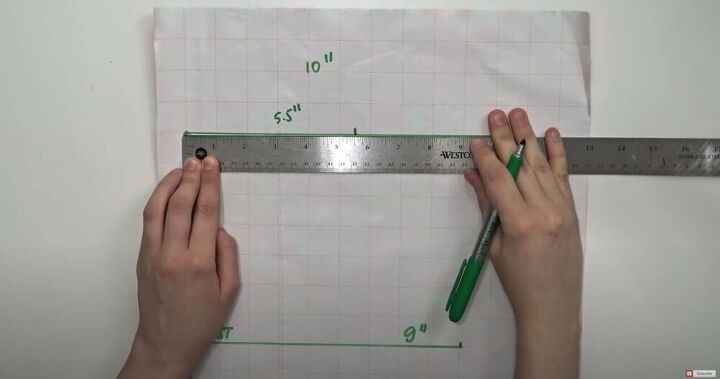
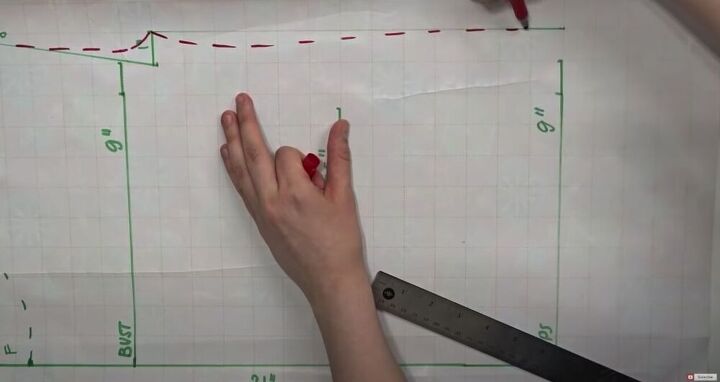
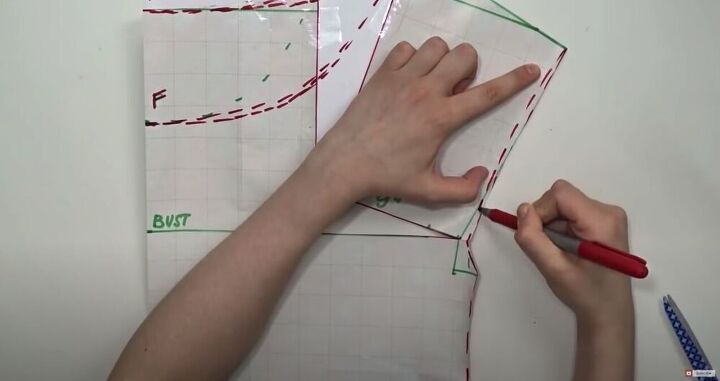
I wanted a relatively open neckline, so I measured 5.5” to the right of the edge of the pattern.
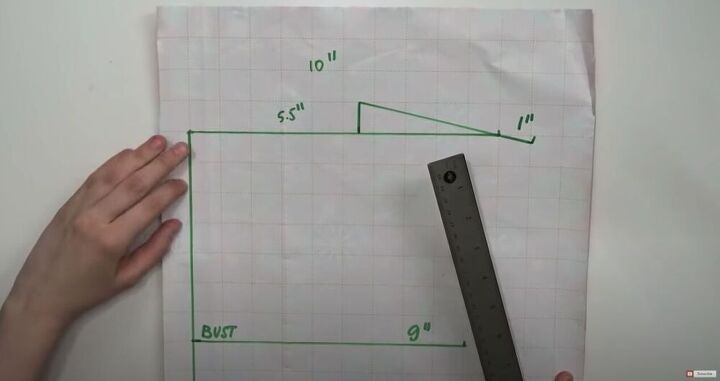
For the sleeve, I moved one inch up from that point and connected it to the edge of the pattern. I extended it by one inch because I wanted a bit of a longer sleeve.
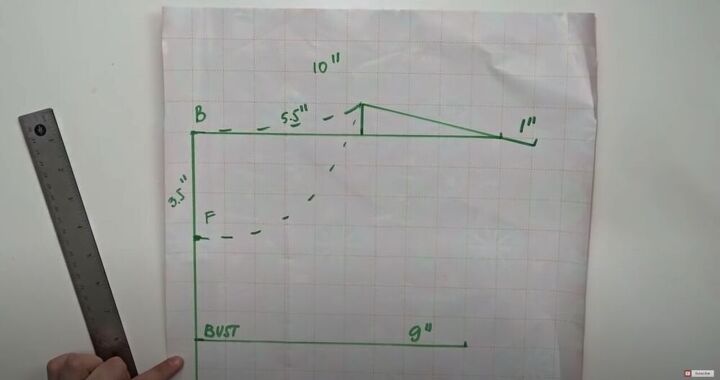
I also needed to mark the depth of my neckline. I wanted mine to be 3 ½”, but of course you can adjust yours to your liking. Then I used a curved dashed line to mark the back and front necklines.
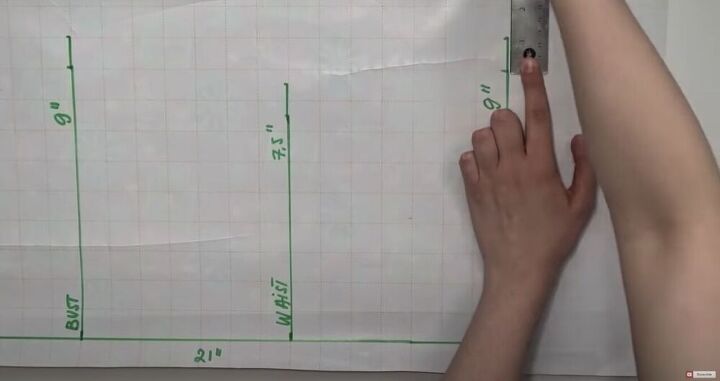
I also added an inch of ease at the bustline, waistline, and hipline of the pattern.
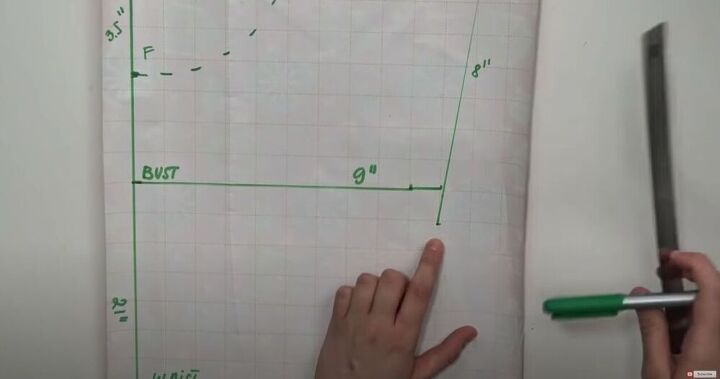
To determine the width of the sleeve, I measured the thickest part of my upper arm and divided it in half. I added two inches for ease, and then one more because I was it to be light and flowy.
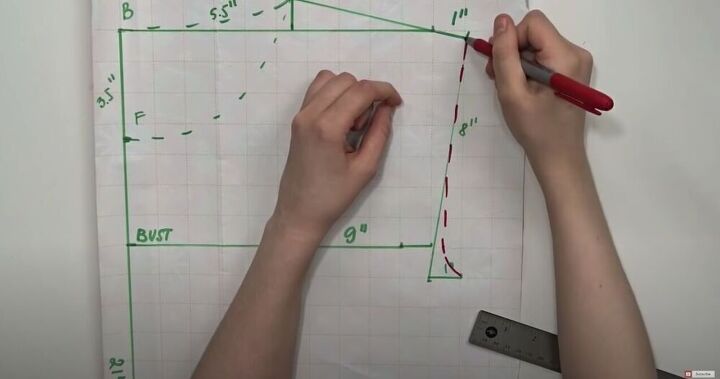
I also pushed it out an inch to make it more defined as a sleeve.
Then I added a curved line from the bottom of the sleeve to the hipline.
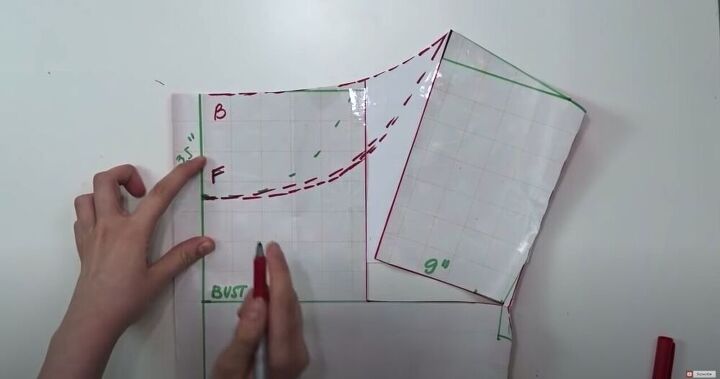
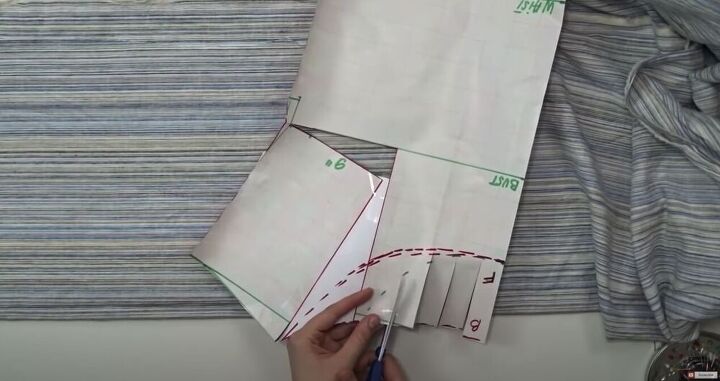
I needed to make one more adjustment to the pattern to get the gathered peasant top look at the neckline. I started by drawing a straight line from the neckline to the bustline at a 90 degree angle. Then I drew a line almost to the edge of the sleeve.
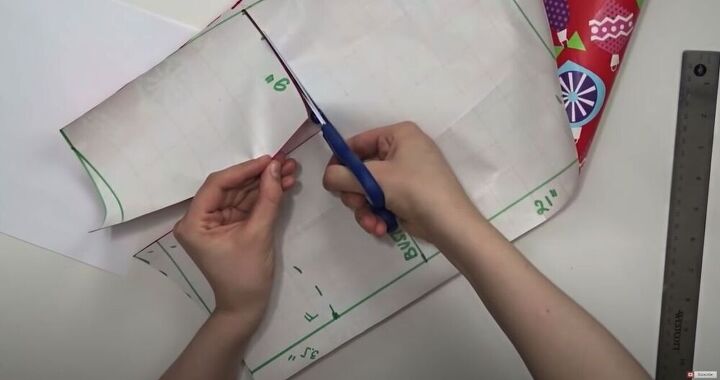
I cut out the top part of the pattern along with the two red lines I had just drawn. This will allow me to manipulate the neckline.
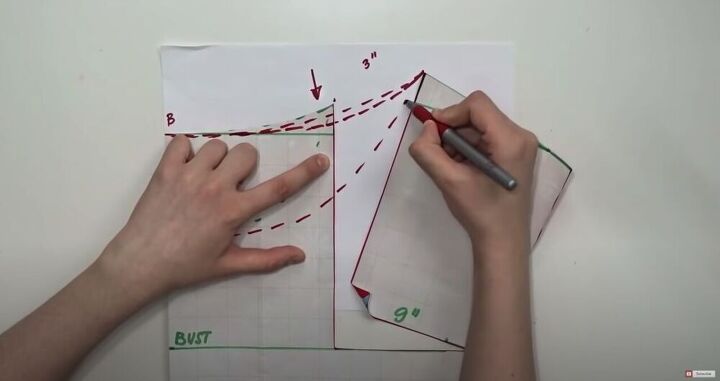
I lay it over a sheet of printer paper and adjusted the neckline by three inches. I secured the pattern to the paper with tape. Then I drew new front and back necklines.
I also decided to curve the sleeve in a bit.
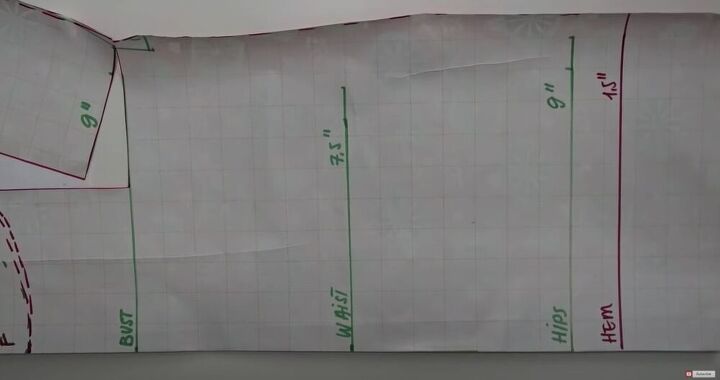
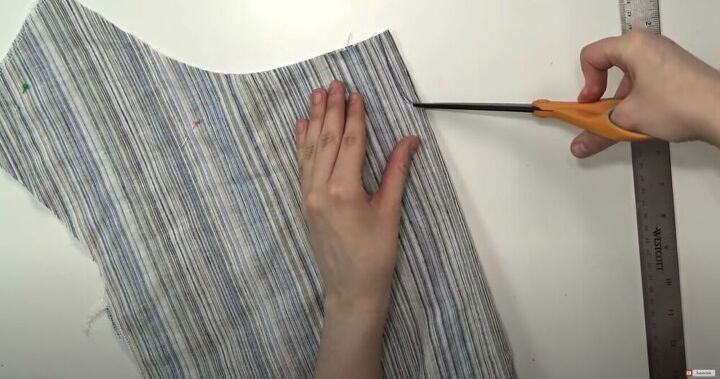
And after the hipline I added the hemline, extending the pattern about an inch and a half. Then I cut my pattern out. Please note that I haven’t accounted for seam allowances in my pattern, as I like to add those as I cut the fabric.
Remember how I started my pattern one inch away from the edge of the paper? Don’t cut this part off! I’ll be using this extra inch on the front of the top only, to add a bit more gathering, but when tracing the pattern for the back of the top I’ll fold it over.
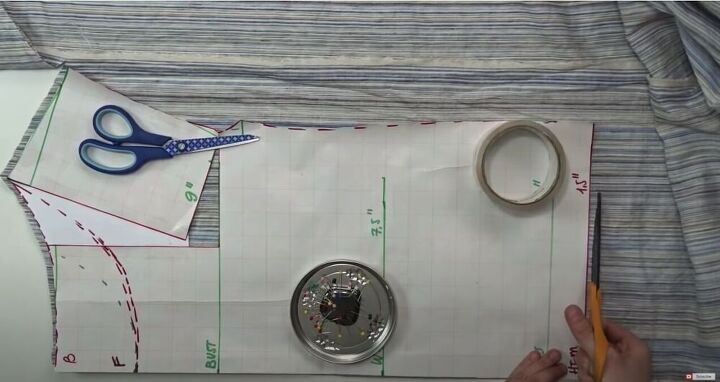
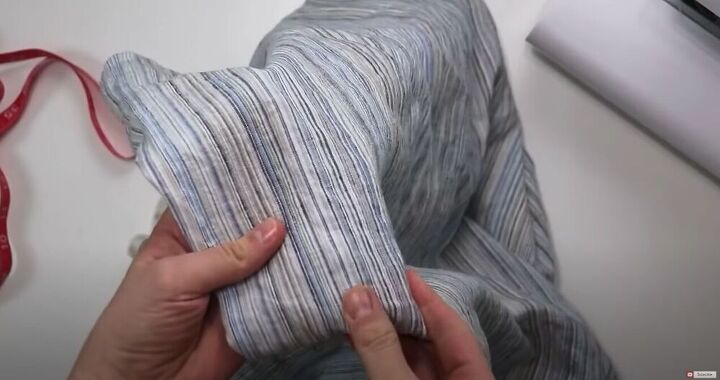
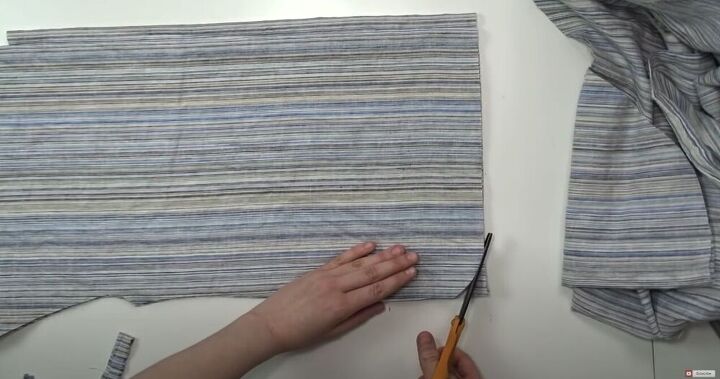
I lay the fabric on a fold and cut out the back pattern piece. As you can see, I also adding seam allowances while cutting the fabric.
Because I’m using the same pattern piece for the front and the back, and I want to reuse this pattern in the future, instead of cutting off the bit that was only for the back of the pattern, I cut down in strips and folded them over.
I weighted the pattern down, lining it up along the fold, and cut out the front piece of the top.
At the last minute, I decided to curve the bottom hem.
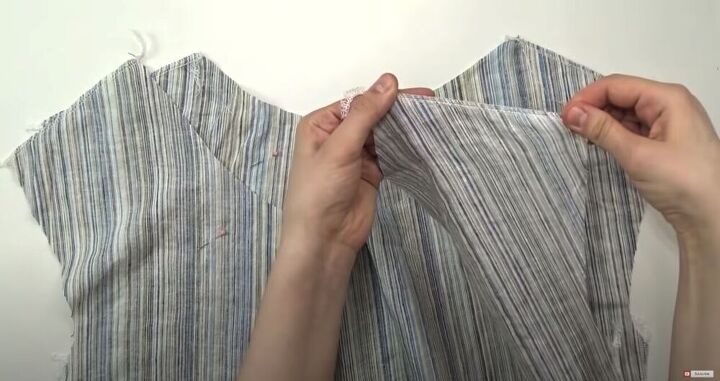
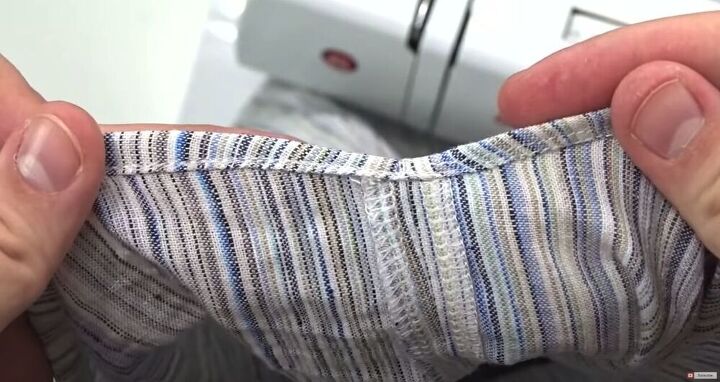
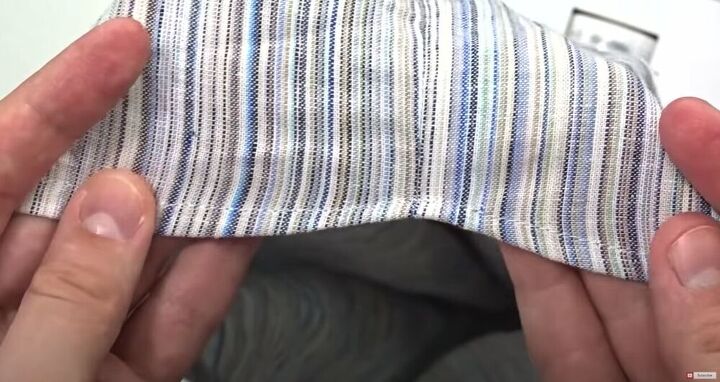
I serged the shoulder and side seams of the pattern pieces.
Tip:
If you don’t have a serger you can use a zig-zag stitch or any stitch that can protect the raw edges of the fabric.
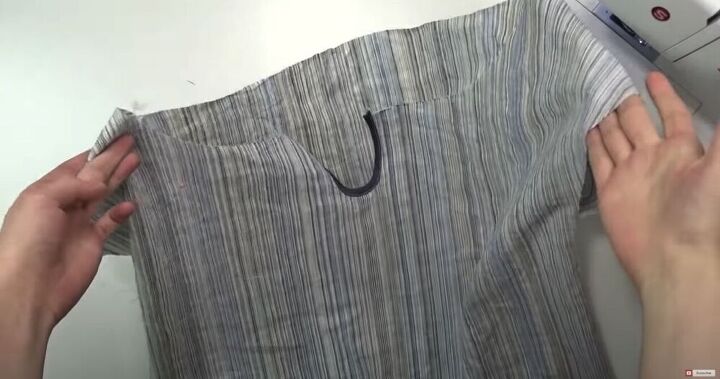
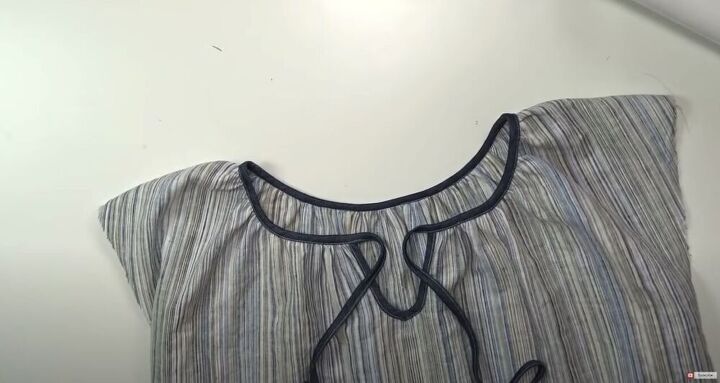
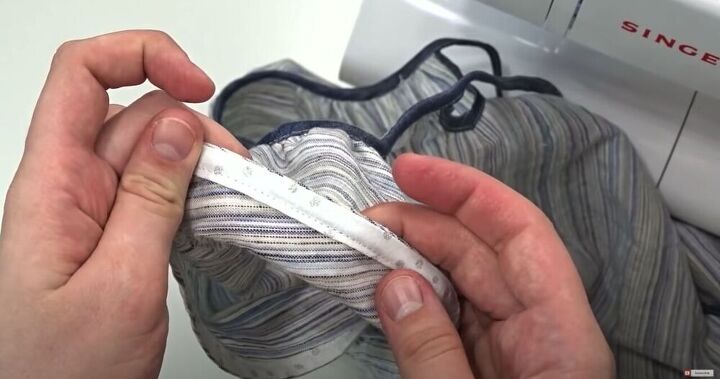
I folded the front piece of the shirt in half, with the right sides facing each other, and drew an oval along the center edge. Then I cut the oval out. This will create a teardrop shape when opened.
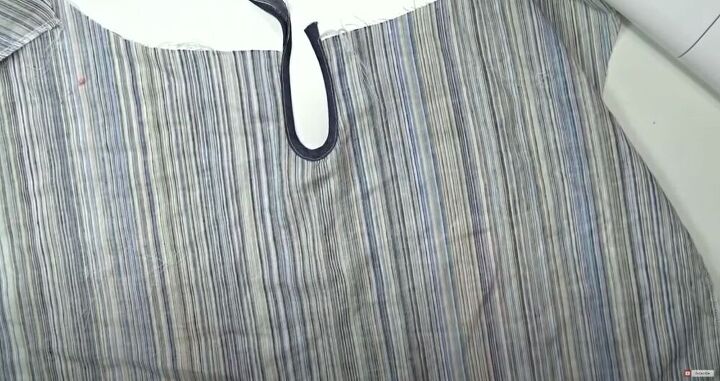
I used homemade chambray bias tape to finish the teardrop closure.
I pinned the front and back pieces with the right sides facing each other. Then I sewed them together.
I added two rows of gathering stitches along the neckline.
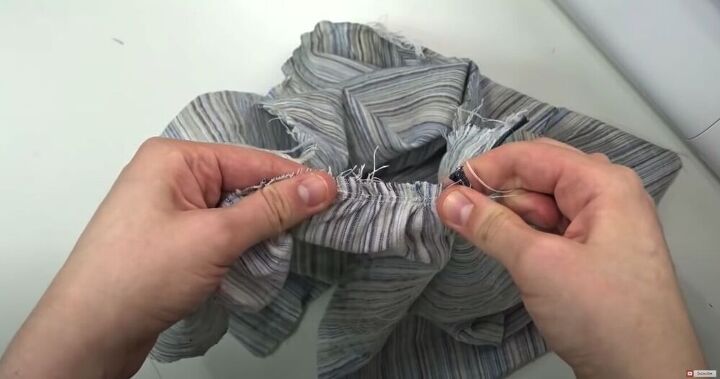
Then I pulled the threads to gather the material. This technique allows you to determine just how gathered you want the neckline to be.
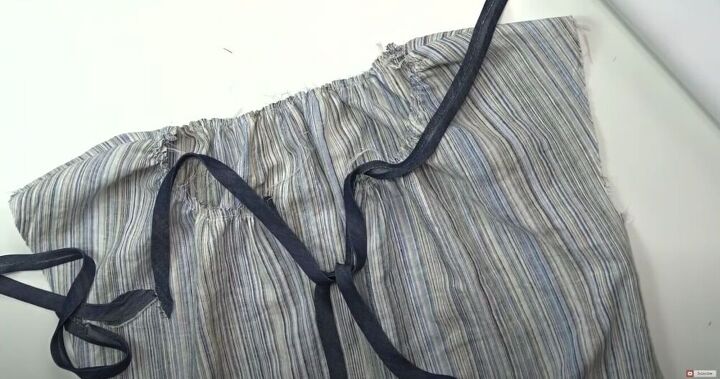
Next, I finished the neckline with more of my homemade chambray bias tape, making sure to leave enough extra in the front for a tie.
For the hem at the bottom of the shirt, I folded it over once and put a stitch right at the edge of the fold.
I trimmed the excess fabric, folded it over again, and added another stitch.
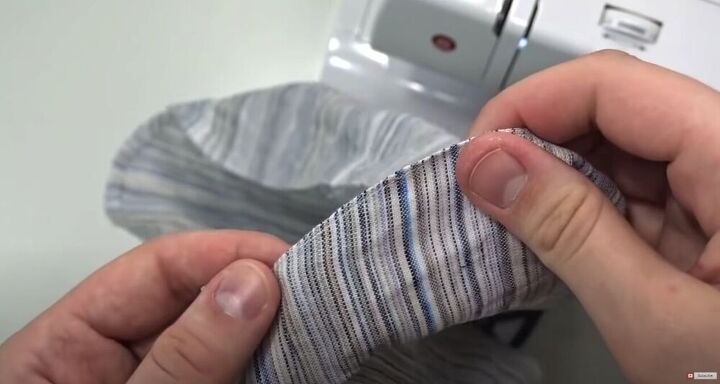
I used another bit of homemade bias tape that I had on hand. I stitched it to the edge of the sleeve with the right sides together. Then I folded it in and stitched it again. This allowed me to create a more finished edge on the sleeve but hit the bias tape that I used.

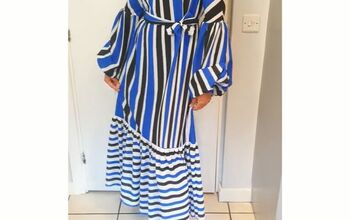
And there you have it! A super cute top that you can make in almost any fabric or color to fill up your closet! How would you customize your own DIY peasant top? Let me know in the comments below!
The author may collect a small share of sales from the links on this page.


Comments
Join the conversation