Cool Cropped Hoodie Thrift Flip

I recently thrifted a hoodie on an app. It was a size large which meant it was oversized on me. I know some of us love the oversized style but I am a little over it so I decided to thrift flip the hoodie and totally change its style. I am so excited about this new cropped hoodie that I get to add to my wardrobe!
Tools and materials:
- Pattern
- Scissors
- Measuring tape
- Seam ripper
- Rotary cutter
- Ruler
- Pins
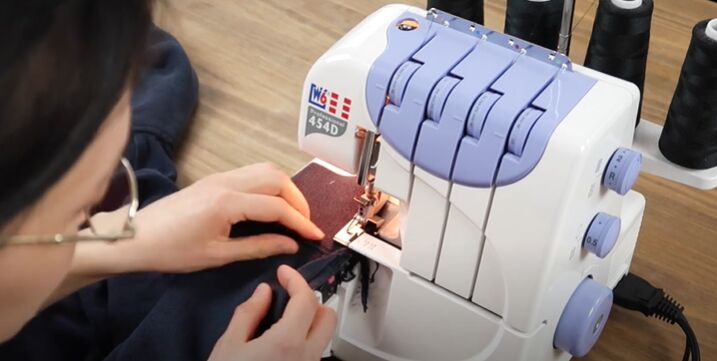
- Sewing machine
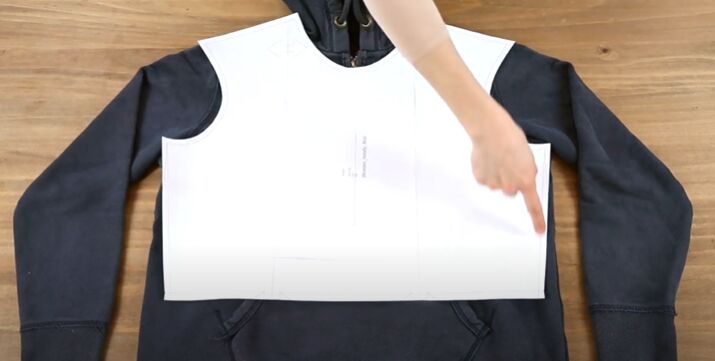
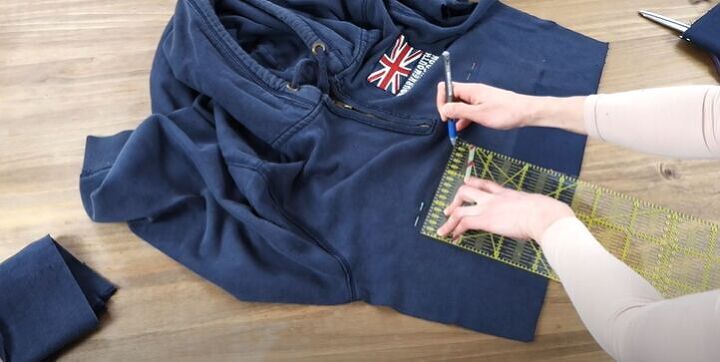
Use a pattern
To kick off this thrift flip, I placed the pattern I used over my hoodie. Although the sizes look similar, the hoodie was a size large and the pattern was for an extra small. I would be cutting the bottom, the sides, and a bit of the sleeve.
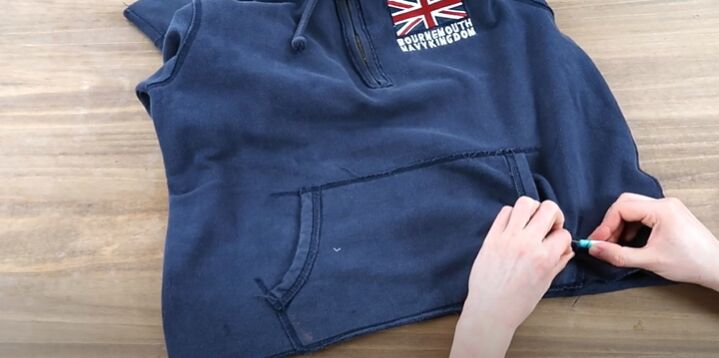
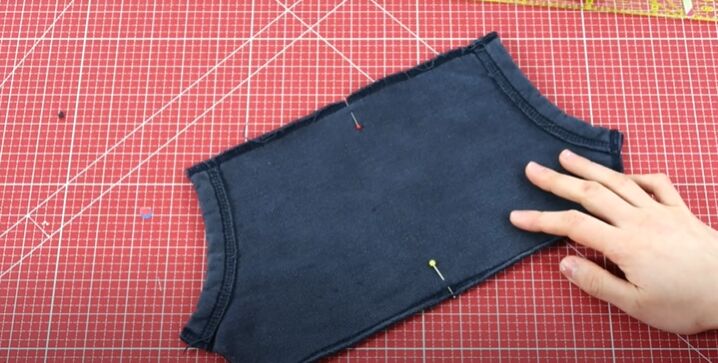
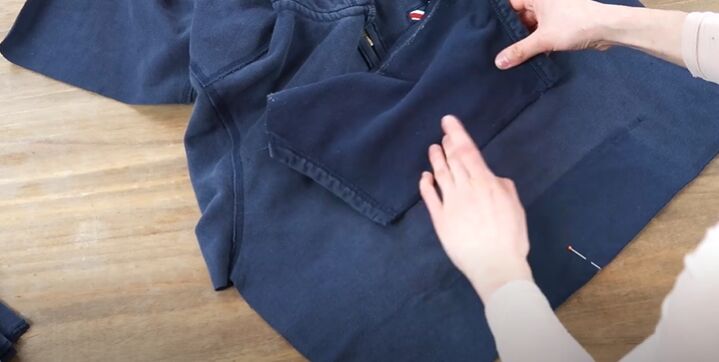
Remove the pocket
Using a seam ripper, I removed the ribbing from the bottom of the hoodie and removed the pocket.
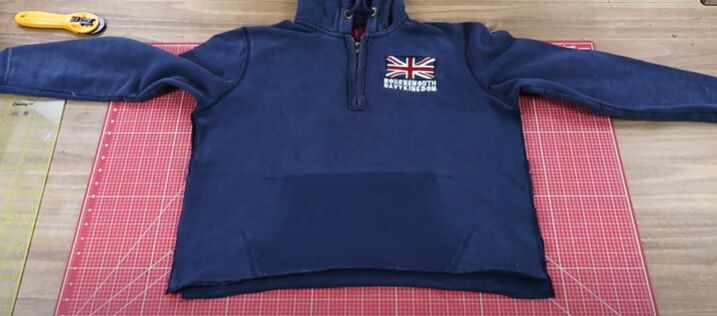
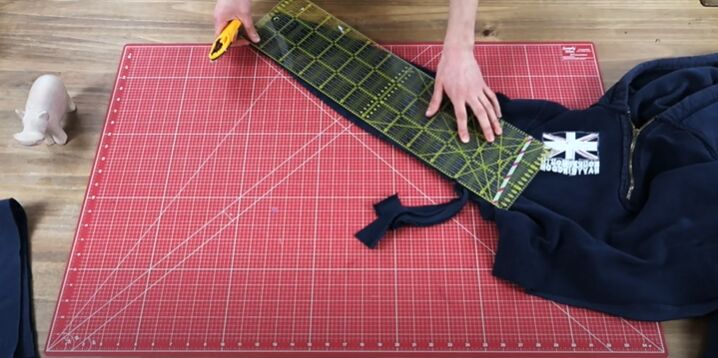
Cut the hoodie
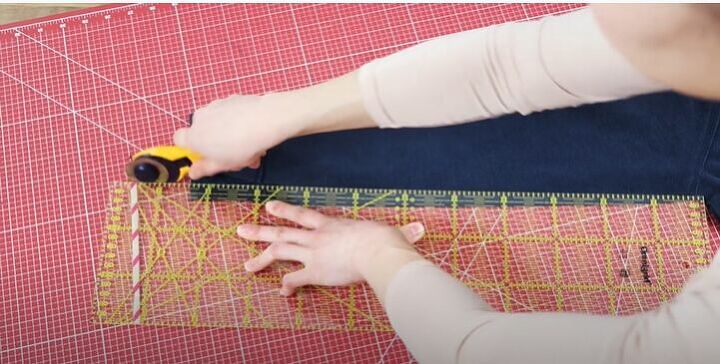
Next, it was time to open up the sides of the hoodie. I could choose between the sophisticated work of a rotary cutter or a seam ripper, and I, of course, chose to waste my time working with a seam ripper.
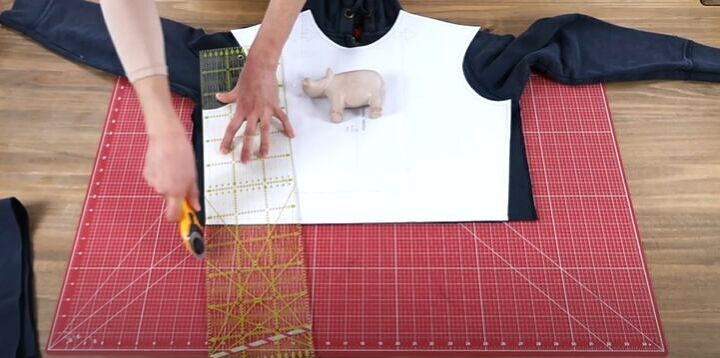
I laid the pattern piece over the hoodie and started cutting using the rotary cutter and ruler to get the best possible results.
I also cut the sleeve a little to get a better fit.
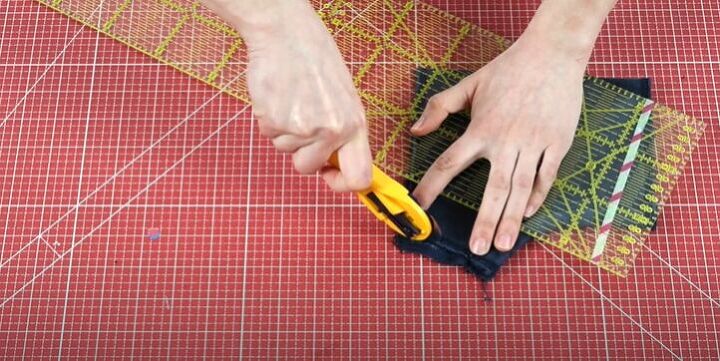
I noticed that the front pocket was a little asymmetrical. Being the perfectionist that I am, I cut to make sure it was straight.
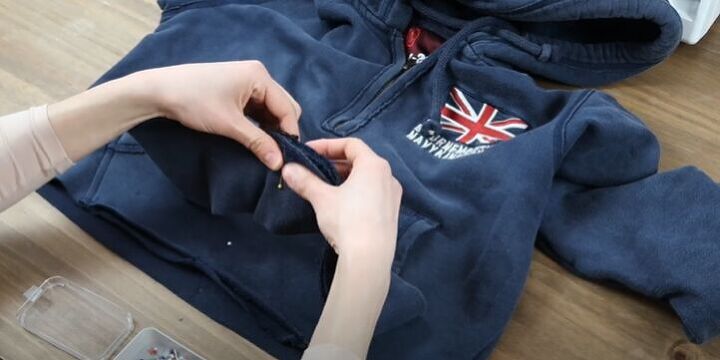
Reattach the pocket
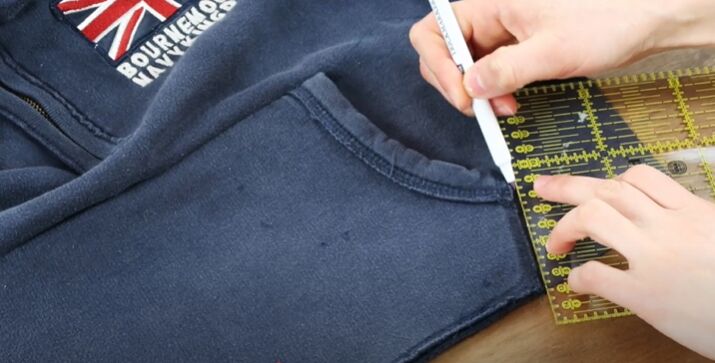
I then pinned the center of the pocket.
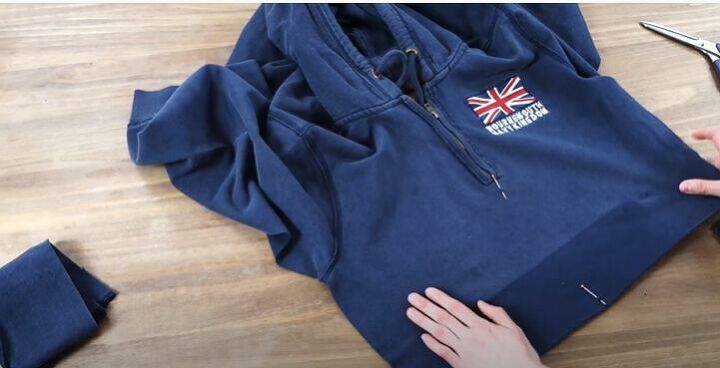
I pinned the center of the hoodie as well.
Next, I grabbed a ruler and marked the height of the pocket minus the seam allowance.
I placed the pocket along that line, making sure the centers matched up and then I sewed the top of the pocket on.
Next, it was time to sew down the sides. I used a vanishing ink pen and marked the sides of the pocket. I then marked a second line to help me sew on the pocket. If you want to see exactly how I did this step, go to 3:15 in the video tutorial. I then topstitched the sides and top of the pocket.
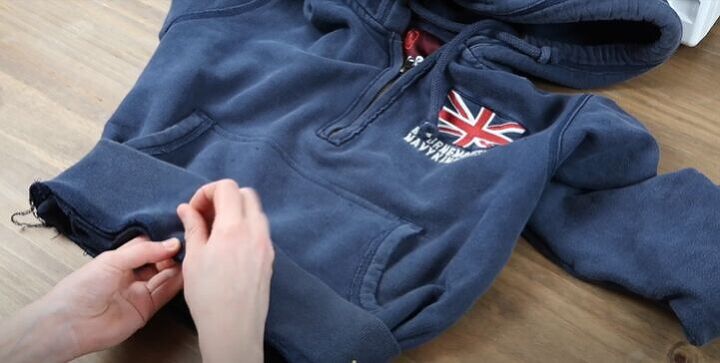
Adjust the sleeve cuffs
I decided that the sleeve cuffs could be a little smaller, so I cut with my rotary cutter.
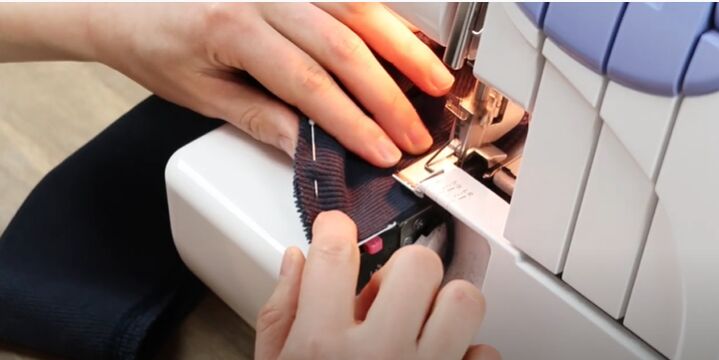
I then sewed from the cuffs, down to the waist.
Reattach the ribbing
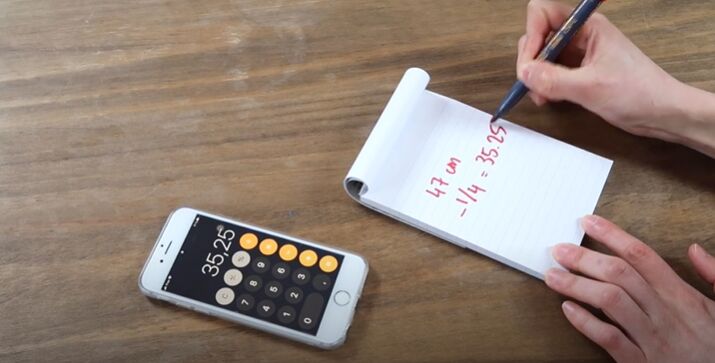
Next, I had to reattach ribbing to the bottom of the hoodie, Before I could do that, I had to do a little bit of quick math to determine how long my ribbing should be. I first went ahead and measured the waist of the hoodie which came to 47cm (18.5 inches). I wanted the ribbing to be a little smaller than the waist so I subtracted a 1/4 from 47cm. This gave me a 35.25cm (about 18 inches).
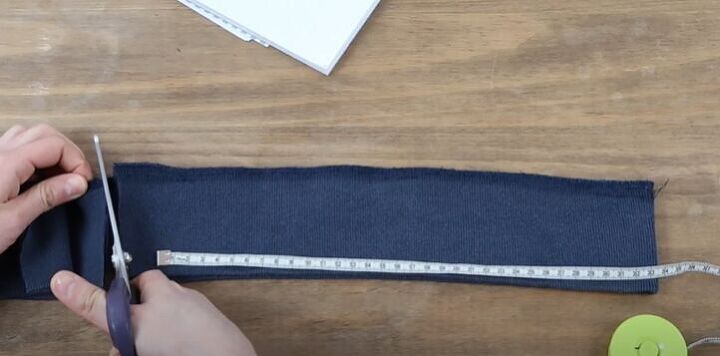
I added my seam allowance and just went ahead and cut that ribbing.
I put my pins in place and sewed the ribbing together.
To attach my ribbing perfectly, I marked the center of the hoodie and the center and sides of the ribbing as well.
I then placed the ribbing over the hoodie and pinned through both layers to hold the piece in place.
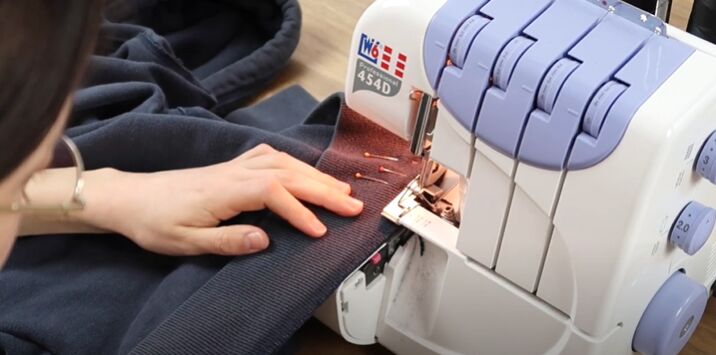
Finally, I could go ahead and sew all the layers together!

Isn’t it just perfect? Now, this is a hoodie I would wear! I would love to hear your thoughts on this thrift flip! Share in the comments below!

The author may collect a small share of sales from the links on this page.


Comments
Join the conversation
Great job with this change! It looks wonderful on you.
What a good idea ! Now I know what to do with some tops a friend gave me . They are a bit too big for me to wear as they are ! Thank you !