Easy DIY Halloween Sweatshirt

Hello and welcome!
Today, I’m going to demonstrate how to DIY a Halloween sweatshirt.
If you do not like dressing up for Halloween but still want to take part in the festivities, then this is the perfect project for you.
It is quick and easy to make, using very few materials. All you need is an old black sweater and bleach. The technique creates a really cool, spooky goth hoodie.
If you live in a warmer climate, you could definitely do this on a t-shirt or tank top.
Let’s get right into it.
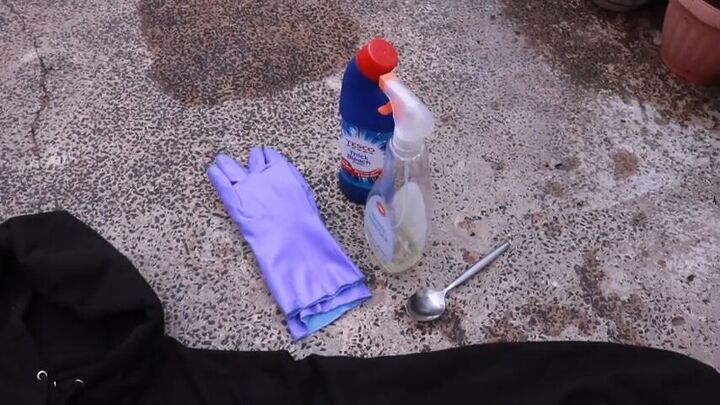
Tools and materials:
- 100% cotton hoodie
- Household bleach
- Empty spray bottle
- Spoon
- Rubber gloves
- Plastic folder/acetate
- Scissors
- Sharpie
1. Make bleach spray
To make a bleach solution, take an empty spray bottle, put about an inch of bleach in it, fill it up with water, and close the cap tightly again. Shake the bottle gently to mix the solution.
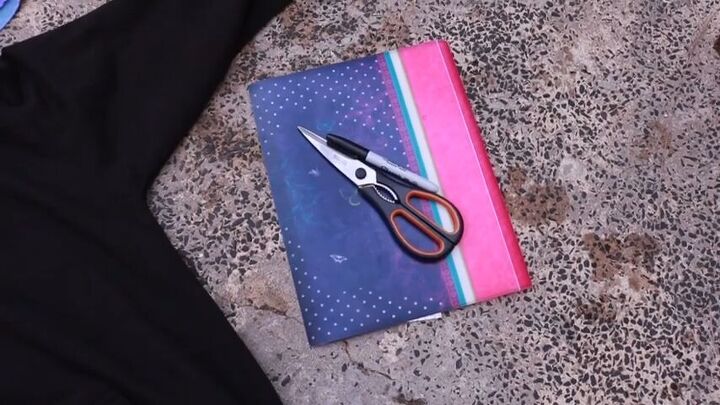
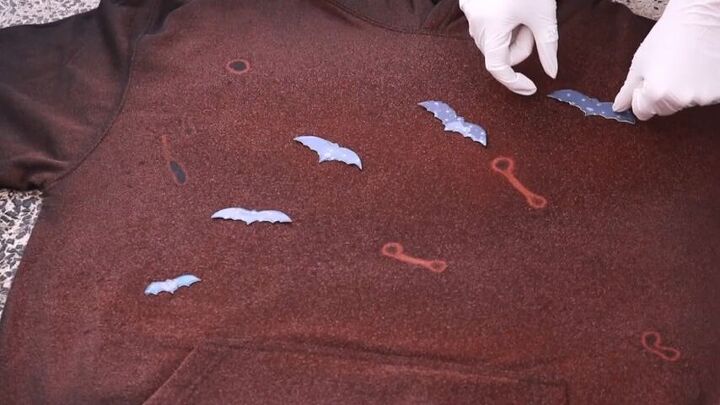
2. Create bat shapes
Gather your plastic folder, scissors, and sharpie
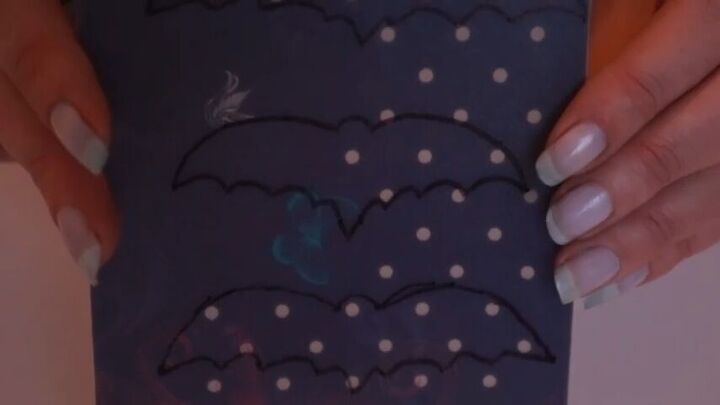
Use your sharpie to draw bat shapes on the plastic. I drew 5 bats.

3. Cut out your bat shapes
Carefully follow the lines and cut out your bat shape with scissors.
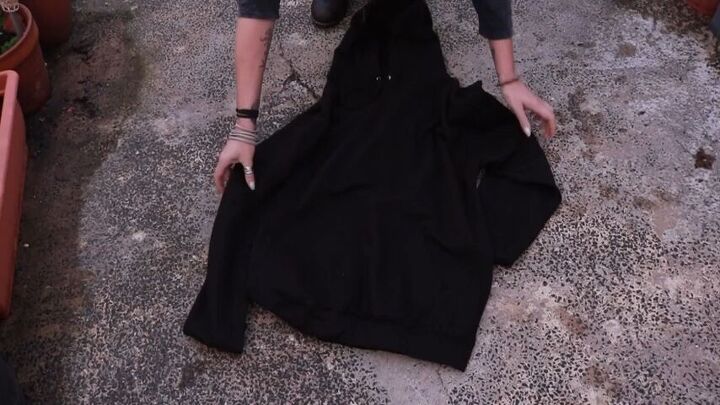
4. Lay your hoodie on the floor outside
Now it's time to use your bleach spray. You should go outside for this part of the project. I also recommend wearing rubber gloves and a mask because the bleach fumes are very strong; so better safe than sorry.
I spread my sweater out directly on the floor. If you do not want the bleach splatter to come in contact with the floor, cover the area with plastic.
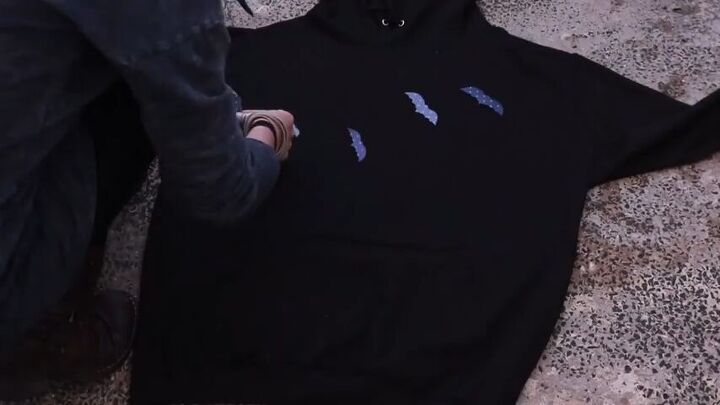
5. Arrange your bats on the sweatshirt
You can be as creative as you want here. I arranged mine as if they were flying up towards the sky.
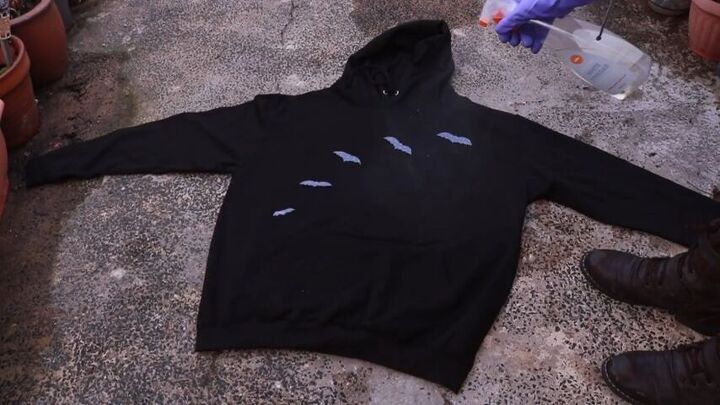
6. Spray hoodie with bleach mixture
Spray the front of the sweatshirt with the diluted bleach mixture.
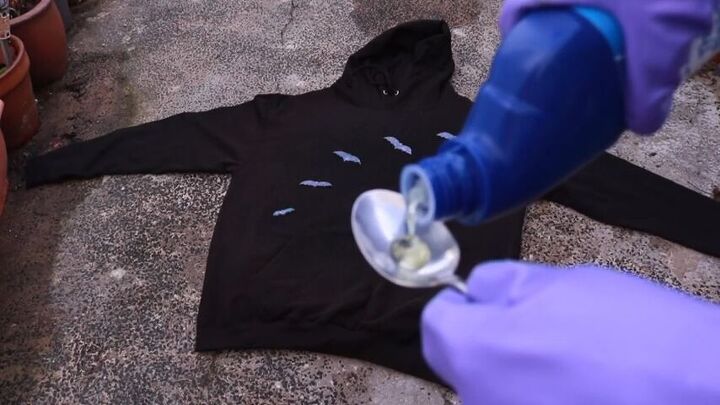
7. Freestyle other shapes with undiluted bleach
Pour undiluted bleach onto a spoon.
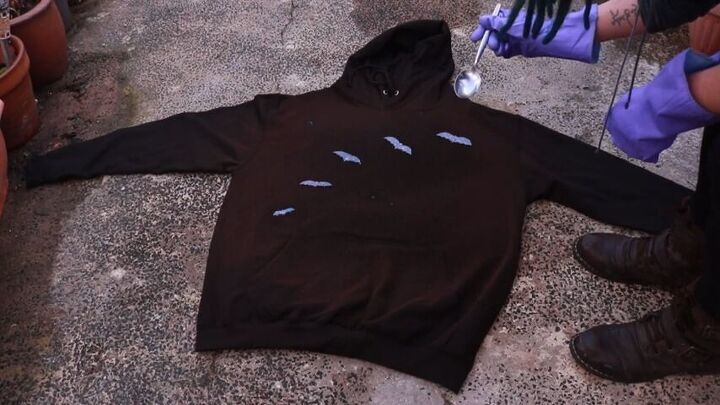
Now, shake your spoon over the hoodie so you get random splatters. This part is optional but I like the look it creates.
8. Remove the bats
Once your shirt is completely dry, carefully remove and discard your bat shapes. You can now wash and dry your hoodie.
It is important to wash the piece by itself as the bleach could stain other clothes. Once dry, it is ready to wear.
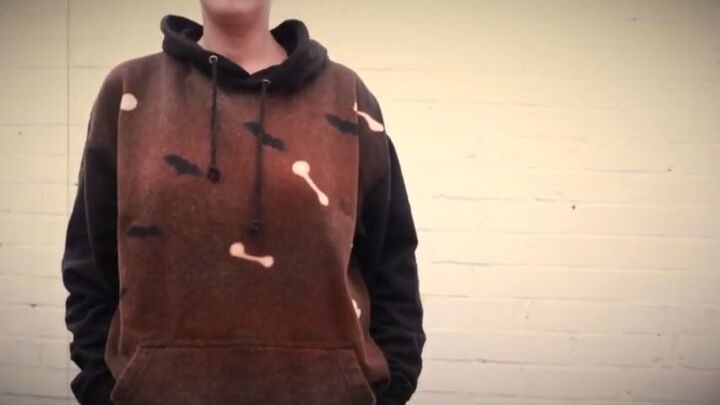
DIY Halloween sweatshirt
Here is the final DIY Halloween sweatshirt.
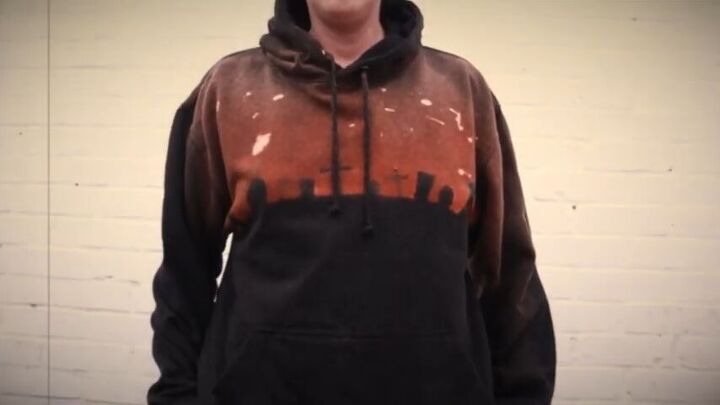
I loved the outcome so much I decided to make a second DIY Halloween sweater.
I did the exact same steps as above, but I cut out tombstones and crosses instead of the bats. I also focused on spraying the bleach on the top half of the sweater. I think this second shirt turned out perfectly, I love how the technique captured this eerie graveyard scene.
The world is your oyster with this DIY tutorial. Let your imagination get carried away.
Thanks so much for being with me today. I had so much fun with this project. I would love to hear if you have any cool DIY hoodie ideas for Halloween.
I hope you have a great spooky season.
Cheers till next time!
The author may collect a small share of sales from the links on this page.


Comments
Join the conversation