How to Make Your Own Zip-Up Hoodie From Scratch

Want to make your own zip-up hoodie? Great! I’ll be showing you how to make one! I’ll also be sharing with you my zip-up hoodie sewing pattern.
You can adjust the pattern to make your DIY hoodie bigger or smaller. So, get your materials together, and let’s get started!
Tools and materials:
- Zipper
- Fleece-lined jersey
- Ballpoint sewing needles
- Elastic
- Sewing machine
- Ruler
- Measuring tape
- Pins
- Chalk or marker
- Matching thread
- Zipper footer (optional)
1. Draft your pattern
For reference, I’m making a DIY hoodie that’s a size M for men. You can, of course, adjust the length and width as we go along.
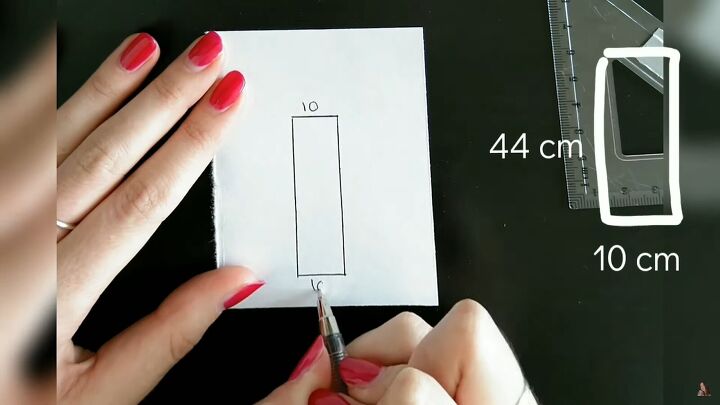
First, make a large rectangle that measures 10cm x 44cm (3.93x 17.32 inches). This will be for the middle part of the hoodie.
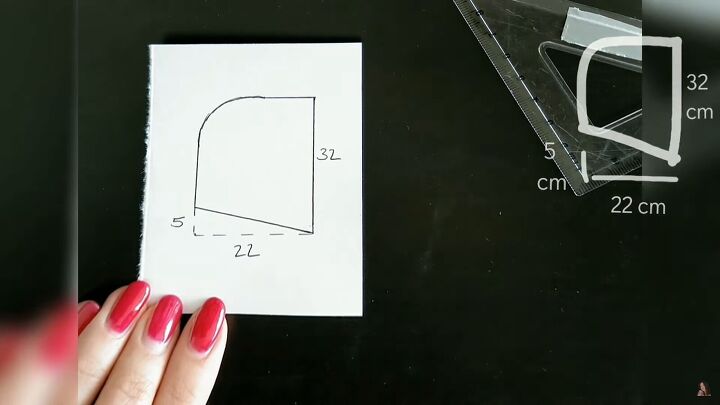
Next, measure out the side panels; Create a 32cm(12.59 inches) vertical line. Then, measure 22cm (8.66 inches) across (going left) and 5cm (1.96 inches) up.
Connect the 5cm (1.96 inches) line to the beginning of the 22cm (8.66 inches) line (angled). Then, create two shorter lines than the hood itself and connect these lines by drawing a curve.

For the back, draw a 56cm (22.04 inches) wide line. In the middle, measure 65cm (25.59 inches) high, and at the top, a 16cm (6.29 inches) line.
As shown, the sidelines are 36cm (13.77 inches) tall, which will connect to the top line. Lastly, draw some freehanded curves for the armholes on either side.
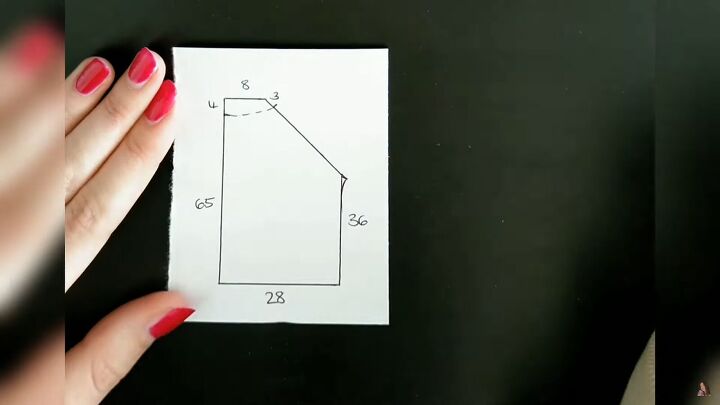
The front pieces are basically the back piece halved. However, mark 4cm (1.57 inches) down from the neckline and 3cm (1.18 inches) from the shoulder and connect the two with a slight curve.
Tip: Be sure to add plenty of seam allowance.
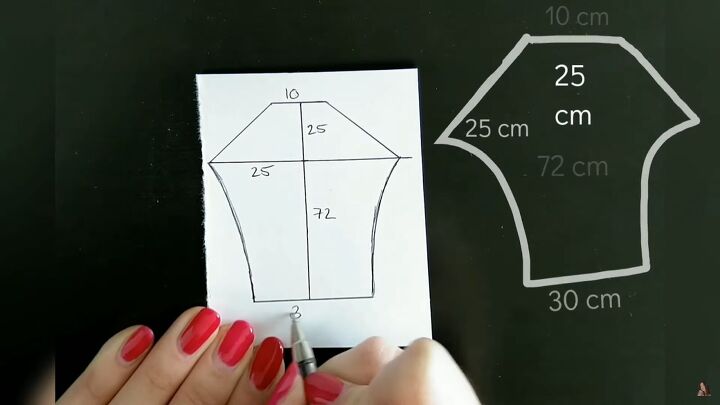
Draw a 10cm (3.93 inches) horizontal line and mark 72cm (28.34 inches) down. Make the bottom 30cm (11.81 inches) wide.
From the top, mark 25cm (9.84 inches) down and use this point also to measure 25cm to each side. Connect this to the bottom points with a slight curve.
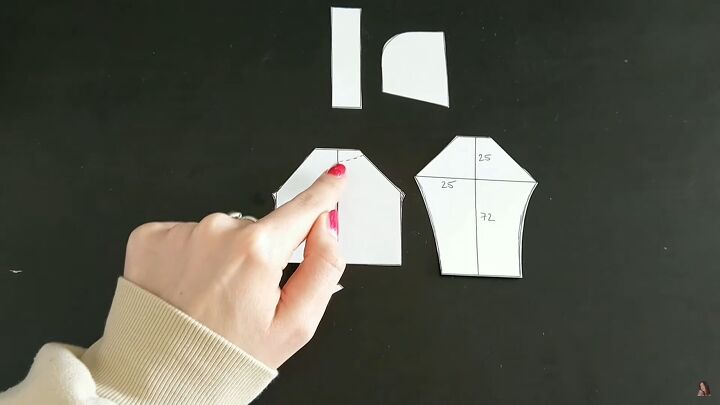
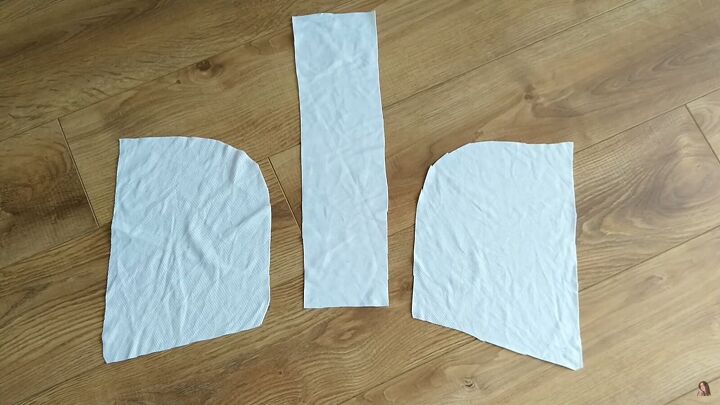
These are all the patterns you need for the DIY hoodie. Note that the side front pattern has a slightly lower neckline than the back piece.
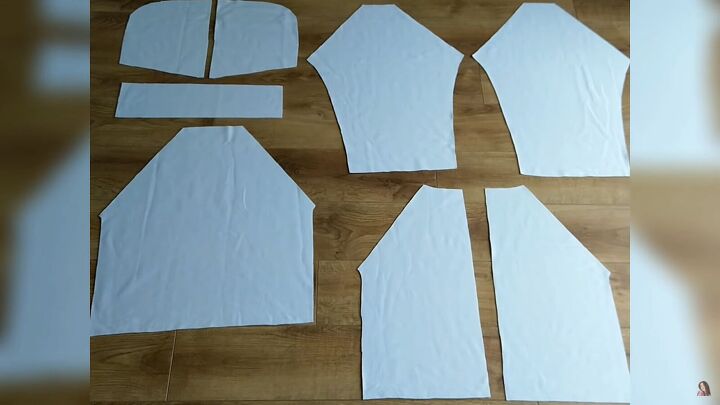
All the pieces are cut twice except for the back and middle parts of the hood. Cut your pieces accordingly, and let’s start sewing.

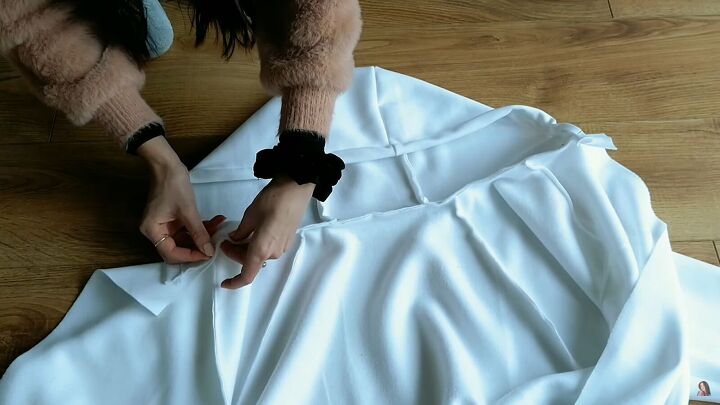
2. Sew the hood
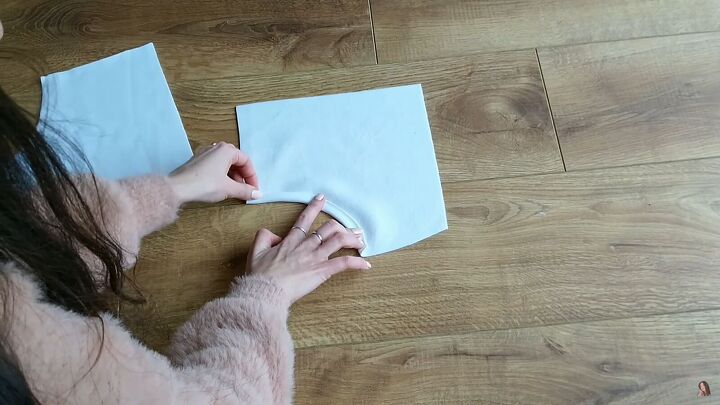
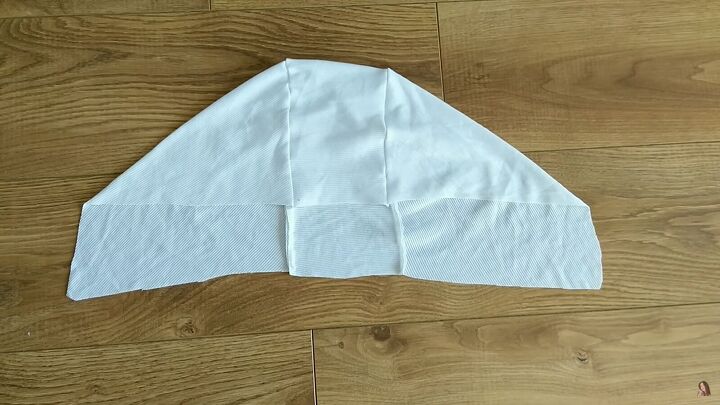
Connect the two side pieces with the middle part to create the jacket's hood. All pieces are sewn right sides together.
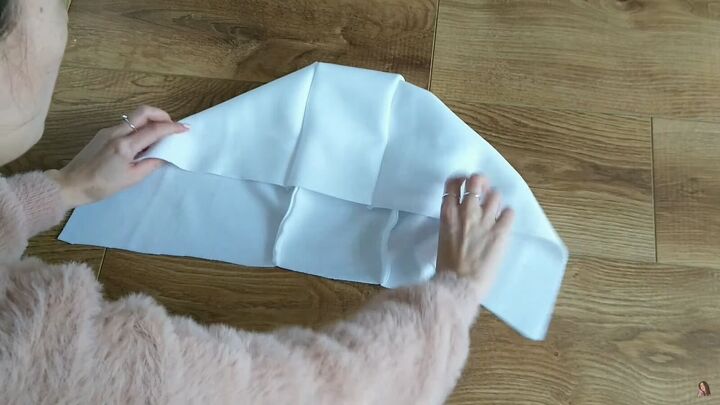
This is how it should come out.
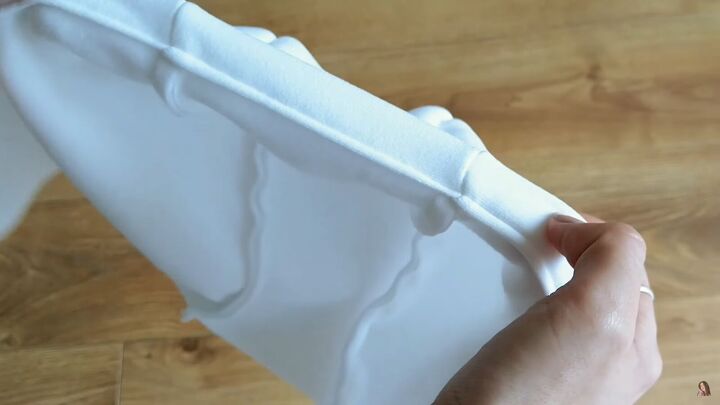
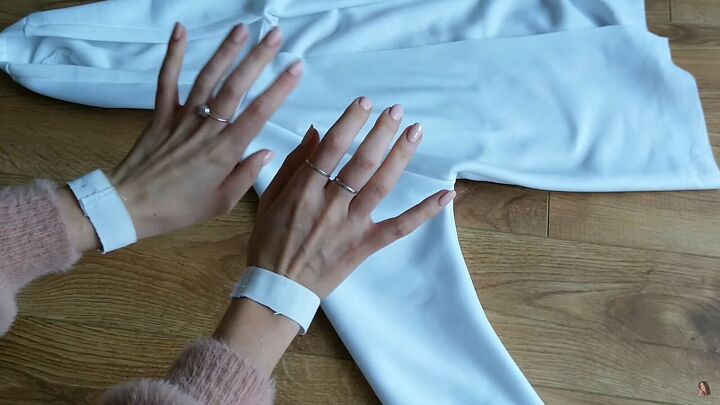
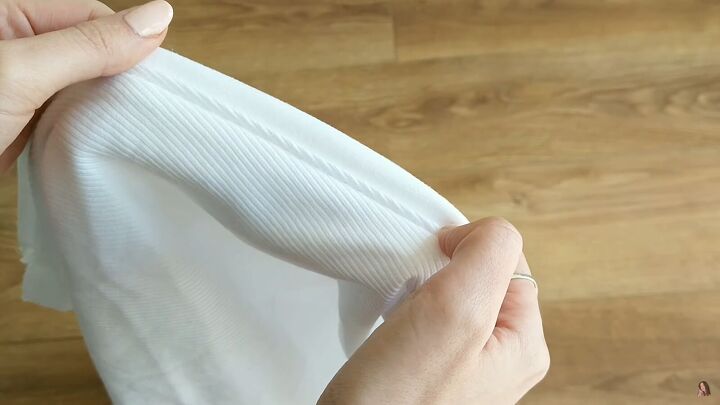
Fold the outer edge twice, pin, and sew.
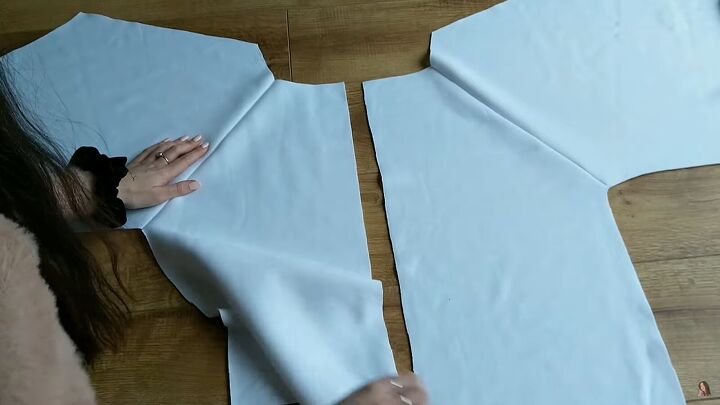
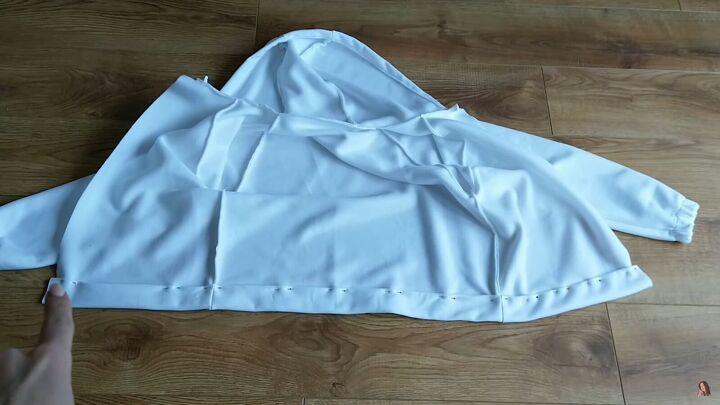
3. Sew the sleeves
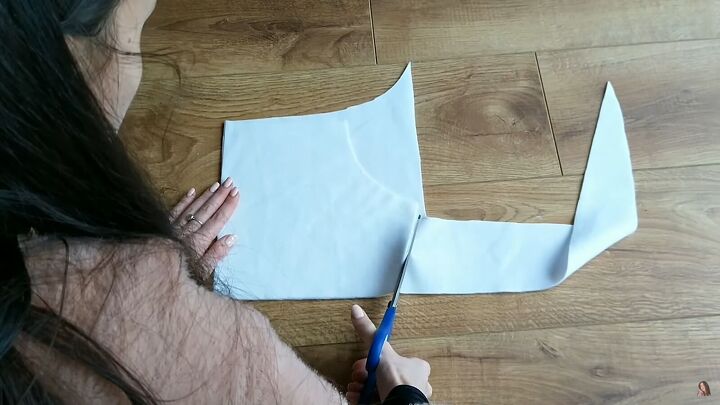
Next, attach your front pieces to your sleeves.
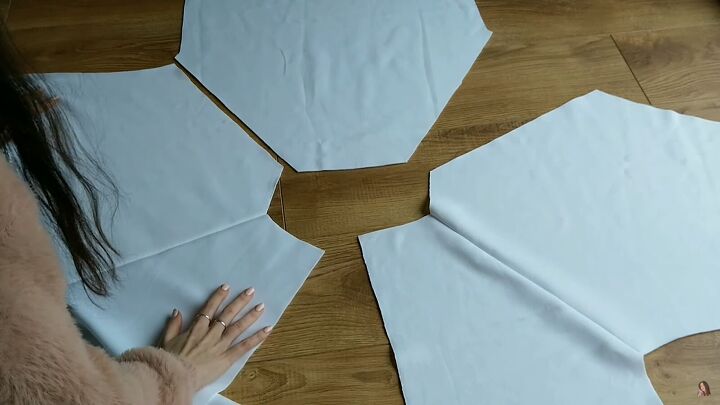
Attach the back pieces to both sleeves.
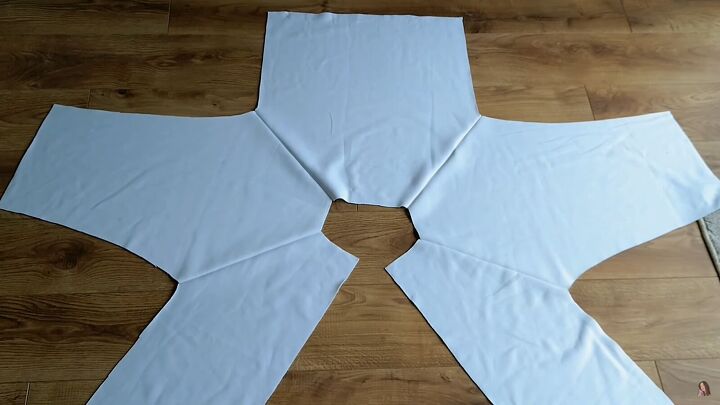
You should now have this star-shaped piece of fabric.
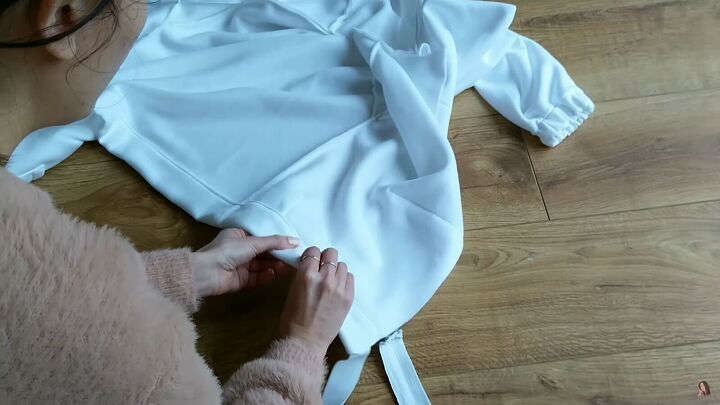
Close the sleeves by folding the piece in half, matching both sleeves sides together. Sew along the underarm seam and sides of both front and back pieces.
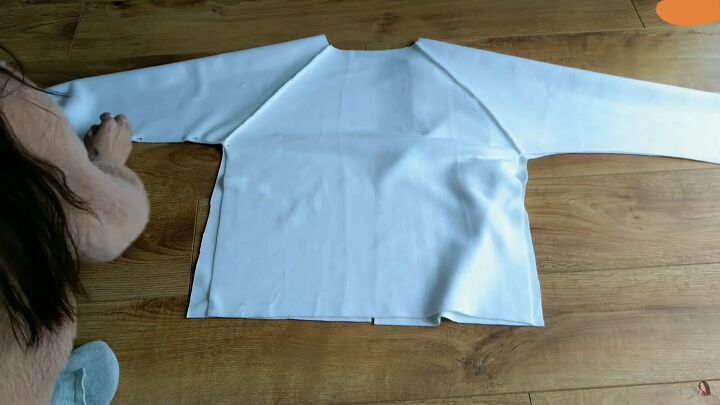
4. Attach the hood
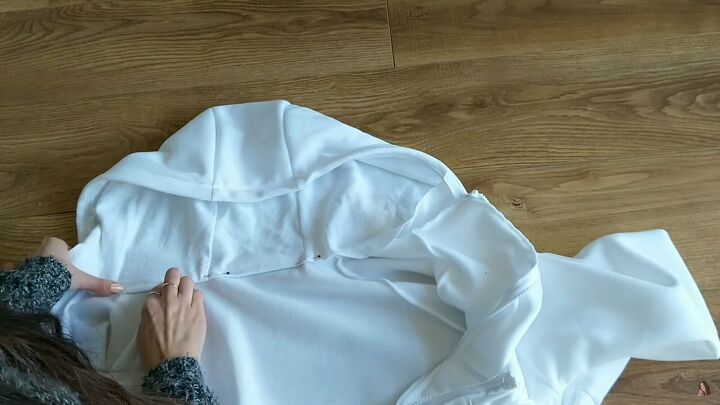
Pin the hood to the DIY hoodie, ensuring both pieces’ centers align. Then, sew to secure.
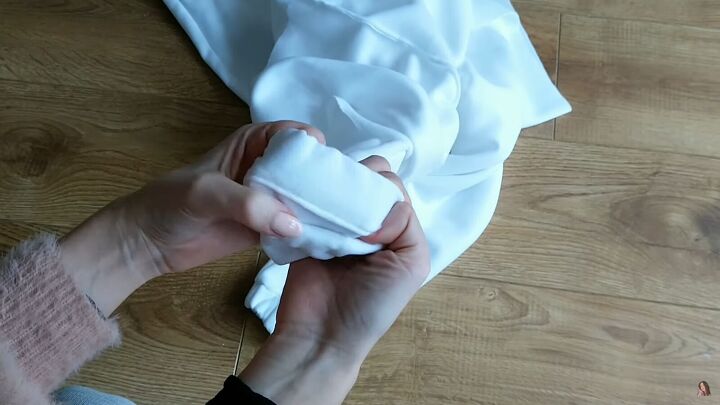
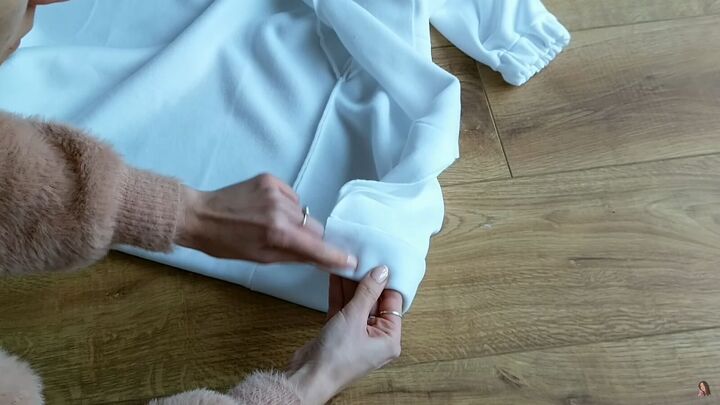
5. Add elastic to the cuffs
Place elastic around your wrist and cut to size; you’ll need two. Sew the short ends to create a loop.
Place your elastic on the wrong side of the fabric and fold the edge over to create a tunnel, simultaneously hiding the raw edge. Then, sew the edge of the fold.
6. Hem
Hem the bottom by folding it over once and hiding the raw edge inside. This will be a channel that measures 5cm (1.96 inches) wide.
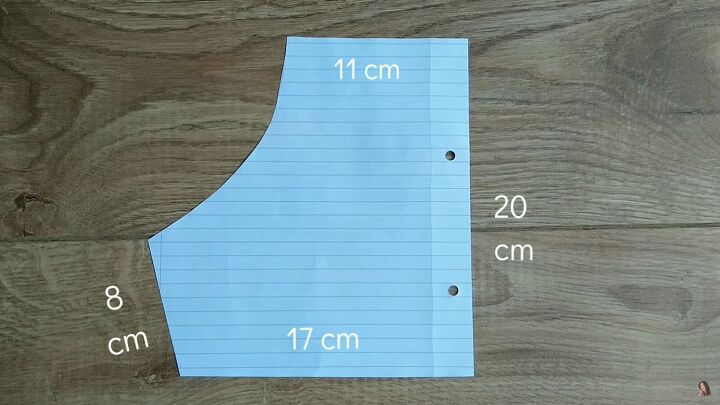
7. Add pockets (optional)
You can also include pockets at this stage; here are my measurements pictured above.
Cut it out twice with a 2cm (o.78 inches) seam allowance.
Hem the curved edge.
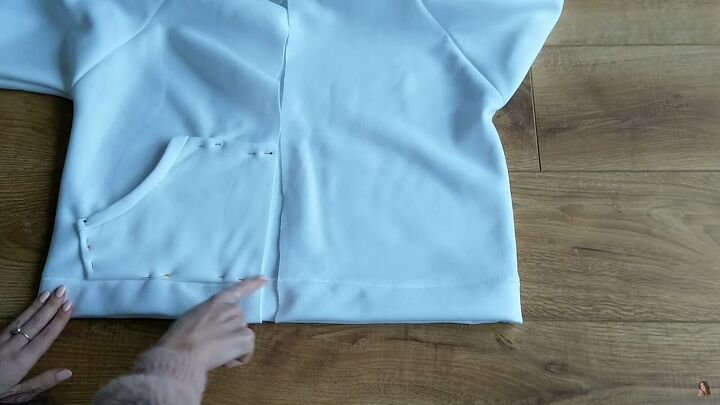
Place pockets to the bottom of the DIY hoodie, folding all raw edges inward.
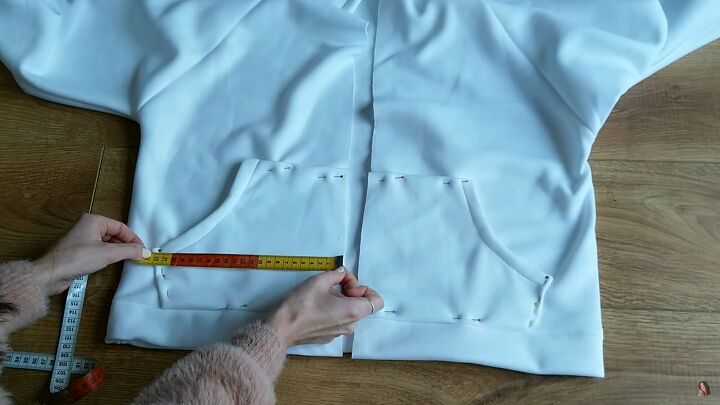
Double-check if they are even.
8. Add elastic to the hem
Cut elastic, so it’s shorter than the hoodie, and feeds it through the channel.
Sew a straight line on either end.
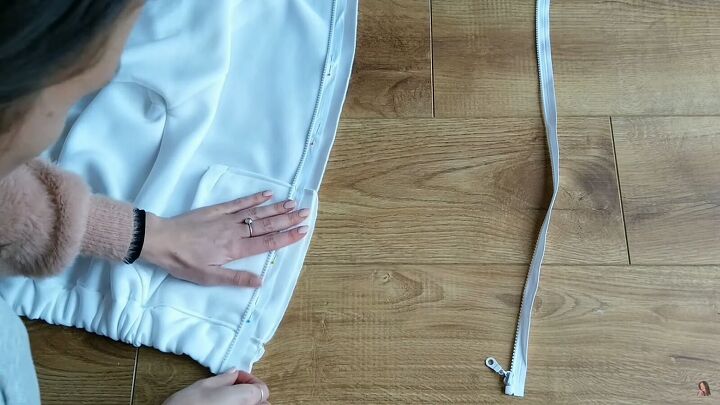
9. Sew the zipper
Separate both zipper halves and attach to each side of the hoodie, right sides together. Use a zipper foot if you can.
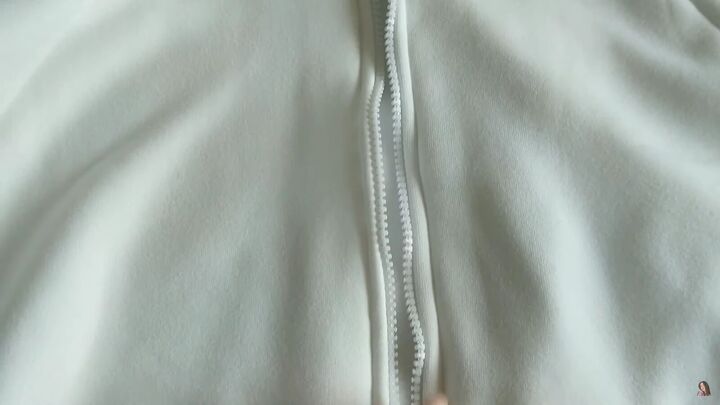
Topstitch along the full zipper.
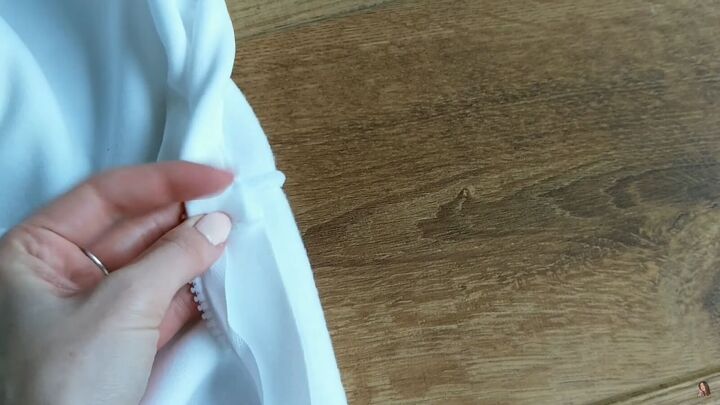
Fold the hood edge over the zipper and sew.

Cut out the excess fabric behind the zipper.
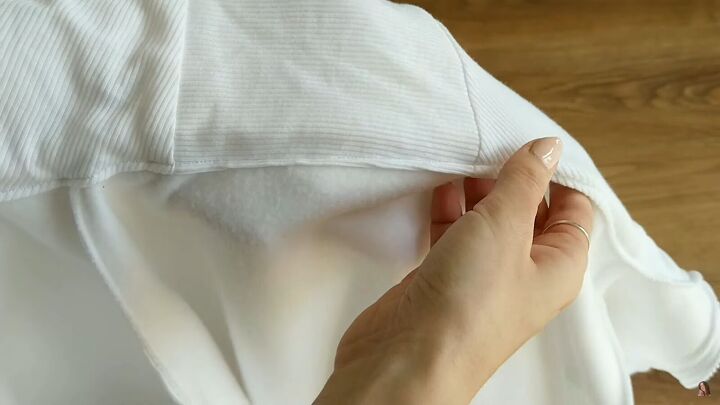
10. Line the hood (optional)
You can line your hood by cutting out more hood pieces and attaching them.
Then simply attach this to the inside of your hood. Fold all raw edges over and sew along them.
Lastly, fold the bottom over and attach it, too.


How to make your own zip-up hoodie
I hope you enjoyed my DIY zip-up hoodie tutorial and that you’ll create this for your next DIY. I love the look and feel of it, and it’s surprisingly easy to do. Let me know your thoughts in the comments below.
The author may collect a small share of sales from the links on this page.


Comments
Join the conversation
Thank you for this! So cute😊
I love it! thank you.