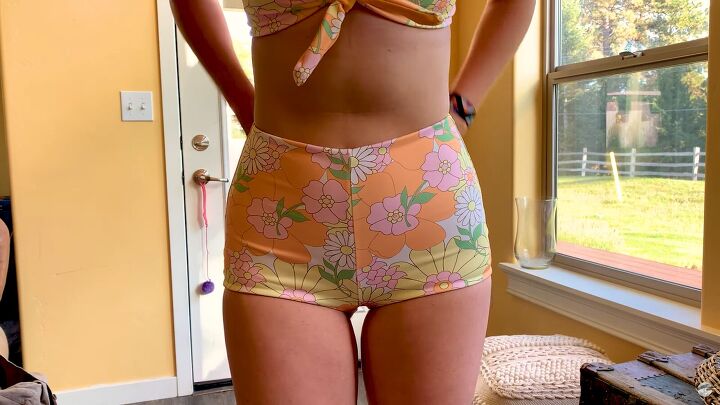
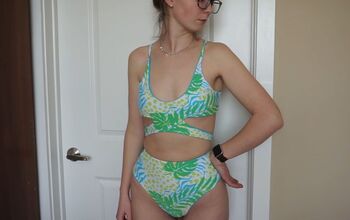
How to Make Your Own Boyshort Bikini Bottoms From Scratch

In this tutorial, I'll show you how to make bikini bottoms in a cute boyshorts style. Whether you're pining for summer, planning a winter sun vacation, or enjoying warm weather in the southern hemisphere, these cheeky, snug boyshorts with a retro vibe are perfect for beach or pool days.
For this tutorial, we'll be using the Charlie Bottoms pattern, which is also reversible, so you'll have two ways to wear these bikini bottoms! Let me show you how to make and sew this bikini bottom in a few simple steps.
Tools and materials:
- Charlie Bottoms PDF Pattern
- ¾ Yard swimwear fabric
- ¾ Yard swimwear fabric suitable for lining
- ¼-inch swimwear elastic
- Rotary cutter
- Scissors
- Sewing machine
- Serger (optional but preferable)
- Ruler
- Pen
- Pins or clips

1. Cut the fabric
Use the pattern to lay on the folded fabric. It’s best to cut 2 layers at one time! There will be a total of 8 pieces: 4 front and 4 back pieces.
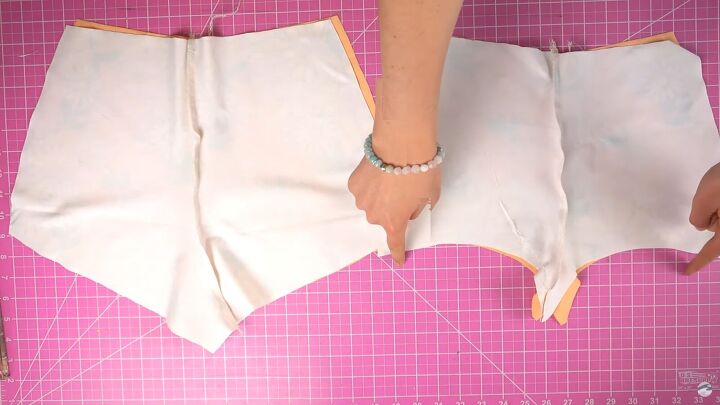
2. Sew the center seams
We need to attach the front pieces to each other on the center seam; same for the back pieces. Place the front pieces and the back pieces right sides together. Make sure the lining matches with the lining and the outer fabric matches the outer fabric.
Sew just the center seams of the front and back. It’s best to sew with a 4-thread overlock stitch on the serger. If you don’t have a serger, use a zigzag stitch.
Make sure to leave a small hole on the back center seam of the lining to be able to take the shorts to the right-facing side once it is sewn completely. In this video tutorial, I forgot to do that and had to rip open the seam to do it!
Once the center seams are attached, we should have just 4 pieces: 2 front and 2 back pieces.
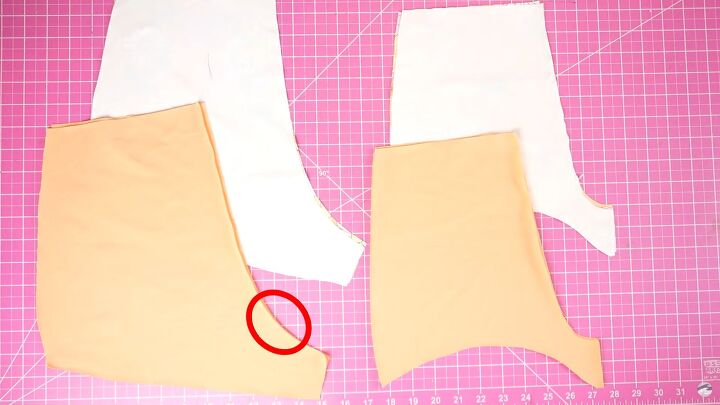
3. Sew the waist
Match the front pieces to each other with right sides facing together. Repeat for the back pieces.
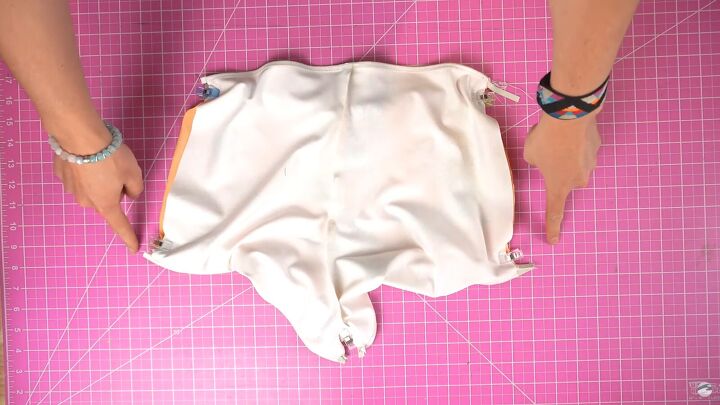
Sew only along the waist and the leg holes. Leave the sides and crotch area unsewn for now.
Attach the elastic directly to the lining all along the waist and legs.
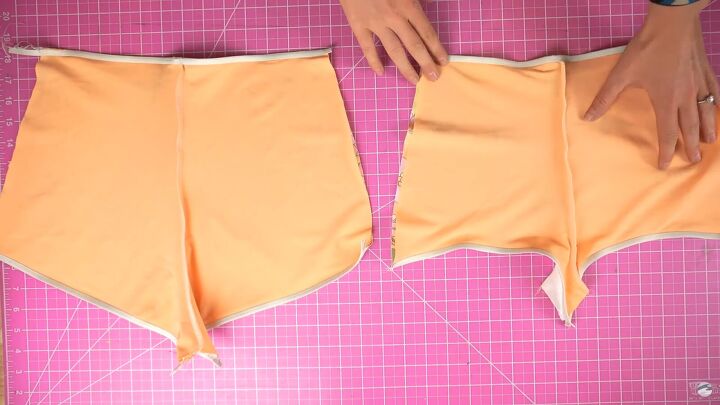
4. Sew the sides
Flip the front piece to the right side. Insert the front piece into the back piece using the side opening with the right side of the front touching the right side of the back piece.
Match the pattern and seams. Use pins or clips to keep everything in place.
Sew 3 seams: each side and the crotch, sewing across all 4 layers of fabric. Use a secured straight stitch on these seams because these areas aren’t intended to stretch.
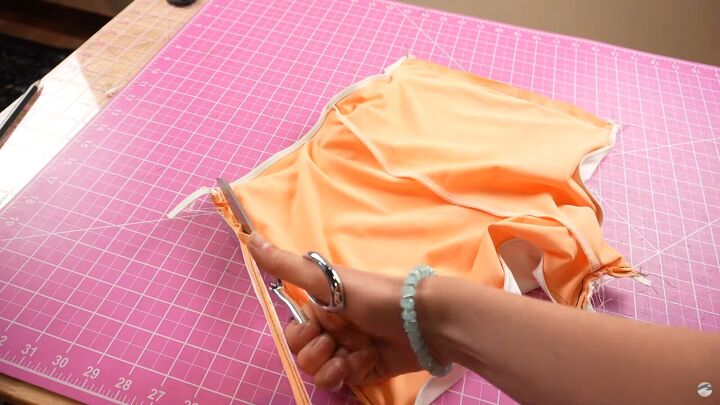
Trim any excess.
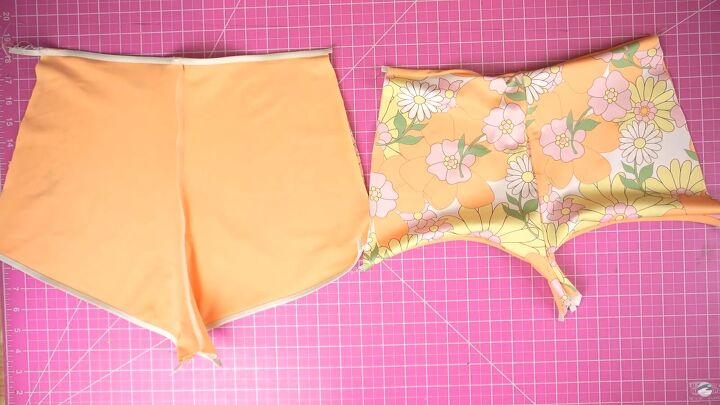
5. Finish the shorts
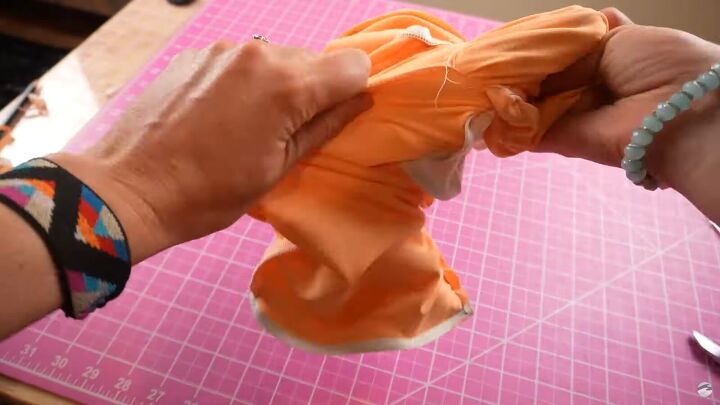
As I said before, in this video I forgot to leave at least an inch to an inch and a half unsewn to flip the shorts right side facing out. I used a seam ripper to open a hole and pulled the entire pair of shorts right side out.
The last step is to sew that hole closed. Use a straight stitch on the sewing machine.
How to make boyshort bikini bottoms
There you have it! These modern yet retro swim shorts are super adorable! I hope this tutorial helped you learn how to make your own bikini bottoms. Please comment if you have any questions or feedback!
The author may collect a small share of sales from the links on this page.


Comments
Join the conversation