Easy, No-Sew T-Shirt Weaving

I got this awesome t-shirt and wanted to do something special with it. So, after some brainstorming, I decided to add some weaving that would fit the style and the message of the shirt pretty well. So, here’s how to add weaving to a shirt.
Tools and materials:
- T-shirt
- Scissors
- Pins
- Tailor’s chalk
- Sewing machine - optional
Create your design
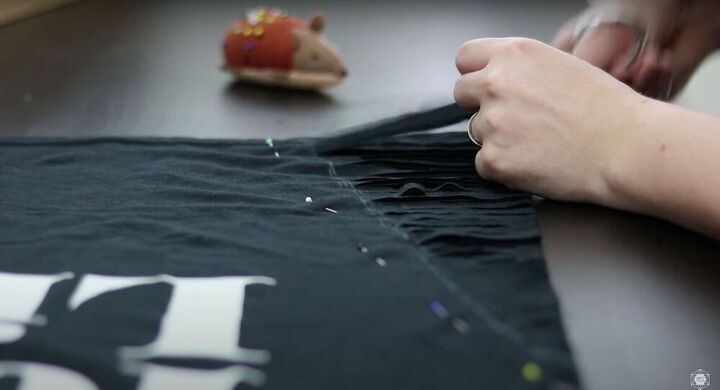
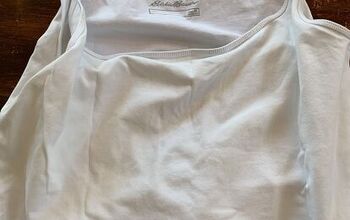
Starting with a t-shirt of your choice ( make sure it’s a little baggy because the weaving will reduce the size of it slightly). Place the shirt on the table and begin to trace out where you want to add your detail. While tracing, make sure to avoid any seams because they will come loose when you cut them. Next, pin the shirt together so that it doesn't shift and cut lines throughout your tracings.
Weave your shirt
For the weaving, start with the smallest strand. Then, pick up the strand underneath it and pull it behind the first strand. You should have created a small loop. After that, take the third strand and pull it through the loop you created with the first two strands. Continue doing this all the way down until you reach the bottom. At the bottom, cut the last strand in half and tie a knot with each end through the loop to secure it.
Once the weaving is done, you can push the loops around in any direction you want. I chose to push mine all the way to the side and use the room in the middle to create a second loop. The second loop works very similarly to the first, the only difference being the twist in the loop that occurs from pulling the strands through. This will make the line of weaving look similar to a braid. Once again, when you reach the bottom, cut the last strand in half and tie two knots through the final loop.
Weave the neck
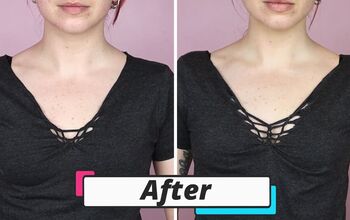
Place a notebook into the shirt so that when you cut, you don’t risk cutting the back of the shirt. Then, make little snips in the fabric to get started and use those strips to insert your scissor and cut strands throughout my tracing. Next, start weaving at the smallest strand again, exactly like we did on the side, and finish by cutting the bottom strand in half and tying each half through the bottom loop.
Finish the collar - optional
To get fancy (something that is completely unnecessary but fun to do all the same) I decided to give the neckline a more polished finish. I did this by separating the ribbing along the neckline from the last strip of t-shirt fabric and then used those strips to tie the knots and secure the weaving. Next, I sewed the ribbing back onto the neckline, slowly tapering it to make a smooth transition to the weaving.
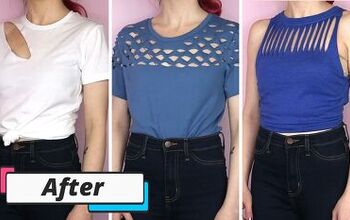
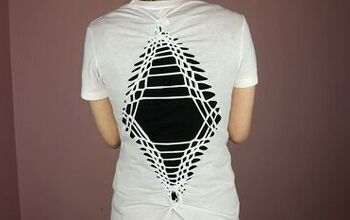
I love how creative you can get when you weave a t-shirt. You can experiment with all sorts of things like locations, shapes, strips widths, weave patterns, and sizes. The most important thing to do is have fun with it!
Enjoyed the project?
The author may collect a small share of sales from the links on this page.










Comments
Join the conversation