3 Easy No-Sew DIY Clothing Projects for Refashioning Old Clothes

In this tutorial, I'm going to show you some no-sew DIY clothing projects. I'm moving house soon and clearing out my wardrobe, deciding what to keep, what to throw, and what I can refashion into something new. I picked out a few items I'd like to upcycle in order to make them more wearable.
I’m going to show you how to embroider some cute text on a t-shirt, bleach tie-dye a blue shirt to make a puffy cloud design, and remove metal studs (mine were stars!) on a vintage find.
All of these DIY clothing projects are no-sew (if you don't count embroidery as sewing), so they're easy to do at home. Let’s get started!
Tools and materials:
Embroidery
- Scissors
- Embroidery needles
- Embroidery thread
- Embroidery hoop
- Embroidery stabilizer paper
- Marker or pen
- Ruler
- Pins (optional)
Bleach Tie Dye
- Blue t-shirt
- Rubber bands
- Spray bottle with water
- Squeeze bottles
- Bleach
- Protective towel or trash bag
- Gloves (protective kind)
Metal stud removal
- Pliers
Embroidery
1. Decide what to embroider
Decide whether you want to embroider a message, logo, or even a doodle. Then decide where you want to place the embroidery. I chose this t-shirt pocket.
Normally it’s best to use an embroidery hoop when doing embroidery. Because I was doing a pocket, I decided to use embroidery paper or stabilizer and attach the paper with pins, so the embroidery wouldn't close up the pocket, but I changed my mind later on.
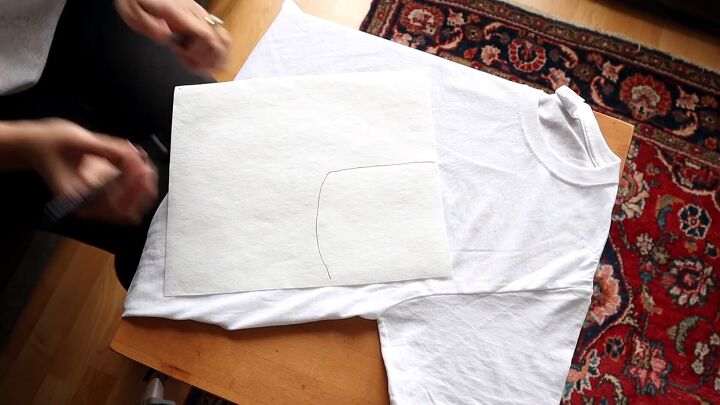
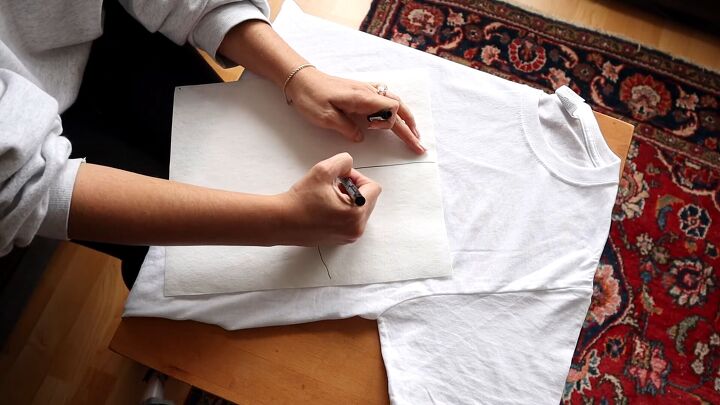
2. Draw the base for the embroidery
Lay the shirt perfectly flat. Then, lay the embroidery paper on the t-shirt pocket and trace the pocket shape onto the paper.
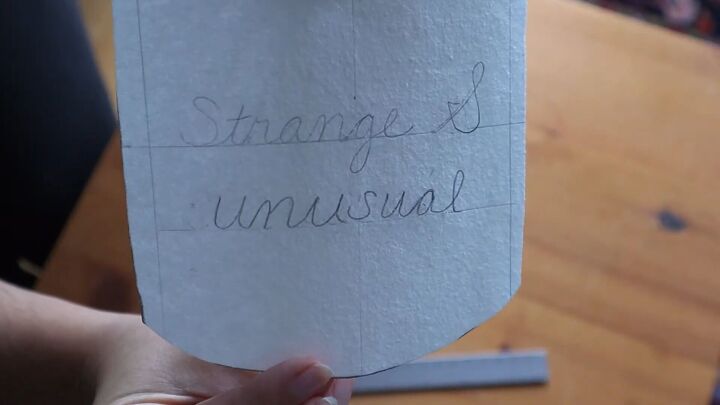
I chose to write out a quote from one of my favorite movies, Beetlejuice. I used a ruler to keep the text as straight as possible.
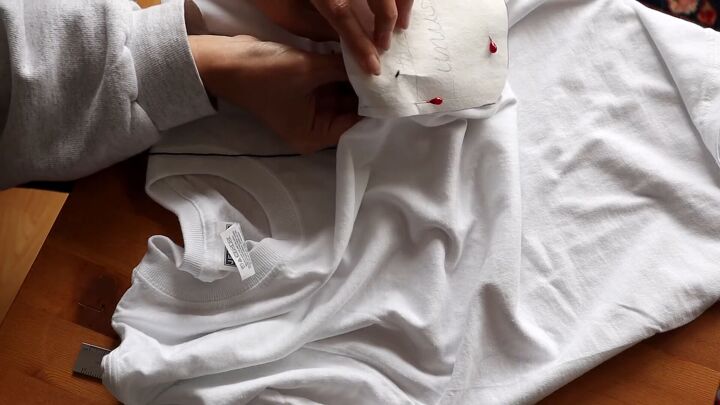
3. Start embroidering
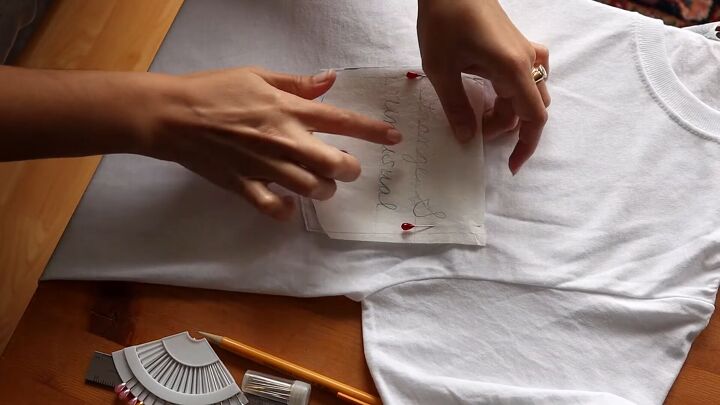
I put the paper with the design on top of the pocket. I raised it a bit because the text wasn’t centered otherwise. I then pinned the paper in place.
Embroidery needles come in different thicknesses. For a thin t-shirt, I used a thinner needle. This way, I don’t poke huge holes through the fabric.
Embroidery threads can be pulled apart. The brand I’m using is a 6-strand thread and I divided it into a 3-strand for a finer finish.
I use a chain stitch. Start from the back so the knot is underneath. Come up through the front of the fabric and make a small stitch. Put the needle back into the fabric. Yay! That’s the first stitch!
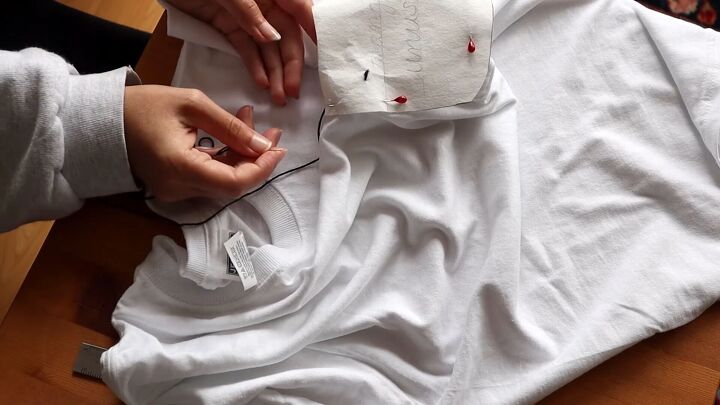
Now, come back up again but go through the middle of the first stitch. Continue doing a stitch and going back in through the middle of that stitch, following the line you drew.
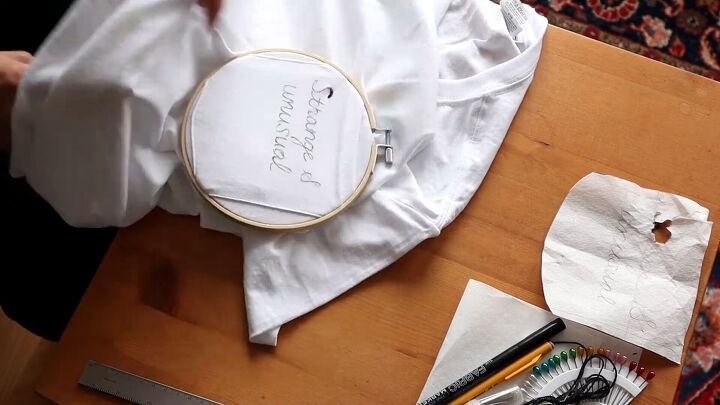
In the end, using the stabilizer paper on the pocket wasn’t the best choice. I ended up using the embroidery hoop and sewing the pocket shut.
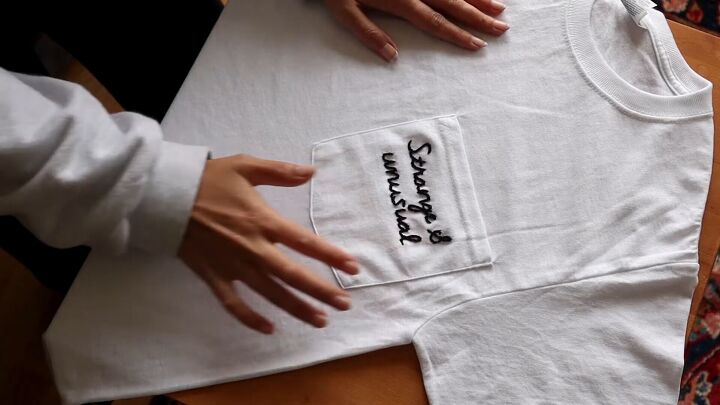
This is how it came out! I know the & is backward, but that just adds to its quirky charm!
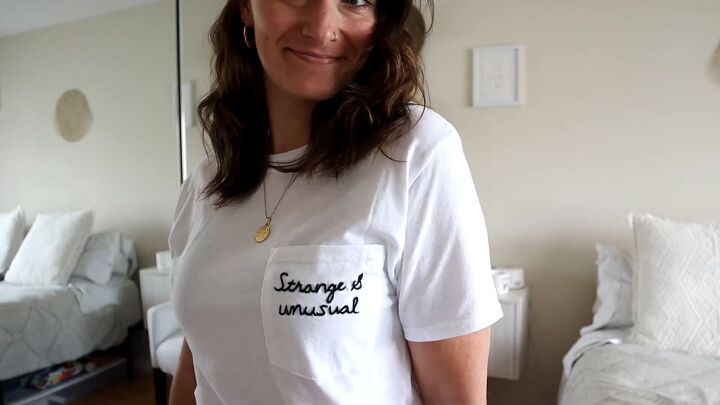
I think it came out really pretty and I paid homage to the line “strange and unusual” from Beetlejuice!
Tie-dye
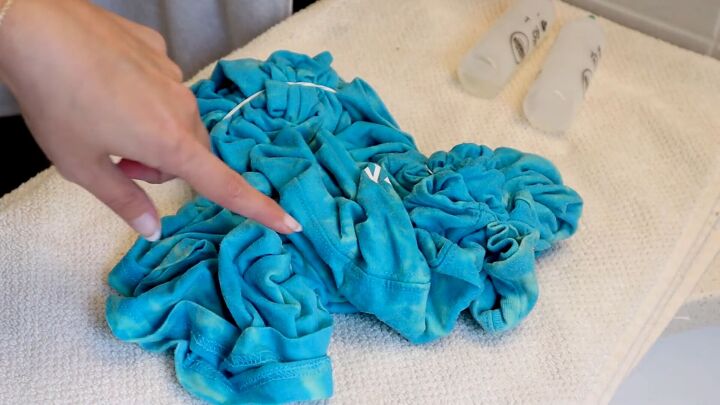
I love the way bleach or reverse tie-dye looks on blue t-shirts. It makes these pretty clouds. This is super easy to do as well!
1. Prepare the shirt
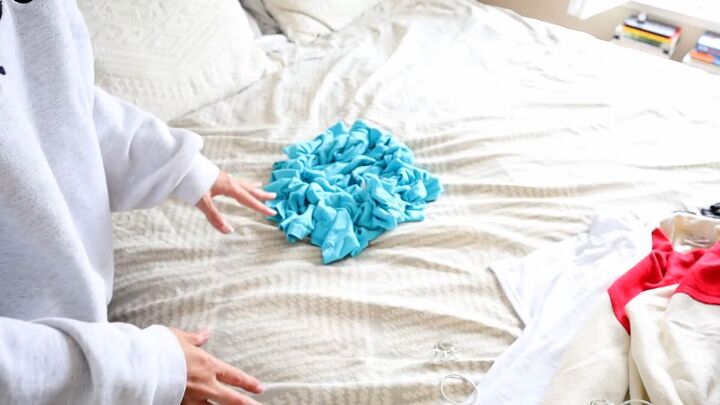
I use the crumple method. Scrunch up the shirt, starting from the bottom, scrunching the fabric upwards, and crumpling in the sleeves so the whole shirt is a scrunched-up bundle.

2. Secure the shirt
Place rubber bands around the shirt at different parts of the scrunched-up areas. Some shirts may need more than 3 rubber bands. In this tutorial, I only used 3. There is no real plan where to put them - use your best judgment!
3. Bleach the shirt
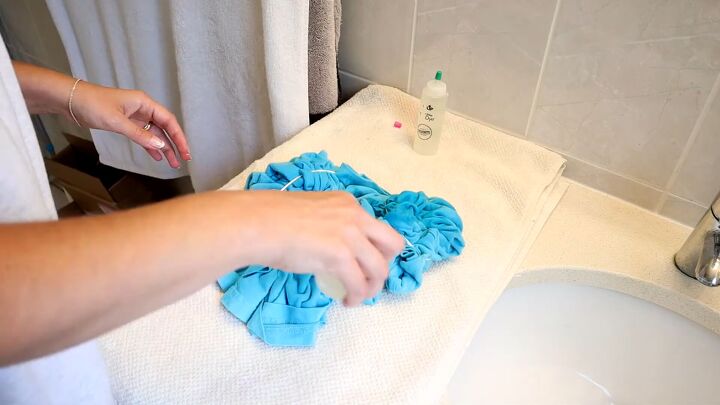
First, get the bathroom or whatever room you’re choosing to bleach in ready for the permanence of bleach! For me, this means doing it in the bathroom, with a large white towel. You may want to use a trash bag, or do it in the bathtub.
Be careful because bleach does ruin fabrics that you weren’t intending on bleaching. Wear gloves as bleach is caustic to skin.
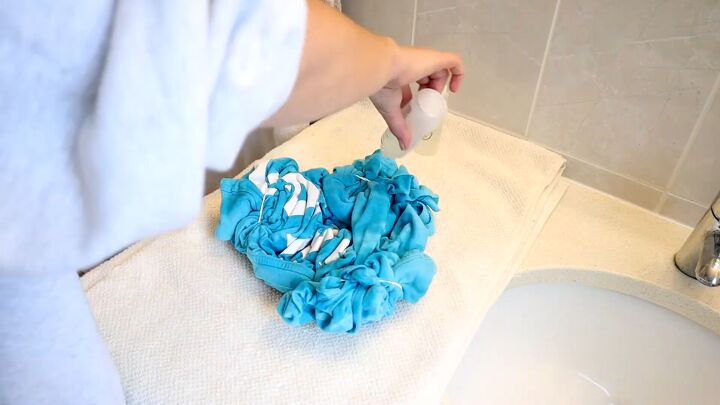
Dampen the shirt slightly by spraying it with a spray bottle with plain water in it. Once it’s damp, squeeze bottles filled with 50% bleach and 50% water. This way, the bleach isn’t as harsh on the fabric.
Sometimes, bleach takes just 30 minutes to turn white. In this case, it took a bit longer.
Once the shirt is done bleaching, rinse the shirt right away to stop the bleaching process. It's recommended to wash it by itself in the washing machine and then dry it before wearing it.

Look at the lovely cloud-like formations on this blue shirt!
Remove metal studs
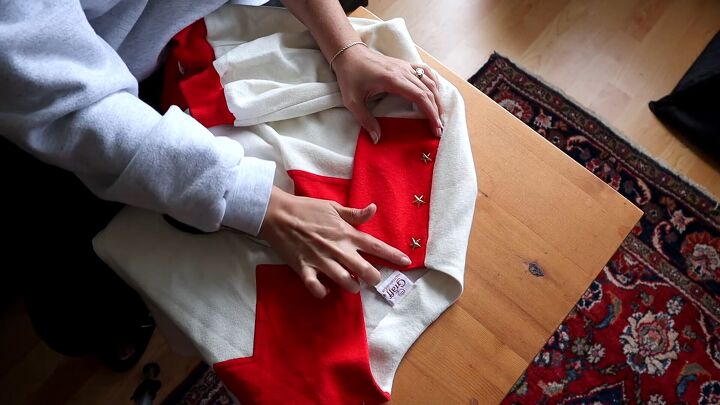
This is probably the easiest thing to do! If you want to remove metal studs from any article of clothing you own, all you’ll need is a pair of pliers.
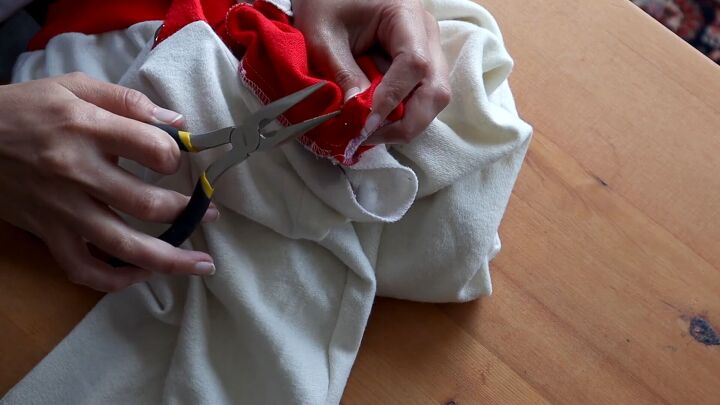
Turn the clothing inside out to see the backing of the stud. Use a pair of pliers to uncurl the metal prongs. Gently pull the studs out.
You’re done!
No-sew DIY clothing projects
All of these upcycle ideas and DIY tips are quick, easy to do, and can take old things and make them new again. Let me know what you think about these tweaks in the comments and also let me know what you’ve tried!
The author may collect a small share of sales from the links on this page.


Comments
Join the conversation
I still have clothes from my teen years - and it's now many decades later! VERY tough for me to donate and even worse is to toss stuff. However, it's always yet another project UFO or WIP with no chance of being started or finished. I bought a red/white gingham shirt and a small hoop and was going to do Chicken Scratch embroidery - alas, everything is still on the table.
Have fun doing that cleansing of your SOS - and know that I appreciate you and your video!!! (I did finally frame a completed ccs panel and haven't yet hung it)