Old T-Shirt Transformation: DIY Cami for Summer

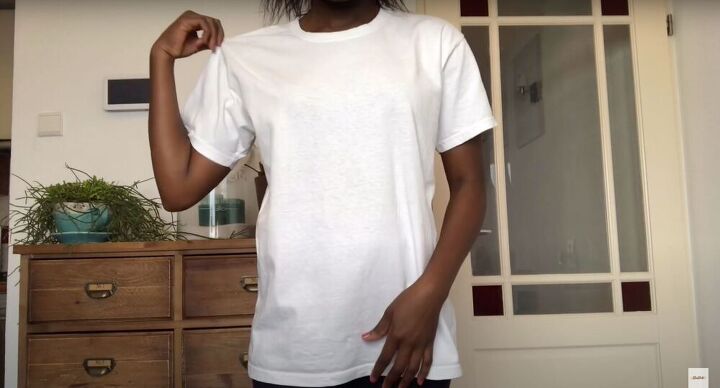
Today’s tutorial works with the most basic of materials - an oversized t-shirt. Having a couple of t-shirts is essential, but sometimes I end up with far too many. Because of this, I wanted to come up with a tutorial that would let me take my t-shirts and sew a DIY cami.
Tools and materials:
- Pins
- Scissors
- T-shirt
- Pattern paper
- Sewing machine
Make your pattern
To make the pattern, take a basic cami tip that you already own and tuck the straps in. Lay the cami flat over your pattern paper and trace the outline. Repeat the same process with the back (notice that it will be a bit lower cut than the front).
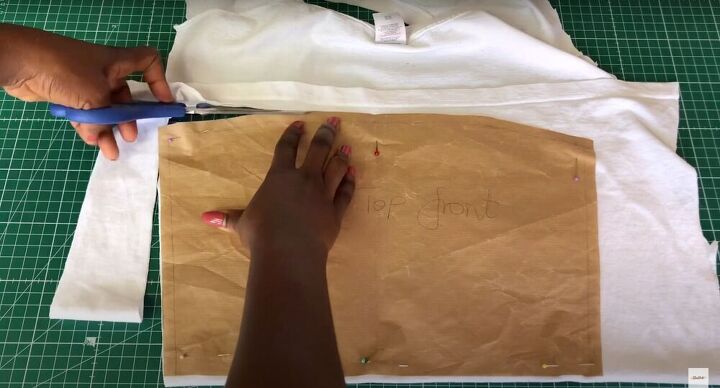
Cut out your fabric
Cut the sides of the t-shirt to the armpits to separate the front and back. Next, cut off both sleeves (along the seam), completely separate the front and back pieces and fold the t-shirt into two. Cut out your front pieces by pinning your pattern to one folded half of the t-shirt and then repeat this process with the second half of the t-shirt for the back pieces. In the end, you should be left with four pieces - two for the front and two for the back.
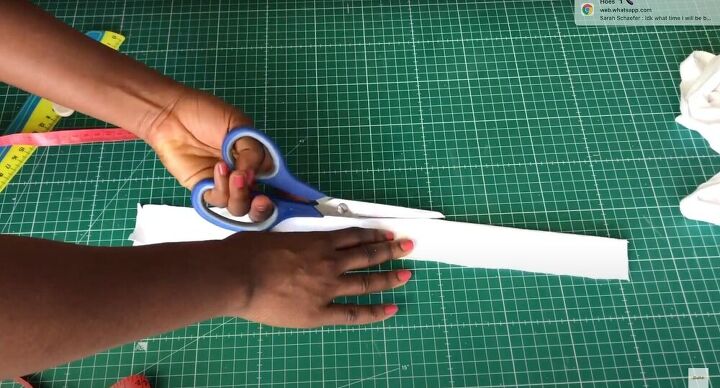
Make your straps
Pin together one front piece and one back piece - do this twice until you have identical pieces. Sew both sides about a quarter an inch away from the edge for both. Next, using the leftover fabric, measure three inches wide and cut out a piece of fabric that’s 15 inches long. Cut the strap in two to make two 1.5 inch straps. Fold both sides of the strap towards the center and then in half again (the way you would fold a bias tape) and then secure the strap with a topstitch.
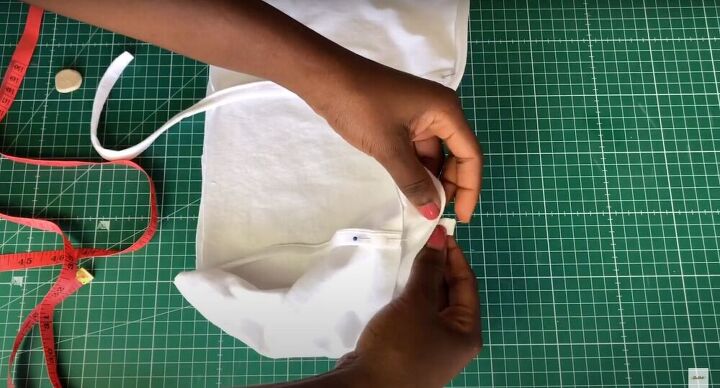
Build the cami
Measure four inches from the side seam on the back and front of the cami. That is where you will pin your straps. Bring the straps around from the bottom and then pin again. Your straps will be sandwiched between the lining at the outer layer, so in the end, they will be pinned to the right side of the lining and the wrong side of the outlet layer. Connect the lining at the outer layer by placing the outer layer inside the lining, aligning the side seams, and pinning. Next, pin the top, including the straps, and stitch around the top about a quarter of an inch.
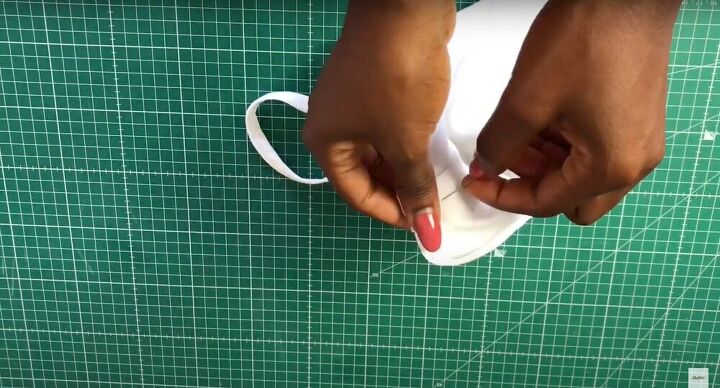
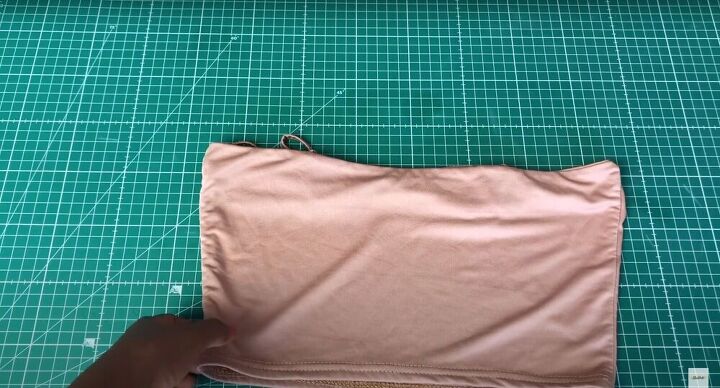
Finish the cami
Snip the edges of the shirt so that the fabric lays flat and then turn the shirt right side out. Align the lower edge, pinning it together, and then sew the bottom. Flip it inwards to hide the raw edges and sew using a zigzag stitch to keep the fabric from fraying.

I love this DIY cami tutorial because of how beginner-friendly it is. I think it makes great use of an oversized shirt and is perfect for the warm summer weather. It’s also such a versatile piece, it can be worn with a blazer, shorts, or even just some regular jeans!
The author may collect a small share of sales from the links on this page.


Comments
Join the conversation
Well done ,great fit and goes great with the pants. :)
AWESOME!