DIY Top From an Old Sweater

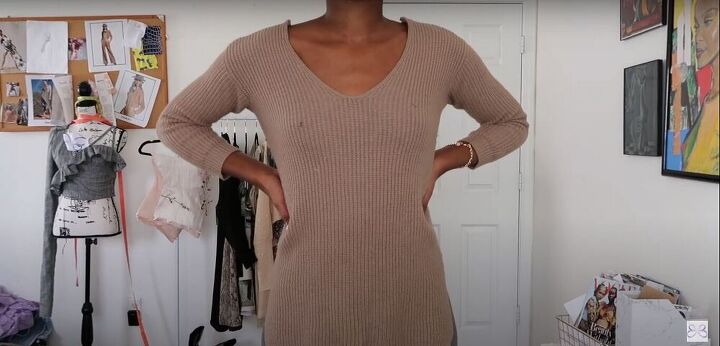
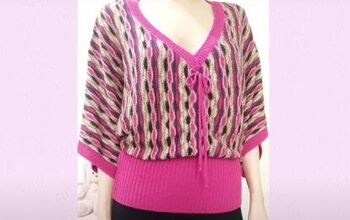
Today I’m going to be DIYing a very popular top that I’ve seen on Pinterest and Instagram called the Nanu top by Simonett. For this DIY top tutorial, I’ll be using an old sweater that’s just been sitting in my closet, not getting much use. I figured I could breathe some new life back into it, and transform it into something new and very cool. So let’s get started!
Tools and materials:
- Knitted sweater
- Dress form
- Scissors
- Pins
- Measuring tape
- Sewing machine
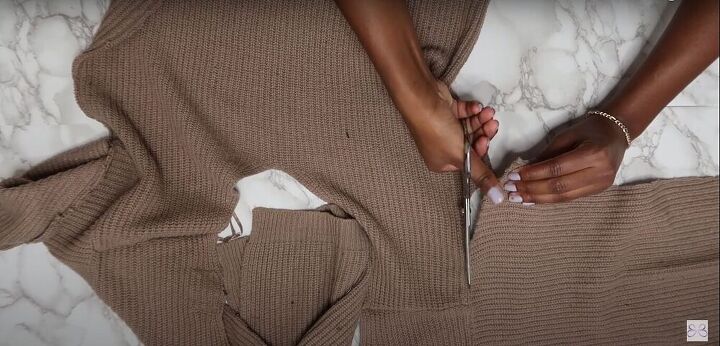
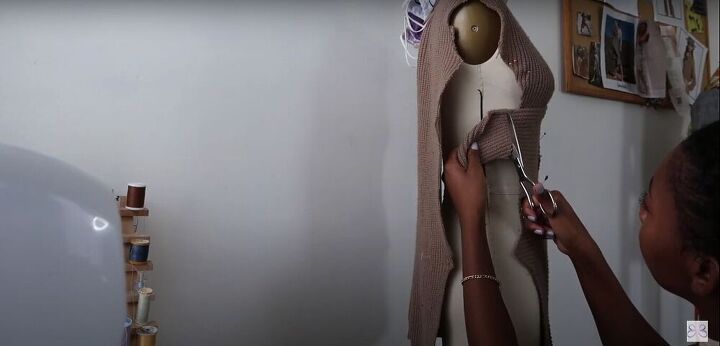
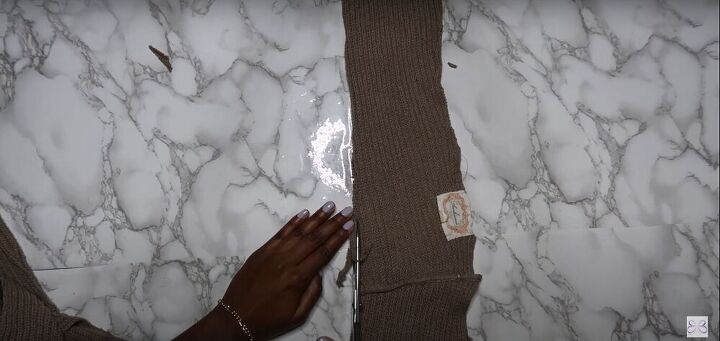
Cut
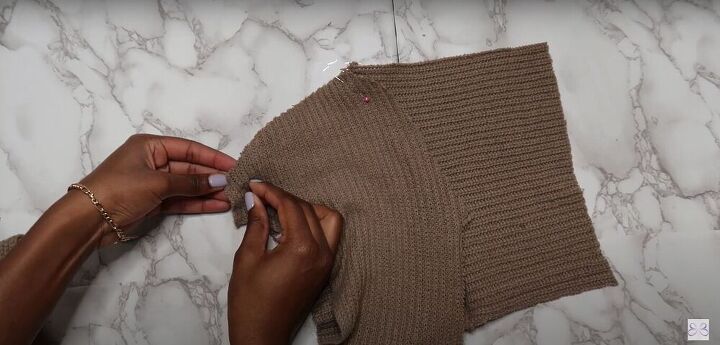
The first thing I did was dissect my sweater, which means I opened up the side seams, cut off the crisscrossed elastic bands on the back of the sweater, and cut the sleeves off completely.
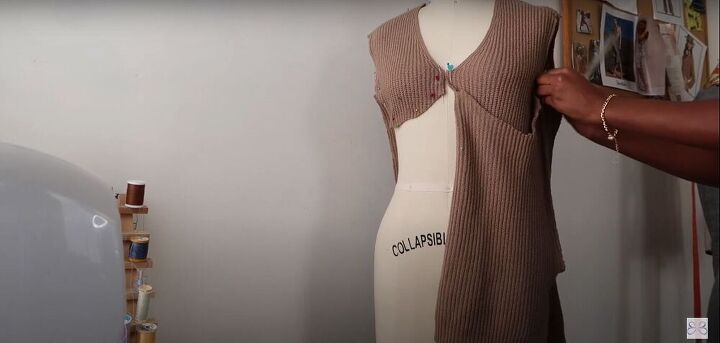
Pin and cut
Next, I placed the sweater on my dress form and pinned a rectangular shape around one side of the bust. If you don’t have a dress form, you can measure from your shoulder to below your bust to figure out where to cut. I then folded the bottom of the sweater over to the second side and used it as a guide to cut a symmetrical rectangle around the other side of the bust.
Pin and cut
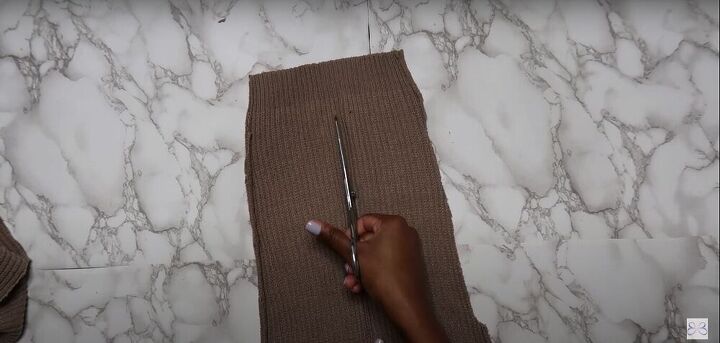
On the original Nanu top, the knitting is horizontal on the bottom front part of the top. So I pinned the offcuts of the sweater onto the dress form horizontally and cut a slit directly up the center.
Pin and cut
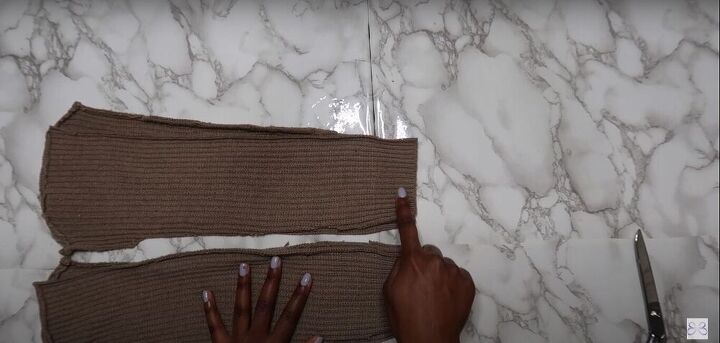
I then pinned the fabric to the dress form along the center seam, cut the horizontal pieces into two equal rectangles, and removed any excess fabric.
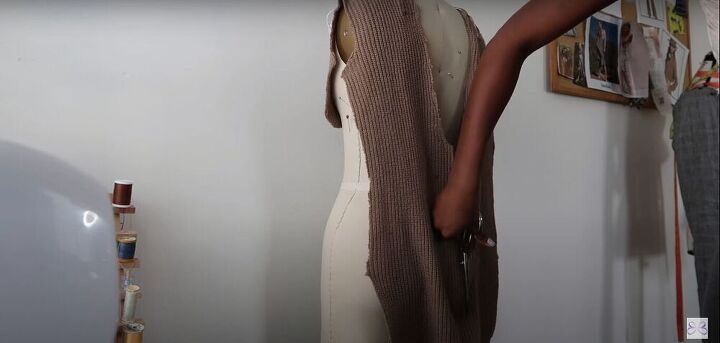
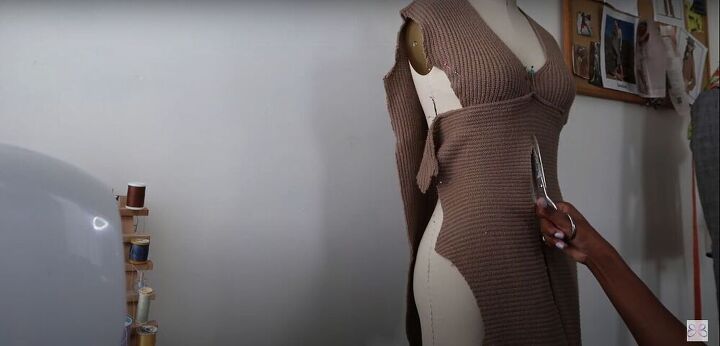
Cut
For the back, I cut a slit directly down the center.
Then I cut one side into a long rectangle that reached about 4 inches past my waist. I pinned that rectangle onto the second side of the back and used it as a guide to cut another symmetrical rectangle on that side.
Pin and sew
Once everything was cut, I took my two center front pieces, pinned them together at the center seam, and sewed them with an overlock stitch.
Pin and sew
Next, I took my front rectangular pieces and pinned them to the top of the center front piece. Make sure to start pinning close to the center seam. Once the pieces were pinned in place, I sewed them down with an overlock stitch.
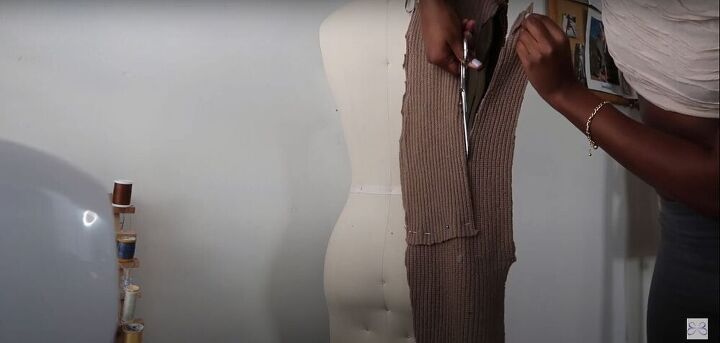
Cut
To create the wrap pieces, I opened the side seams of the sleeves and cut them in half lengthwise.
Sew
Then I laid the two pieces of the sleeves on top of each other, right sides together, and sewed them together at the cuff with an overlock stitch.
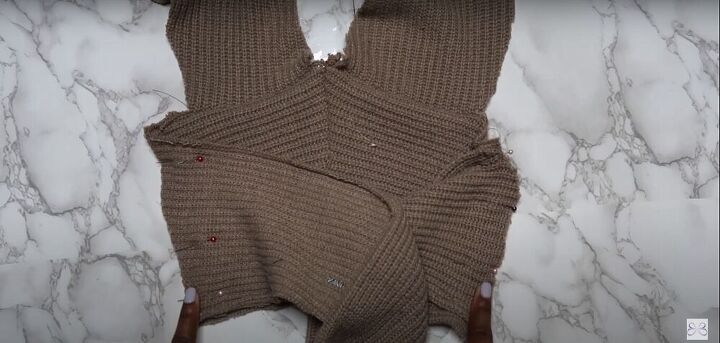
Pin and sew
I pinned the wrap pieces to the side edges of the center front piece and sewed them down.
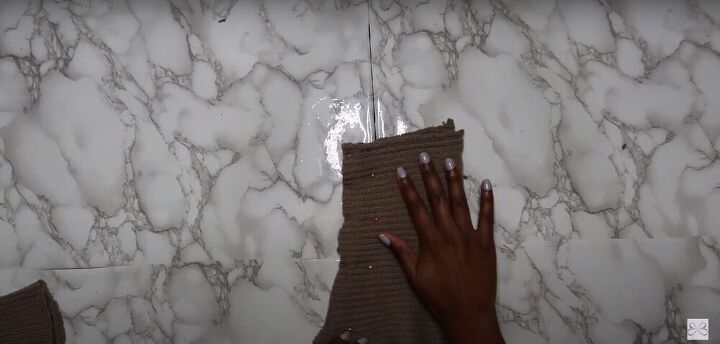
Clean up
I cleaned up the edges, making sure everything was even. I left all the edges raw, but you can overlock all the raw edges, or make a lining if you prefer a cleaner look. Personally, I think the raw edges give it an interesting look.
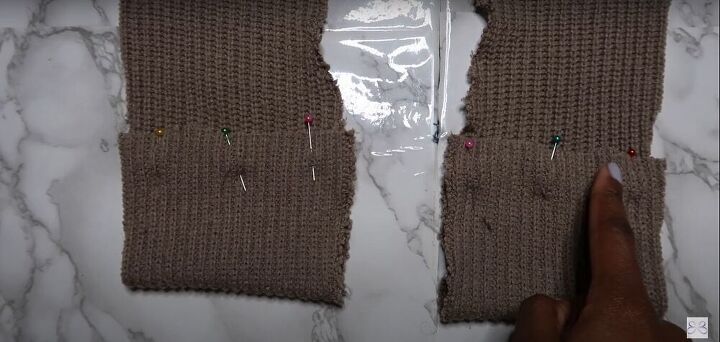
Pin and sew
To complete the top, I folded about 3 inches up on the back rectangles, wrong sides together, and sewed them down. This creates a channel for the wrap pieces to go through.

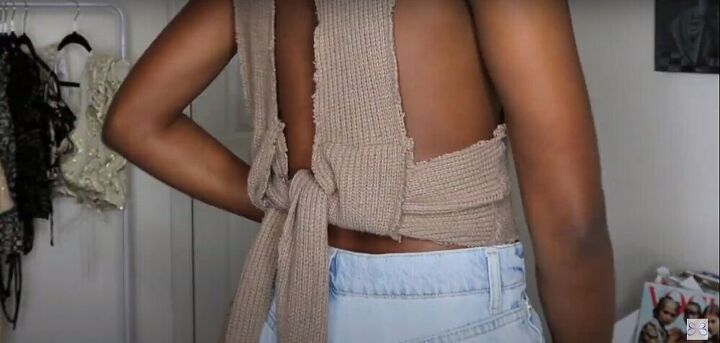
And here is my DIY Nanu top! You can wear it the original way, or switch it up for a whole different look!
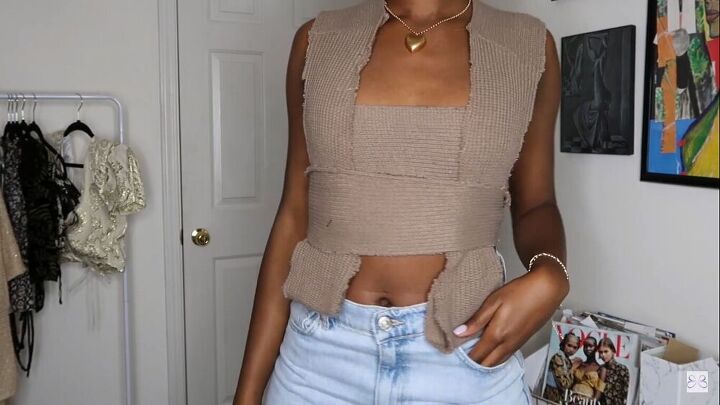

What do you think about this top? If you use my tutorial to sew a DIY top of your own, I would love to see the results!
The author may collect a small share of sales from the links on this page.


Comments
Join the conversation
WOW ! Certainly a cute top for a young lady with a lovely figure !! Not too sure that it would suit this 80 year old though LOL Well done !
How do you keep it from fraying?
Eww