From Walmart Tee to Off-The-Shoulder Top

Have you ever wondered how to sew an off-the-shoulder top? Because this Walmarts men’s t-shirt has been given a brand new life if you ask me.
Tools and materials:
- Pattern
- Men’s shirt
- Tailor’s chalk
- Ruler
- Scissors
- Pins
- Sewing machine
- Gathering foot
- Elastic

Mark it off
First things first, let’s mark off where we want to cut the top for that cute off the shoulder look. Simply take some tailor’s chalk and draw a line across your body (shoulder to shoulder). Next, we’re going to mark off under the chest where the top section ends and the bottom of the shirt begins.
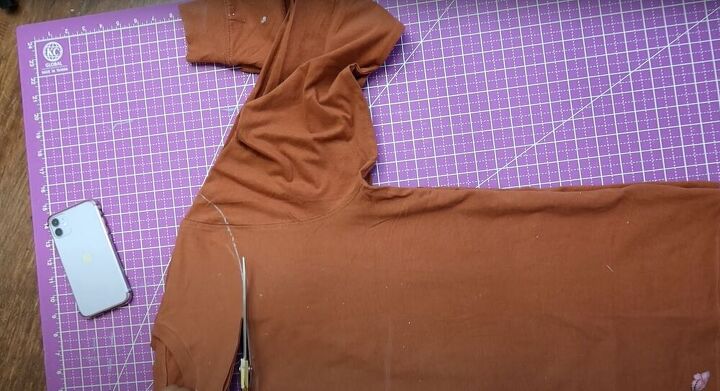
Cut it out
Using a ruler, perfect your chalk lines. Then fold your shirt in half and align the seams (this is very important, it is what makes your shirt symmetrical). Finally, take your scissors and cut along your lines.
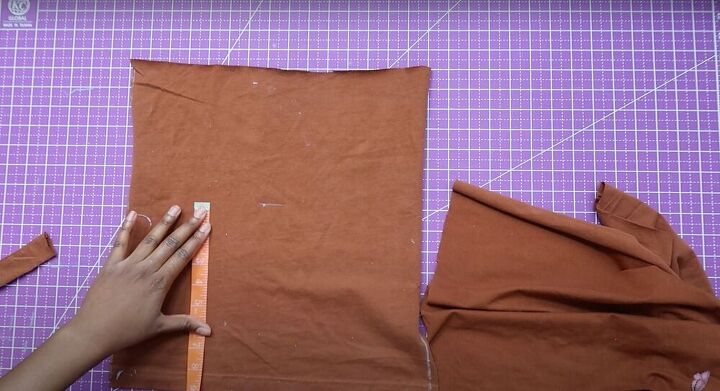
Make the bottom
Take the bottom of the shirt and mark off your waist measurements (if your waist is nine inches, add an inch for room and divide by two - mark off five). Remember to perfect those lines and cut out your fabric so you’re left with two separate squares of fabric.
Take one piece of fabric and measure the point where you want your shirt to end (I measured out nine inches). Use your ruler to perfect your line and cut.
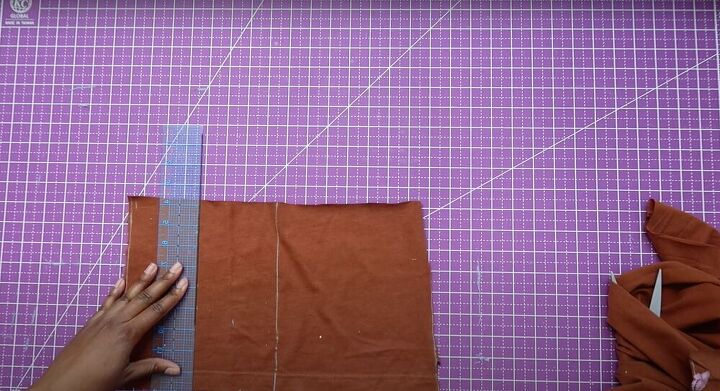
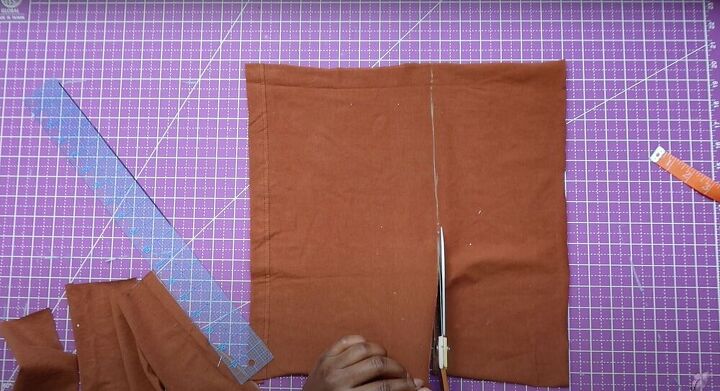
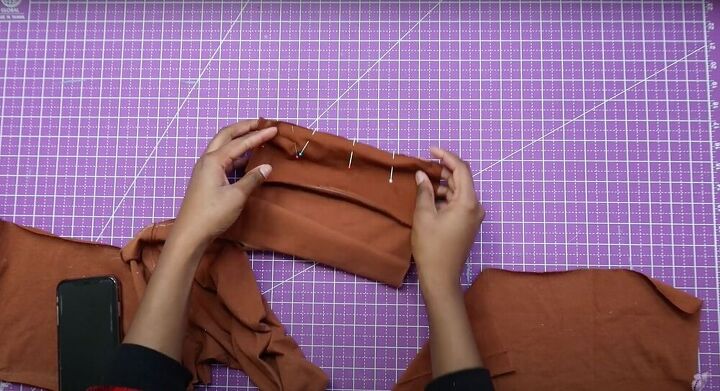
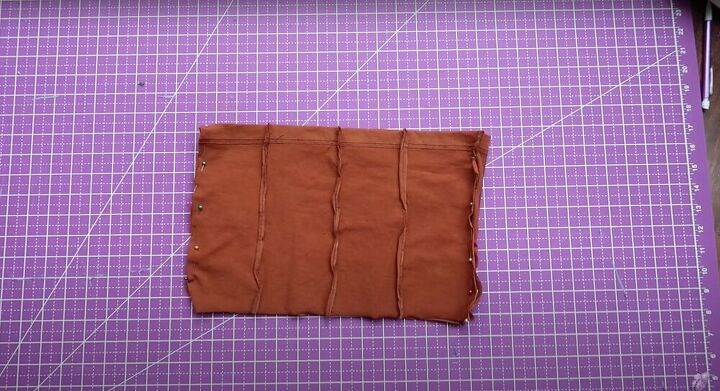
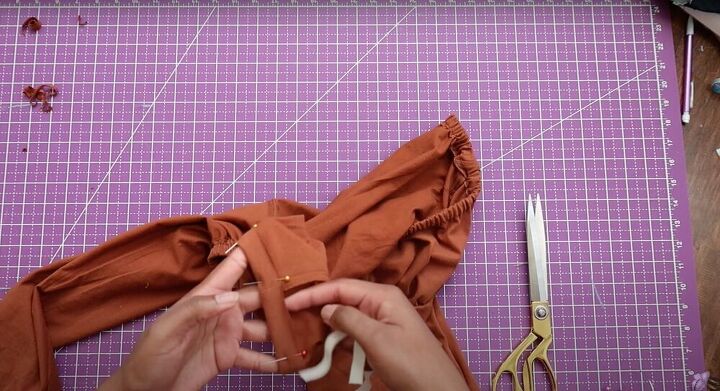
Create four seams
Measure out halfway across your fabric (for me that was 7.5 inches) and use your ruler to mark off that spot. Next, divide your smaller sections in half as well and use your rule to mark again (for me, this came out to 3.25). Finally, cut out your four sections.
Mark the back
For the back of the shirt (using the remaining piece of fabric) measure out the same length (reminder: mine was nine inches) and use a ruler to mark off that line. Once your line is perfected, cut it out.
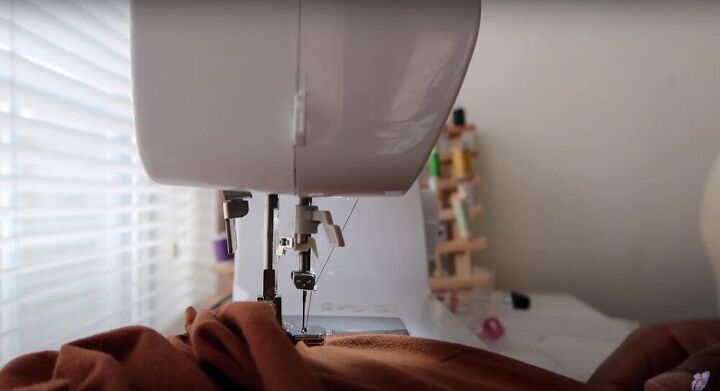
Sew together
Connect the four rectangles using pins and then sew them together using a tight zigzag stitch.
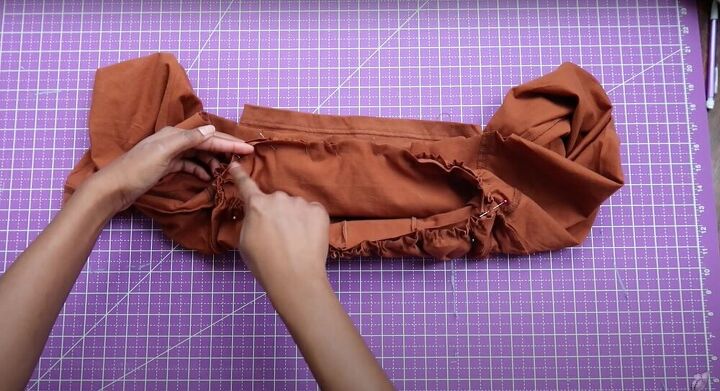
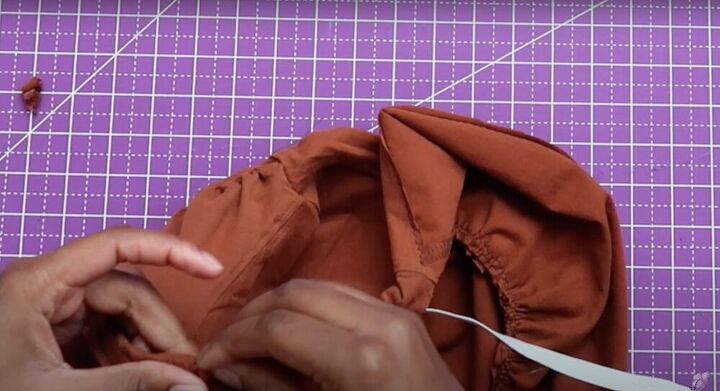
Gather the top
To create the gathered look for the top of the shirt, I used a gathering foot while I sewed. They are affordable and super easy to get and are such a time saver. Just connect it to your sewing machine and let the foot do the work. Here, were going to sew across the entire bottom of the shirt.
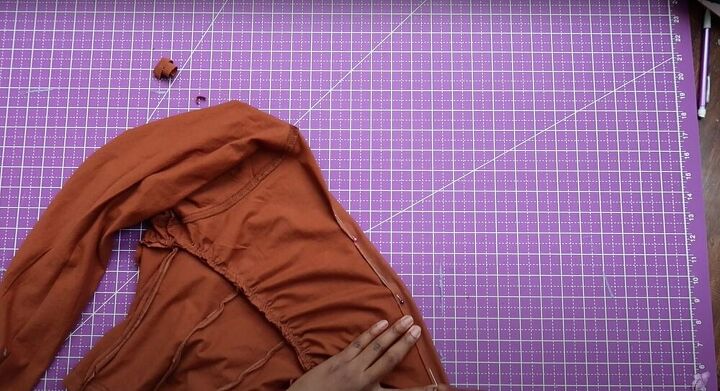
Connect front and back
Place the paneled top over the back, right sides together. Then pin the sides to secure and use a tight zigzag stitch down each side.
Connect the top and bottom
Turn the top piece inside out and slip the bottom half through the shirt. Align the seams and make sure the pieces are touching right sides together. First, align the side seams and then go along the shirt and pin it together (across the gathered bottom). Finally, sew the two pieces together using a zigzag stitch.
Hem the top
To hem the top, turn the shirt inside out and fold the neckline over - make sure the gap is big enough to fit your elastic. Pin the fold to secure. Remember to leave an opening to insert the elastic.
Pin a safety pin through the elastic and ease it around the neckline of the shirt. Connect the elastic using a zig-zag stitch and then sew the hem closed.
Repeat on the sleeves
We want to create the same elastic effect around the sleeves. Repeat the same process, insert the elastic and close off your sleeves with a zigzag stitch.

I hope you guys enjoyed this tutorial on how to sew an off-the-shoulder top. This pattern was so easy and the shirt came out looking great. Maybe I’ll just find a thread that matches next time, although that is really my nitpicking!
The author may collect a small share of sales from the links on this page.


Comments
Join the conversation
It looks great!
You are so creative!