Thrift Flip: Turning a Curtain Into a Pleated Top

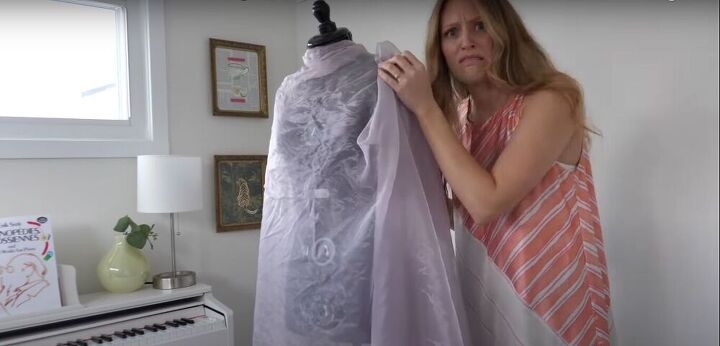
I found a really beautiful sheer lavender curtain at the thrift store, and I was inspired to try to drape a pleated top. Mind you, I didn’t actually have any idea what I was doing--I barely know what draping means--but I really wanted to do something fun with all this beautiful fabric. With a lot of experimenting and trial and error, I ended up with a unique Ariana Grande-inspired top that I am absolutely in love with. Keep reading to find out how I made this awesome DIY pleated top.
Tools and materials:
- Thrifted curtain
- Pins
- Elastic
- Scissors
- Measuring tape
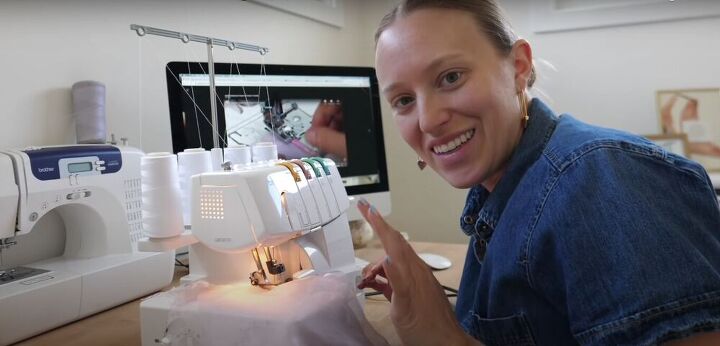
- Serger
- Sewing machine
Experimenting
It took me a while to figure out exactly what I wanted to do with all this beautiful fabric. I started by draping it on my dress form, and at first, I liked where it was going...but then I didn’t.
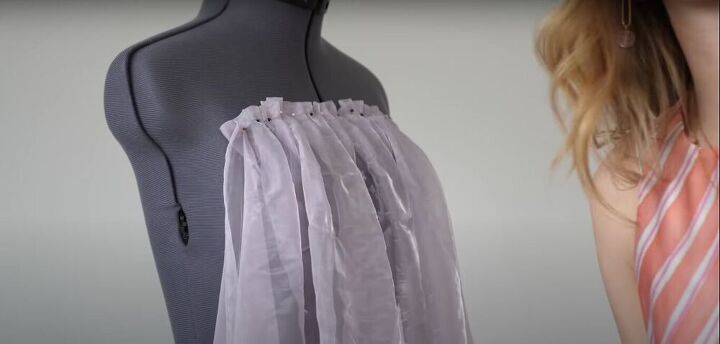
Then I started pinning pleats across the chest, which inspired me to try to make a pleated top. That definitely felt like a good idea to run with...
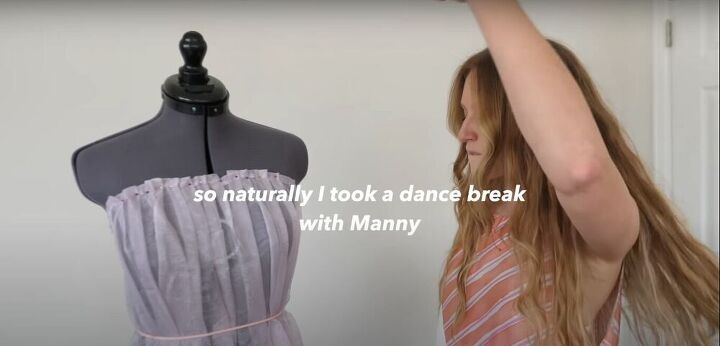
...but first, I needed a little dance break to help me figure out my next move.
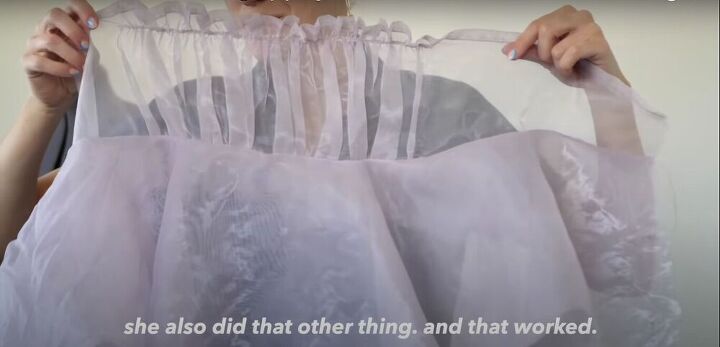
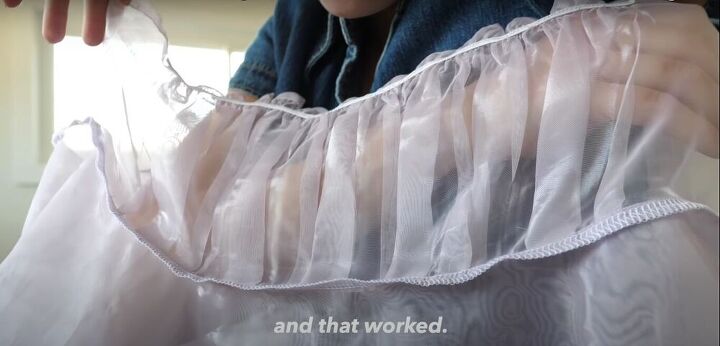
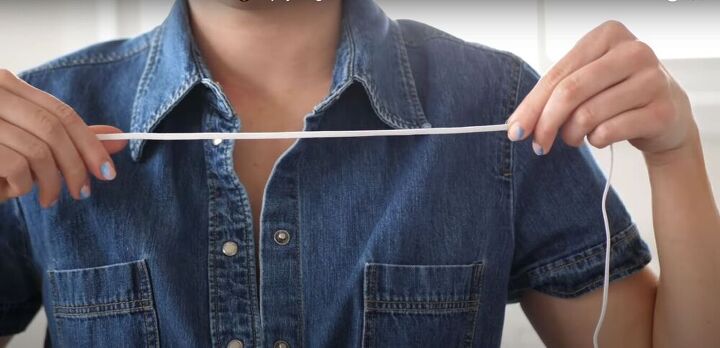
Measure
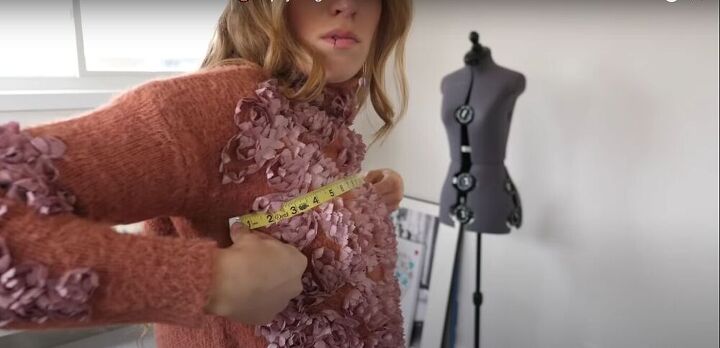
Finally, I decided to sew elastic across the chest to create the pleats. I measured across my chest, underarm to underarm, to determine how much elastic I needed.
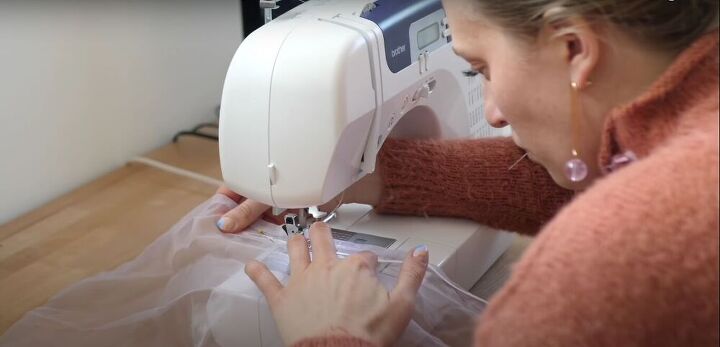
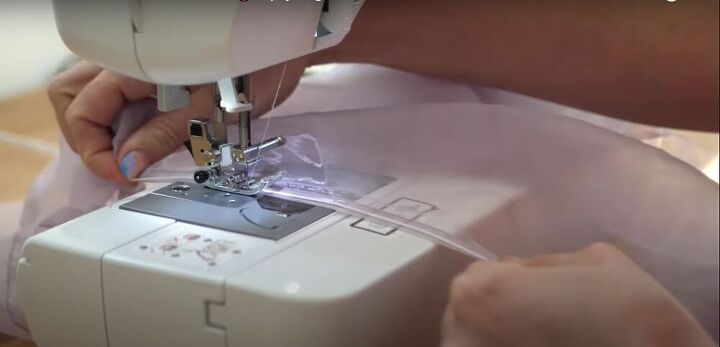
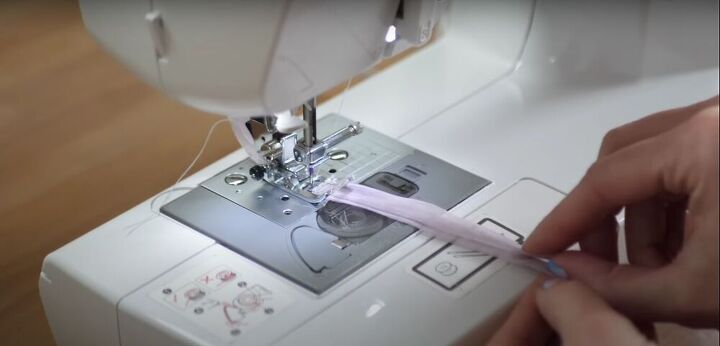
Cut and sew
I cut a long strip of fabric wide enough to cover from my chest to my belly button, and sewed the elastic along the top edge, stretching it as I sewed.
Iron
Once the elastic was sewn in, I ironed down the pleats created by the elastic.
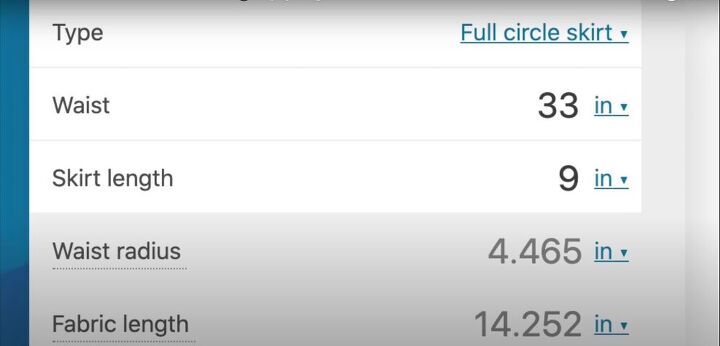
Measure
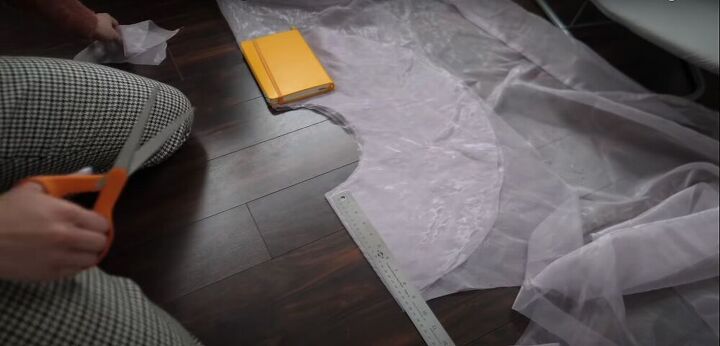
For the bottom half of the shirt, I decided to create a short full circle skirt and attach it below the bust. I used an online circle skirt calculator to determine the measurements.
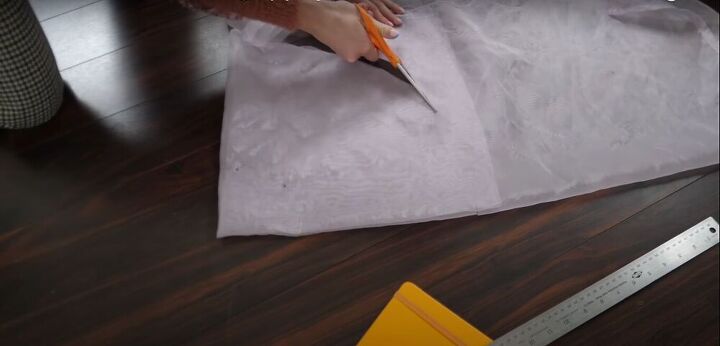
Mark and cut
Then I marked the fabric according to the measurements and cut.
Cut more
I decided I wanted this part of the shirt to be doubled, so I used my first circle skirt piece to trace and cut a second identical piece.
Sew and serge
Then I sewed the skirt pieces to the pleated piece and serged off the excess fabric at the seam.
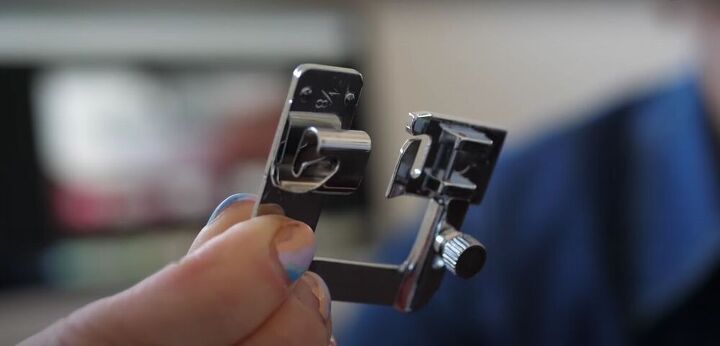
Hem the bottom
I tried to use a rolled hem foot to hem the bottom of the shirt, but it was too intimidating.
So in the end, I just serged the hem.
Please don’t judge me.
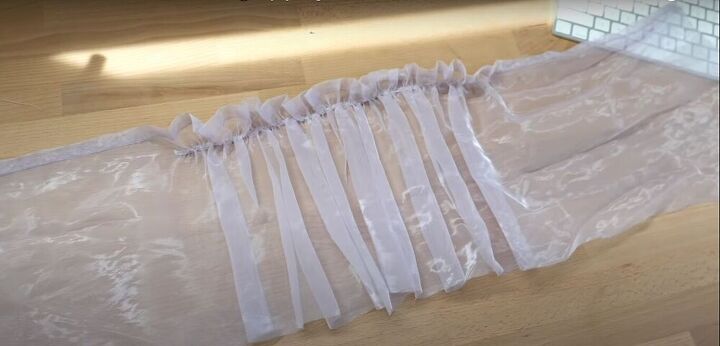
Make sleeves
To make the sleeves, I cut a piece of fabric about nine inches in length. Then I cut a piece of elastic that I measured across the top of my shoulder.
I sewed the elastic across the top edge of the fabric, stretching as I sewed.
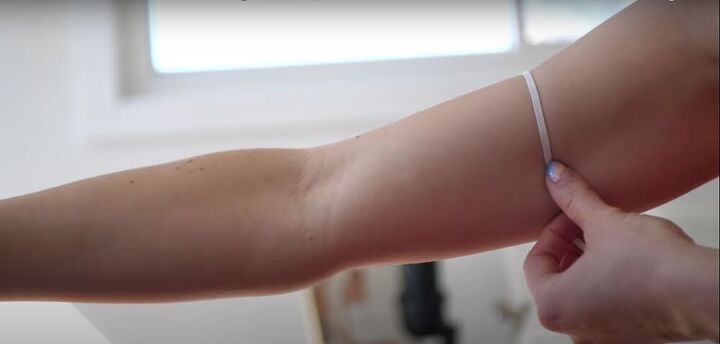
Then I measured how much elastic I needed to go around my upper arm, and stitched that elastic to the bottom edge of the fabric.
Once the elastics were sewn on, I stitched the sleeves in their proper places on the shirt.
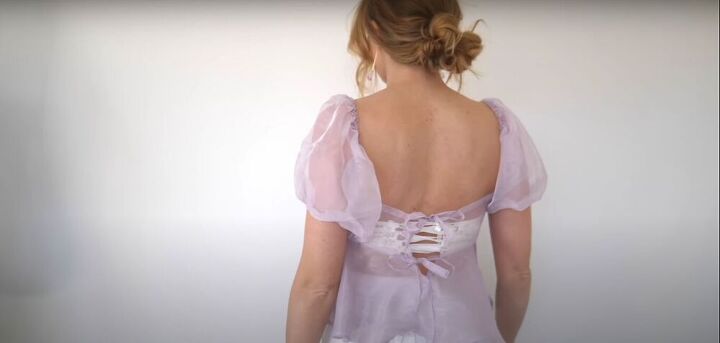
Make back closures
For the back closures, I cut two strips of fabric and folded them in on themselves so the raw edges were hidden, and sewed them down. Then I stitched them onto the back of the shirt, to create tie closures.
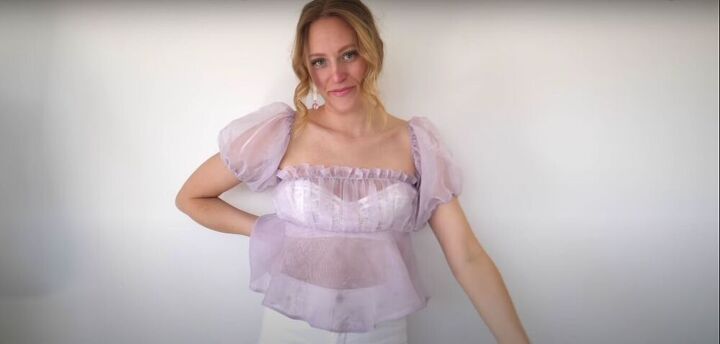
And here’s how it all turned out!
I truly feel like someone’s fairy godmother wearing this top. It’s magical! I love the lavender color and how perfect it is for spring. I will admit I wasn’t really sure how to sew a pleated top, and this project was a little touch and go, but I hope you enjoyed following along as I figured it all out. Let me know what you think of this top, and check out my Instagram @SeaminglySera to see how I styled it.
The author may collect a small share of sales from the links on this page.


Comments
Join the conversation
Cute!
It’s a very pretty top. I was thinking that a coordinating tube top would look so cute underneath.